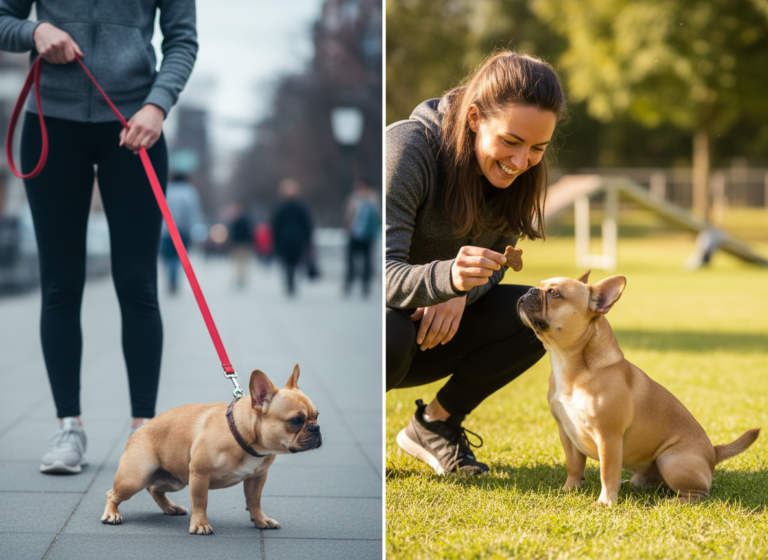
This Command Could Save Your Dog’s Life: Mastering “Leave It”
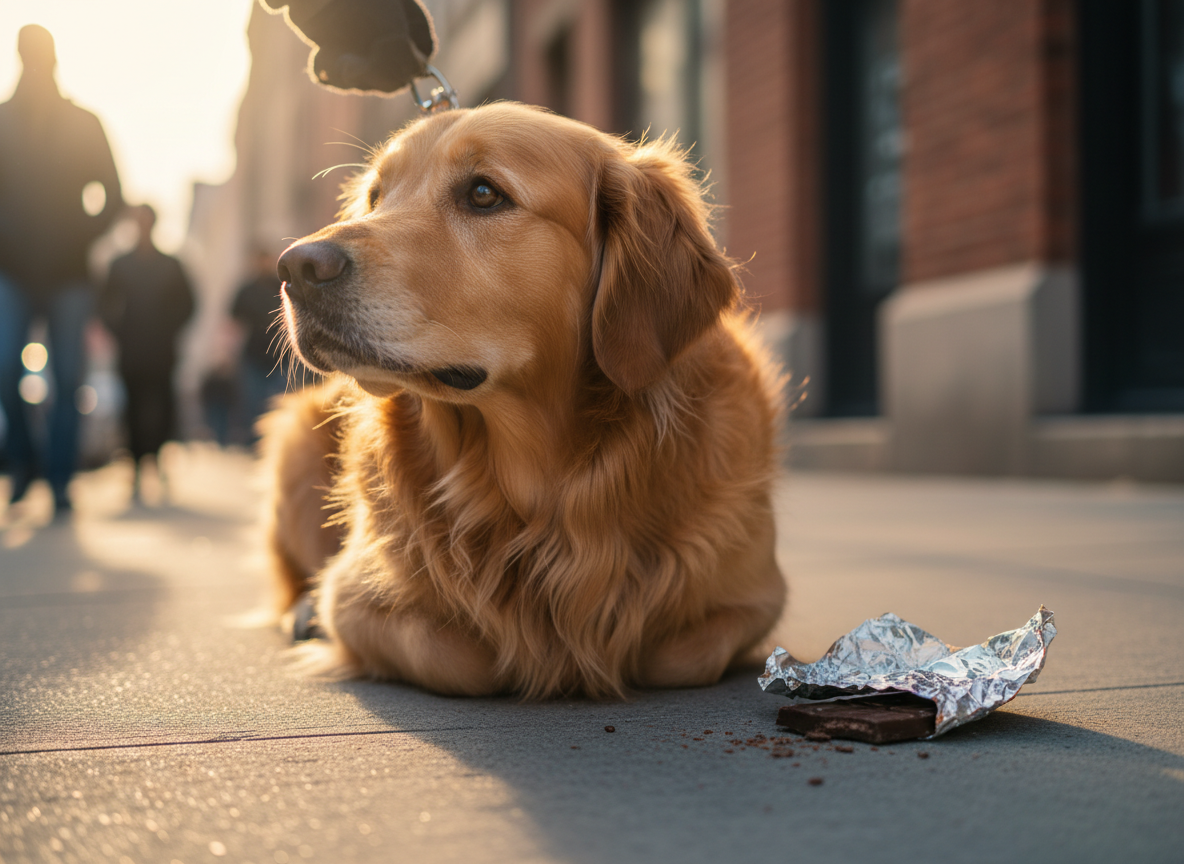
Imagine you’re on a pleasant walk with your dog. Suddenly, they lunge toward a small, colorful object on the ground—a dropped pill. Or perhaps it’s a piece of discarded food, potentially toxic or spoiled. In that split second, your ability to communicate a single, clear command can mean the difference between a close call and a frantic, life-threatening emergency. This is the profound power of the “Leave It” command. It is not merely a party trick or a mark of a well-behaved dog; it is one of the most critical safety cues you can teach your canine companion.
Mastering “Leave It” builds a line of communication based on trust, teaching your dog that ignoring a tempting item on the ground is far more rewarding than investigating it. It protects them from a myriad of dangers, from poisonous foods and choking hazards to toxic chemicals and dangerous wildlife. In this comprehensive guide, we will break down the process of teaching this essential command using proven, positive reinforcement methods. We will move from the very basic foundations to real-world scenarios, empowering you with the knowledge and techniques to forge a safer, more trusting relationship with your beloved pet.
Why “Leave It” is More Than Just a Trick: A Foundation of Safety
Many owners associate dog training with commands like “Sit,” “Stay,” or “Come.” While these are fundamental for good manners, “Leave It” occupies a unique and critical space in your dog’s behavioral repertoire. Its primary function is safety. Dogs, especially puppies, explore the world with their mouths. This natural instinct can unfortunately lead them directly into danger. Understanding the scope of these risks underscores the urgency of teaching a reliable “Leave It.”
Common Dangers Averted by “Leave It”:
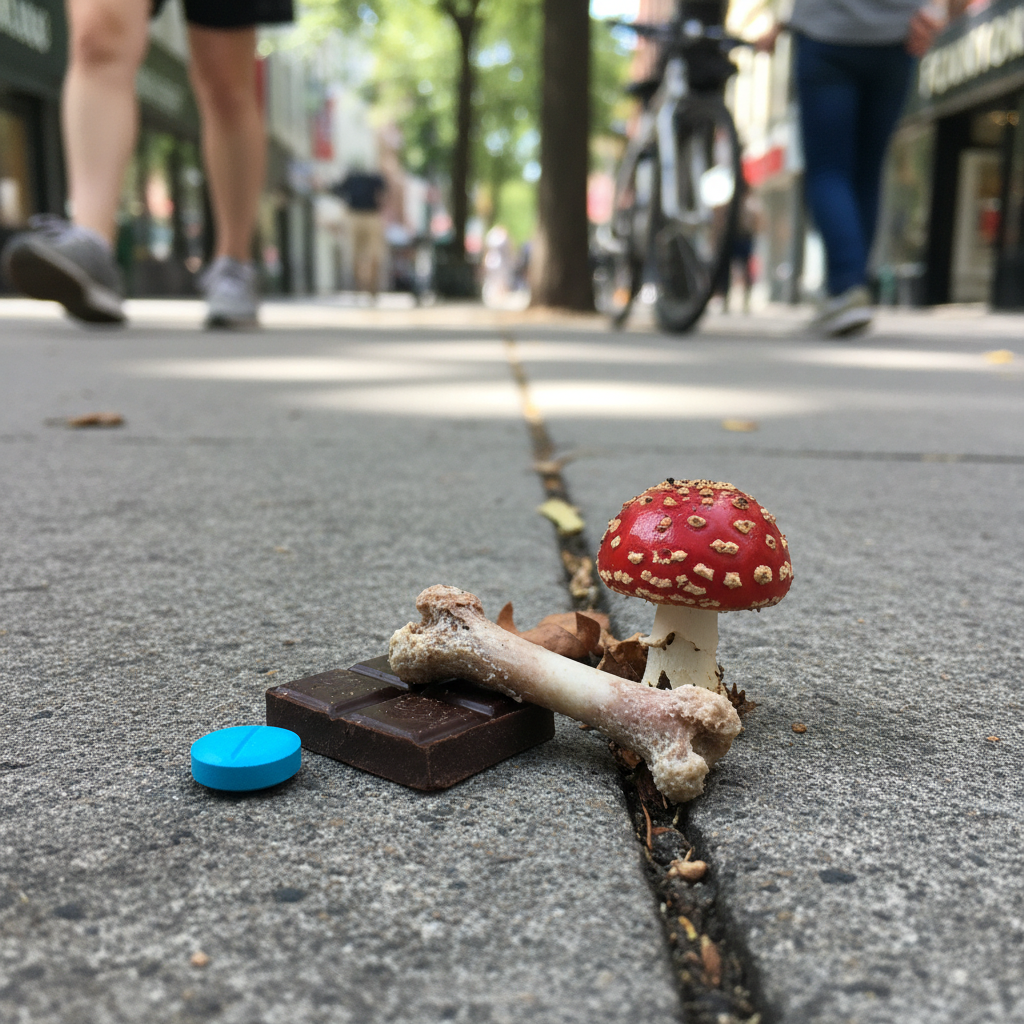
- Toxic Human Foods: Everyday items that are harmless to us can be lethal to dogs. A solid “Leave It” can prevent ingestion of chocolate, grapes, raisins, onions, garlic, xylitol (a common sweetener), and macadamia nuts.
- Medications: Dropped pills, whether prescription or over-the-counter, are a leading cause of pet poisoning. Their small size and often candy-like coating can make them irresistible to an curious dog.
- Household and Environmental Toxins: This category includes everything from antifreeze puddles and rodenticides to poisonous plants in the yard or on a trail, such as sago palms or certain mushrooms.
- Choking Hazards: Small toys, rocks, bottle caps, corn cobs, and cooked bones can cause choking or lead to life-threatening internal blockages requiring emergency surgery.
- Dangerous Organic Matter: Decomposing animal carcasses or feces from other animals can carry harmful bacteria, parasites, and diseases.
Beyond preventing ingestion of harmful items, the “Leave It” command builds impulse control. A dog that can willingly disengage from a highly desirable object on cue is a dog that is learning to manage its instincts and look to its owner for guidance. This self-control translates to better behavior in a wide range of situations, from ignoring a squirrel on a walk to politely leaving food on the dinner table. It is an investment in your dog’s long-term well-being and a cornerstone of responsible pet ownership.
Setting the Stage for Success: Tools and Mindset
Before you begin your first training session, proper preparation is key. Rushing into training without the right tools and, more importantly, the right mindset can lead to frustration for both you and your dog. The goal is to create a positive, clear, and successful learning environment.
Essential Training Tools:
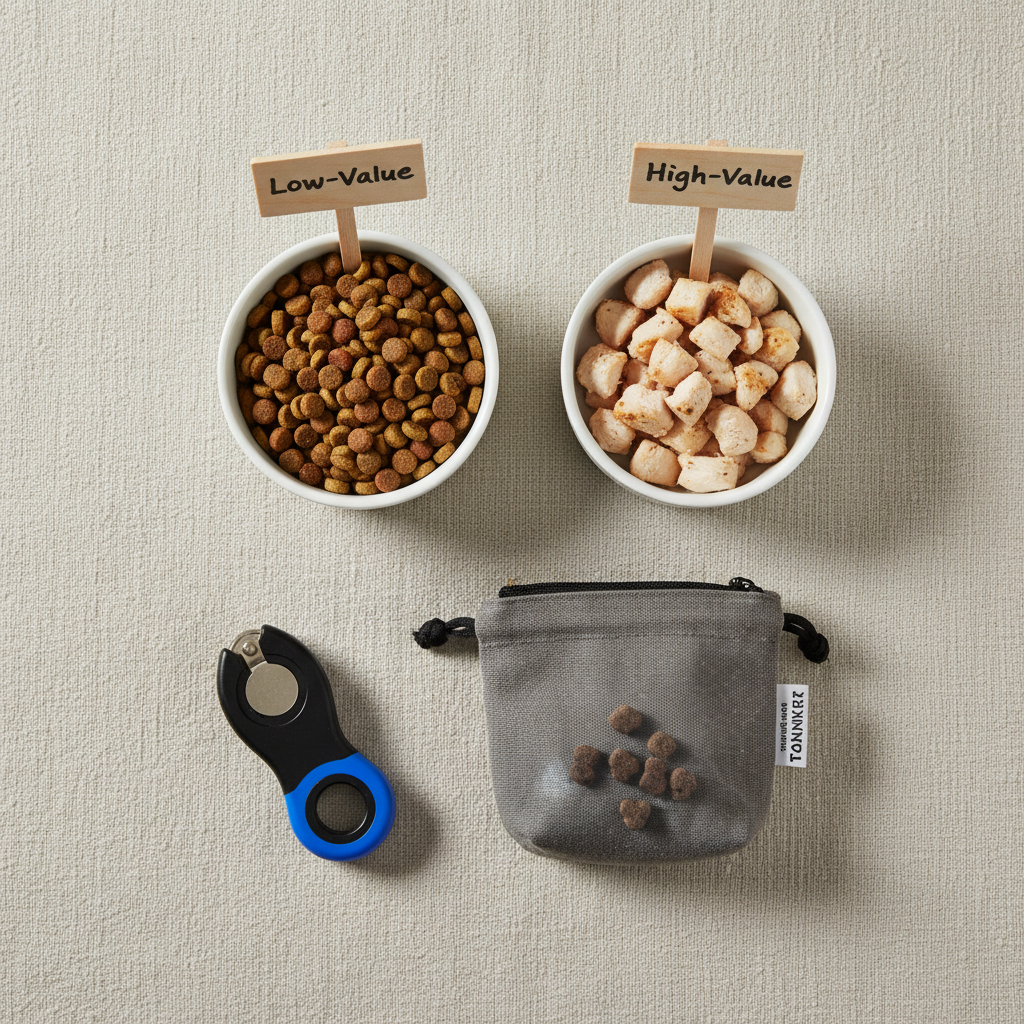
- A Treat Hierarchy: You will need two distinct levels of treats. Low-value treats should be something your dog likes but isn’t overly excited about, such as their regular kibble. High-value treats should be exceptionally motivating—small pieces of cooked chicken, cheese, freeze-dried liver, or a special commercial dog treat they rarely get. The high-value treat is the reward for making the right choice.
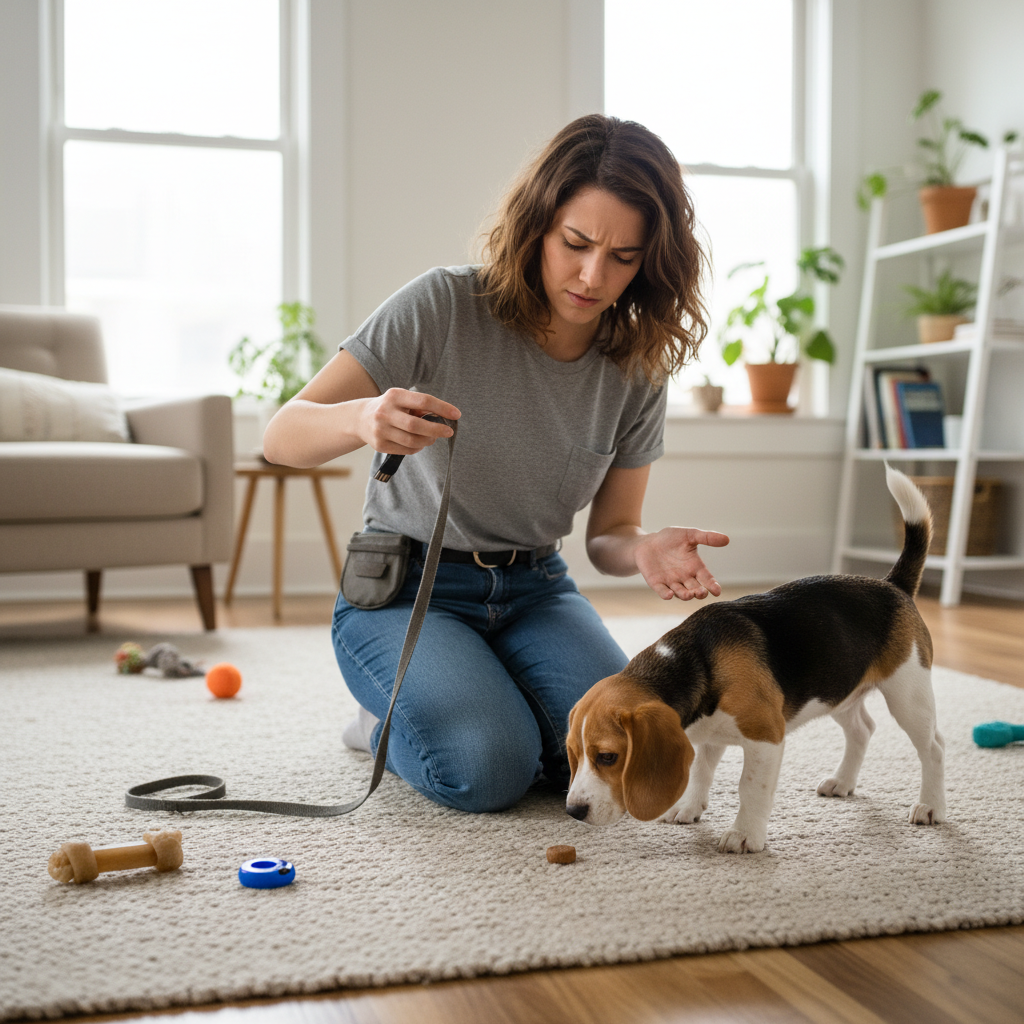
- A Quiet Training Space: Begin your training indoors in a room with minimal distractions. Avoid areas with other pets, family members walking through, or loud noises. A calm environment allows your dog to focus entirely on you and the task at hand.
- A Clicker (Optional but Recommended): A clicker is a valuable tool for marking the exact moment your dog performs the correct behavior. The ‘click’ provides a clear, consistent signal that means “Yes, that’s what I want, and a reward is coming.” If you’re not using a clicker, you can use a consistent verbal marker like a sharp “Yes!”.
The Trainer’s Mindset: Patience and Positivity
Remember, you are teaching a concept, not just a command. Your dog is learning to actively choose to disengage. This requires patience, consistency, and an unwavering commitment to positive reinforcement. There is no place for punishment, scolding, or physical corrections in this process. Frustration is your enemy; if you feel it, end the session on a positive note and try again later. Keep sessions short—5 to 10 minutes once or twice a day is far more effective than one long, grueling session. Celebrate small successes and focus on building a foundation of trust.
Building the “Leave It” Cue: A Phased, Step-by-Step Protocol

This training process is broken down into progressive phases. It is crucial to ensure your dog is consistently successful at each phase before moving to the next. If your dog struggles, simply go back to the previous step and practice more. Remember to have both your low-value and high-value treats ready.
Phase 1: The Closed Fist
The goal of this phase is to teach your dog that ignoring a hidden treat leads to a better one.
- Place a low-value treat (kibble) in your hand and close it into a fist.
- Present your fist to your dog, about six inches from their nose. They will likely sniff, lick, and paw at your hand. Stay silent and still.
- The very instant your dog stops interacting with your fist—even for a split second—and pulls their head away, click or say “Yes!” and immediately give them a high-value treat from your other hand.
- Do not give them the treat that was in your fist. That is the “leave it” item.
- Repeat this process several times until your dog is quickly pulling their head away from your fist as soon as you present it.
Phase 2: The Open Hand
Now, we increase the difficulty slightly by making the treat visible but inaccessible.
- Place a low-value treat in the palm of your open hand.
- Lower your hand toward your dog. As they move to get the treat, quickly close your fist over it. They will likely revert to sniffing and pawing.
- Wait for them to pull their head away again. The moment they do, click/”Yes!” and reward with a high-value treat from your other hand.
- Repeat until you can present your open palm with the treat in it, and your dog makes no attempt to get it, instead looking to you for their reward.
Phase 3: The Treat on the Floor
This phase transfers the concept from your hand to the ground.
- Place a low-value treat on the floor, but keep your hand cupped directly over it.
- Allow your dog to investigate. They will sniff and paw at your hand as before. Wait for them to back away.
- When they pull back, click/”Yes!” and reward from your other hand.
- Gradually begin to lift your hand off the treat on the floor. If your dog lunges for it, quickly cover it again. The goal is to be able to have the treat uncovered on the floor while your dog waits patiently.
Phase 4: Introducing the Verbal Cue
Only add the verbal cue once the behavior is reliable. You want to associate the words “Leave It” with the action of your dog turning away from the object.
- As you place the low-value treat on the floor (uncovered), say “Leave It” in a calm, neutral tone.
- When your dog ignores the floor treat and looks at you, click/”Yes!” and give them a high-value reward.
- Practice this until the verbal cue alone is enough to signal the behavior.
From Living Room to the Real World: Generalizing the Command
A dog that performs a perfect “Leave It” in your quiet living room may completely forget the command when faced with a half-eaten sandwich on a busy sidewalk. This is because dogs do not generalize well. They need to be taught that “Leave It” means the same thing everywhere, in every situation. This process is called proofing the behavior.
Proofing must be done gradually, setting your dog up for success at every step. The key is to slowly increase the difficulty in three areas: distance, duration, and distraction.
A Strategy for Proofing “Leave It”:
- Change the Room: Start by simply practicing in different rooms of your house. The kitchen, with its lingering food smells, can be a great next step.
- Introduce Movement: Practice while you are walking around the house. Drop a low-value item ahead of you, say “Leave It,” and reward your dog for ignoring it and continuing to walk with you.
- Move to the Backyard: Your yard presents new smells and mild distractions. Practice with various items on the grass.
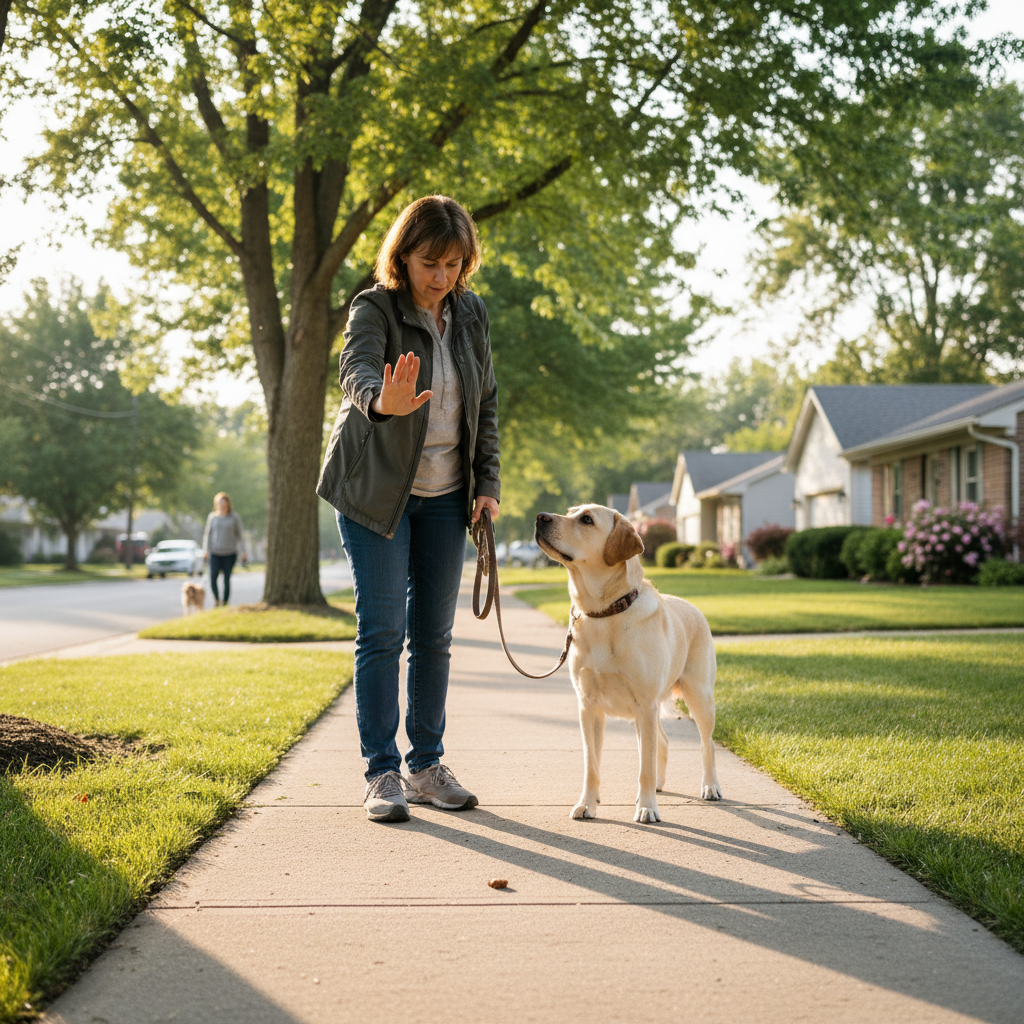
- The Quiet Sidewalk: Take your training on the road, but start on your own quiet street during a non-busy time of day. Keep your dog on a leash.
- Increase the Item’s Value: So far, you’ve been using low-value kibble. Now, you need to practice with more tempting items. Use a piece of cheese as the “leave it” item, but make sure your reward is even better, like a piece of steak. Always ensure the reward is of higher value than the item being left.
- Add Distractions: Practice on a slightly busier street or at the edge of a park where other people and dogs are visible but at a distance. Your goal is to slowly decrease the distance to distractions over many sessions while maintaining your dog’s success.
Throughout the proofing process, always keep your dog on a leash to manage the environment and prevent them from “self-rewarding” by snatching the item. If they fail, it simply means you’ve increased the difficulty too quickly. Take a step back to a point where they were successful and build up more slowly.
Common Sticking Points and How to Overcome Them
Even with the best plan, you might encounter challenges during the training process. This is completely normal. Identifying the problem and adjusting your technique is a core part of effective dog training. Below are some common issues and their solutions.
| Common Problem | Underlying Reason & Solution |
|---|---|
| My dog keeps snatching the treat from my hand or the floor. | This usually means you’ve progressed too quickly or the treat is too high-value for this stage. Solution: Go back to the previous, more successful phase. If using an open hand, go back to a closed fist. Ensure the ‘leave it’ item is truly low-value (boring kibble) and your reward is extra special. Be faster with your hand to cover the item if they lunge. |
| My dog performs perfectly indoors but ignores me outside. | This is a classic failure to generalize the command. The dog has learned ‘Leave It’ means ‘ignore the kibble on the living room rug,’ not ‘ignore all interesting things on the ground everywhere.’ Solution: You must actively proof the behavior. Follow the gradual steps in the ‘Generalizing the Command’ section. Start just outside your door, then the yard, then the quiet sidewalk, slowly building up distractions. |
| My dog just stares at the ‘leave it’ item and won’t look at me. | Your dog understands not to take the item but hasn’t learned that the next step is to offer you their attention. Solution: Go back a step and reward the slightest glance in your direction. You can make a small, encouraging sound to get their attention. Ensure your reward is high-value enough to be more appealing than the item they are leaving. |
| The verbal cue “Leave It” doesn’t seem to work. | The cue has not been properly associated with the action. This happens when the cue is introduced too early, before the behavior is fluent. Solution: Stop using the verbal cue for now. Go back to Phase 3 and get the physical action of leaving the item on the floor reliable without any words. Once it’s solid, re-introduce the cue by saying it just before your dog performs the action they were going to do anyway. |
Conclusion
Teaching the “Leave It” command is a profound act of care and one of the most important investments you can make in your dog’s safety. It transcends simple obedience, building a powerful channel of communication and trust that can protect them from countless unseen dangers. The journey requires patience, consistency, and a commitment to positive, clear instruction. By following these steps—from the controlled environment of your home to the unpredictable nature of the outside world—you are not just training a behavior; you are equipping your best friend with a life-saving skill.
Remember to celebrate every small success and approach challenges not as failures, but as opportunities to clarify your communication. The result will be a more confident, well-behaved dog and a peace of mind for you, knowing you’ve given them the tools to navigate the world safely by your side.