The Ultimate Guide To Safe Dog Bike Trailer Training For Adventures
The vision of cycling down a scenic path with your loyal dog in tow is a powerful one for many pet owners. It represents freedom, shared experiences, and a unique way to explore the outdoors together. A dog bike trailer makes this vision possible, allowing dogs of all ages, sizes, and fitness levels to join in on the adventure. However, success and safety are not guaranteed by simply purchasing the equipment. The journey from a new trailer in a box to a happy, relaxed canine co-pilot requires patience, understanding, and a structured training plan.
Many owners mistakenly assume their dog will instantly take to the trailer, only to be met with fear, anxiety, or resistance. This can lead to frustration for the owner and a negative, lasting association for the dog. The key is to approach the process from your dog’s perspective, building a foundation of trust and positive reinforcement every step of the way. This guide is designed to provide you with a professional, step-by-step framework to ensure the training process is not only successful but also strengthens the bond you share with your dog. We will cover everything from selecting the right equipment to mastering the first ride and troubleshooting common challenges, empowering you to create countless safe and memorable adventures together.
Phase 1: Selecting the Right Equipment for Safety and Comfort
Choosing the Perfect Trailer and Accessories
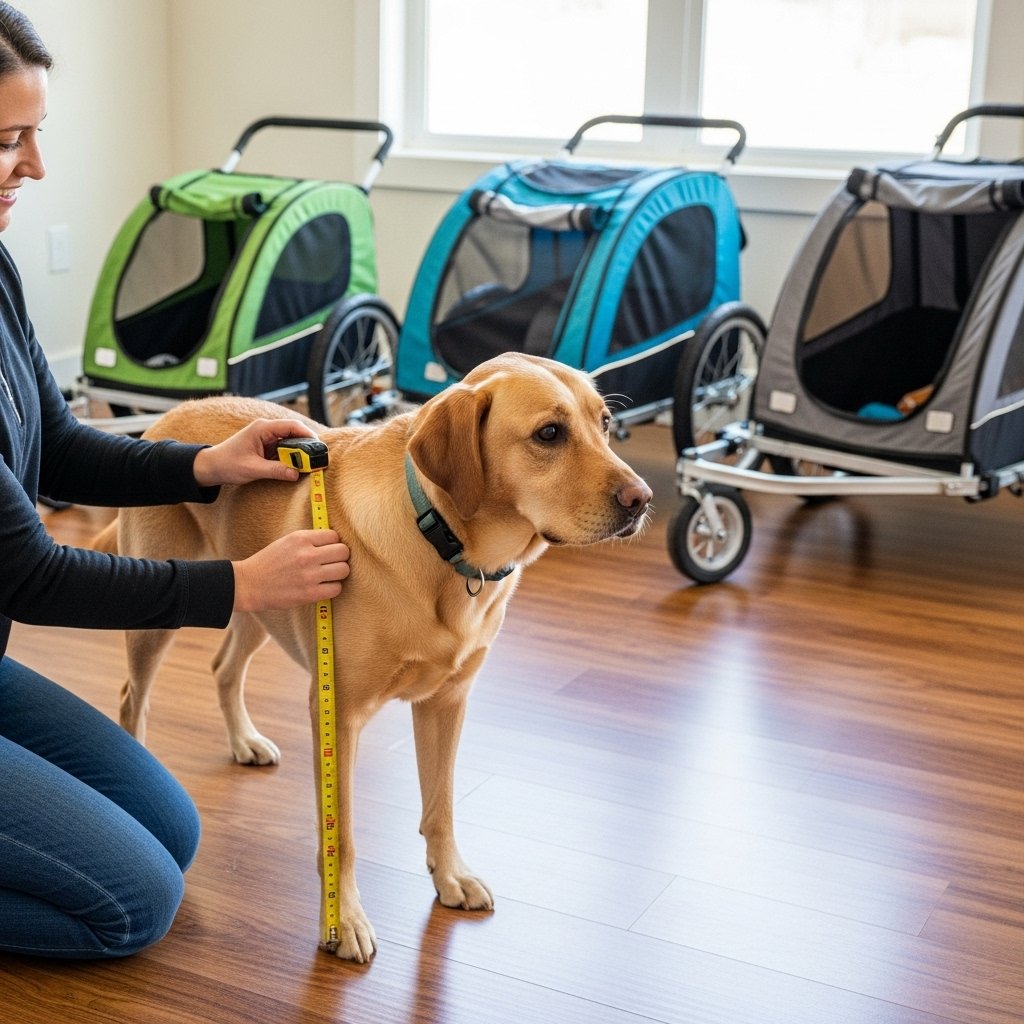
Before training can begin, you must select a bike trailer that serves as a safe and comfortable space for your dog. This is the single most important decision you will make in this process. An ill-fitting or poorly designed trailer can be dangerous and will almost certainly lead to a negative experience for your pet. When evaluating trailers, prioritize safety features and proper sizing over aesthetics or price.
Key Trailer Features to Consider:
- Weight Capacity: Always choose a trailer rated well above your dog’s current weight. This ensures structural integrity and stability, especially when navigating turns or uneven terrain.
- Internal Dimensions: Your dog should have enough room to sit upright, turn around, and lie down comfortably. Measure your dog’s height (floor to top of head while sitting) and length (nose to base of tail) to compare against the trailer’s interior specs.
- Ventilation: Proper airflow is non-negotiable. Look for large mesh windows on multiple sides to prevent overheating, especially during warmer weather. A zippered front mesh panel and a rear vent are an ideal combination.
- Suspension System: For any rides that go beyond perfectly smooth pavement, a trailer with a suspension system will provide a much more comfortable and less jarring experience for your dog, protecting their joints.
- Safety Tether: A non-negotiable feature is an interior D-ring and an adjustable tether. This short leash clips to your dog’s harness (never their collar) and acts as a crucial secondary safety measure to prevent them from jumping out.
- Wheels and Tires: Larger wheels (16-20 inches) roll more smoothly over obstacles. Ensure the tires are pneumatic (air-filled) rather than solid plastic, as they provide better cushioning.
Essential Accessories:
Beyond the trailer itself, a few accessories are critical for a successful outing.
- A Well-Fitted Harness: Never attach the internal safety tether to your dog’s collar. A sudden stop or lurch could cause serious injury to their neck or trachea. A comfortable, non-restrictive Y-shaped harness is the safest option.
- Comfortable Bedding: Line the floor of the trailer with a non-slip mat and a familiar, comfortable bed or blanket. This makes the space more inviting and helps absorb vibrations from the road.
- Water and Travel Bowl: Always carry fresh water, especially for longer rides. Plan for frequent hydration breaks.
| Feature | Importance | What to Look For |
|---|---|---|
| Weight Capacity | Critical for Safety | Rated for at least 15-20 lbs over your dog’s weight. |
| Ventilation | Critical for Health | Multiple large mesh windows; front and rear vents. |
| Safety Tether | Critical for Safety | Adjustable strap with a sturdy clip; interior anchor point. |
| Harness | Critical for Safety | Attach tether to a Y-shaped harness, NOT a collar. |
| Suspension | High for Comfort | Essential for unpaved trails or bumpy roads. |
Phase 2: Creating a Positive Association with the Trailer
Step-by-Step Acclimation Process
The goal of this initial phase is to teach your dog that the trailer is a wonderful, safe, and rewarding place to be. This entire phase should be done with the trailer stationary and detached from the bike. Rushing this step is the most common mistake owners make. Patience here will pay significant dividends later.
Step 1: Introduction and Exploration
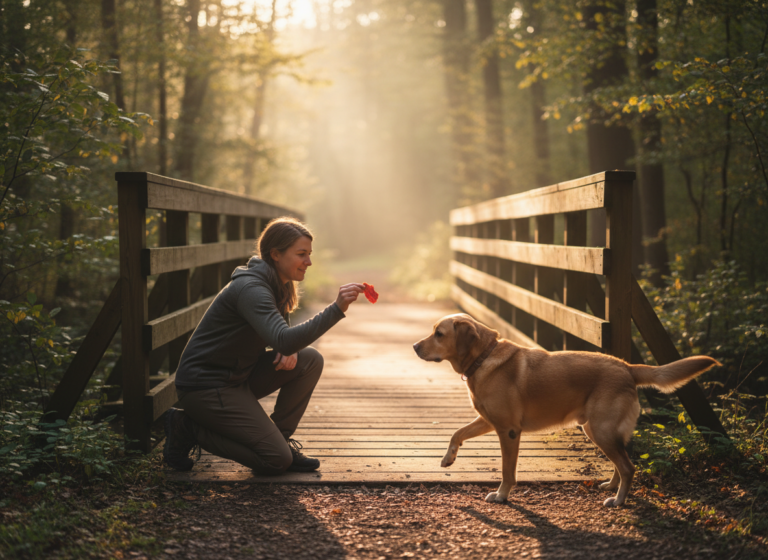
Set up the trailer in a quiet, familiar room in your house. Secure the wheels so it cannot move. Leave the doors and windows wide open. Simply let the trailer exist in the space for a day or two. Allow your dog to approach and sniff it on their own terms. Do not force any interaction. Every time they show calm curiosity—sniffing it, looking at it—praise them calmly and toss a high-value treat near the trailer, then on the floor of the trailer.
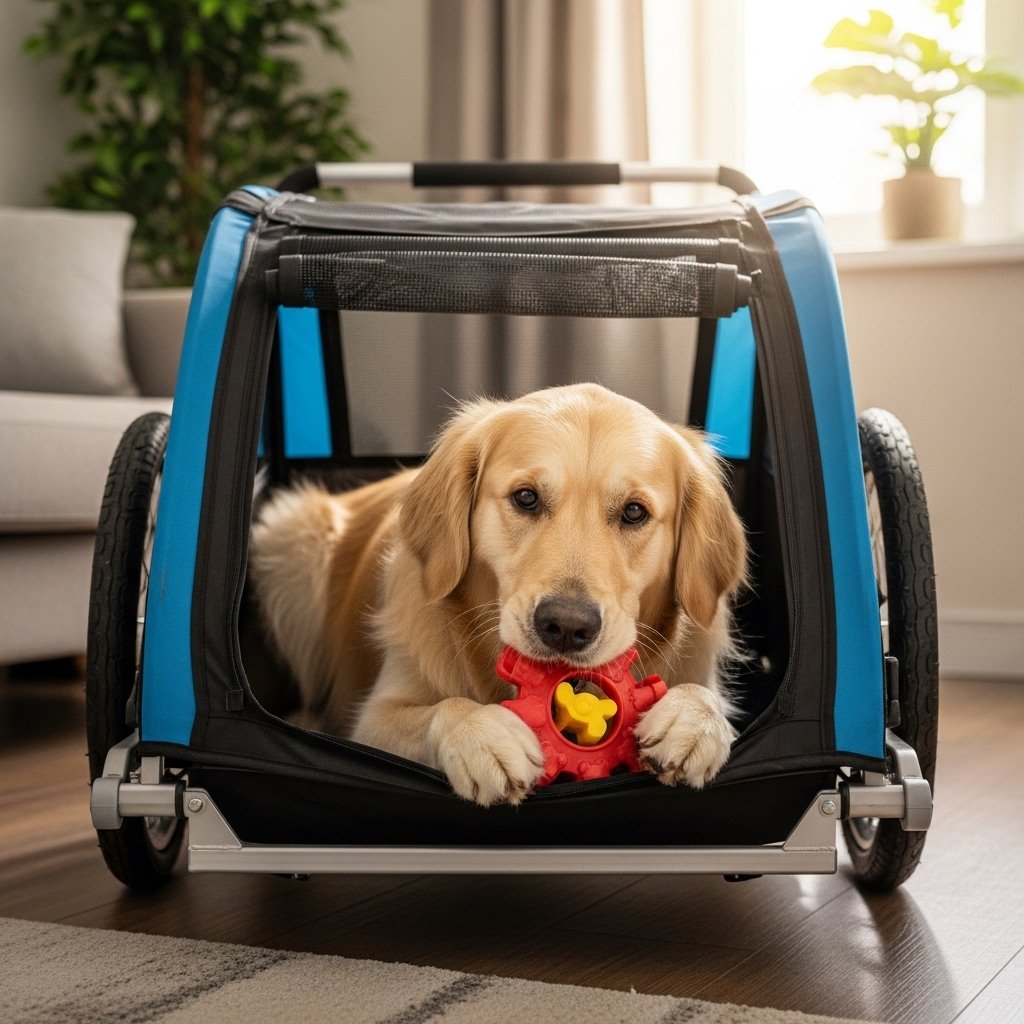
Step 2: Making it a Rewarding Space
Once your dog is comfortable being near the trailer, begin to build a stronger positive association. Place their favorite blanket or bed inside. Start feeding them their meals inside the trailer. Place their food bowl at the very front of the open trailer so they only need to stick their head in. Gradually, over several meals, move the bowl further back until they are stepping inside with all four paws to eat. Keep the door open throughout this process.
Step 3: Introducing the Harness
During this phase, start putting their designated trailer harness on for short periods around the house, completely unrelated to the trailer itself. Give them treats and praise while they wear it. You want the harness to also have a positive association before you ever connect it to the trailer’s safety tether.
Step 4: Closing the Door
When your dog is willingly entering and relaxing in the trailer, you can begin to close the mesh door for a few seconds at a time. The moment you close it, give them a special, long-lasting chew like a stuffed Kong. Open the door before they finish the chew or show any signs of anxiety. Slowly increase the duration the door is closed, always pairing it with something highly positive. If your dog whines or paws at the door, you have moved too fast. Go back a step and shorten the duration.
Expert Tip: Keep all training sessions short and positive, ideally 5-10 minutes at a time. End each session on a high note, leaving your dog wanting more, rather than pushing them to their limit of tolerance.
Phase 3: Introducing Controlled Motion
Getting Used to the Feeling of Movement
Once your dog is completely comfortable being in the stationary trailer with the door closed, it’s time to introduce the sensation of movement. This phase is critical for preventing motion sickness and fear associated with the ride itself. Crucially, the trailer should not be attached to the bike yet.
Step 1: Manual Movement
With your dog secured in their harness and attached to the safety tether, ask them to get into the trailer. Close the mesh door and praise them. Very slowly and gently, pull the trailer by hand a few feet across the floor of your home. Speak to them in a calm, reassuring voice. Stop, praise them, and give them a treat through the mesh. Repeat this, moving a little further each time. Keep the movements smooth and deliberate.
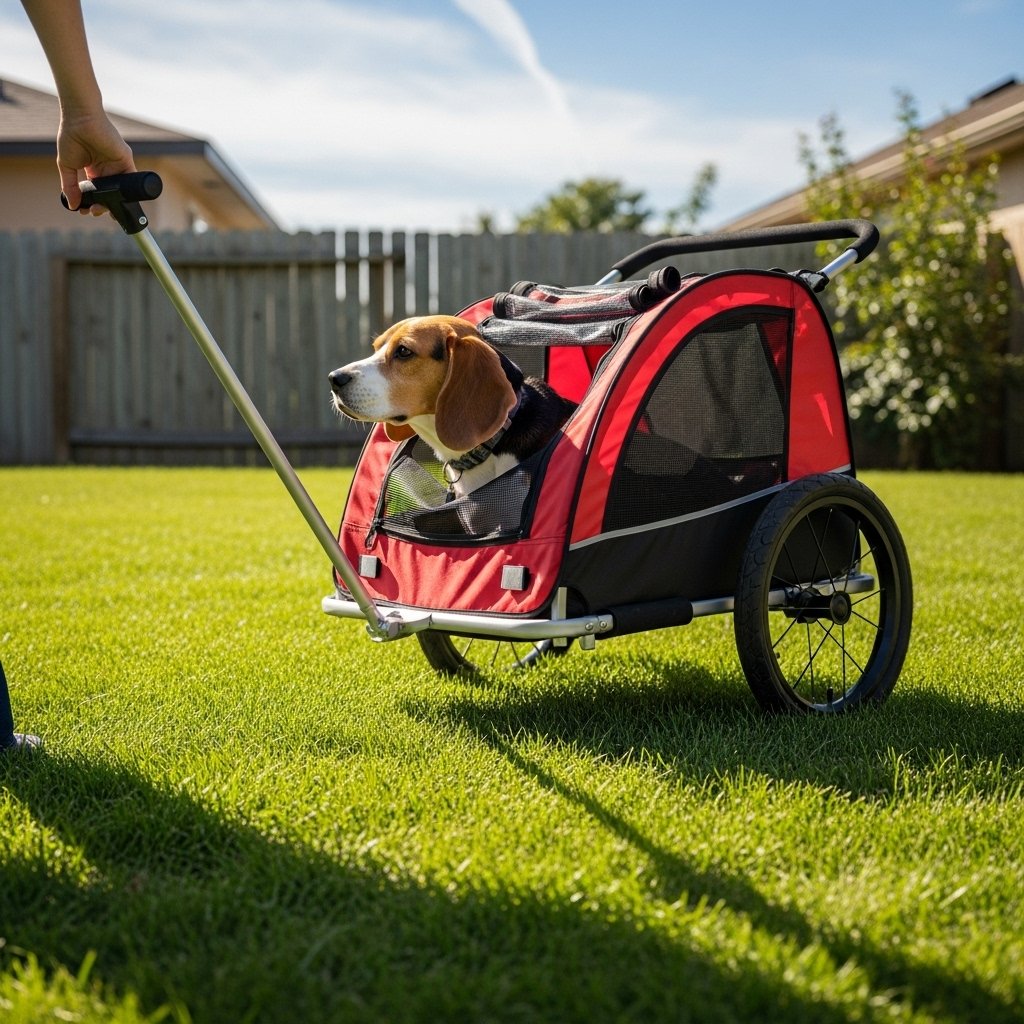
Step 2: Moving to an Outdoor Surface
After a few successful sessions indoors, move the training to a safe, enclosed outdoor space like a backyard or a quiet patio. The new surface (grass, pavement) will feel and sound different. Repeat the process of manually pulling the trailer short distances. The goal is to generalize their comfort from the indoor environment to the outdoors, where the real adventures will happen.
Step 3: Introducing Gentle Turns and Varied Speeds
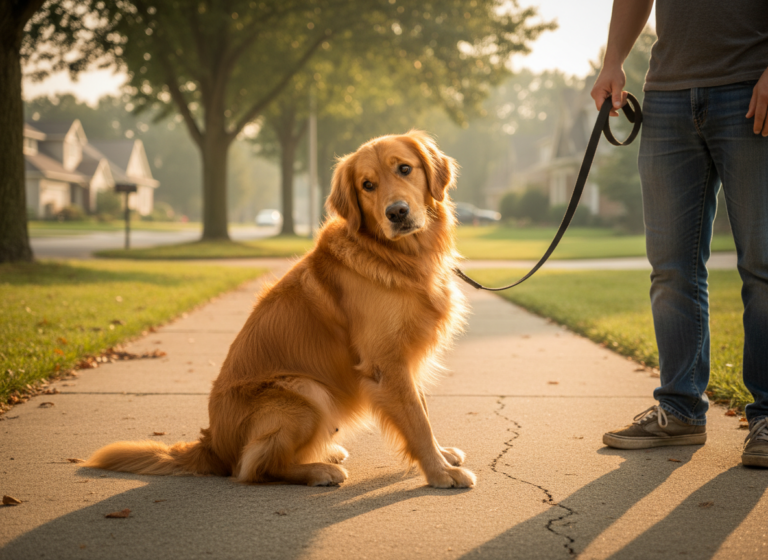
As your dog’s confidence grows, start introducing very gentle turns while pulling them by hand. Then, vary your pace slightly, from a very slow walk to a normal walking speed. This helps them acclimate to the subtle shifts in momentum they will feel when attached to the bike. Throughout this process, watch your dog’s body language closely. Yawning, lip licking, and a tucked tail are signs of stress. If you see them, stop immediately, let them out, and end the session on a positive note. Your next session should be a step back to where they were last successful.
Phase 4: The First Ride – Connecting to the Bike
Putting It All Together Safely
This is the milestone you’ve been working towards. The key to success in this phase is meticulous preparation and keeping the first experience extremely short, positive, and controlled.
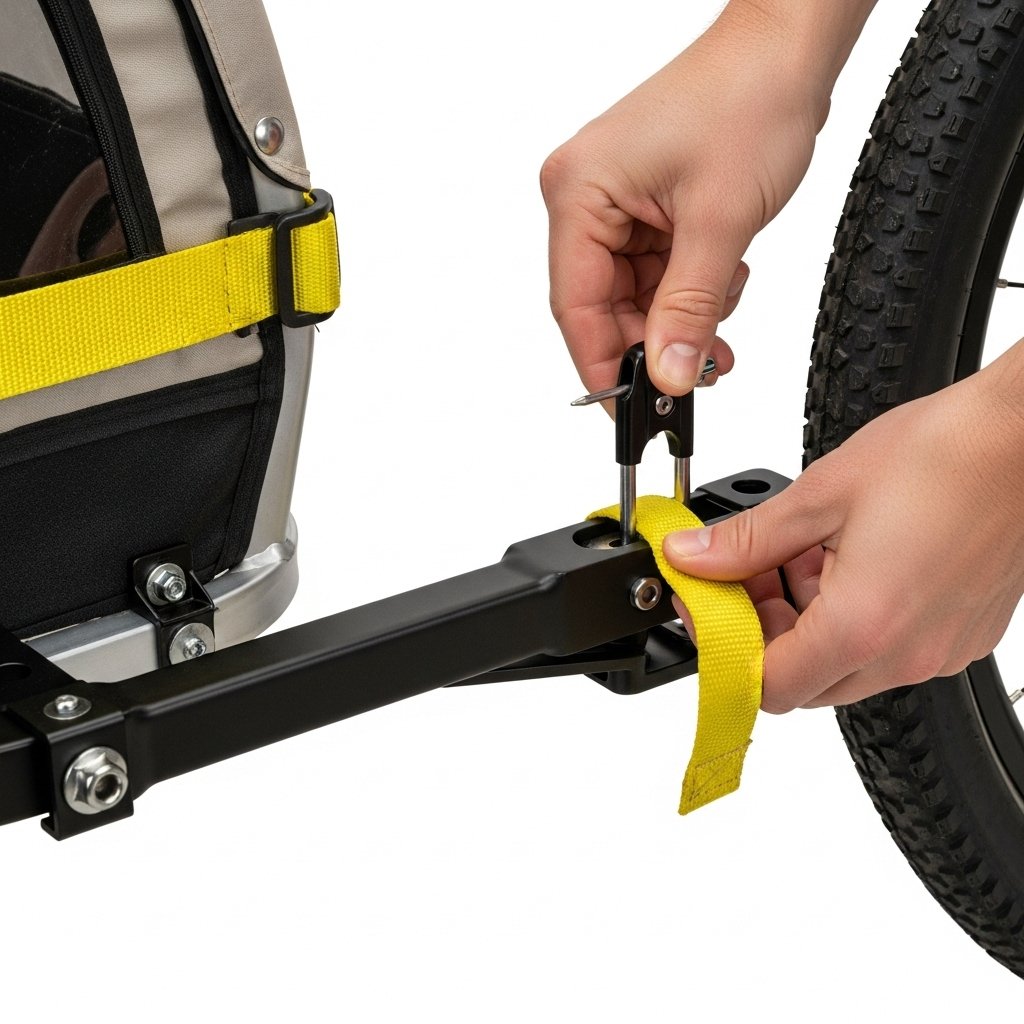
Step 1: The Pre-Ride Safety Check
Before your dog even comes near the setup, it’s time for a thorough equipment check. This is a habit you should perform before every single ride.
- Hitch Connection: Securely attach the trailer’s hitch to your bicycle’s rear axle, following the manufacturer’s instructions precisely. Double-check that the locking pin is in place and the safety strap is wrapped around the bike frame. Pull firmly on the trailer to ensure the connection is solid.
- Tire Pressure: Check the tire pressure on both the bike and the trailer. Properly inflated tires ensure a smoother, safer ride.
- Safety Flag: Attach the high-visibility safety flag. This makes you more visible to motorists.
- Harness and Tether: Check the dog’s harness for a snug fit and ensure the internal safety tether is untangled and adjusted to a length that allows them to sit and lie down, but not hang their head far out of the window or reach the door.
Step 2: The First Connection
Choose a very quiet, traffic-free location for your first ride, such as an empty parking lot or a wide, paved park path during an off-peak time. With the bike and trailer already connected and stabilized, bring your dog over and have them get into the trailer. Secure them inside as you have practiced. Give them a treat and praise.
Step 3: The Ride
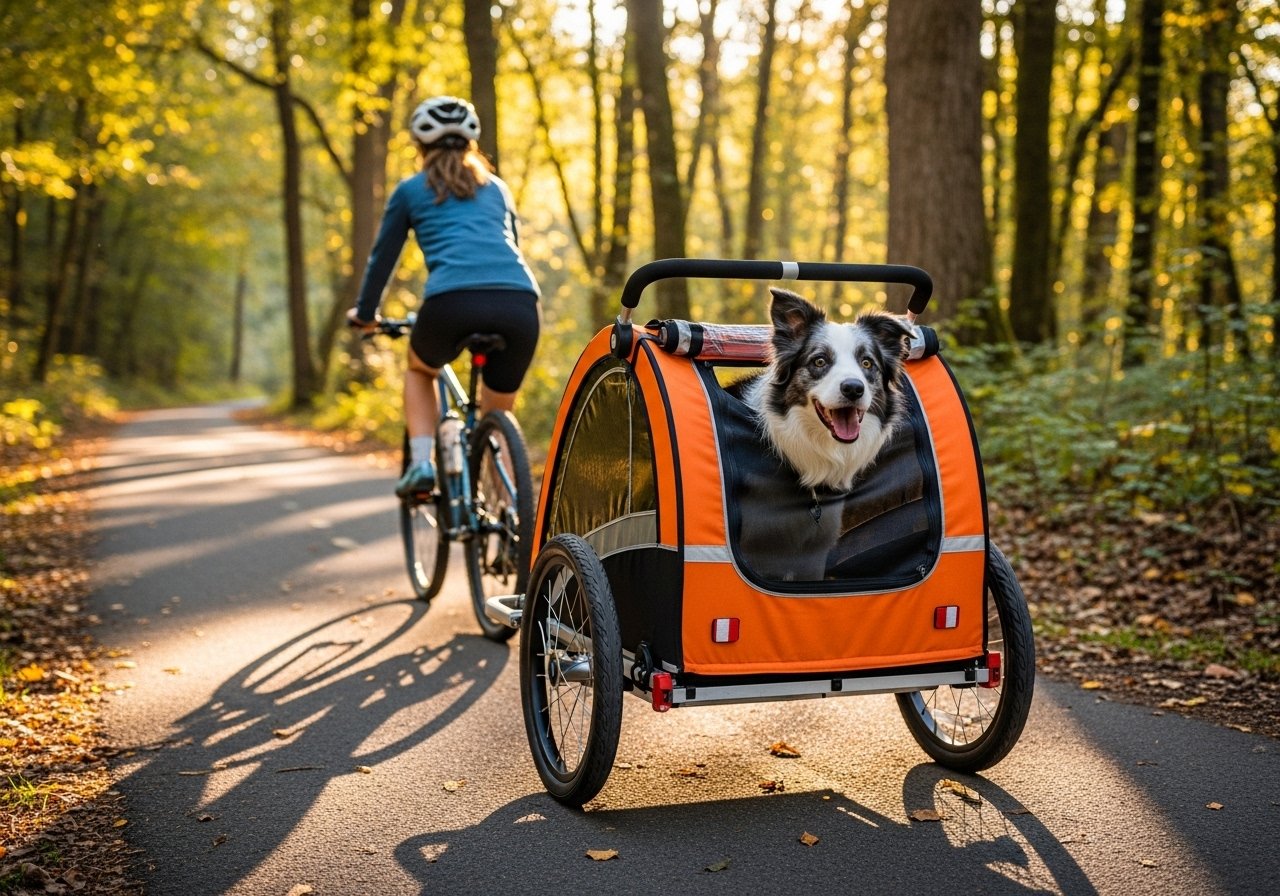
Mount your bike. For the first few moments, simply walk the bike forward while you are straddling it. This allows the dog to feel the new, slightly different motion. Speak to them reassuringly. If they remain calm, get on the seat and pedal forward very slowly and smoothly. Ride in a straight line for no more than 20-30 yards. Come to a gentle, controlled stop. Dismount, go to the trailer, and praise your dog lavishly, giving them a jackpot of high-value treats. Then, let them out to end the session. Your goal for the first ride is not distance; it is a positive, stress-free experience. It should last less than five minutes.
Gradually increase the distance and duration over subsequent sessions, always ending before your dog shows any signs of fatigue or anxiety.
Phase 5: Building Duration and Navigating the World
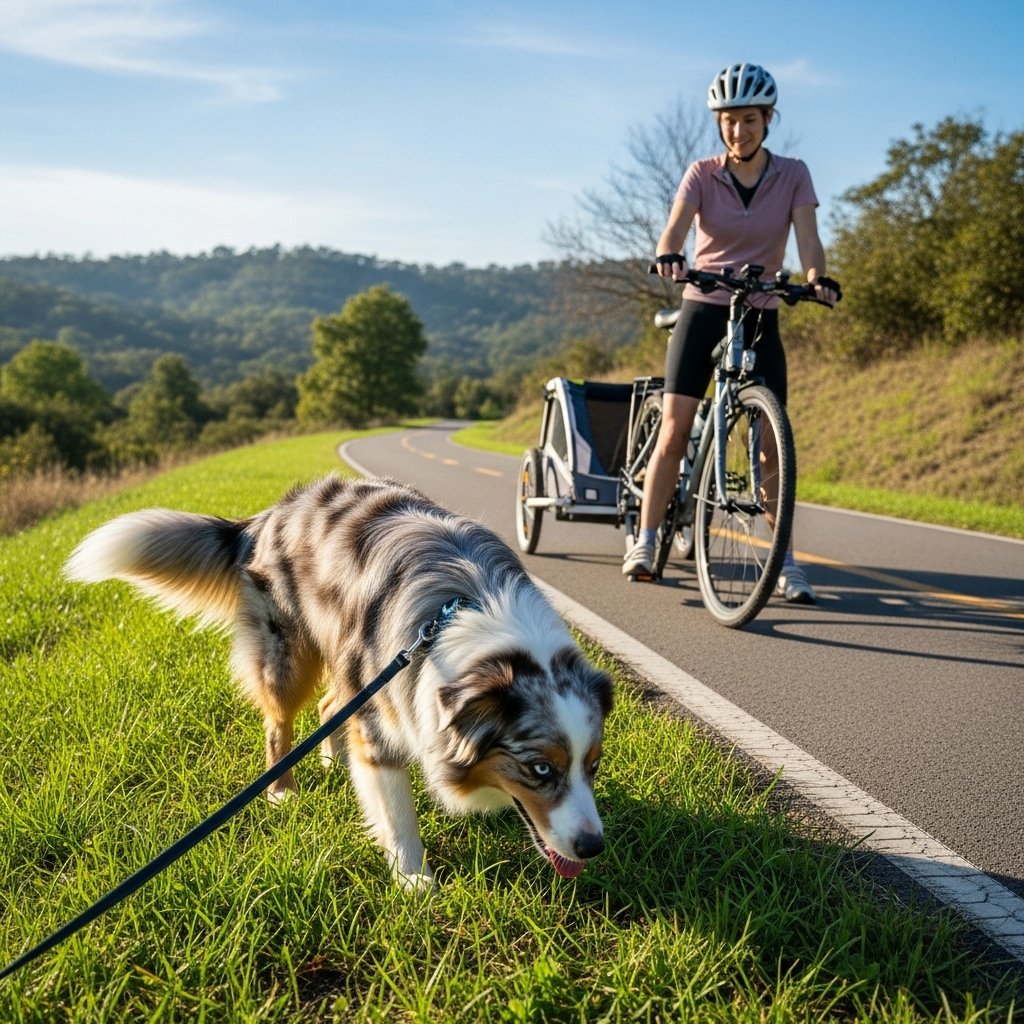
From Short Trips to Epic Adventures
With the fundamentals mastered, you can now focus on building your dog’s endurance and confidence for longer, more varied rides. This phase is about gradual progression and making the trailer a normal part of your routine.
Gradually Increasing Distance and Time
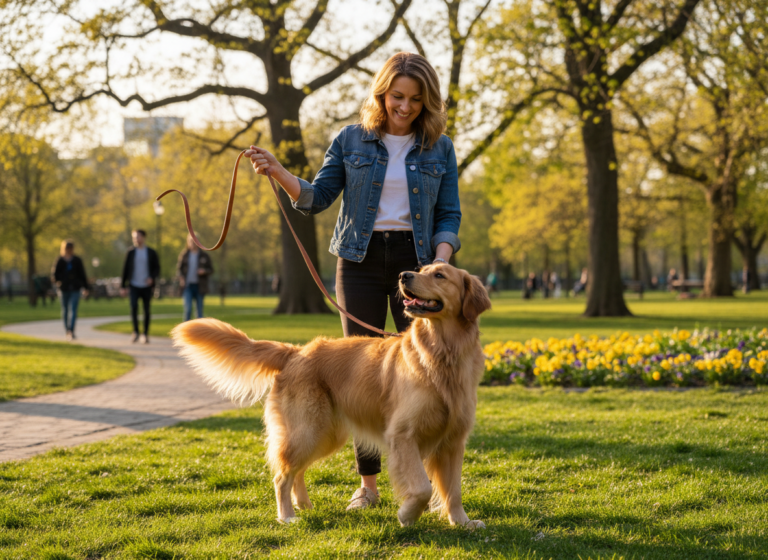
The rule of thumb is to increase the duration of your rides by no more than 10-15% at a time. If your last comfortable ride was 10 minutes, your next one can be 11-12 minutes. This slow, steady increase prevents overwhelming your dog and builds their stamina. Plan your route to include a destination they enjoy, like a favorite park or a quiet spot for a water break. This creates a positive association with the journey itself.
Introducing New Stimuli
The world is full of sights, sounds, and smells that can be more intense from the perspective of a trailer. Introduce new environments systematically.
- Quiet Suburban Streets: Start with rides around your neighborhood during quiet times. This helps your dog acclimate to the sounds of passing cars, other people, and barking dogs from a distance.
- Paved Bike Paths: These are often the ideal environment. They are generally smoother and have predictable traffic from other cyclists and pedestrians. Teach your dog a ‘quiet’ cue for when you pass others.
- Well-Maintained Dirt Trails: Once your dog is a seasoned pro on pavement, you can introduce gentle, wide dirt or gravel trails. Be mindful that these surfaces are bumpier, so ensure your trailer has adequate suspension and that you take it slow.
Reading Your Dog’s Body Language
It is your responsibility to be your dog’s advocate on every ride. Continuously monitor them for signs of stress or comfort. A relaxed dog will be sitting or lying calmly, looking around with soft eyes and a neutral body posture. Signs of stress include:
- Excessive panting (when not hot)
- Whining or barking
- Frantic movement or trying to dig at the floor/walls
- Wide, whale eyes
- Tucked tail
If you observe these signs, it’s time for a break. Find a quiet spot to stop, let them out (on leash), and offer water. It may mean the ride was too long or the environment was too stimulating. Shorten your next ride accordingly.
Expert Tip: Always make the ride itself the adventure, not just the destination. Stop periodically for ‘sniff breaks’ in interesting spots, allowing your dog to get out, stretch their legs, and engage their senses. This prevents boredom and makes the experience more enriching for them.
Conclusion
Successfully training your dog to safely use a bike trailer is a rewarding process that opens up a new world of shared activities. Remember that the core principles of this guide are patience, consistency, and positive reinforcement. Every dog learns at a different pace, so celebrate the small victories and never push your companion beyond their comfort level. By investing the time to build a strong foundation of trust and safety—from selecting the right gear to methodically progressing through each training phase—you are not just teaching a skill. You are cultivating a partnership built on mutual understanding and a shared love for adventure. Now, with these steps in mind, you are well-equipped to embark on countless safe, happy, and memorable journeys together, with your best friend comfortably in tow.