The Struggle is Over: How to Give Dog Eye Drops Without the Wrestling Match
For many pet owners, the mere sight of a small dropper bottle can trigger a cascade of stress for both human and canine. The scenario is all too familiar: a chase around the furniture, a frantic wrestling match, and the feeling of failure as most of the precious medicated drops end up on the dog’s fur instead of in their eye. This process can damage the trust you’ve built with your companion and make future medical care even more challenging. But it doesn’t have to be this way.
Administering eye drops is a common and often necessary part of responsible dog ownership, used to treat conditions ranging from simple allergies and dry eye to more serious infections and post-operative care. The key to success lies not in force, but in technique, patience, and a deep understanding of canine behavior. By transforming this necessary task from a battle into a bonding experience, you can ensure your dog gets the treatment they need while reinforcing your role as their trusted protector.
This definitive guide will walk you through a systematic, fear-free approach. We will cover everything from creating the right environment and gathering your tools to mastering the art of desensitization and positive reinforcement. By following these expert steps, you can end the struggle for good and turn ‘eye drop time’ into just another calm, manageable part of your routine.
Setting the Stage for Success: Preparation and Environment
Setting the Stage for Success: Preparation and Environment
Before you even approach your dog with the eye drops, a thoughtful preparation phase can dramatically increase your chances of success. Rushing into the process without the proper setup is a common mistake that creates unnecessary stress and teaches your dog to fear the experience. A calm, controlled environment and having all necessary items within arm’s reach are non-negotiable first steps.
Gather Your Supplies
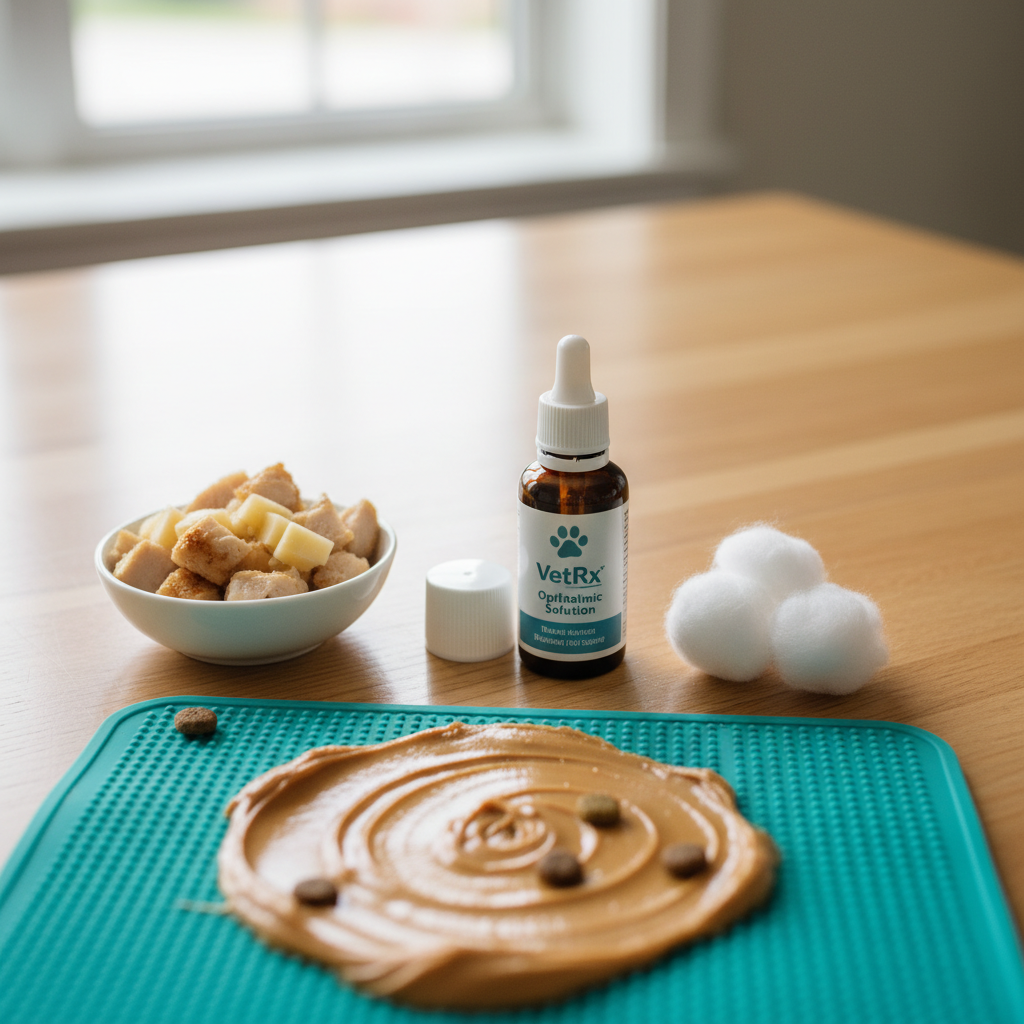
Fumbling for a treat or a towel mid-process will break the calm and give your dog an opportunity to escape. Assemble everything you need in one location before you bring your dog to the area. Your toolkit should include:
- The Medicated Eye Drops: Ensure they are the correct, veterinarian-prescribed medication. Check the expiration date and read the instructions. Some drops need to be shaken or stored at a specific temperature. Have the cap unscrewed and ready to go.
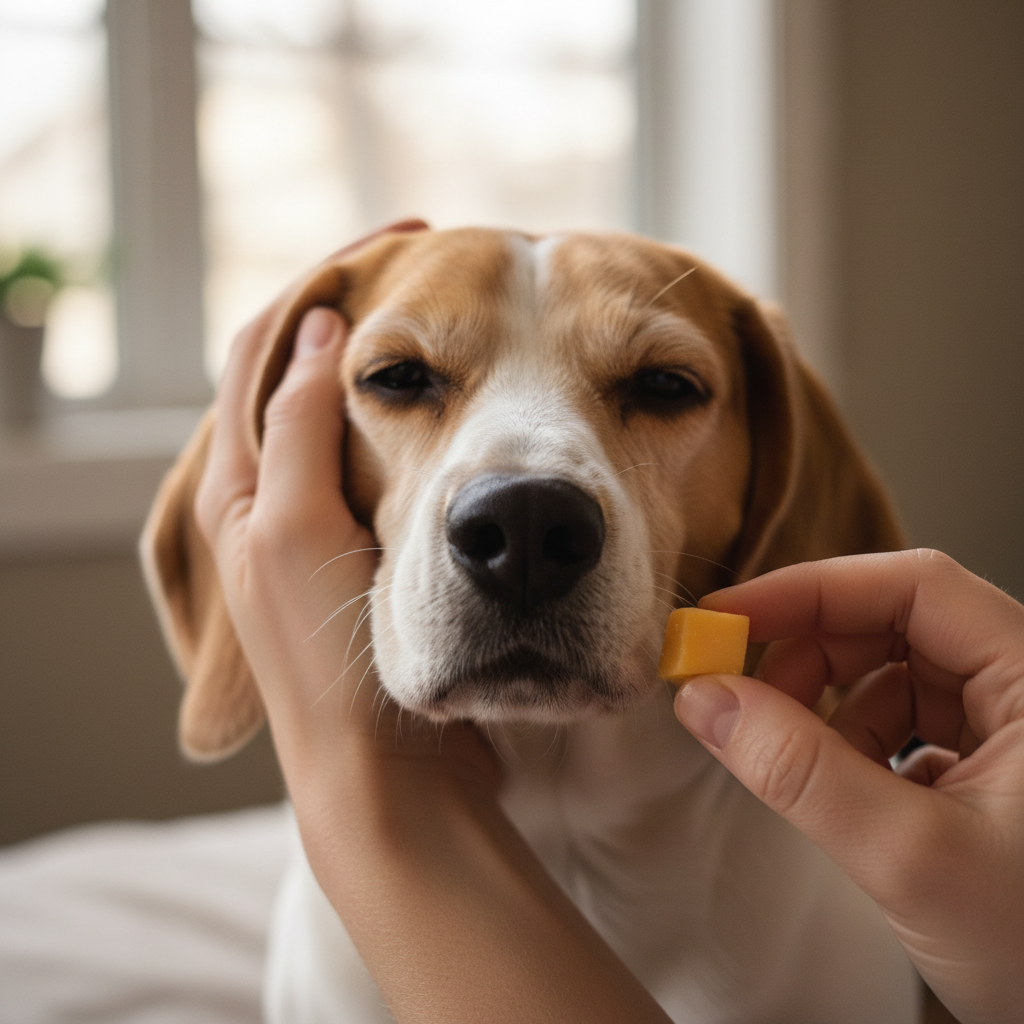
- High-Value Treats: This is not the time for standard kibble. You need rewards that your dog finds irresistible. Think small pieces of cooked chicken, cheese, freeze-dried liver, or a smear of peanut butter (ensure it’s xylitol-free) on a lick mat. The goal is to create a powerfully positive association.
- A Clean, Soft Cloth or Cotton Ball: You will need this to gently wipe away any excess medication that may run onto your dog’s fur after the application. Avoid using tissues that can leave behind lint.
- A Non-Slip Surface: If you are working on a floor, use a yoga mat or rug to ensure your dog feels secure. A slippery surface can add to their anxiety.
- An Optional Assistant: For your first few attempts, or if your dog is particularly large or anxious, having a second person to help can be invaluable. This person’s role is not to restrain the dog, but to calmly praise, pet, and deliver treats as a positive distraction.
Create a Sanctuary of Calm
Dogs are highly attuned to their environment and their owner’s emotional state. If you are anxious, your dog will be too. Choose a location for this task that is quiet, familiar, and free from distractions. Avoid busy areas of the house where other pets or family members might interrupt.
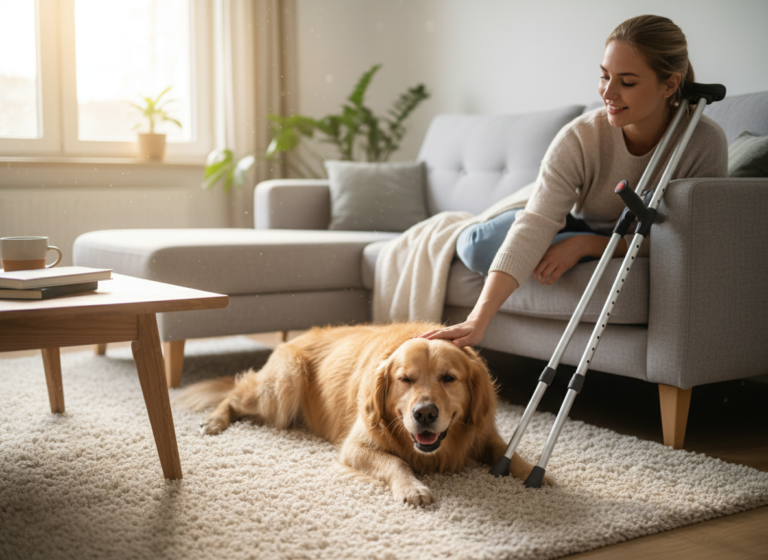
Expert Tip: Do not corner your dog or perform the task in a space they associate with punishment, such as their crate if it has been used for time-outs. The ideal location is a ‘neutral’ but comfortable spot, like a quiet corner of the living room with their favorite bed.
Spend a few minutes in this space with your dog before you begin, offering gentle pets and speaking in a calm, soothing voice. Your goal is to signal that this is a time for relaxation and positive interaction, not a prelude to a stressful event.
Building Trust: The Power of Desensitization and Counter-Conditioning
Building Trust: The Power of Desensitization and Counter-Conditioning
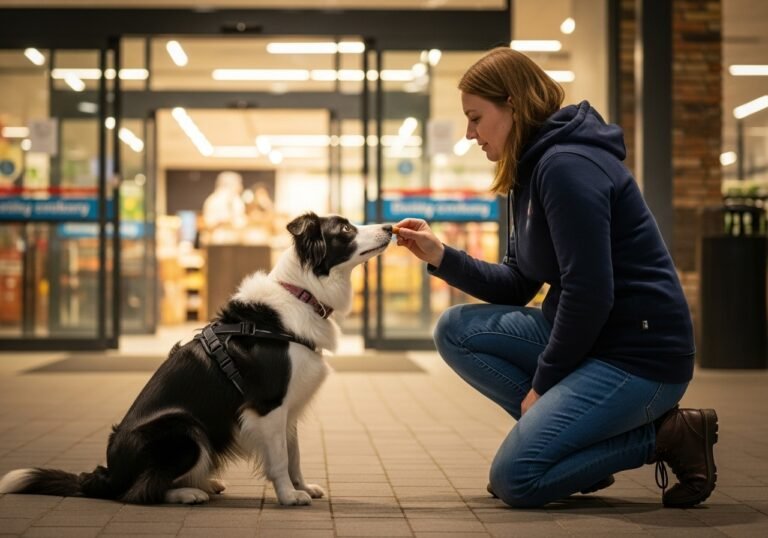
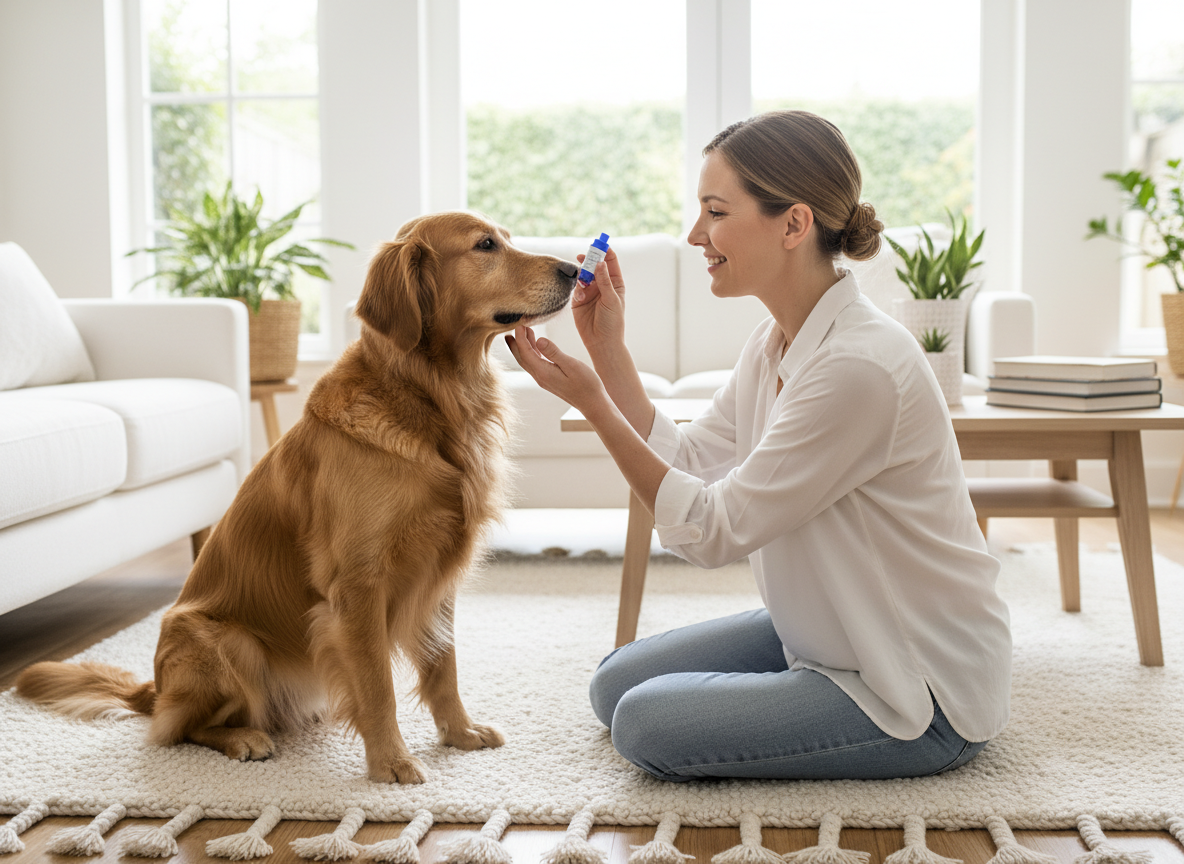
This is the most critical stage of the entire process and the foundation for long-term, struggle-free success. We will use two powerful behavioral concepts: desensitization (gradually exposing your dog to something in a way that doesn’t provoke fear) and counter-conditioning (changing your dog’s emotional response from negative to positive). Essentially, we are going to teach your dog that being handled around their face and seeing the eye drop bottle predicts wonderful things, like their favorite treats.
This process requires patience. Do not rush it. You may need to spend several short sessions over a few days on these steps before you ever administer a single drop.
Step-by-Step Conditioning Plan
- Touch Association: Start by simply touching your dog’s cheek, away from the eye. The instant you touch, give a high-value treat and praise. Remove your hand as they eat the treat. Repeat this 5-10 times. Your dog should start to look forward to your hand approaching their face.
- Gradual Approach to the Eye: Over several repetitions, slowly move your touch closer to the eye area. Touch the top of their head, then the bone above the eye, then the bone below the eye. Each touch is immediately followed by a treat and praise. If your dog shows any signs of stress (pulling away, lip licking, yawning), you have moved too fast. Go back to the last step where they were comfortable.
- Lifting the Eyelid: Once your dog is comfortable with you touching all around their eye, practice gently lifting the upper or lower eyelid for just a split second. Use your thumb to gently pull down the lower lid. The moment you do, deliver a treat and praise. The goal is to make the physical manipulation of the eyelid a predictor of a reward.
- Introducing the Bottle: Now, we introduce the prop. In a separate session, simply show your dog the eye drop bottle. The moment they look at it, give them a treat. Then put the bottle behind your back. Repeat this until your dog’s eyes light up when they see the bottle, associating it with an impending reward.
- Combining Bottle and Touch: Hold the bottle in one hand and use the other to touch your dog’s face as you practiced. Treat and praise. Gradually bring the bottle closer to their face during the touch, rewarding them for remaining calm. The ultimate goal of this stage is to be able to hold the bottle near their eye while gently holding their eyelid open, all while they remain relaxed and expectant of a treat. Do not dispense any drops yet.
Remember, these sessions should be short (1-3 minutes) and always end on a positive note. You are building a foundation of trust that will pay dividends for all future medical and grooming needs.
The Application Process: A Step-by-Step Guide to Administering Drops
The Application Process: A Step-by-Step Guide to Administering Drops
Once your dog is comfortable with the conditioning steps, you are ready for the main event. Your calm demeanor is paramount. Your dog will take their cues from you. Approach the task methodically and confidently.
Positioning Your Dog for Control and Comfort
The right position prevents your dog from backing away and gives you stable control. Do not stand over your dog, which can be intimidating. Get down on their level.
- For Small Dogs: Sit on the floor and place your dog in your lap, facing away from you. Their back will be against your chest, which provides security and prevents them from backing up. Alternatively, you can have them sit between your legs as you sit on the floor.
- For Medium to Large Dogs: Have your dog sit in a corner of the room. This naturally prevents them from backing away. You can then kneel or sit beside them, placing your body alongside theirs to provide a comforting barrier and control.
The Administration Technique
With your dog securely and comfortably positioned, follow these steps in a smooth, efficient motion:
- Secure the Head: Use your non-dominant hand to gently but firmly cup your dog’s muzzle from underneath or place your hand on the top of their head, wrapping your fingers around their cheekbone. Your hand provides stability. Use your thumb from this hand to gently pull down the lower eyelid, creating a small pouch or pocket.
- Stabilize Your Dropper Hand: Rest the heel of your dominant hand (the one holding the dropper) on the top of your dog’s head or on the bones just above the eye. This is a critical step for stability. It prevents you from accidentally poking your dog in the eye if they move suddenly and ensures your aim is true. Your hand should move with your dog’s head, not independently.
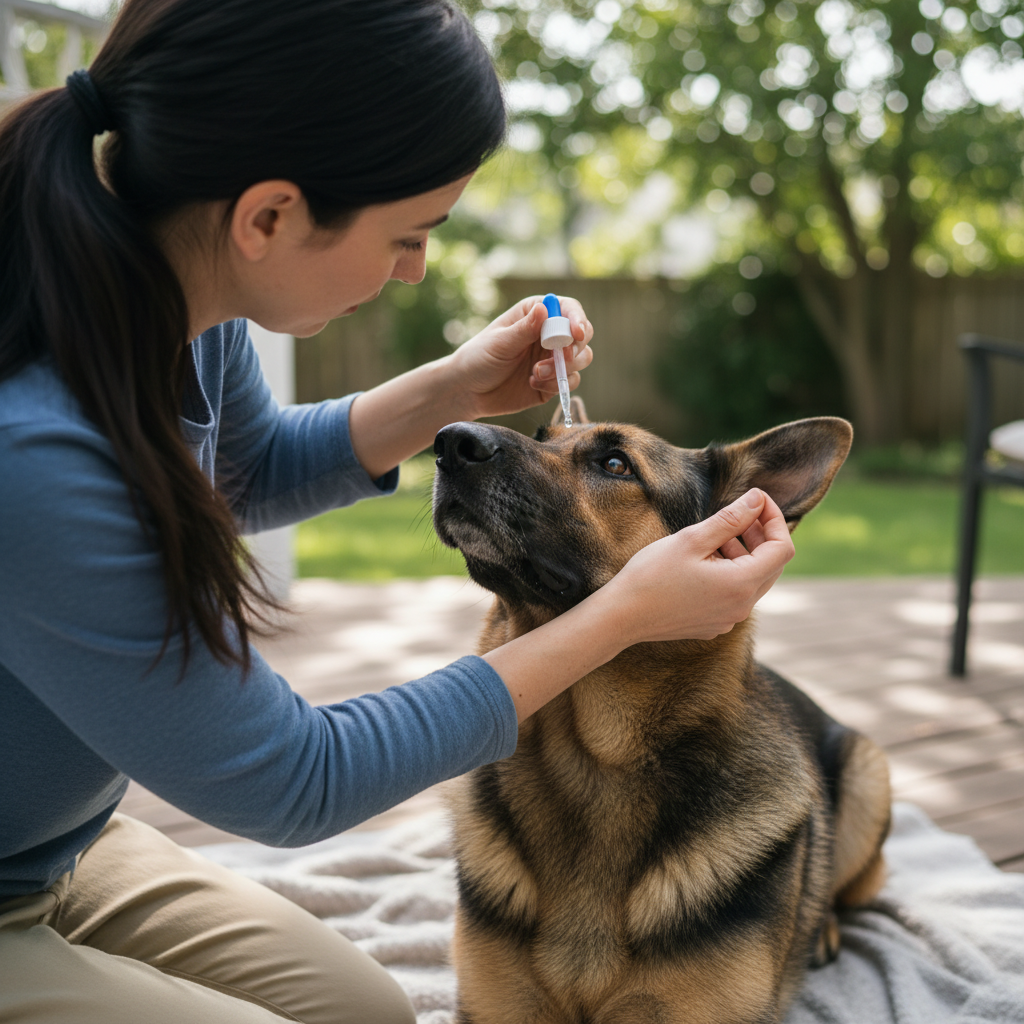
- Position the Dropper: Bring the eye drop bottle to about one inch above the eye. Do not let the tip of the bottle touch the eyeball, as this can cause injury, discomfort, and contaminate the medication.
- Administer the Drop: Squeeze the bottle to release a single drop into the pouch you created with the lower eyelid. Aiming for this pouch rather than directly onto the cornea is less startling for the dog.
- Allow Blinking and Release: Once the drop is in, release their head. Your dog will naturally blink, which spreads the medication across the entire surface of the eye.
- Immediate Reward: The instant you are finished, praise them lavishly with an enthusiastic voice (e.g., “Good boy! All done!”) and immediately give them that high-value treat you prepared. This final step is what solidifies the positive experience in their mind.
- Clean Up: Use your soft cloth or cotton ball to gently wipe any excess medication from the fur around their eye.
Navigating Challenges: Troubleshooting Common Issues

Navigating Challenges: Troubleshooting Common Issues
Even with perfect preparation, you may encounter challenges. A dog’s temperament, past negative experiences, or pain can create hurdles. Here is how to troubleshoot some of the most common problems with a calm and strategic approach.
My Dog is Extremely Squirmy or Tries to Bolt
If your dog simply will not stay still, it’s a sign that you need to go back to the desensitization and counter-conditioning steps. Their anxiety is too high to proceed. However, for a dog that is just a bit wiggly, consider these adjustments:
- The Towel Wrap: For small to medium dogs, a ‘burrito’ wrap using a large towel can be very effective. Lay the towel flat, have your dog lie on it, and then snugly wrap the sides over their body, leaving only their head exposed. This provides a secure, swaddled feeling and prevents them from flailing their legs.
- Use a Helper: A second person can be a game-changer. Their job is not to pin the dog down, but to provide gentle, steady support and distraction. They can hold a lick mat, offer a continuous stream of tiny treats, or gently stabilize the dog’s body with a reassuring hug while you focus on the head and eyes.
- Change of Venue: Sometimes, a slightly elevated, stable surface (like a sturdy ottoman or a grooming table) can give you better leverage and control, preventing you from having to lean over uncomfortably. Ensure the surface is non-slip.
My Dog Blinks the Drop Out Immediately
This is a very common reflex. The key is technique. Ensure you are creating a good ‘pouch’ with the lower eyelid. When the drop lands in this pocket, it has a better chance of being distributed across the eye even with a blink. You can also try to hold the eyelid open for a second longer after the drop is in before releasing. If you are unsure if the drop made it in, it is generally safer to administer another one than to skip the dose. Most eye medications will not cause harm if an extra drop is given, but always confirm with your veterinarian.
My Dog is Head-Shy or Has a History of Trauma
For dogs that are intensely fearful of having their face or head touched, the conditioning process must be done much more slowly and with greater patience. You may spend weeks just getting them comfortable with a hand near their face before you ever think about touching an eyelid. In these severe cases, professional help is highly recommended.
Professional Guidance: If you are struggling significantly, or if your dog is showing signs of aggression (growling, snapping), do not risk your safety. Consult a certified professional dog trainer (CPDT-KA) or a veterinary behaviorist. They can provide a customized plan and hands-on guidance to help you and your dog succeed safely.
Sealing the Deal: Post-Application Reinforcement and Long-Term Success
Sealing the Deal: Post-Application Reinforcement and Long-Term Success
What you do in the 30 seconds after the eye drops are administered is just as important as the preparation and application. This is your opportunity to solidify the experience as a positive one in your dog’s mind, making the next time even easier. The final impression is a lasting one.
The Power of the Jackpot Reward
Immediately following a successful application, it’s time for a ‘jackpot’. This isn’t just a single treat; it’s a high-value, short-duration celebration. This could be:
- A rapid-fire delivery of several delicious treats in a row.
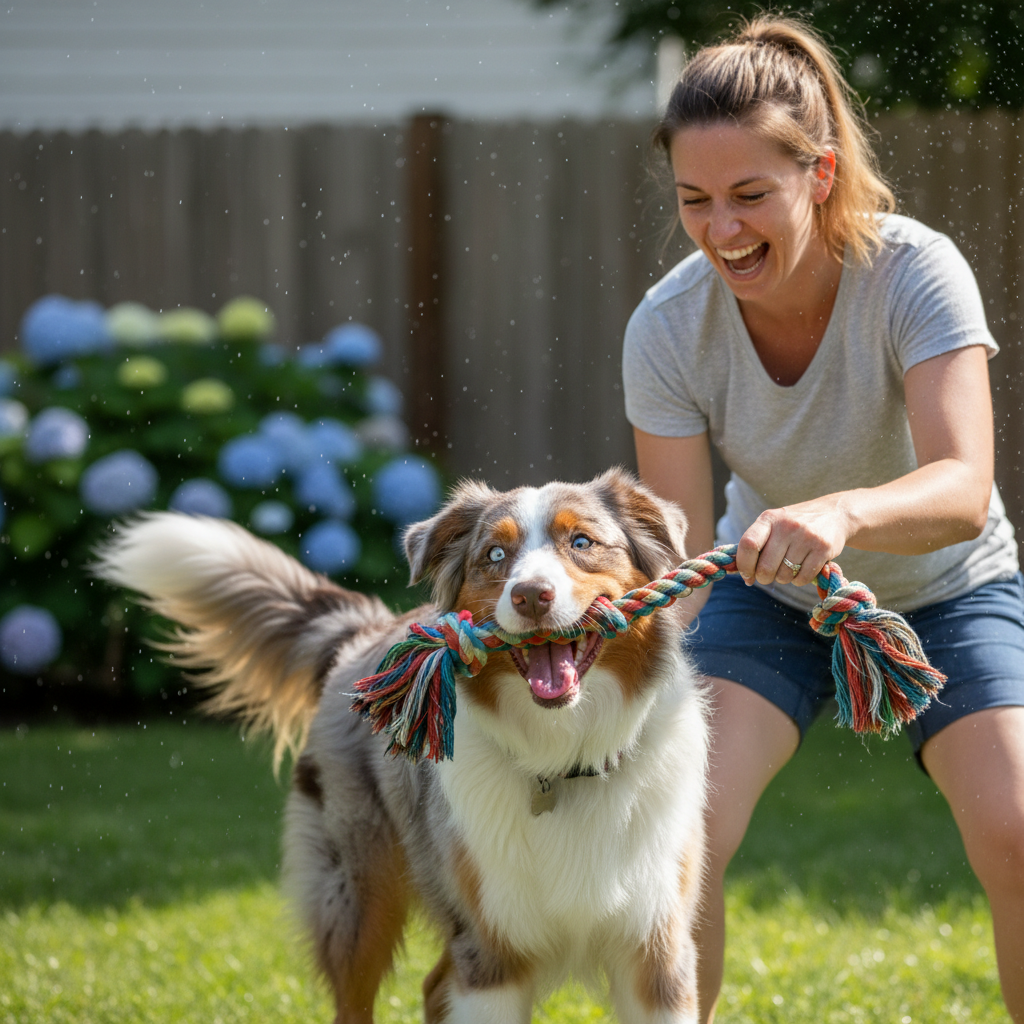
- A favorite short game of tug-of-war.
- A smear of cream cheese or dog-safe peanut butter on a plate for them to lick clean.
- Enthusiastic praise and a beloved belly rub.
The key is that the reward is immediate, potent, and clearly linked to the completion of the task. This powerful positive reinforcement tells your dog, “Tolerating that weird eye thing leads to this amazing party!” Over time, this association will override any minor discomfort or apprehension they may have felt.
Maintaining the Routine
Consistency is crucial. If your dog requires drops multiple times a day, try to perform the task in the same calm location and manner each time. This predictability reduces anxiety. Dogs thrive on routine, and knowing what to expect helps them remain calm.
Even when your dog no longer needs medication, it is wise to continue practicing the handling exercises periodically. Gently touch around their eyes, lift their lids, and give them a treat. This ‘maintenance’ work ensures that if they ever need eye drops again in the future, the foundation of trust and cooperation is still strong. You won’t have to start the training process from scratch.
Expert Tip: Never end an interaction on a bad note. If a session goes poorly and you both get frustrated, take a break. Come back later and do a very simple, successful step (like just touching their cheek) and reward heavily for that. Always ensure the final memory of the interaction is one of success and positivity.
By making the moments after application overwhelmingly positive, you are not just treating a medical condition; you are actively investing in your dog’s behavioral health and strengthening the bond you share.
Conclusion
The days of dreading the administration of eye drops can truly be over. By shifting your mindset from one of force to one of cooperation, you transform a medical necessity into an opportunity to build deeper trust and communication with your canine companion. The core principles of success are universal: meticulous preparation, patient conditioning, flawless technique, and powerful positive reinforcement.
Remember that every dog is an individual. Some may progress through these steps in a day, while others may need weeks of patient work. The timeline is not important; your dog’s comfort and your shared bond are. By respecting their pace and celebrating small victories, you lay the groundwork for a lifetime of stress-free medical care.
If you continue to face significant challenges, do not hesitate to seek professional help from your veterinarian or a certified trainer. Your commitment to your dog’s well-being is the most important ingredient, and with these strategies, you are now fully equipped to provide the best care possible, without the wrestling match.