The Magic Skunk Odor Remover Recipe That Actually Works Instantly
The moment it happens is one of pure panic for any pet owner. Your dog, curious and perhaps a bit too brave, has had a close encounter with a skunk. The resulting odor is overwhelming, clinging to fur, and seemingly permeating every corner of your home. In this moment of olfactory crisis, you need a solution that is not only effective but also works immediately. Many turn to old wives’ tales like tomato juice baths, only to be left with a frustrated, pink-tinged dog that still smells strongly of skunk.
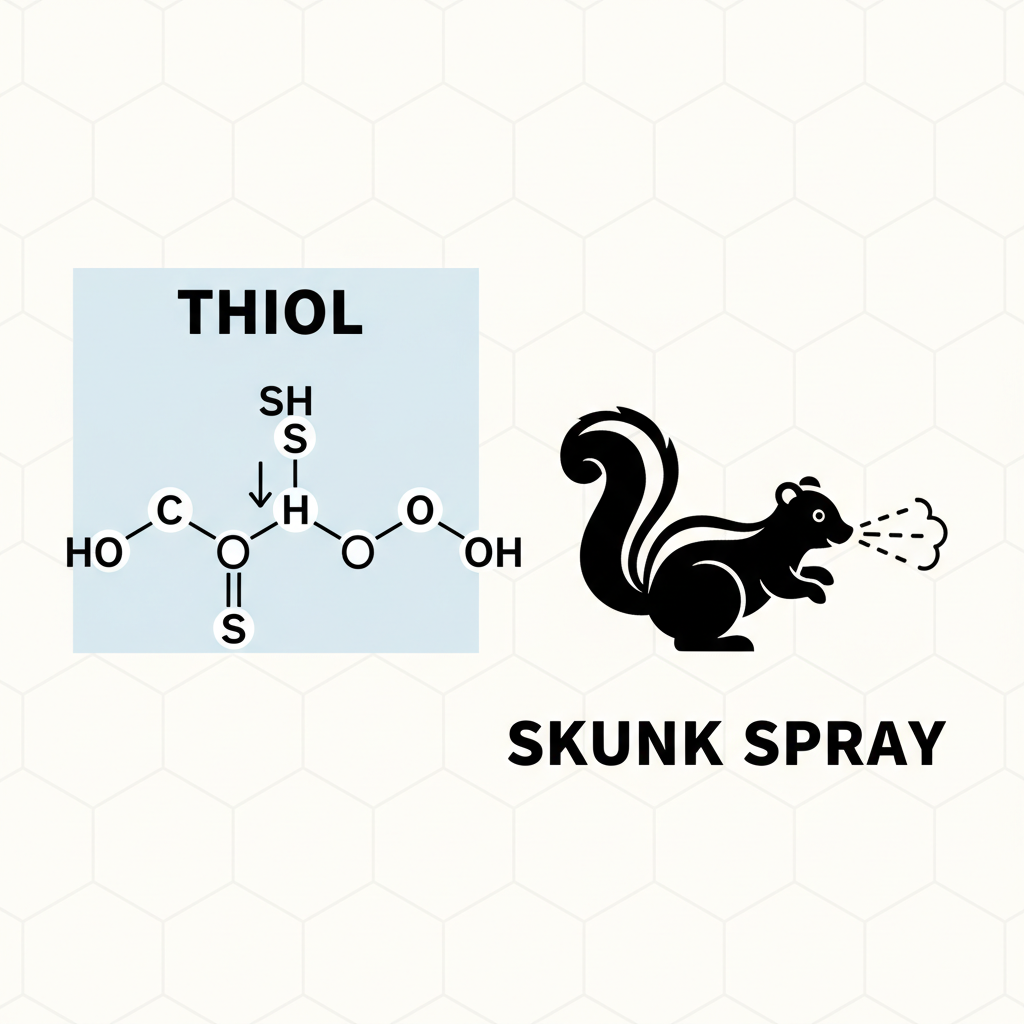
Forget the myths. The key to eliminating skunk odor lies not in masking it, but in chemically neutralizing it. Skunk spray is composed of potent sulfur-based organic compounds called thiols, which are notoriously difficult to remove with standard soaps and shampoos. This guide will provide you with the scientifically-backed recipe and a detailed, step-by-step process to safely and successfully eradicate skunk odor from your canine companion, restoring peace and fresh air to your home.
Understanding Skunk Spray: Why It’s So Potent and Persistent
Understanding Skunk Spray: Why It’s So Potent and Persistent
To effectively combat skunk odor, it is essential to first understand its chemical nature. The infamous aroma is not just a simple smell; it’s a sophisticated chemical defense mechanism. The spray is an oily, yellowish liquid produced by the skunk’s anal glands, and its primary components are a group of sulfur-containing compounds called thiols. These are the same compounds that give garlic and onions their pungent smell, but the specific thiols in skunk spray are significantly more potent.
What makes these compounds so difficult to eliminate? It’s their chemical structure. Thiols bind strongly to proteins, including the proteins in your dog’s fur and skin, as well as on surfaces in your home. Regular soap and water are often ineffective because they cannot break these strong chemical bonds. This is why the smell lingers for days or even weeks and can seem to reappear, especially when your dog gets wet, as water can re-release trapped thiol molecules.
The Two-Part Problem: Thiols and Thioacetates
Skunk spray actually contains two types of odorous compounds that create a long-lasting problem:
- Thiols: These provide the immediate, eye-watering blast of odor. They are volatile and easily detected by the human nose even in minuscule concentrations.
- Thioacetates: These are less volatile and less odorous initially. However, when they come into contact with water, they undergo a chemical reaction (hydrolysis) that converts them back into potent thiols. This is the reason the skunk smell can suddenly return with a vengeance after a bath or on a humid day, long after you thought the problem was solved.
Therefore, an effective removal solution must do more than just wash the oils away; it must chemically alter the thiols and thioacetates into non-odorous compounds. This is precisely what the recipe detailed below is designed to do.
The Scientifically-Proven Skunk Odor Remover Recipe
The Scientifically-Proven Skunk Odor Remover Recipe
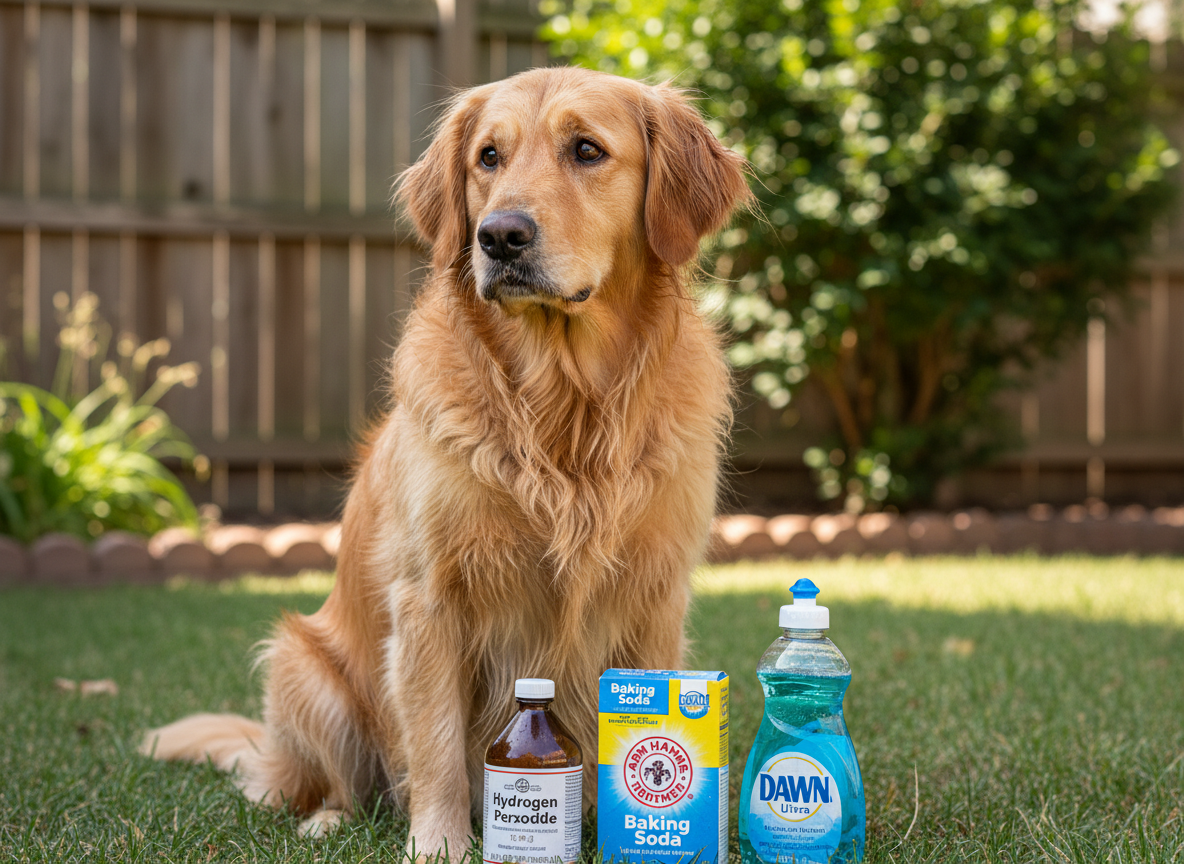
This recipe was developed by chemist Paul Krebaum in the 1990s and remains the gold standard for skunk odor neutralization. It works through a process of oxidation. The hydrogen peroxide and baking soda create a chemical reaction that changes the thiols into sulfonic acid, a compound that has no odor. The dish soap helps to break down the oily components of the skunk spray, allowing the active ingredients to penetrate and do their work. It is crucial to follow the proportions and safety instructions exactly for the best results.
Required Ingredients and Tools
- 1 quart (32 ounces) of 3% hydrogen peroxide solution (use a fresh, unopened bottle, as peroxide loses its potency over time)
- 1/4 cup of baking soda (sodium bicarbonate)
- 1 to 2 teaspoons of liquid dish soap (brands known for cutting grease work best)
- An open container for mixing, such as a bucket or large bowl (NEVER a sealed bottle)
- Rubber gloves to protect your hands
- A watch or timer
- Old towels for drying
Expert Tip: Prepare your washing station and have all ingredients measured and ready before you bring your dog to the area. The solution must be mixed immediately before use to be effective, and you won’t want to leave a smelly dog unattended while you search for supplies.
| Ingredient | Quantity | Purpose |
|---|---|---|
| 3% Hydrogen Peroxide | 1 quart (32 oz) | Oxidizes thiols, neutralizing the odor. |
| Baking Soda | 1/4 cup | Acts as a mild abrasive and deodorizer, assisting the peroxide. |
| Liquid Dish Soap | 1-2 teaspoons | Breaks down the oily carrier of the skunk spray. |
Step-by-Step Application: How to Safely De-Skunk Your Dog
Step-by-Step Application: How to Safely De-Skunk Your Dog
With your ingredients gathered, it’s time to begin the de-skunking process. Remain calm and methodical. Your calm demeanor will help keep your dog from becoming more agitated. The entire process should be done outside to prevent the odor from spreading further inside your home.
- Keep Your Dog Outside: Do not let your dog back into the house. If possible, keep them contained in a secure outdoor area like a garage or a fenced-in patio. Check their eyes for any redness or irritation. If they were sprayed directly in the face, flush their eyes gently with a sterile saline eye wash before you begin.
- Mix the Solution: In your open bucket or bowl, combine the hydrogen peroxide, baking soda, and liquid dish soap. Stir gently until the baking soda is dissolved. The mixture will begin to fizz—this is the chemical reaction starting. Use the solution immediately. Do not attempt to store it.
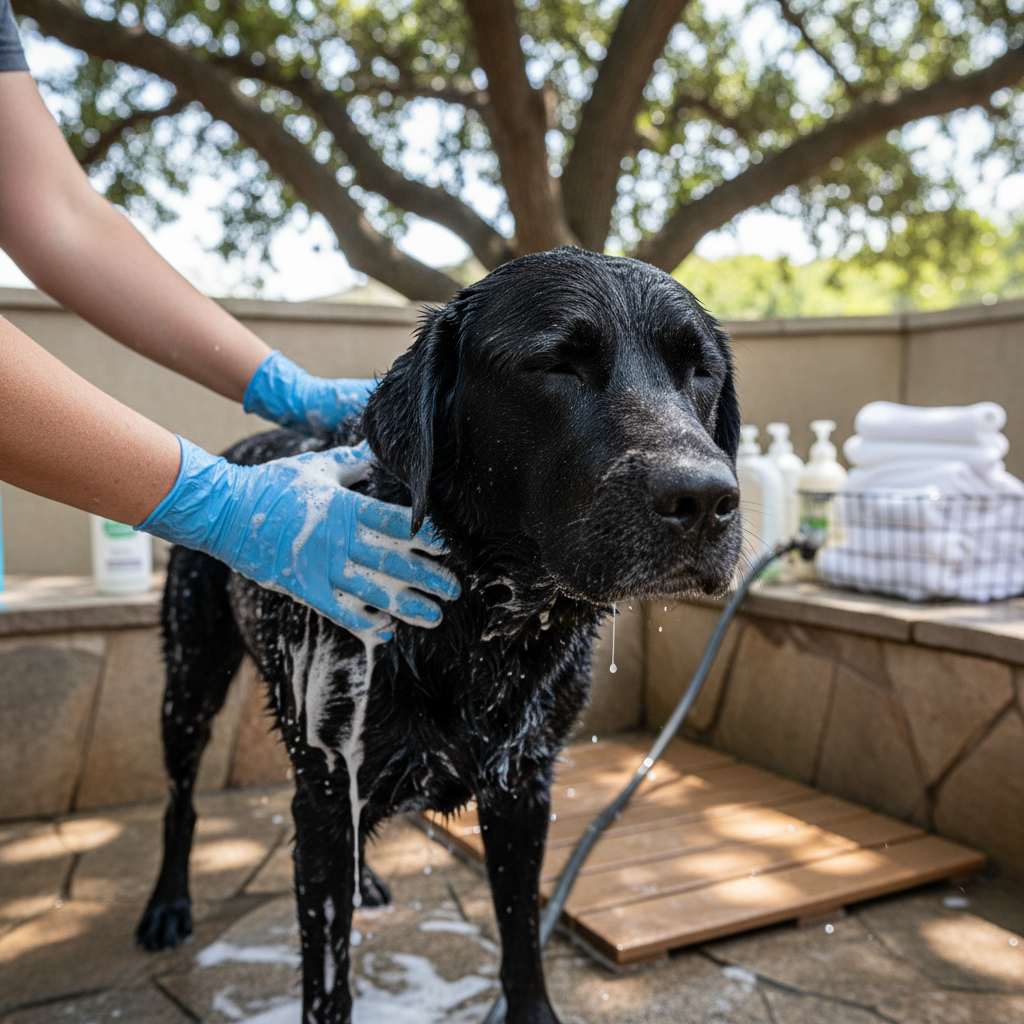
- Apply the Solution: Wearing your rubber gloves, thoroughly wet your dog with the solution, starting from the neck and working your way back. Be extremely careful to avoid getting the mixture in your dog’s eyes, nose, or mouth. If your dog’s face was sprayed, use a washcloth or sponge to carefully apply the solution to their head, avoiding the immediate eye area.
- Lather and Wait: Massage the solution deep into your dog’s coat, creating a lather. Ensure you reach the skin. Let the solution sit on your dog for at least five minutes, but no longer than ten. Do not let it dry on the fur, as this can cause irritation. This waiting period is critical for the chemical reaction to neutralize the thiols.
- Rinse Thoroughly: After five to ten minutes, rinse your dog completely with lukewarm water. A thorough rinse is vital to remove all traces of the hydrogen peroxide and baking soda, which can dry out or irritate the skin if left behind. Rinse until the water runs clear and the coat no longer feels soapy or gritty.
- Follow Up with Regular Shampoo: Once rinsed, you can wash your dog with their regular pet shampoo. This will help remove any residual oily residue and leave their coat clean and conditioned. Rinse again.
- Dry Your Dog: Towel-dry your dog thoroughly. You can also use a pet-safe hairdryer on a low, cool setting if your dog tolerates it. A clean, dry coat is the final step to a fresh-smelling pet.
Critical Safety Precautions and Common Mistakes to Avoid
Critical Safety Precautions and Common Mistakes to Avoid
While this recipe is highly effective, it involves active chemical ingredients that require careful handling to ensure the safety of both you and your pet. Adhering to these precautions is not optional—it is essential for a safe and successful outcome.
Key Safety Warnings
- Never Store the Mixture: This is the most critical safety rule. When hydrogen peroxide and baking soda are mixed, they release oxygen gas. If stored in a sealed container, the pressure will build up and can cause the container to rupture or explode, potentially causing serious injury. Always mix in an open container and discard any unused solution immediately by pouring it down the drain with running water.
- Potential for Bleaching: The hydrogen peroxide in this solution can have a bleaching effect. It may temporarily or permanently lighten the fur of dark-colored dogs. While removing the skunk odor is the priority, be aware of this possibility. It is a cosmetic side effect that is preferable to the alternative.
- Avoid Contact with Eyes: The solution is an irritant and can cause significant damage to your dog’s eyes. Before you begin washing, you can apply a thin layer of non-medicated sterile eye lubricant (available at pharmacies) to your dog’s eyes to provide a protective barrier. If the solution accidentally gets into their eyes, flush them immediately and copiously with clean water or sterile saline and contact your veterinarian.
- Do Not Alter the Recipe: Do not use a stronger concentration of hydrogen peroxide. The 3% solution is standard for first aid and is the only concentration that should be used. Higher concentrations can cause chemical burns to your dog’s skin. Stick to the exact proportions given.
Common Mistakes Pet Owners Make
- Waiting Too Long: The sooner you can wash your dog after they’ve been sprayed, the better. The oils and thiols will set into the fur and skin over time, making them more difficult to remove.
- Using Tomato Juice: The tomato juice myth persists, but it is entirely ineffective. At best, it partially masks the odor through a phenomenon called olfactory fatigue—your nose gets overwhelmed by the tomato smell and temporarily can’t perceive the skunk smell as strongly. It does not neutralize the thiols.
- Forgetting to Clean the Environment: The odor can transfer from your dog to their collar, leash, bedding, and any part of your home they touched. Wash all washable items with a heavy-duty detergent and consider using an enzymatic cleaner on carpets or furniture.
Conclusion
A run-in with a skunk is a distressing experience, but it doesn’t have to result in weeks of lingering odor. By understanding the chemical nature of skunk spray and using a scientifically formulated recipe, you can effectively and instantly neutralize the problem. The hydrogen peroxide, baking soda, and dish soap solution is a powerful tool in any pet owner’s emergency toolkit. Remember to always prioritize safety by mixing the solution fresh in an open container, protecting your dog’s eyes, and rinsing thoroughly. By following these steps, you can swiftly and safely restore your dog—and your home—to a fresh, clean, and skunk-free state.