The Magic Click: Why This $2 Tool Will Transform Your Dog’s Behavior
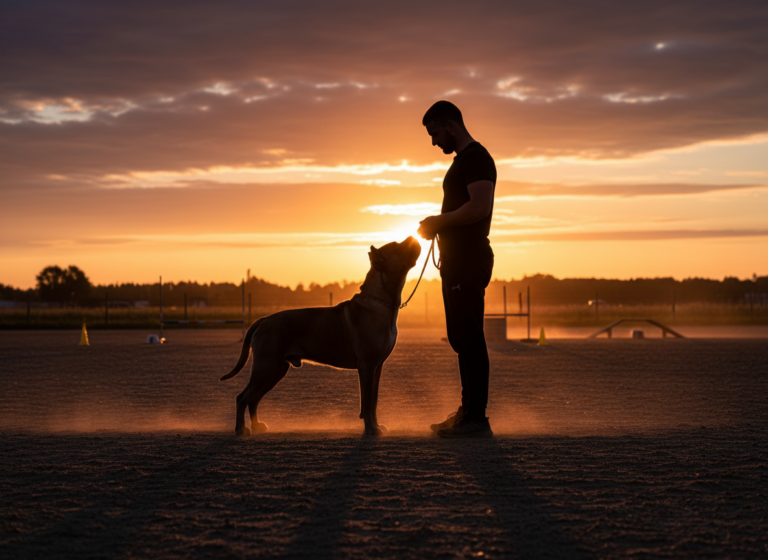
As a dedicated pet owner, you’ve likely experienced moments of frustration during training. Whether you’re dealing with a rambunctious puppy or trying to teach an older dog new tricks, clear communication is the cornerstone of success. What if there was a tool, costing less than a cup of coffee, that could bridge the communication gap and make your training sessions more effective, efficient, and enjoyable for both you and your canine companion? Enter the clicker. This unassuming plastic device is more than just a noisemaker; it’s a powerful instrument of precision based on decades of behavioral science. By harnessing the principles of positive reinforcement, the clicker becomes a clear and consistent signal that tells your dog, ‘Yes! That exact behavior is what I want.’ In this comprehensive guide, we will delve into the science behind this magic click, provide a step-by-step plan to get you started, and explore techniques that will transform your dog’s behavior and strengthen your bond in ways you never thought possible.
Understanding the Science: What is a Clicker and How Does It Work?
At its core, clicker training is a form of operant conditioning. The clicker itself is what’s known as a ‘marker’ or a ‘bridge.’ It has no inherent meaning to a dog initially. Its power comes from associating the sound with a high-value reward, typically a delicious treat. This process is called ‘charging the clicker.’ Through classical conditioning—the same principle discovered by Ivan Pavlov with his dogs—your dog learns that the click sound predicts the imminent arrival of a reward.
Why is this so effective? Precision and timing. Imagine you’re teaching your dog to sit. You might say ‘Good dog!’ as a reward, but by the time you’ve finished the phrase, your dog may have already started to stand up. The verbal praise is imprecise. The click, however, is a sharp, distinct sound that can mark the exact moment your dog’s rear touches the floor. This instantaneous feedback eliminates confusion and accelerates learning. The click essentially takes a snapshot of the desired behavior, telling your dog, ‘THAT exact action earned you a reward.’
Key Terminology for Pet Owners
- Marker Signal: A signal used to mark a desired behavior at the precise moment it occurs. The clicker is a highly effective marker signal.
- Primary Reinforcer: Something the dog naturally finds rewarding, such as food, water, or praise. In clicker training, this is almost always a high-value treat.
- Secondary Reinforcer: A previously neutral stimulus that becomes reinforcing after being paired with a primary reinforcer. The ‘click’ becomes a powerful secondary reinforcer.
Think of the click as a promise. It’s a contract with your dog that says, ‘A reward is on its way for what you just did.’ Honoring this promise every single time is critical to building trust and making the clicker a reliable training tool.
Getting Started: Charging the Clicker and Your First Sessions
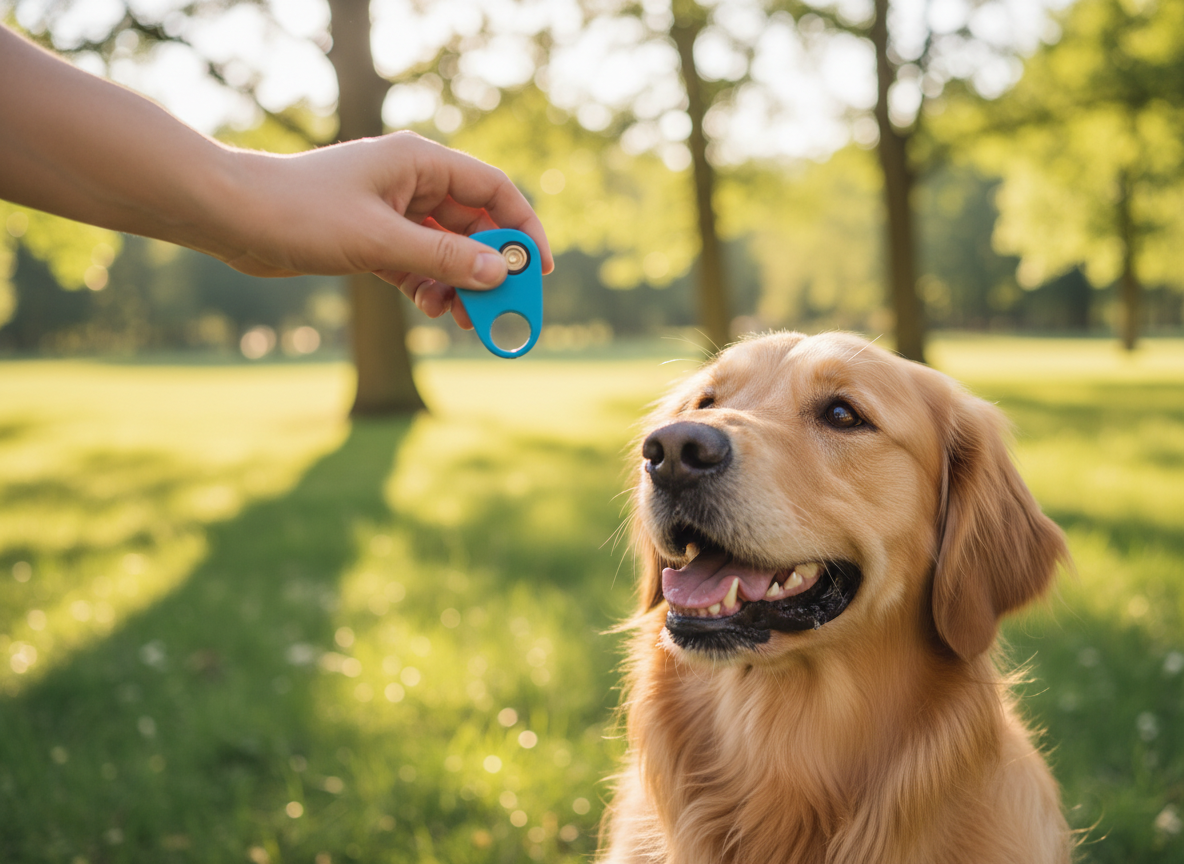
Before you can begin training behaviors, you must first give the clicker its meaning. This foundational step, known as ‘charging’ or ‘loading’ the clicker, is simple but non-negotiable. The goal is to teach your dog that click = treat. No commands, no expectations, just building a positive association.
Step-by-Step Guide to Charging the Clicker:
- Prepare Your Supplies: You will need your clicker and a supply of small, high-value treats that your dog absolutely loves. Think small pieces of chicken, cheese, or commercial training treats—something more exciting than their regular kibble.
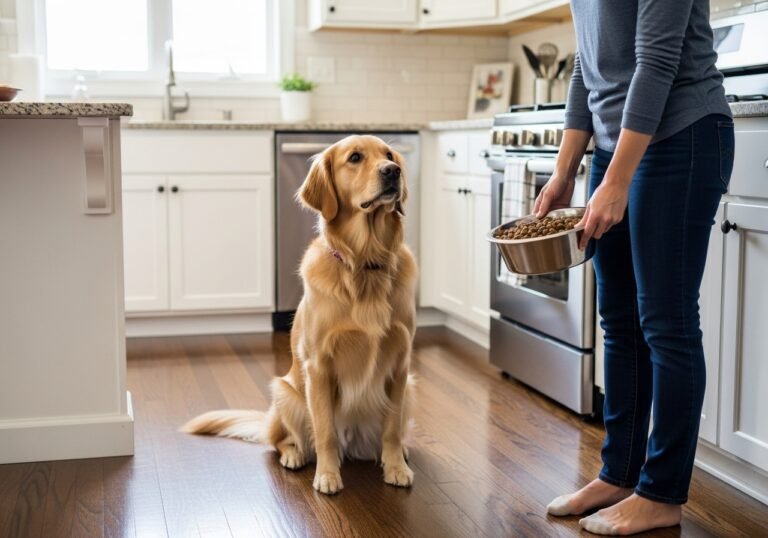
- Choose a Quiet Environment: Start in a low-distraction area, like your living room, where your dog feels comfortable and can focus on you.
- Begin the Association: With your dog near you, press the clicker. The very instant the ‘click’ sounds, give your dog a treat. There is no need for your dog to do anything to earn it at this stage. You are simply creating the connection.
- Repeat in Short Bursts: Repeat this ‘click-then-treat’ sequence 10-15 times in a row. Keep the pace brisk.
- Keep Sessions Short and Fun: Your first few sessions should last no more than one to two minutes. You can do several of these short sessions throughout the day.
You’ll know the clicker is charged when you click, and your dog’s head immediately whips around, looking at you expectantly for a treat. Once this reliable reaction is established, you are ready to move on to using the clicker to train behaviors.
Expert Tip: Always deliver the treat after the click, never at the same time. The sequence is critical: Behavior -> Click -> Treat. The click ends the behavior and signals the reward is coming.
The Core Techniques: Capturing, Luring, and Shaping Behavior
Once your clicker is charged, you can use it to teach an incredible array of behaviors. The primary methods used in clicker training are capturing, luring, and shaping. Understanding all three will give you a versatile toolkit for any training challenge.
Capturing: The Art of Observation
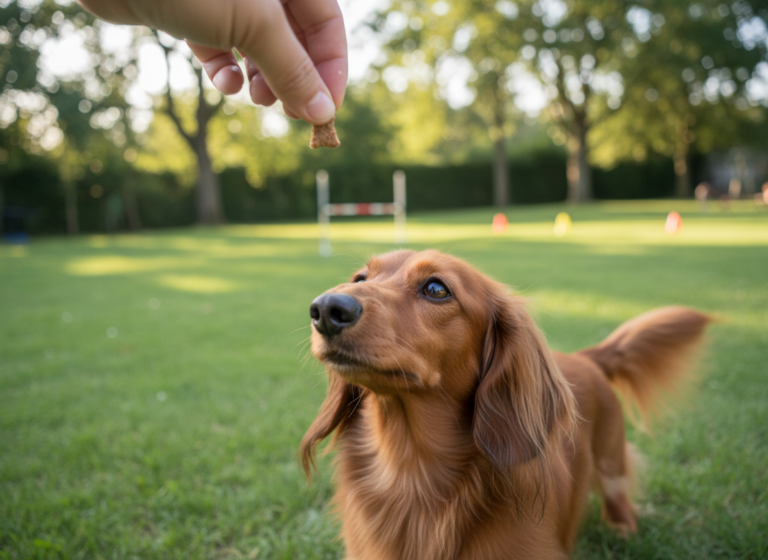
Capturing involves waiting for your dog to offer a behavior naturally, without any prompting from you, and marking it with a click and treat. It’s the perfect way to put a cue to behaviors your dog already does, like sitting, lying down, or even stretching.
Example: Teaching ‘Sit.’ Simply wait with your clicker and treats ready. The moment your dog’s hindquarters touch the ground, click and treat. After several repetitions, your dog will start offering the sit behavior intentionally to make you click. Once they are doing this reliably, you can add the verbal cue ‘Sit’ just as they begin the action.
Luring: A Helping Hand
Luring uses a treat to guide your dog into a desired position. It’s a more hands-on approach that can speed up the initial learning phase for physical movements.
Example: Teaching ‘Down.’ Hold a treat near your dog’s nose while they are sitting. Slowly lower the treat between their paws to the floor. As their head follows the treat, their body will naturally move into a down position. The instant their elbows touch the floor, click and release the treat.
Shaping: Building Behaviors Step-by-Step
Shaping is the most advanced and powerful of the three techniques. It involves breaking down a complex behavior into a series of small, manageable steps and reinforcing each successive approximation toward the final goal. This is how trainers teach dogs to perform complex tasks like ringing a bell, closing a door, or learning intricate tricks.
Example: Teaching ‘Go to Your Mat.’
- Step 1: Click and treat your dog for simply looking at the mat.
- Step 2: Once they are reliably looking, wait until they take a step toward it. Click and treat.
- Step 3: Next, only click and treat when they put one paw on the mat.
- Step 4: Then, two paws, then all four.
- Step 5: Finally, only click and treat when they lie down on the mat.
Through shaping, you are teaching your dog how to think, problem-solve, and offer behaviors, leading to a more engaged and confident learner.
Putting It to Practice: From Basic Cues to Real-World Reliability
With a charged clicker and an understanding of the core techniques, you can begin applying them to essential life skills. The consistency of the clicker will help your dog generalize commands from your quiet living room to the distracting environment of a park.
Training Foundational Cues
Use capturing or luring to teach cues like ‘Sit,’ ‘Stay,’ and ‘Come.’ The key is to add the verbal cue only when the dog is reliably offering the behavior. For ‘Come,’ for instance, start in a hallway. Have a partner hold your dog while you go to the other end. Say ‘Come!’ and have your partner release the dog. As your dog runs toward you, click and deliver a jackpot of treats when they arrive. The click marks the successful completion of the recall.
Tackling Problem Behaviors
The clicker is not just for tricks; it’s a powerful tool for behavior modification.
- Loose-Leash Walking: Walk with your dog on a leash. The moment there is slack in the leash and the dog is beside you, click and treat. The dog learns that the rewarded position is next to you, not pulling ahead.
- ‘Leave It’: Place a low-value treat on the floor and cover it with your hand. The instant your dog pulls their nose away from your hand, even for a second, click and reward them with a much higher-value treat from your other hand. This teaches them that ignoring the item on the floor leads to a better reward.
| Training Method | Communication Clarity | Speed of Learning | Strength of Bond |
|---|---|---|---|
| Clicker Training | Extremely high. The click is a precise, consistent marker. | Very fast. Dogs understand exactly what is being rewarded. | Very strong. Based on positive reinforcement and clear communication. |
| Traditional (Verbal Only) | Variable. The timing and tone of ‘Good dog’ can be inconsistent. | Slower. Can lead to confusion if timing is off. | Can be strong, but may involve corrections that create anxiety. |
Common Mistakes and Troubleshooting Your Training
While clicker training is remarkably effective, new trainers can fall into a few common traps. Being aware of these potential pitfalls can help you maintain clear communication and avoid frustrating your dog.
Mistakes to Avoid
- Bad Timing: Clicking too early or too late is the most common error. If you click after the behavior is over, you’re rewarding the wrong thing. Practice your timing on inanimate objects—like clicking the moment a ball hits the ground—to improve your reflexes.
- Clicking Without Treating: The click is a promise of a reward. Every single click must be followed by a treat, even if you clicked by accident. Breaking this promise devalues the clicker.
- Using the Click to Get Attention: The clicker is a marker, not a remote control. Never use it to call your dog or get them to look at you. It will only confuse its primary purpose.
- Making Sessions Too Long: Dogs, especially puppies, have short attention spans. Keep training sessions short (3-5 minutes) and always end on a positive note, leaving your dog wanting more.
- Fading the Clicker Incorrectly: Eventually, you won’t need to click for a well-learned behavior like ‘Sit.’ However, don’t stop using it altogether. Phase it out for reliable cues but keep using it for teaching new behaviors or refining existing ones in new environments.
What If My Dog Is Afraid of the Click?
Some sound-sensitive dogs may be startled by the click’s sharp noise. If this happens, you can muffle the sound by putting the clicker in your pocket, wrapping it in a sock, or using a quieter model. You can also use a different marker, like a specific, short word (‘Yes!’) or the click of a ballpoint pen, as long as you use it consistently.
Conclusion
The ‘magic’ of the clicker is not in the tool itself, but in the crystal-clear communication it facilitates. For a minimal investment, you gain a powerful method for shaping behavior with precision, strengthening your bond through positive interactions, and providing your dog with enriching mental stimulation. It transforms training from a chore of corrections into a joyful game of discovery for both of you. By marking and rewarding the good choices your dog makes, you are not just teaching commands; you are building a confident, thinking partner who is eager to work with you. Pick up a clicker, grab some treats, and get ready to unlock a new level of understanding and cooperation with your beloved canine companion.