Teach Your Dog to Shake Hands in 5 Minutes (Even If They’re Stubborn)
The ‘shake hands’ command is more than just a charming party trick; it’s a foundational exercise in communication and cooperation between you and your canine companion. It strengthens your bond, builds focus, and serves as a stepping stone to more complex behaviors. Many pet owners, however, become discouraged, believing their dog is too stubborn, too distracted, or simply not ‘smart’ enough to learn. This guide is designed to dispel those myths entirely.
We will introduce a scientifically-backed, positive reinforcement technique that is not only incredibly effective but also remarkably fast. By leveraging your dog’s natural instincts and making the learning process a fun game, you can see significant progress within a single five-minute session. This method bypasses frustration and focuses on clear communication, ensuring that even the most headstrong or seemingly uninterested dog can master this delightful skill. Prepare to be amazed at what your dog can achieve with the right approach.
Preparing for Success: The Foundation of a 5-Minute ‘Shake’
Before the timer starts, establishing the right conditions is paramount. A successful training session is 90% preparation and 10% execution. Rushing into the exercise without laying the proper groundwork is the primary reason many owners struggle. To set your dog up for a win, you must control the environment, choose the right motivation, and adopt the correct training mindset.
The Optimal Training Environment
Your dog’s ability to focus is directly linked to its surroundings. For initial training, choose a location that is:
- Quiet: Turn off the television, silence your phone, and ask family members to give you space. Sudden noises can startle or distract your dog.
- Free of Distractions: Avoid rooms with windows looking out onto a busy street or areas where other pets are active. A quiet hallway, a spare bedroom, or a calm living room works best.
- Comfortable: Ensure the floor surface is not slippery. A rug or carpeted area provides good footing and helps your dog feel secure.
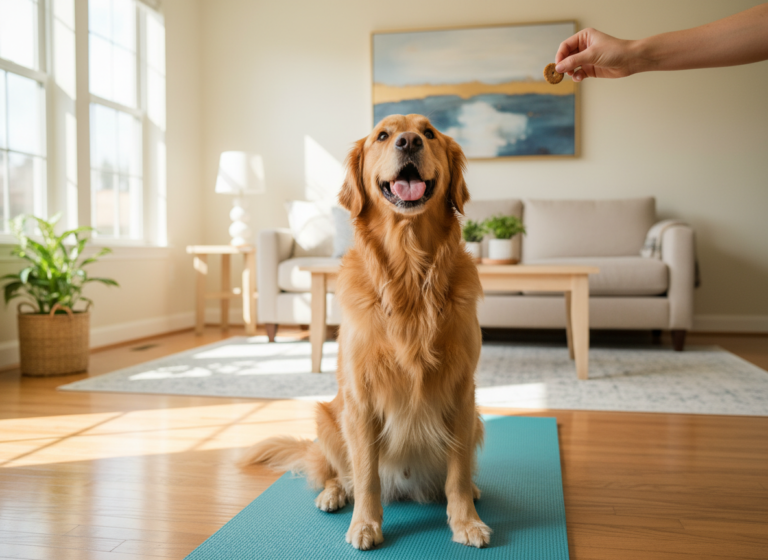
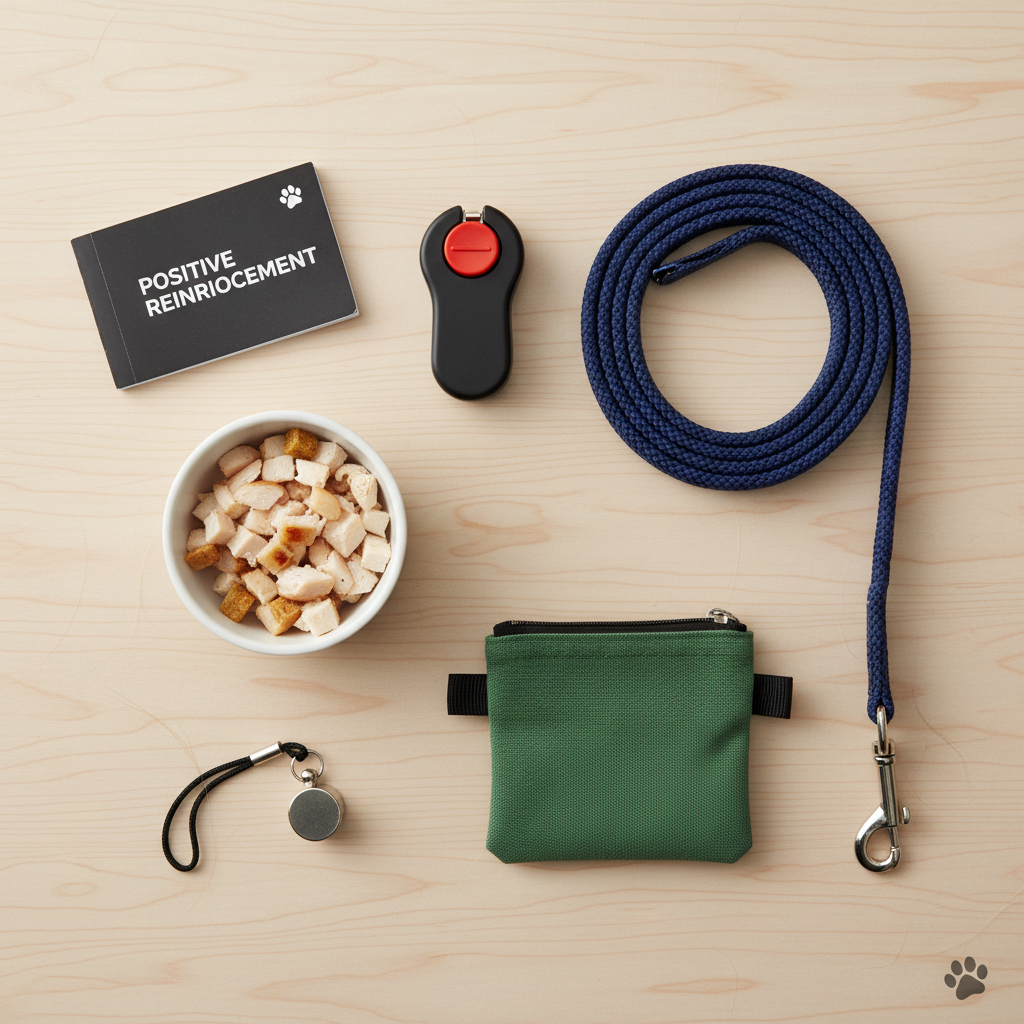
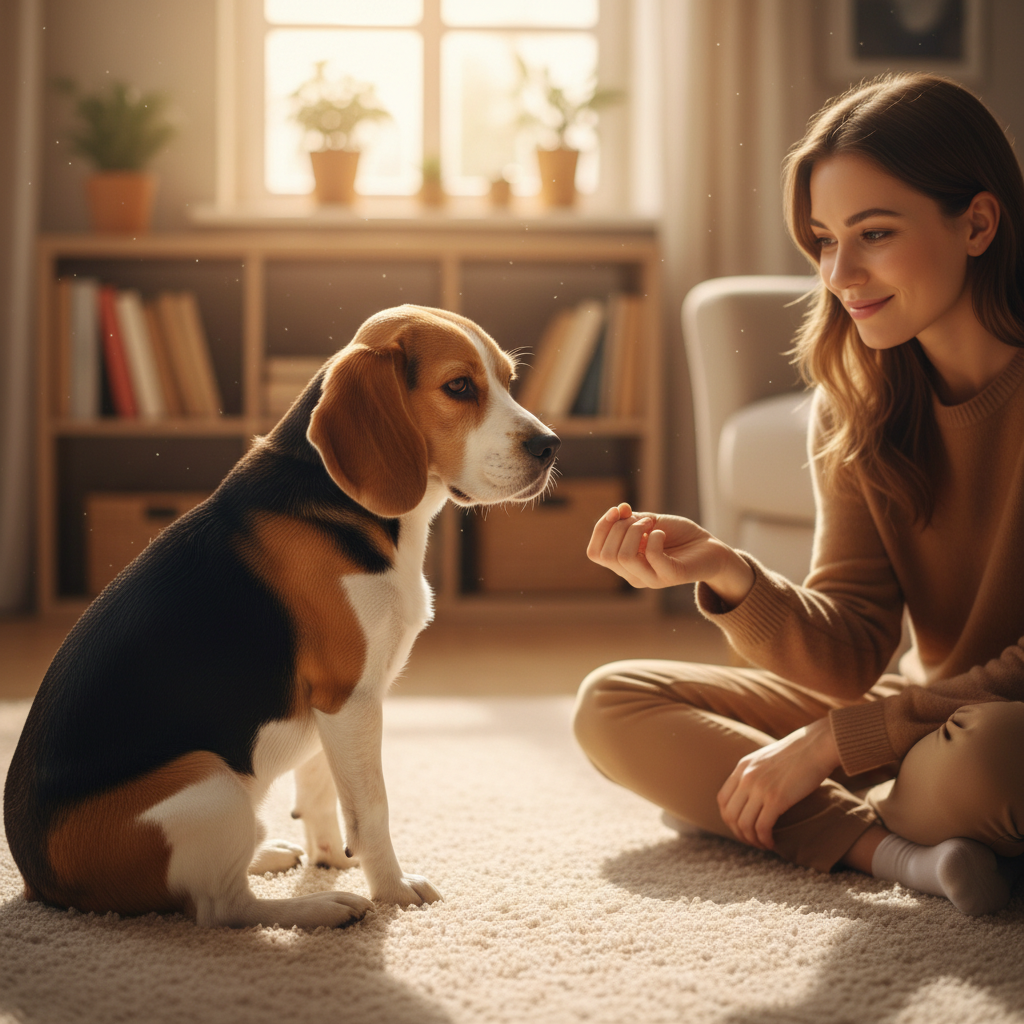
Gathering Your Tools: High-Value Reinforcement
While praise is important, tangible rewards are the currency of dog training. For a new skill, especially one you want to teach quickly, standard kibble often won’t suffice. You need high-value treats that your dog finds irresistible. These should be:
- Small: Pea-sized treats are ideal. They can be eaten quickly without disrupting the flow of the session and prevent your dog from getting full too fast.
- Aromatic and Flavorful: Think beyond dry biscuits. Small pieces of boiled chicken, cheese, hot dogs, or commercial soft training treats are excellent motivators.
- Easy to Handle: You’ll be dispensing them rapidly, so they shouldn’t be greasy or crumbly.
Expert Tip: Prepare your treats in advance and keep them in a training pouch or an easily accessible pocket. Fumbling for rewards can break your dog’s concentration and slow down the learning process.
Adopting the Right Mindset
Your energy and attitude are contagious. If you are patient, positive, and enthusiastic, your dog will mirror that energy. Keep sessions short—one to five minutes is perfect. It is far more effective to have several short, successful sessions throughout the day than one long, frustrating one. End each session on a high note, with a successful repetition, to leave your dog eager for the next lesson.
The Step-by-Step Method to ‘Shake Hands’
This method, often called ‘capturing’ or ‘shaping,’ works by encouraging a natural behavior and then attaching a command to it. It’s a hands-off approach that empowers your dog to think and problem-solve. Follow these steps precisely for the fastest results.
-
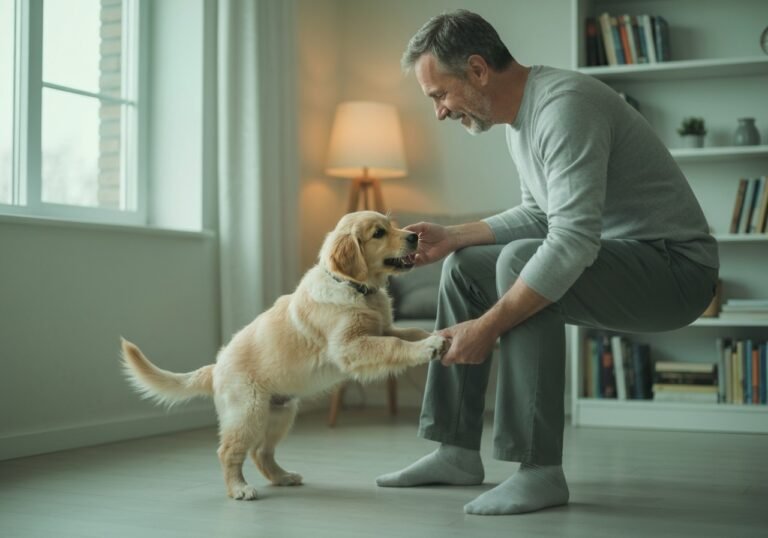
Step 1: Assume the Position
Begin by asking your dog to sit. A sitting dog is more focused and less likely to wander off. If your dog doesn’t have a reliable ‘sit’ command, you can still proceed, but it may be easier to start there. Position yourself directly in front of them, either sitting on the floor or on a low stool to be at their level.
-
Step 2: Present the Lure
Take one of your high-value treats and show it to your dog so they know what they’re working for. Then, close your hand into a fist around the treat. This is your ‘lure’.
-
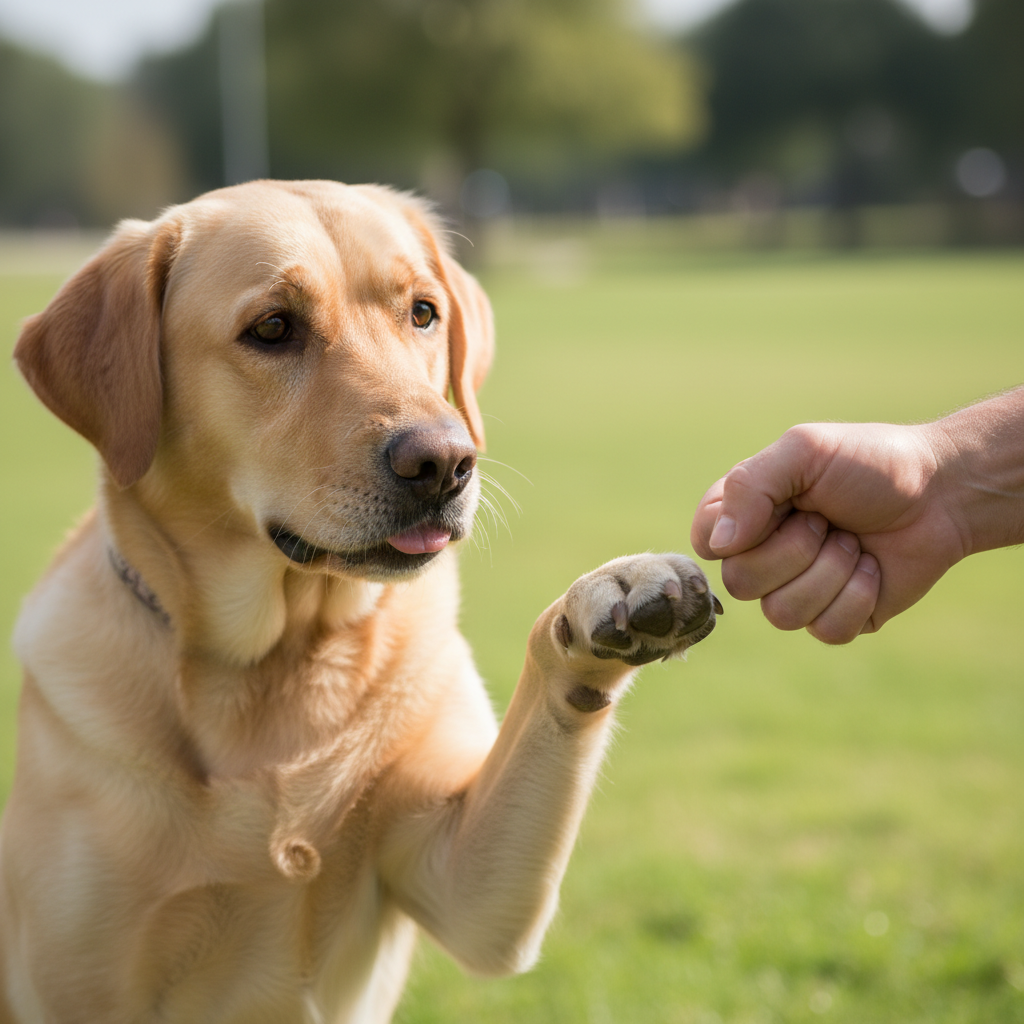
Step 3: Elicit the Paw Movement
Hold your closed fist a few inches from your dog’s nose, positioned slightly to one side and low, near their paw. Your dog will likely sniff and lick your hand first. Be patient and silent. Their frustration at not being able to get the treat will lead them to experiment. Inevitably, they will use their paw to touch or bat at your hand. This is the exact moment we are waiting for.
-
Step 4: Mark and Reward Immediately
The instant you feel their paw make contact with your hand—any contact at all—you must ‘mark’ the behavior. Do this by saying a sharp, happy “Yes!” or by using a clicker. Immediately after the marker word, open your other hand and give them a treat. It is critical to reward from the other hand so your dog doesn’t become fixated on prying open the lure hand.
-
Step 5: Repeat and Refine
Repeat steps 3 and 4 several times. Your dog will quickly make the connection: ‘If I touch my paw to this hand, I get a treat.’ As they become more proficient, they will start offering their paw faster and more deliberately.
-
Step 6: Introduce the Verbal Cue
Once your dog is reliably touching your hand with their paw (e.g., 8 out of 10 times), you can add the verbal cue. Just as you present your fist, say your chosen command—such as “Shake,” “Paw,” or “Hands”—in a clear, upbeat tone. Then, proceed as before, marking and rewarding the paw touch.
-
Step 7: Transition to an Open Hand
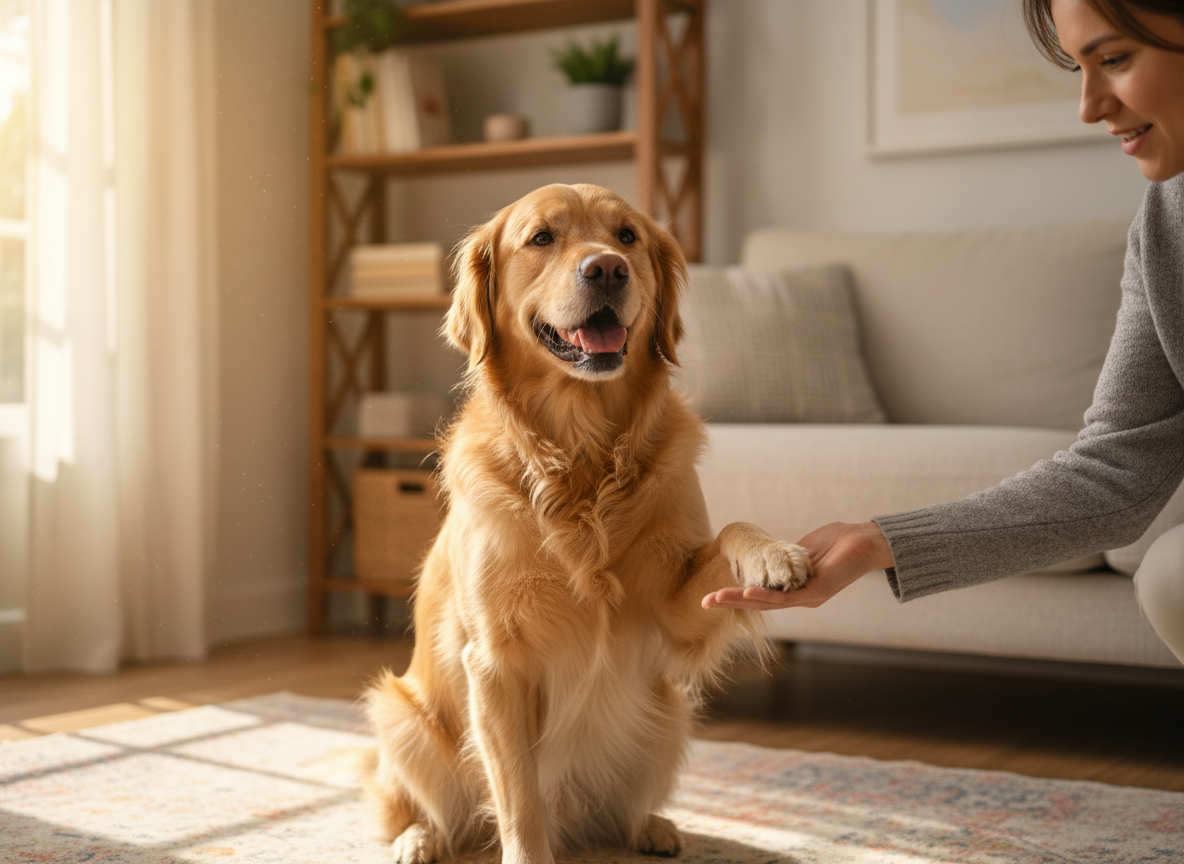
After several successful repetitions with the verbal cue, you can begin to fade the lure. Start presenting your hand in an open-palm, ‘shake’ position without a treat inside. If your dog hesitates, you can revert to the closed fist for a repetition or two to remind them. When they touch their paw to your open palm, give them a huge reward (a ‘jackpot’). This solidifies the new, final behavior. You are now shaking hands!
Troubleshooting for the ‘Stubborn’ Dog: What to Do When They Don’t Cooperate
The term ‘stubborn’ is often a mislabel for a dog that is confused, unmotivated, or has learned differently. If you hit a roadblock, do not get discouraged. Every dog is an individual, and a minor adjustment in your technique is usually all that’s required to get back on track.
Problem: My dog just licks or nibbles my hand.
Solution: This is very common. The dog is trying to get the treat but hasn’t figured out that using its paw is the key. Your job is to simply wait. Do not reward licking or nibbling. Remain still and silent. When the dog finally gets frustrated and lifts a paw, even slightly, mark and reward that movement. You are rewarding the choice to use the paw over the mouth.
Problem: My dog won’t lift their paw at all.
Solution: Some dogs are less inclined to use their paws. You can gently encourage the behavior. With your lure hand in place, use your other hand to very lightly tickle or tap the back of their wrist/paw area. This often causes a reflexive lift. The moment the paw comes off the ground, mark and reward. After a few repetitions, they will begin to offer the paw lift without the physical prompt.
Problem: My dog is too frantic and just slams its paw at me.
Solution: This is a case of over-arousal. The dog is excited but lacks precision. You can address this by rewarding only gentler touches. If they slam your hand, briefly withdraw it and say nothing. Present it again. When they offer a softer touch, provide a big reward. This teaches them that gentle contact is what earns the prize. You may also need to use slightly less exciting treats to lower their excitement level.
Problem: My dog loses interest after one or two tries.
Solution: This is a clear sign of one of two things: your training session is too long, or your reward is not valuable enough. Cut your session length down to just 60-90 seconds. And upgrade your treats—if you’re using dry biscuits, switch to tiny pieces of cheese. Make the reward so compelling that they are motivated to keep trying.
Key Takeaway: Frustration is the enemy of learning. If you or your dog are getting frustrated, it’s time to end the session. Always finish with a simple command you know they can do, like ‘sit,’ reward them for it, and try again later.
Common Mistakes to Avoid for Flawless Training
While the positive reinforcement method is highly effective, certain common errors can inadvertently sabotage your efforts. Being mindful of these pitfalls will ensure a smoother, faster, and more enjoyable training experience for both you and your dog.
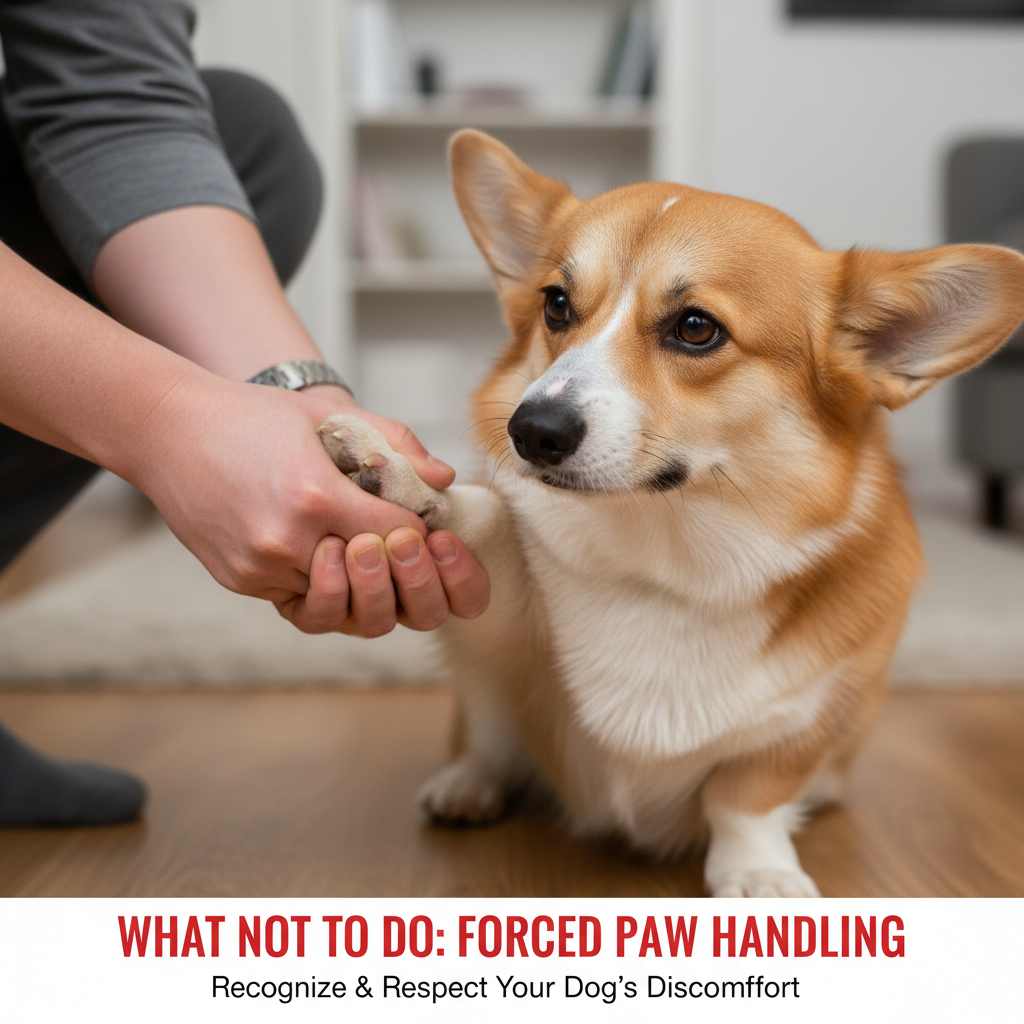
- Forcing the Behavior: Never physically grab your dog’s paw and shake it. This is a critical mistake. It doesn’t teach the dog to offer the behavior voluntarily; it can create a negative association with having their paws handled and may even be perceived as confrontational. The goal is for the dog to choose to perform the action.
- Poisoning the Cue: This happens when you repeat the command over and over while the dog is not responding (e.g., “Shake. Shake. C’mon, shake.”). This teaches the dog that the cue is meaningless background noise. Say the command once, clearly. If there’s no response, help them succeed by going back a step (e.g., using the lure) rather than repeating the word.
- Inconsistent Cues and Criteria: Decide on one verbal cue (‘Shake,’ ‘Paw,’ etc.) and stick with it. Using different words will confuse your dog. Similarly, be consistent with your criteria. In the beginning, reward any paw touch. As they improve, only reward a proper, lifted-paw shake.
- Poor Reward Timing: The mark (‘Yes!’ or click) and reward must occur within a second of the desired behavior. If you are too slow, you may be rewarding them for putting their paw back down or looking away. Precision timing is what clearly communicates to your dog exactly what action earned them the reward.
- Overly Long Training Sessions: A dog’s attention span, especially for a new task, is short. Pushing them beyond their limit leads to burnout and frustration. Multiple 2-3 minute sessions spread throughout the day are vastly superior to one 15-minute marathon session. Always aim to end on a positive, successful repetition.
Advancing the ‘Shake’: From Paw to High-Five and Beyond
Once your dog has mastered the basic ‘shake,’ you can build upon this foundation to teach more complex and impressive variations. This not only keeps training interesting but also enhances your dog’s cognitive skills and strengthens your partnership.
Fading the Lure and Hand Signal
Your ultimate goal is for your dog to respond to the verbal cue alone. To achieve this, gradually reduce your reliance on the hand signal. Ask for a ‘shake’ but keep your hand at your side. If they respond, give them a jackpot reward. If they hesitate, give them a smaller hand signal. Over time, you can make the signal more and more subtle until it’s no longer needed.
Teaching the Other Paw
Dogs do not automatically generalize. ‘Shake’ will mean offering one specific paw (usually their dominant one). To teach the other, simply repeat the entire training process, but present your hand on the opposite side of their body. It’s crucial to use a different verbal cue, such as “Other Paw” or “Paw.” This teaches them to listen carefully to the specific command.
From ‘Shake’ to ‘High-Five’
This is a fun and easy transition. Once the ‘shake’ is reliable, start presenting your hand vertically, like a high-five. At first, your dog may be confused and try to place their paw on top. That’s okay. Use your other hand to guide their paw to touch your palm. Mark and reward any contact. As they understand the new picture, they will begin to offer a more direct, upward paw motion. You can use a new cue like “High-Five” or “Gimme Five.”
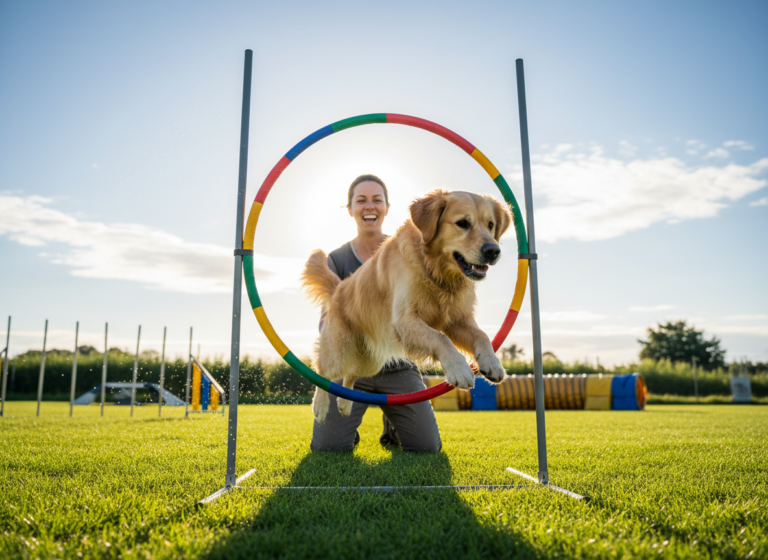
Proofing the Behavior
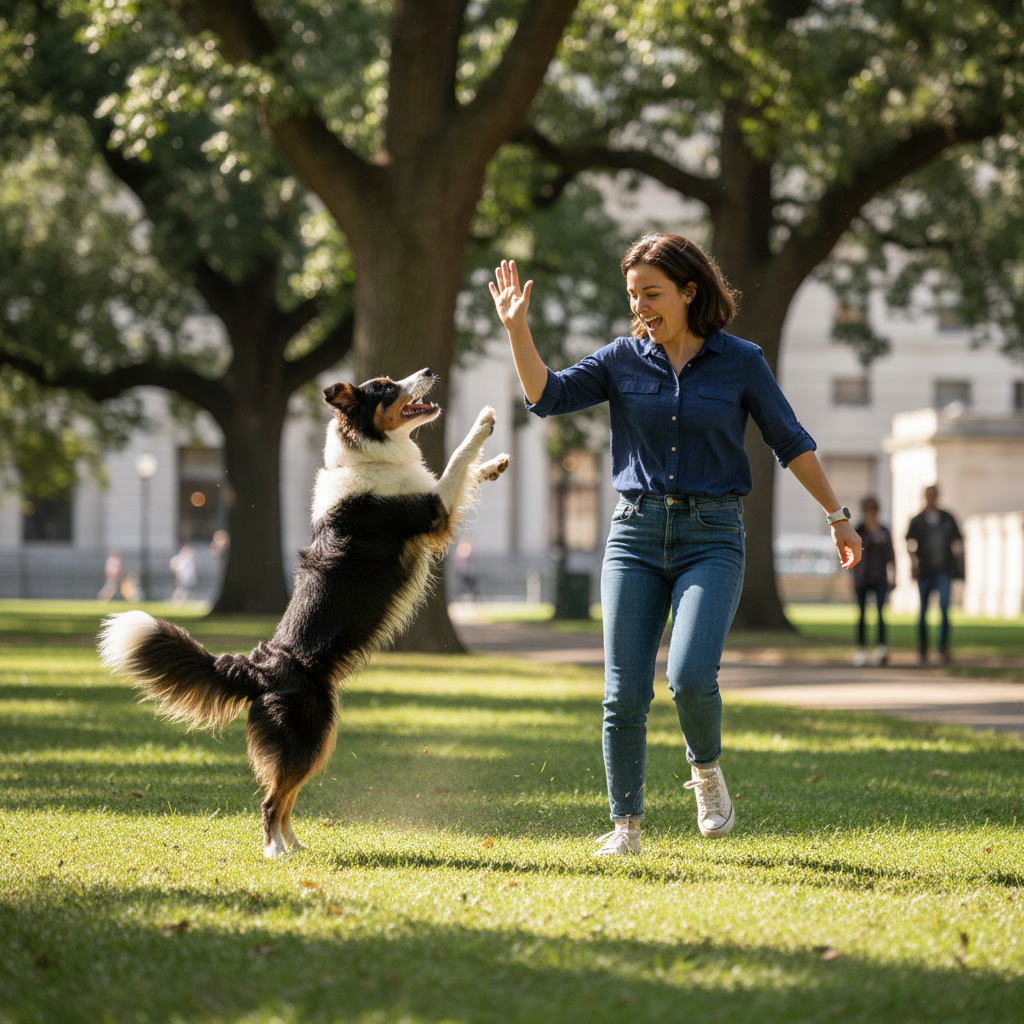
Proofing is the process of teaching your dog to perform a command reliably in various environments and despite distractions. Once ‘shake’ is solid in your quiet training space, practice it in different rooms of the house. Then, move to the backyard. Eventually, you can practice in a quiet park. Start with low-distraction environments and gradually increase the difficulty, always ensuring your dog is set up for success with high-value rewards.
Conclusion
Teaching your dog to shake hands is a rewarding journey that beautifully illustrates the power of clear communication and positive reinforcement. As you’ve seen, the process is not about dominance or forcing a behavior but about creating a fun, engaging puzzle for your dog to solve. The ‘five-minute’ timeline is a testament to the efficiency of this method, but the true reward lies not in the speed of learning, but in the moments of connection and mutual understanding you build along the way.
Remember that every dog learns at its own pace. Celebrate the small victories, remain patient during the challenges, and always keep your interactions positive. The ‘shake’ is more than a trick; it’s a conversation. By mastering it, you’ve opened a new line of communication with your best friend, strengthening your bond and laying the groundwork for a lifetime of learning together.