Teach Your Dog To Roll Over In 3 Easy Steps (Guaranteed)

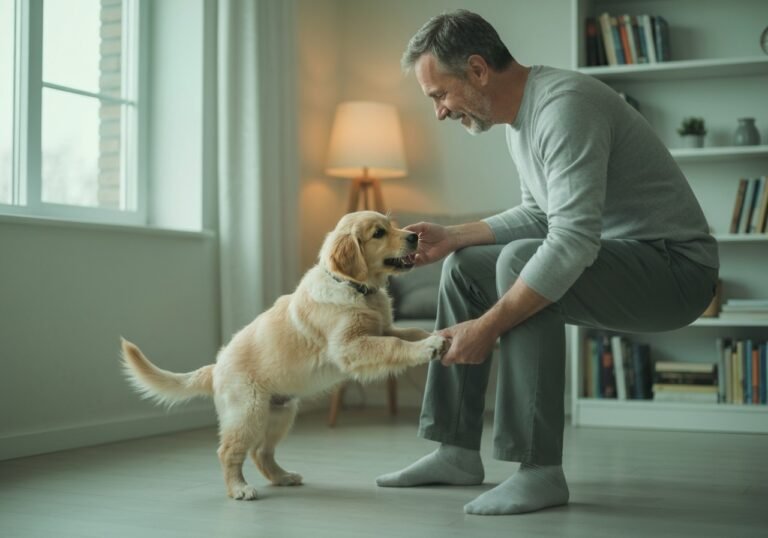
Teaching your dog to roll over is more than just a charming party trick; it is a testament to the communication, trust, and bond you share. This complex behavior requires a dog to be in a vulnerable position—on its back—and willingly follow your guidance. While it may seem daunting, this command is entirely achievable with patience, consistency, and the right approach. This guide is built on the principles of positive reinforcement, ensuring the learning process is enjoyable and rewarding for both you and your canine companion.
Before we begin, it is crucial to understand that ‘roll over’ is not a foundational command. It builds upon simpler behaviors your dog should already master. In this comprehensive guide, we will walk you through the necessary preparations, a detailed breakdown of our guaranteed three-step method, and expert strategies for troubleshooting common issues. By following these steps, you will not only teach an impressive new skill but also deepen your dog’s focus and strengthen your partnership.
Phase 1: Foundations and Essential Preparations
Phase 1: Foundations and Essential Preparations
Success in training complex tricks like ‘roll over’ is determined long before the first luring motion begins. A proper foundation ensures your dog is physically comfortable, mentally engaged, and set up for a positive learning experience. Rushing this preparatory phase is a common mistake that leads to frustration for both owner and dog.
Prerequisite Commands: The Non-Negotiables
Your dog must have a reliable ‘Down’ command before you can even consider teaching ‘roll over.’ The entire trick starts from this position. Ensure your dog can perform ‘Down’ (also known as ‘Lie Down’) on a verbal cue and remain there calmly for at least a few seconds. An anxious or restless dog in the ‘down’ position will be unable to focus on the subsequent steps.
- ‘Down’: The dog should lie down completely, with its belly on the floor. This is the starting position for the entire sequence.
- ‘Stay’ (Recommended): While not strictly mandatory, a basic ‘Stay’ helps. It teaches the dog to remain in position while you prepare to lure them, rather than immediately popping back up.
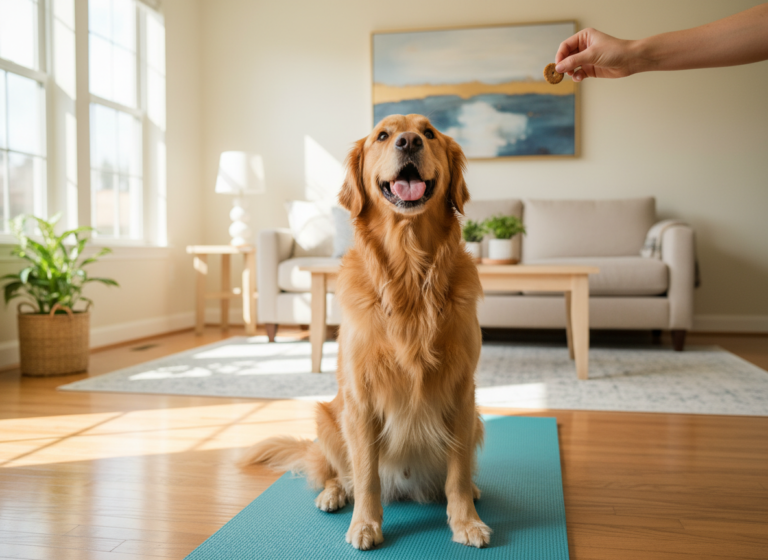
Gathering Your Training Tools
Having the right tools on hand makes the training process smoother and more effective. Your goal is to keep your dog’s motivation high.
- High-Value Treats: Standard kibble may not be enticing enough. Use small, soft, and highly aromatic treats that your dog loves. Think small pieces of cooked chicken, cheese, or commercial training treats. They should be easy to swallow quickly to maintain the flow of the session.
- A Comfortable Surface: Avoid slick, hard floors like tile or hardwood. These surfaces can be uncomfortable and make it physically difficult for a dog to roll. A carpeted area, rug, or soft lawn is ideal.
- Clicker (Optional): A clicker is an excellent tool for marking the exact moment your dog performs the correct behavior. If you are familiar with clicker training, have one ready. If not, a consistent verbal marker like a sharp “Yes!” works just as well.
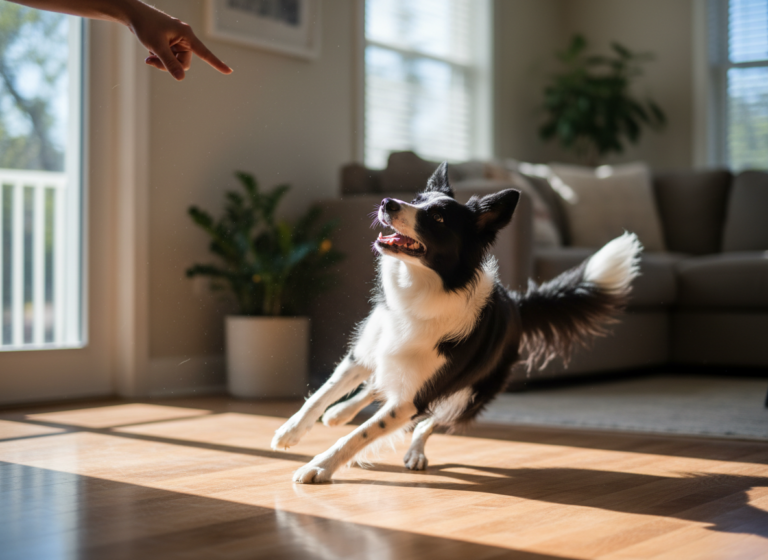
Setting the Scene: The Optimal Training Environment
Your dog’s ability to learn is heavily influenced by its surroundings. Choose a time and place that minimizes distractions and maximizes focus.
- Location: Start indoors in a quiet room where there are no other pets, people, or exciting toys to divert your dog’s attention.
- Timing: Schedule your training sessions when your dog is slightly hungry and has had a chance to burn off excess energy. A dog that is too full or overly energetic will not be in a receptive state for learning.
- Session Length: Keep training sessions short and positive, especially in the beginning. Aim for multiple 5-10 minute sessions throughout the day rather than one long, grueling session. Always end on a successful repetition to leave your dog feeling confident and eager for the next lesson.
Phase 2: The 3-Step Method to a Perfect Roll Over

Phase 2: The 3-Step Method to a Perfect Roll Over
This is the core of the training process. The key is to break down the full ‘roll over’ motion into smaller, manageable pieces, rewarding your dog for each successful approximation. This technique, known as ‘shaping,’ builds confidence and prevents your dog from becoming overwhelmed. Remember to be patient and celebrate small victories.
Step 1: From ‘Down’ to ‘Side’
The first goal is to lure your dog from a standard ‘down’ position onto its side, settling onto one hip. This is the most significant initial movement.
- Ask your dog to ‘Down’. Once your dog is lying calmly, kneel down beside it, facing the same direction.
- Take a high-value treat in your hand and hold it close to your dog’s nose.
- Slowly move the treat from its nose towards its shoulder. To follow the treat, your dog will have to turn its head. As you continue the arc towards its back, it will naturally shift its weight and flop onto its side.
- The exact moment your dog lies on its side, mark the behavior with your clicker or verbal marker (“Yes!”) and immediately give the treat.
- Repeat this process several times until your dog is fluently flopping onto its side to follow the treat lure. Practice on both sides to see if your dog has a preference.
Expert Tip: If your dog just turns its head without shifting its body, you are likely holding the treat too high. Keep the lure low and close to their body to encourage the weight shift.
Step 2: The ‘Over the Top’ Lure
Once your dog reliably moves onto its side, you can begin luring it through the full roll. This is often the most challenging step and requires patience.
- Start with your dog on its side, using the lure from Step 1 if needed.
- With another treat, continue the luring motion from their shoulder, up and over their spine towards the other side of their body.
- This motion encourages the dog to lift its hips and roll over its back to follow the treat. At first, they may only shift their weight or lift a leg. Mark and reward any effort in the right direction.
- Gradually, you will ask for more movement before you reward. First, a weight shift, then getting their spine to the floor, and finally, the full roll.
- Once your dog completes the entire motion, give them a ‘jackpot’ reward—several treats and lots of verbal praise—to signify a major breakthrough.
Step 3: Fading the Lure and Adding the Verbal Cue
The final step is to transition from the physical lure to a polished command your dog performs on cue.
- Fade the Lure: Begin making the same luring motion with an empty hand. Reward your dog with a treat from your other hand after it completes the roll. Over time, make this hand signal smaller and more subtle.
- Introduce the Verbal Cue: When your dog is reliably rolling over with the hand signal, you can add the verbal cue. Say your chosen command, such as “Roll Over,” clearly and once, right before you give the hand signal.
- Isolate the Verbal Cue: After many repetitions of “Cue -> Hand Signal -> Behavior -> Reward,” your dog will start to associate the words “Roll Over” with the action. Try giving just the verbal cue without the hand signal. If they perform the trick, celebrate with a huge reward! If they hesitate, give the hand signal and try again later. This process takes time, so be consistent.
Phase 3: Troubleshooting and Solidifying the Skill

Phase 3: Troubleshooting and Solidifying the Skill
Even with the best method, you may encounter roadblocks. Training is never a perfectly linear process. Understanding how to navigate common challenges and then ‘proof’ the behavior is what separates a shaky trick from a reliable command.
Common Training Hurdles and Solutions
Here are some of the most frequent issues owners face when teaching ‘roll over,’ along with professional solutions.
| Problem | Underlying Cause | Solution |
|---|---|---|
| Dog gets ‘stuck’ on its back. | Some dogs feel vulnerable on their backs or are physically uncomfortable. They may ‘freeze’ in this position. | Do not force them. Go back to rewarding them for simply lying on their side. Gradually reward small weight shifts towards their back, using lots of praise. Keep it positive and build their confidence slowly. |
| Dog nibbles the treat but won’t move its body. | The treat may not be high-value enough, or the dog is not hungry. Alternatively, your lure mechanics may be off. | Increase the value of the treat. Train before meals. Ensure your lure is smooth and guides the dog’s nose, not just its mouth. |
| Dog gets up and walks away mid-session. | The session may be too long, the dog is frustrated, or it doesn’t understand what is being asked. | Keep sessions short (5 minutes max). End on a positive note with a command the dog knows well. If you see signs of stress (yawning, lip licking), end the session and try again later. |
| Dog only offers the behavior on one side. | Dogs, like people, can be ‘right-handed’ or ‘left-handed’ and may have a physical preference. | This is perfectly fine! There is no need to force the dog to roll in the direction that is less comfortable for them. Focus on perfecting the roll on their preferred side. |
Proofing: Making the Command Reliable
Once your dog can reliably roll over in a quiet room on a verbal cue, it is time to ‘proof’ the behavior. Proofing is the process of teaching your dog to perform the command in various environments and under different conditions.
- Vary the Location: Start practicing in different rooms of the house. Once successful, move to a quiet backyard. The ultimate goal is to have the dog perform the trick even in moderately distracting environments like a park. Introduce new locations gradually.
- Introduce Mild Distractions: Have another person stand quietly in the room. Then, have them walk around. Practice while the TV is on at a low volume. Build the level of distraction slowly so your dog can still succeed.
- Generalize the Cue: Practice giving the command while you are standing up, sitting in a chair, or even lying on the floor with your dog. This teaches them that “Roll Over” means the same thing regardless of your body posture.
Important Note: Never ask your dog to perform this trick on a hard, rough, or uncomfortable surface like concrete or gravel. It can be painful and lead to a negative association with the command. Always prioritize your dog’s comfort and safety.
Beyond the Basics: Common Mistakes and Advanced Variations
Beyond the Basics: Common Mistakes and Advanced Variations
Perfecting the ‘roll over’ command involves not only mastering the steps but also avoiding common pitfalls that can derail your progress. Once your dog has mastered the basic trick, you can explore fun variations to keep their mind sharp and engaged.
Critical Mistakes to Avoid in Training
Steering clear of these errors will maintain a positive training relationship and lead to faster, more sustainable results.
- Never Physically Force Your Dog: Do not push or physically manipulate your dog into rolling over. This can cause fear, anxiety, and even injury. Training must always be the dog’s choice, guided by positive reinforcement.
- Training for Too Long: Marathon sessions are counterproductive. A dog’s brain, much like a human’s, needs time to process new information. Short, frequent sessions are far more effective for long-term retention.
- Using a Low-Energy or Inconsistent Tone: Your voice and energy matter. Use an upbeat, encouraging tone when training. A flat or frustrated tone can make your dog anxious. Also, ensure everyone in the household uses the same verbal cue to avoid confusion.
- Impatience and Unrealistic Expectations: Every dog learns at a different pace. Comparing your dog to another is a recipe for frustration. Celebrate your dog’s individual progress, no matter how small. The journey is the reward.
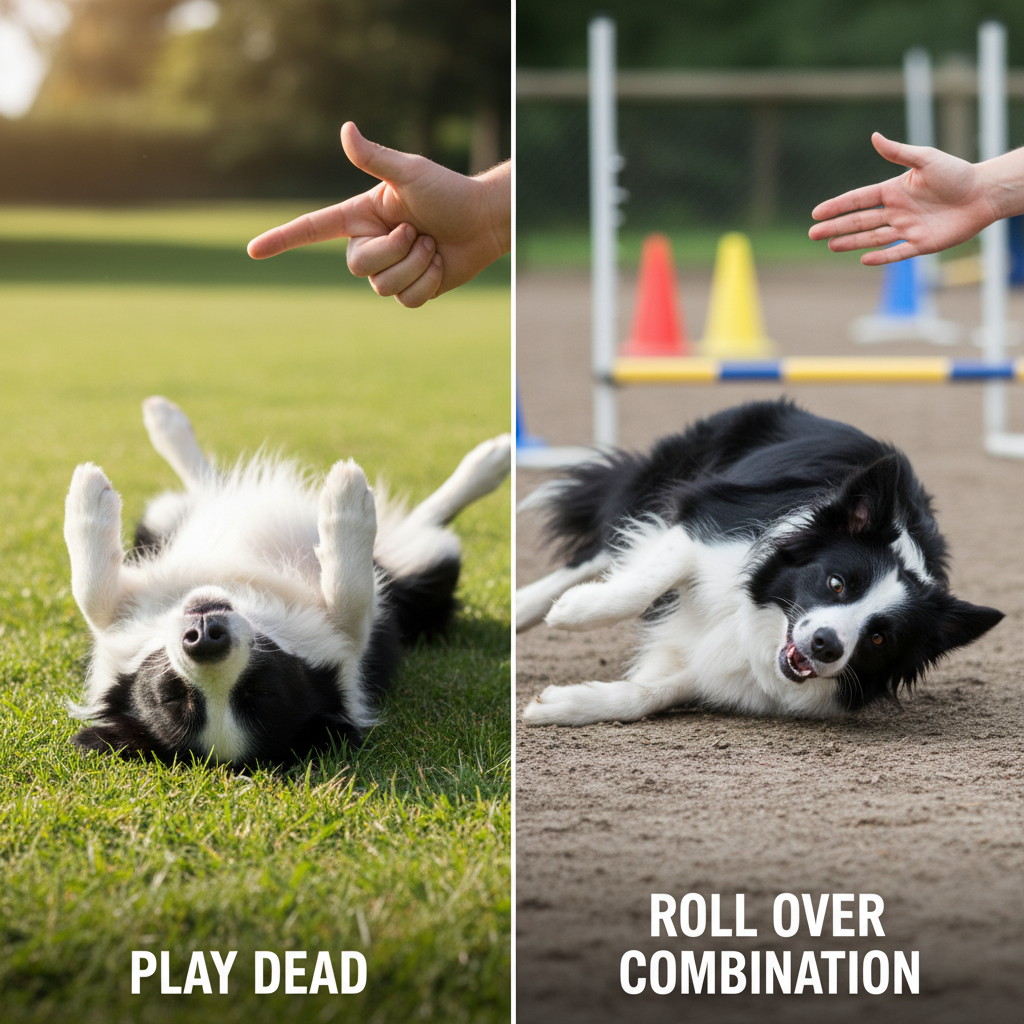
Advanced Challenge: ‘Play Dead’ to ‘Roll Over’ Combo
Once ‘roll over’ is solid, you can chain it with other tricks. A classic combination is teaching your dog to ‘play dead’ (lying on its side) and then transitioning to ‘roll over’ on a second command.
- Teach ‘Play Dead’: This is essentially Step 1 of the ‘roll over’ process. Use a distinct verbal cue like “Bang!” or “Play Dead” and a unique hand signal (like a finger gun). Reward your dog for lying on its side and holding the position.
- Build the Chain: Once both tricks are learned independently, ask for the ‘Play Dead’ command first. After your dog is lying on its side, give the ‘Roll Over’ command.
- Create a Flow: With practice, you can create a seamless routine that is impressive and mentally stimulating for your dog.
By avoiding common mistakes and exploring advanced variations, you transform a simple training exercise into an enriching, ongoing activity that continuously strengthens the bond with your dog.
Conclusion
Teaching your dog to roll over is a rewarding endeavor that goes far beyond the trick itself. It is a lesson in clear communication, patience, and the power of positive reinforcement. By following the foundational preparations, the deliberate three-step method, and the troubleshooting advice outlined in this guide, you have a guaranteed path to success. Remember that the most important components of any training are a positive attitude and a strong, trusting relationship with your canine partner.
Celebrate every small success along the way, keep your sessions short and fun, and respect your dog’s individual pace and comfort level. The pride you will feel when your dog confidently performs its new trick on cue is matched only by the joy your dog experiences from pleasing you and earning a well-deserved reward. Now, go grab some treats and start building a stronger bond, one roll at a time.