Teach the ‘Fake Injury’ Trick: A Hilarious Prank for Dogs

Trick training is far more than just a novelty; it is a powerful tool for enhancing the bond between you and your canine companion. It provides essential mental stimulation, builds confidence, and improves communication. While basic commands like ‘sit’ and ‘stay’ are foundational, teaching more complex and amusing tricks can elevate your training journey to new heights. One such trick, the ‘fake injury’ or ‘limp,’ is a guaranteed crowd-pleaser that showcases your dog’s intelligence and your dedication as a trainer.
This advanced behavior, when taught correctly, is a harmless and entertaining performance. It relies entirely on the principles of positive reinforcement, shaping a complex action through patience, rewards, and clear communication. In this comprehensive guide, we will walk you through the entire process, from establishing the necessary prerequisites to adding dramatic flair for a truly memorable show. Prepare to unlock a new level of partnership with your dog and share a few laughs along the way.
Building the Foundation: Essential Prerequisites for Success
Before you can teach a dog to convincingly fake an injury, you must ensure a solid foundation is in place. Attempting to build a complex trick on shaky ground will only lead to frustration for both you and your pet. The ‘limp’ requires a combination of existing skills, physical comfort, and the right training environment. Success is contingent on preparation.
Core Skills Your Dog Must Master
Ensure your dog is proficient in the following behaviors before you begin. These are not merely suggestions; they are the building blocks of the ‘fake injury’ trick.
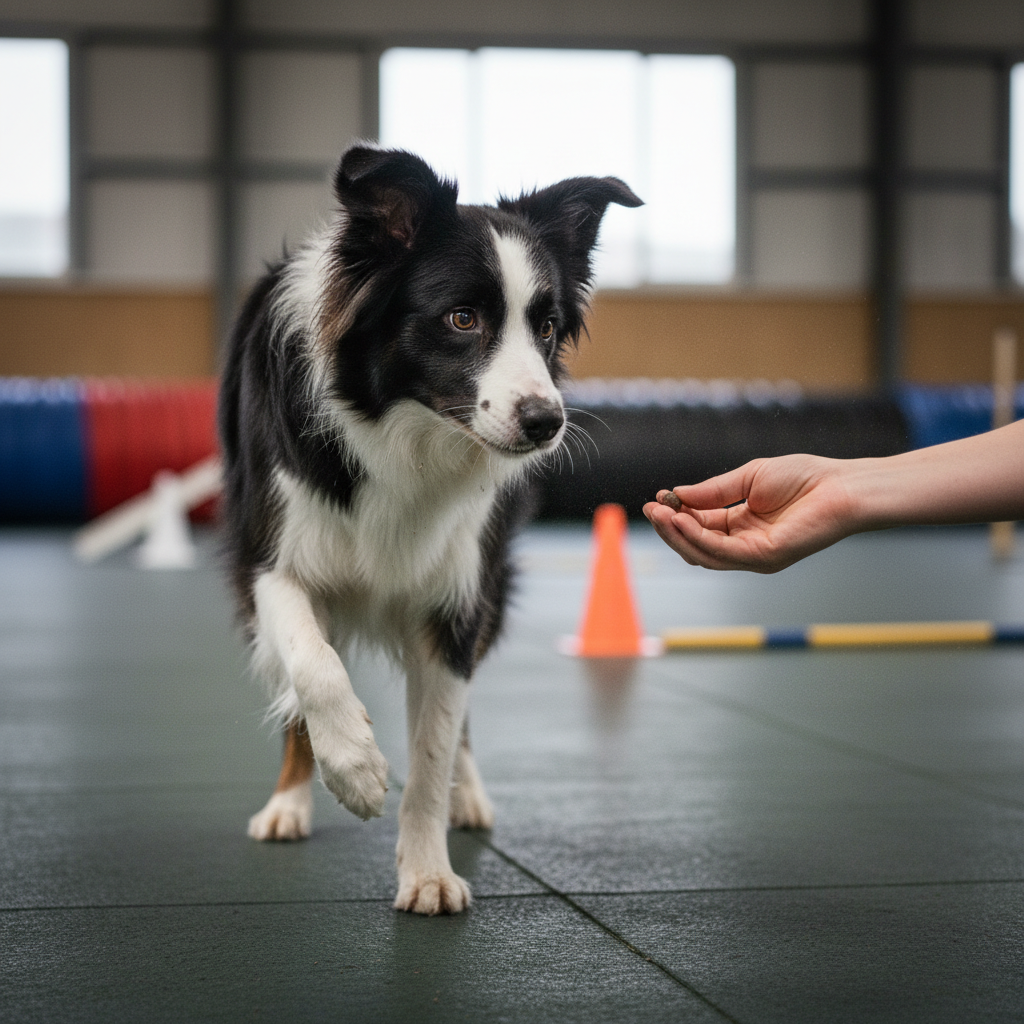
- A Solid ‘Shake’ or ‘Give Paw’: The trick’s fundamental action is a paw lift. Your dog must be able to offer its paw on cue reliably and hold it for at least a few seconds. This is the starting point from which you will shape the entire behavior.
- Paw Handling Comfort: Your dog must be completely at ease with you touching and handling its paws. If your dog shows any signs of fear, sensitivity, or aggression when you touch its feet, you must address this first. Work on gentle desensitization exercises completely separate from trick training.
- A Basic ‘Stay’: While not directly part of the final action, a ‘stay’ command teaches impulse control and focus, which are critical during the nuanced steps of shaping the limp.
- Focus and Engagement: Your dog should be able to focus on you and the training task for short periods without becoming easily distracted. This is often a byproduct of a strong positive training history.
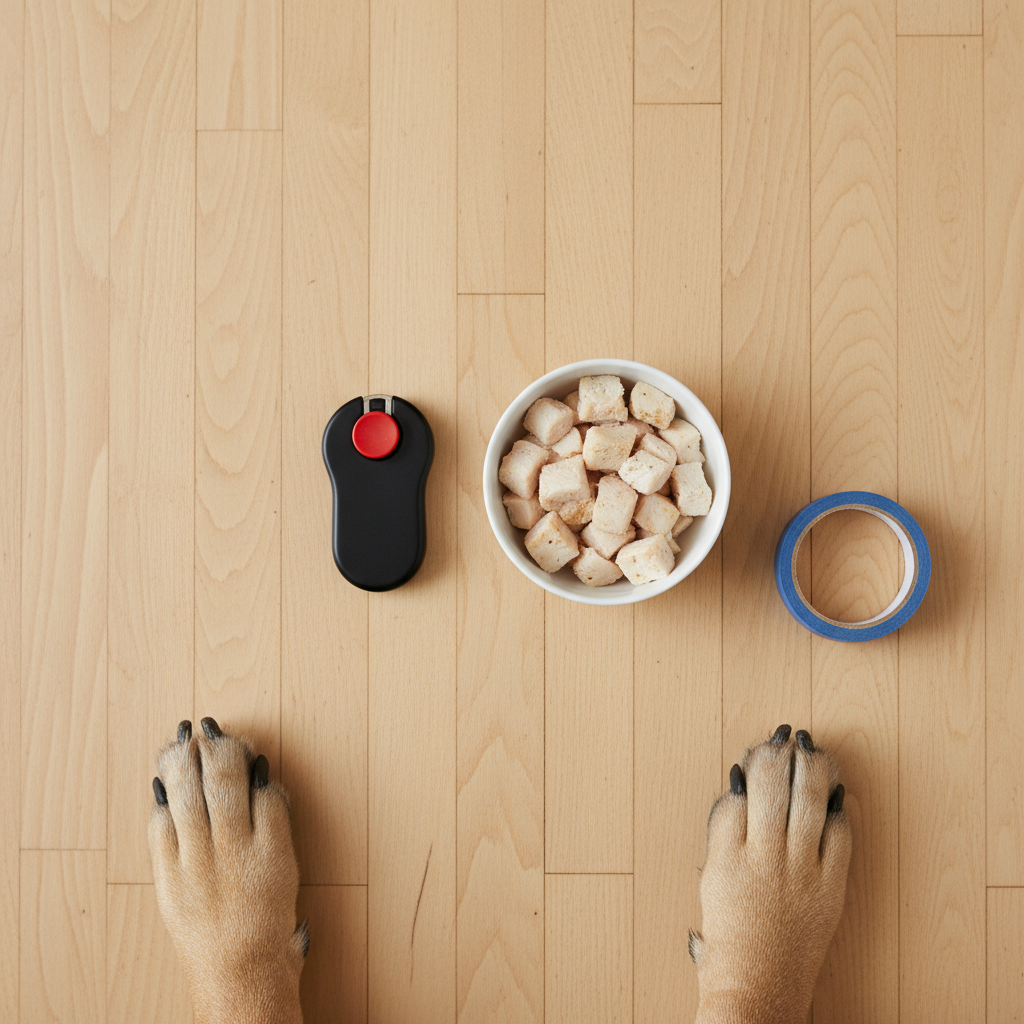
Gathering Your Training Tools
Having the right equipment on hand makes the process smoother and more effective. Prepare your toolkit before you start a session:
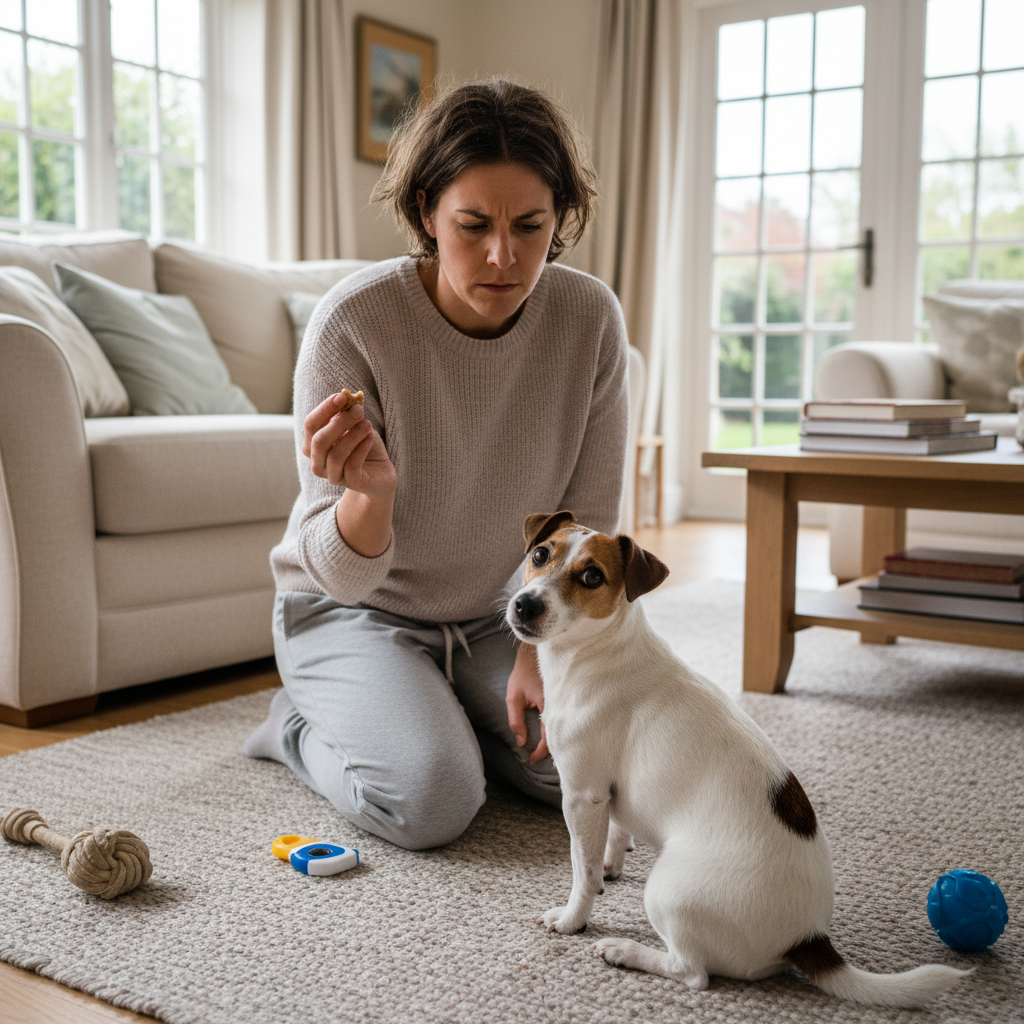
- High-Value Rewards: This is an advanced trick, so standard kibble may not be motivating enough. Use small, soft, and highly desirable treats that your dog loves, such as tiny pieces of boiled chicken, cheese, or commercial training treats.
- Clicker (Optional but Recommended): A clicker is a powerful tool for marking the precise moment your dog performs the correct action. This clear communication can significantly speed up the learning process. If you are not using a clicker, choose a consistent verbal marker like ‘Yes!’.
- Lightweight Adhesive Item: A small piece of painter’s tape or a Post-it note is often used to encourage the initial paw lift. It should be sticky enough to stay on for a second but not so sticky that it pulls fur or causes discomfort.
- A Quiet, Distraction-Free Environment: Choose a training space where your dog feels comfortable and can focus. A familiar room with a non-slip surface is ideal.
The Step-by-Step Training Process: Shaping the ‘Limp’
Teaching the ‘limp’ is a process of ‘shaping,’ which involves rewarding successive approximations of the final desired behavior. This requires patience and excellent timing. Keep your training sessions short—no more than 5-10 minutes at a time—to keep your dog engaged and prevent frustration. Here is the detailed, step-by-step method:
- Step 1: Start with ‘Shake’ and Introduce the Prop. Ask your dog for its paw as you normally would. When it offers its paw, gently place the small piece of painter’s tape on the top of its foot. Do not give the treat for the ‘shake’ itself. The goal is to shift the reward criteria.
- Step 2: Capture the Paw Lift. The moment you place the tape on its paw, your dog will likely try to lift its foot to investigate or shake it off. The instant the paw comes off the ground, click your clicker (or say ‘Yes!’) and immediately give a high-value treat. It is critical to mark the exact moment the paw is lifted. Repeat this several times.
- Step 3: Shape for Duration. Once your dog is reliably lifting its paw as soon as you place the tape, start to delay the click/reward by a fraction of a second. You are now rewarding the dog for holding its paw up. Gradually increase this duration, from one second to two, then three. If the dog puts its paw down too soon, you have pushed too far; simply go back to the previous successful duration.
- Step 4: Introduce the Verbal Cue. When your dog is consistently holding its paw up for several seconds, you can add your verbal cue. As your dog lifts its paw, say your chosen cue clearly—for example, ‘Ouch!’, ‘Limp,’ or ‘You’re hurt!’. Say the cue, then click/reward when the dog performs the action. After many repetitions, the dog will begin to associate the word with the action.
- Step 5: Fade the Prop. Now it is time to remove the reliance on the tape. Start by just touching the dog’s paw with the tape but not leaving it on, then give the cue. Next, just motion toward the paw with the tape in your hand. Eventually, you will be able to simply give the verbal cue without any prop at all. This fading process must be gradual.
- Step 6: Incorporate Forward Movement. This is the most challenging step. With your dog holding its paw up on the verbal cue, take a small step backward and use a treat to lure it forward. The moment it takes a single hop or step while keeping the paw lifted, click/reward. This is a jackpot moment! You are now shaping the ‘limp’ into a mobile action. Start with one step, then gradually build up to two or three, rewarding generously for any successful attempt.
Expert Tip: Throughout this process, your energy is key. Stay positive, patient, and encouraging. If your dog seems confused or frustrated, simply end the session on a positive note by asking for a simple trick it knows well, like ‘sit,’ and rewarding it. You can always try again later.
Advanced Variations and Showmanship
Once your dog has mastered the basic limp on a verbal cue, you can add layers of complexity and drama to turn it into a true performance piece. This is where your creativity as a trainer can shine, but remember to always keep it fun and positive for your dog.
Adding Vocalizations
Teaching a dog to ‘whimper’ or ‘cry’ on cue can add a hilarious level of drama to the fake injury. The best way to teach this is through capturing. Keep treats handy and wait for your dog to naturally make a small whining or grumbling sound, which many dogs do when they are excited or want something. The moment you hear the sound, mark it (‘Yes!’) and reward. Over time, you can put this on a cue like ‘Whimper.’ Once mastered, you can cue the ‘Limp’ and then the ‘Whimper’ for a combined effect.
The Dramatic Collapse
For the ultimate performance, you can chain the ‘limp’ into a ‘play dead’ or ‘bang’ trick. This requires the ‘play dead’ trick to be taught separately and be rock-solid. The sequence would be:
- You give the cue for the ‘Limp.’
- Your dog begins to limp dramatically across the room.
- Halfway through, you give the ‘Bang!’ or ‘Play Dead!’ cue.
- Your dog theatrically collapses onto its side from the limping position.
This combination requires significant focus and a deep understanding of each individual cue. It is a testament to a very high level of training and partnership.
Increasing Distance and Duration
A truly impressive performance involves the dog executing the trick at a distance and for a sustained period. Gradually increase the distance between you and your dog when you give the cue. Start with a few feet and slowly work your way up to cueing the limp from across the room. Similarly, practice extending the duration of the limp, rewarding your dog for taking more and more ‘injured’ steps before receiving its reward. This builds endurance and strengthens the reliability of the cue.
Troubleshooting Common Training Hurdles
Even with the best plan, you may encounter challenges. Canine training is rarely a linear process. Identifying the problem and adjusting your technique is a core skill of any good trainer. Below are common hurdles and professional solutions to get you back on track.
| Common Problem | Solution and Rationale |
|---|---|
| Dog refuses to lift its paw for the tape. | The dog may be uncomfortable with the sensation or not understand the goal. Go back to basics. Work on simple ‘shake’ commands for a session. Reintroduce the tape by just showing it, then touching the paw with it, rewarding for any calm acceptance. Ensure the tape is not too sticky. |
| Dog immediately puts its paw down. | This is a classic sign that you are asking for too much duration too soon. Your timing of the click/reward is critical. Go back to marking the instant the paw lifts off the ground. Only after 10-15 successful repetitions should you begin to delay the click by a fraction of a second. |
| The limp is inconsistent; it works sometimes but not others. | Inconsistency often points to a ‘poisoned cue’ (the dog has a negative association) or a lack of clarity. Ensure your verbal cue is distinct and used only for this trick. Revisit the fading of the prop (the tape); you may have removed it too quickly. Also, evaluate your reward value—is it high enough to motivate this complex task? |
| Dog gets frustrated, starts barking, or disengages. | This is a clear signal to end the training session. Frustration is the enemy of learning. Keep sessions very short (3-5 minutes for a complex trick like this). Always end on a successful repetition, even if it means asking for a simpler, known command like ‘sit.’ This ensures the dog’s final memory of the session is positive. |
| Dog will limp in place but won’t move forward. | This is the trickiest step. The lure is crucial here. Use an extremely high-value, smelly treat held right at the dog’s nose. Move it forward just an inch to encourage a small weight shift or hop. Reward any forward momentum, no matter how slight. You can also try luring them over a very low object, like a book lying flat, which can encourage them to step rather than just stand. |
Important Considerations: The Ethics and Responsibility of the Trick

Teaching the ‘fake injury’ trick comes with a unique set of responsibilities. While it is a source of great fun, it is paramount that we consider the context and potential consequences of its performance. As responsible pet owners and trainers, our primary duty is to the well-being and safety of our dogs and to avoid causing unnecessary alarm to others.
Know Your Audience
This trick should be reserved for audiences who are ‘in on the joke’—friends, family, or attendees at a canine talent show. Performing it in a public park or in front of strangers who are unaware it’s a trick can cause genuine distress and panic. Someone might think your dog is truly injured and attempt to intervene, creating a stressful and potentially dangerous situation for everyone involved. It is never appropriate to cause public alarm for the sake of a prank.
Avoid Critical Contexts
Never, under any circumstances, should you cue this behavior at a veterinary clinic, a doggie daycare, or with a pet sitter. In these environments, a limp is a critical diagnostic sign of a potential health issue. Confusing a caregiver or a veterinary professional could lead to a misdiagnosis, unnecessary tests, or the overlooking of a real injury in the future. The integrity of your dog’s health assessment is far more important than any trick.
A Veterinarian’s Perspective: Please remember that while this trick is fun, we rely on your honest observations to care for your pet. If your dog has a history of performing this trick, it is helpful information to share during an exam, but please do not demonstrate it in the clinic. We need to be able to trust that a limp we see is a genuine symptom requiring our attention.
Monitor Your Dog’s Well-being
Throughout the training and performance of this trick, you must be hyper-vigilant about your dog’s actual physical state. If your dog ever shows signs of a real limp or lameness, cease all trick training immediately and consult your veterinarian. Furthermore, always watch your dog’s body language. Training should be fun. If your dog shows signs of stress—such as lip licking, yawning, or avoiding the training session—it’s time to take a break and re-evaluate your approach. The goal is a happy, engaged training partner, not a stressed performer.
Conclusion
Teaching your dog to perform a ‘fake injury’ is an ambitious but deeply rewarding training challenge. It goes beyond basic obedience, requiring a sophisticated level of communication, trust, and partnership between you and your canine. By following the step-by-step process outlined here—building a strong foundation, shaping the behavior with patience, and troubleshooting with empathy—you can successfully teach this impressive and entertaining trick.
Remember that the journey is as important as the destination. Every short, positive training session strengthens your bond and enriches your dog’s life with valuable mental engagement. Always prioritize your dog’s comfort and well-being, and perform this particular trick responsibly and ethically. When done right, the ‘limp’ is more than just a prank; it is a celebration of the incredible intelligence of our dogs and the amazing things we can achieve together through positive, compassionate training.