Step-by-Step Guide to Teaching Your Dog the Army Crawl
Teaching your dog new tricks is more than just a fun pastime; it is a powerful tool for mental stimulation, strengthening your bond, and improving overall obedience. The army crawl is a particularly impressive and engaging trick that showcases your dog’s focus and physical control. While it may look complex, this behavior can be taught to most dogs with patience, consistency, and the right techniques. This guide provides a comprehensive, step-by-step approach rooted in positive reinforcement principles, ensuring the training process is enjoyable and effective for both you and your canine companion. Before we begin, it is crucial to remember that every dog learns at a different pace. The key to success is to celebrate small victories, keep training sessions short and positive, and never force your dog into a position that causes discomfort. Prepare to unlock a new level of communication and teamwork with your dog.
Prerequisites and Essential Tools for Success
Foundational Skills and Necessary Equipment
Before you begin teaching the army crawl, it’s essential to ensure your dog has a solid understanding of a few basic commands and that you have gathered the appropriate tools. A strong foundation will make the learning process significantly smoother and less frustrating. Rushing into an advanced trick without the prerequisites in place can lead to confusion for your dog and slow your progress.
Required Foundational Commands
Your dog should have mastered the following commands before you attempt the army crawl:
- Down: Your dog must be able to lie down on command reliably and hold the position calmly. The entire army crawl trick is built upon the ‘down’ position, so this is non-negotiable. The dog should be comfortable staying down for at least 10-15 seconds without prompting.
- Stay: A solid ‘stay’ command helps reinforce the ‘down’ position and prevents your dog from popping up prematurely during training. While not as critical as ‘down,’ it teaches impulse control that is highly beneficial.
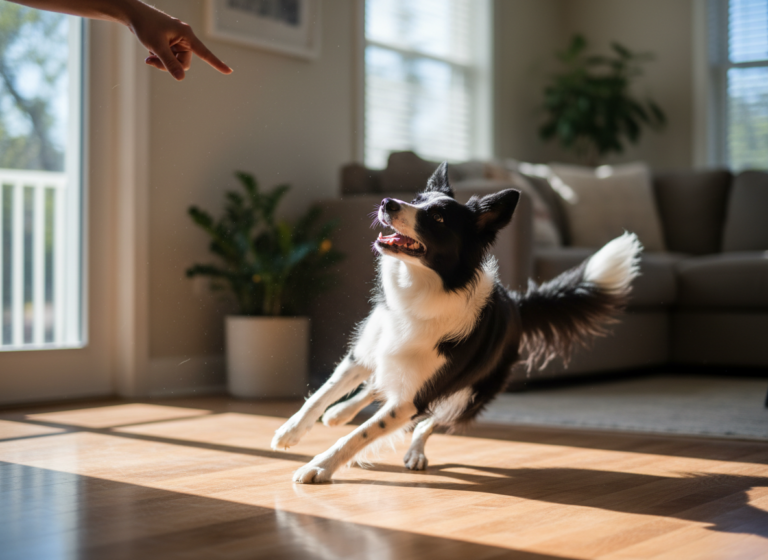
- Focus/Watch Me: A command that gets your dog to make eye contact with you is invaluable. It helps keep them engaged and focused on you and the task at hand, especially when you begin to fade the lure.
Essential Training Tools
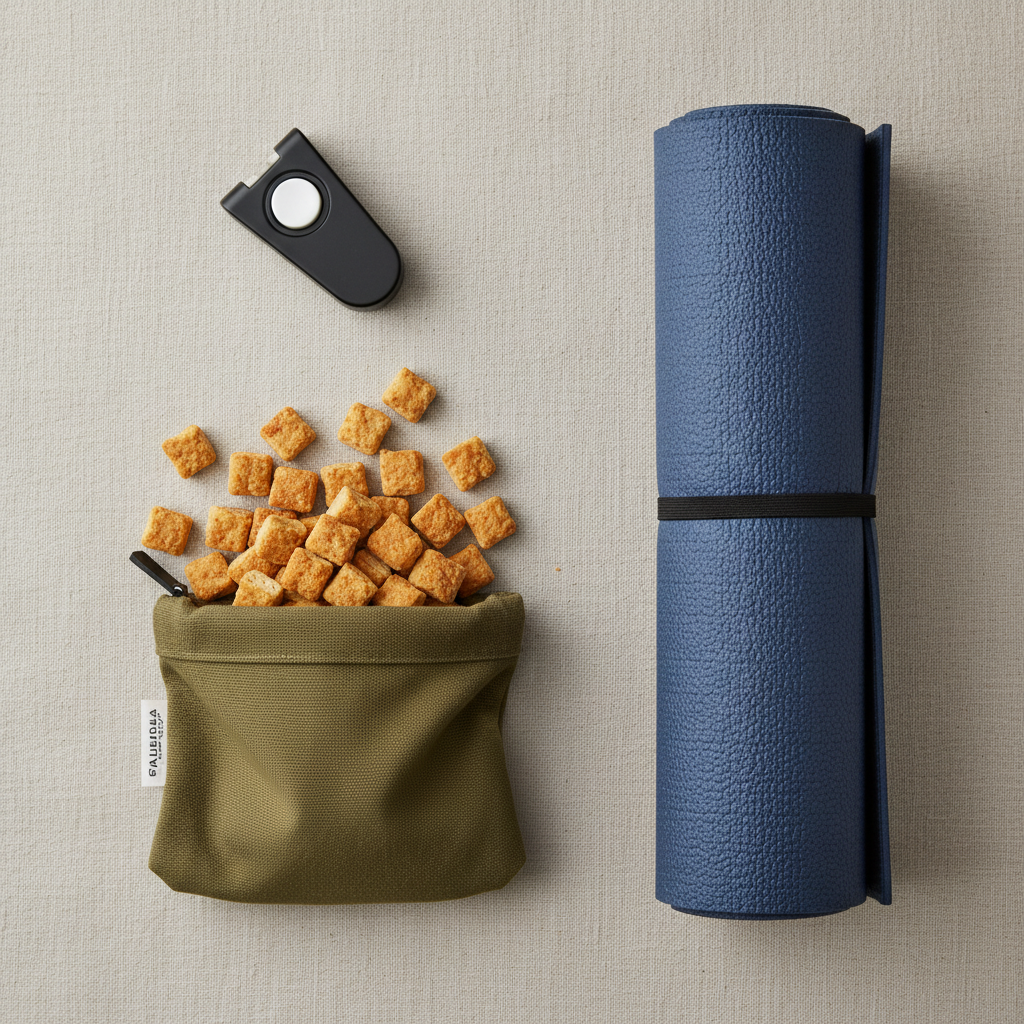
Having the right equipment ready will streamline your training sessions. You do not need expensive gear, but these items are highly recommended:
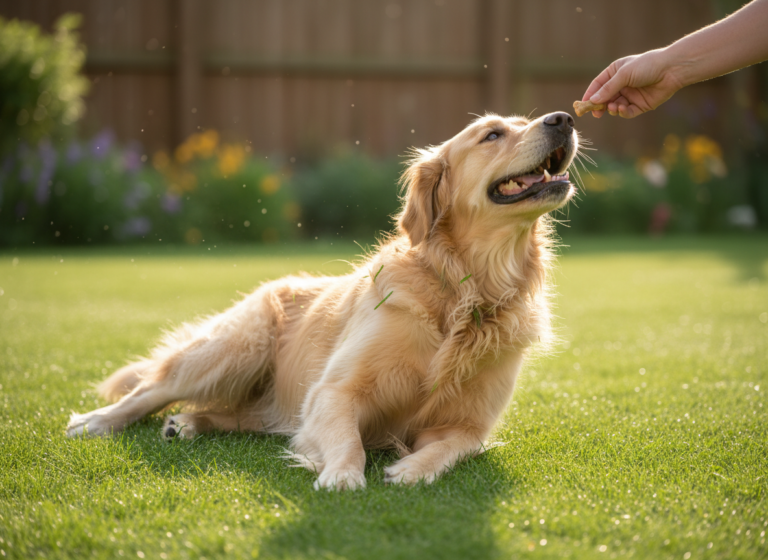
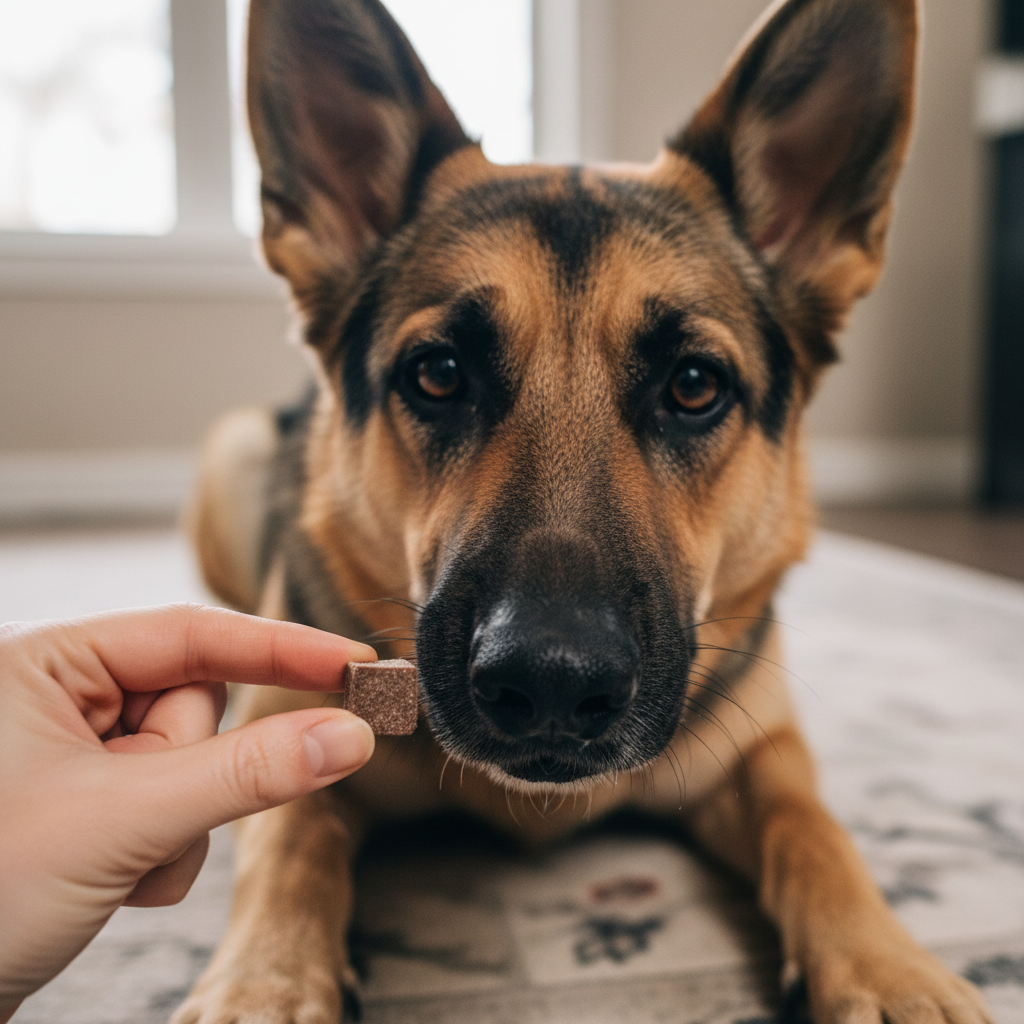
- High-Value Treats: These are special, highly motivating treats that your dog absolutely loves and doesn’t get regularly. Think small pieces of cooked chicken, cheese, or commercial soft training treats. The treats should be small and easy to swallow quickly so as not to disrupt the flow of the session.
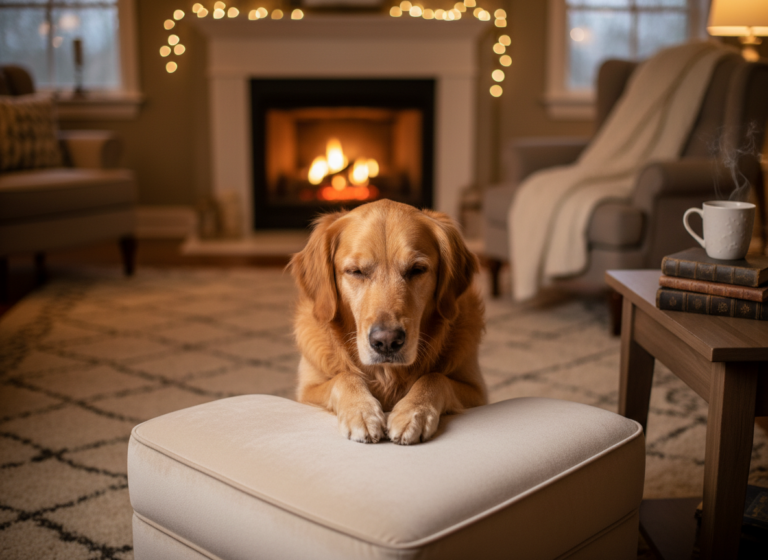
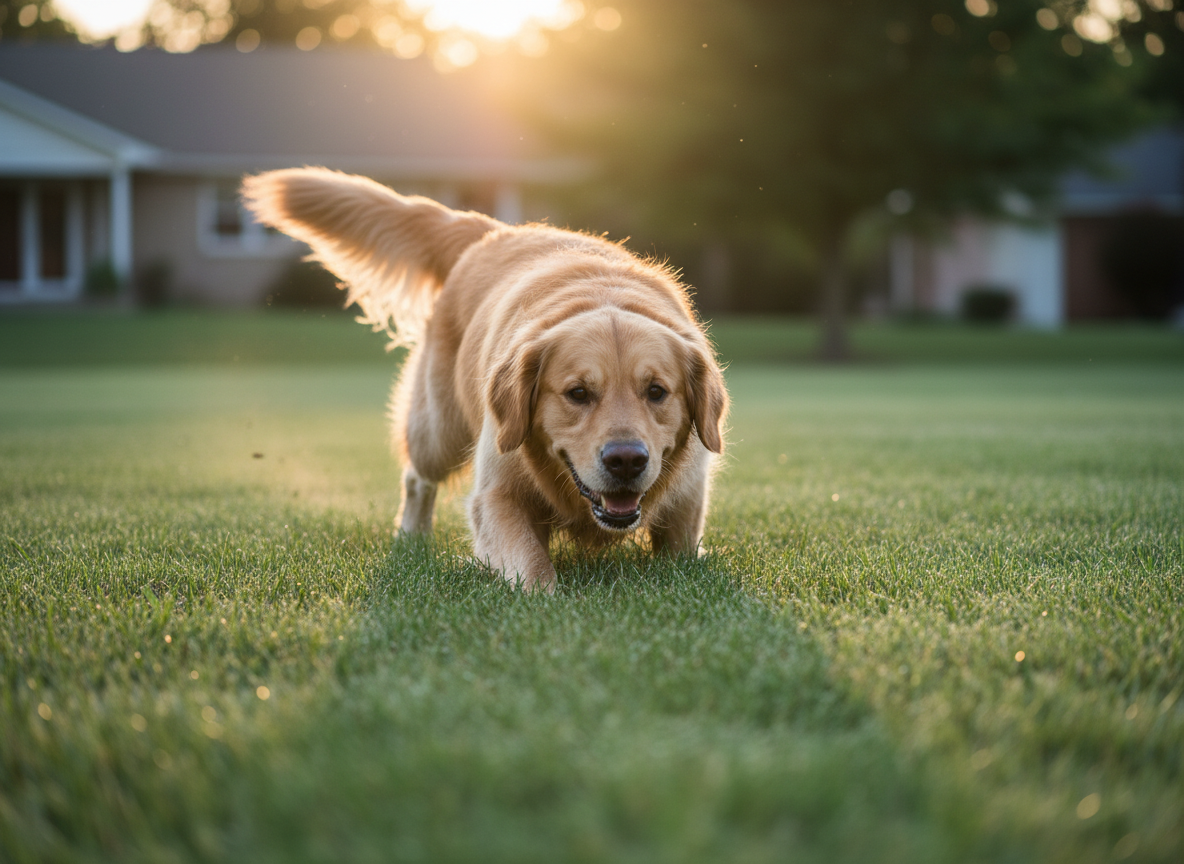
- A Comfortable, Non-Slip Surface: Train on a surface that provides good traction and comfort, such as a carpeted floor, a large rug, or a grassy area outdoors. Avoid slippery surfaces like hardwood or tile floors, as your dog may struggle to get a grip and could become discouraged or even injured.
- Clicker (Optional): If you are familiar with clicker training, a clicker can be a powerful tool for precisely marking the moment your dog performs the correct micro-movement. The click acts as a bridge, instantly communicating ‘Yes, that’s what I want!’ before you deliver the treat.
Expert Tip: Always conduct a short warm-up session of basic commands your dog knows well before starting a new training exercise. This gets your dog into a ‘working’ mindset and sets a positive tone for learning.
The Core Training Method: A Step-by-Step Luring Process
Breaking Down the Crawl: The Luring Technique
The most effective way to introduce the army crawl is through a technique called ‘luring.’ This involves using a high-value treat to guide your dog’s nose, and consequently their body, into the desired position and movement. This process must be broken down into small, achievable steps.
-
Step 1: Establish the Starting Position
Begin by asking your dog to lie down. Once they are in a stable ‘down’ position, position yourself directly in front of them, sitting or kneeling at their level. This makes it easier to lure them and observe their movements. Reward them for simply holding the down position calmly.
-
Step 2: Lure the Head and Shoulders Forward
Hold a high-value treat in your hand, closed in a fist, and let your dog sniff it. Once you have their attention, slowly move the treat from their nose straight out and slightly down, just an inch or two away from them. The goal is to encourage them to stretch their neck forward to follow the treat without getting up. The moment they stretch forward, even slightly, mark the behavior (with a ‘Yes!’ or a click) and give them the treat. Repeat this several times until they are consistently stretching their head forward on cue.
-
Step 3: Encourage the First Forward Movement
Now, you will ask for a bit more. As you lure their head forward, move the treat a little further away, low to the ground. This should encourage them to shift their weight and pull themselves forward with their front paws. The very first time they drag their body, even a single inch, it’s a jackpot moment! Give them lots of praise and multiple treats. This is the breakthrough moment you are looking for. Don’t worry about distance yet; you are simply rewarding the concept of forward motion while staying down.
-
Step 4: Gradually Increase the Distance
Once your dog understands the concept of pulling themselves forward, you can begin to slowly increase the distance. Lure them forward for two inches, then three, then a full body length. Keep the treat low and move it in a straight line away from them. Only reward them when they have covered the desired distance. If they stand up, simply reset them in the ‘down’ position without any correction and try again with a shorter distance. Patience is paramount here.
Important Note: Keep training sessions short, ideally 5-10 minutes at most, once or twice a day. Ending on a successful repetition will keep your dog enthusiastic and eager for the next session. Overtraining can lead to frustration and burnout.
Phase Two: Introducing Verbal and Visual Cues
From Lure to Command: Adding Cues
Once your dog is reliably crawling a short distance by following the treat lure, it’s time to associate the action with a specific cue. The goal is to transition from needing a physical lure to having your dog perform the trick on command. This process involves two key components: fading the lure and introducing the cue.
Fading the Food Lure
Fading the lure means gradually reducing your dog’s dependency on the treat being right in front of their nose.
- Start by luring as you have been, but this time, have the treat in your hand but keep your fingers closed. Use the same hand motion to guide them. Reward from your other hand after they complete the crawl.
- Next, practice the same luring motion with an empty hand, rewarding from your other hand afterward. Your hand motion itself is becoming a visual cue.
- Gradually make the hand motion smaller and more subtle. The goal is to transition from a full luring motion to a distinct, repeatable hand signal.
Choosing and Introducing Cues
You should introduce a verbal cue and a hand signal simultaneously for the best results.
- Verbal Cue: Choose a short, clear word that you don’t use for other commands. ‘Crawl,’ ‘Creep,’ or ‘Army’ are common choices.
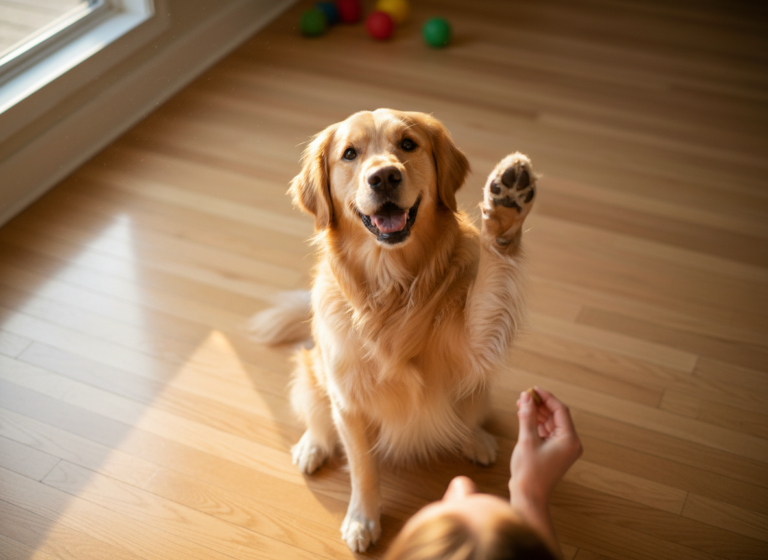
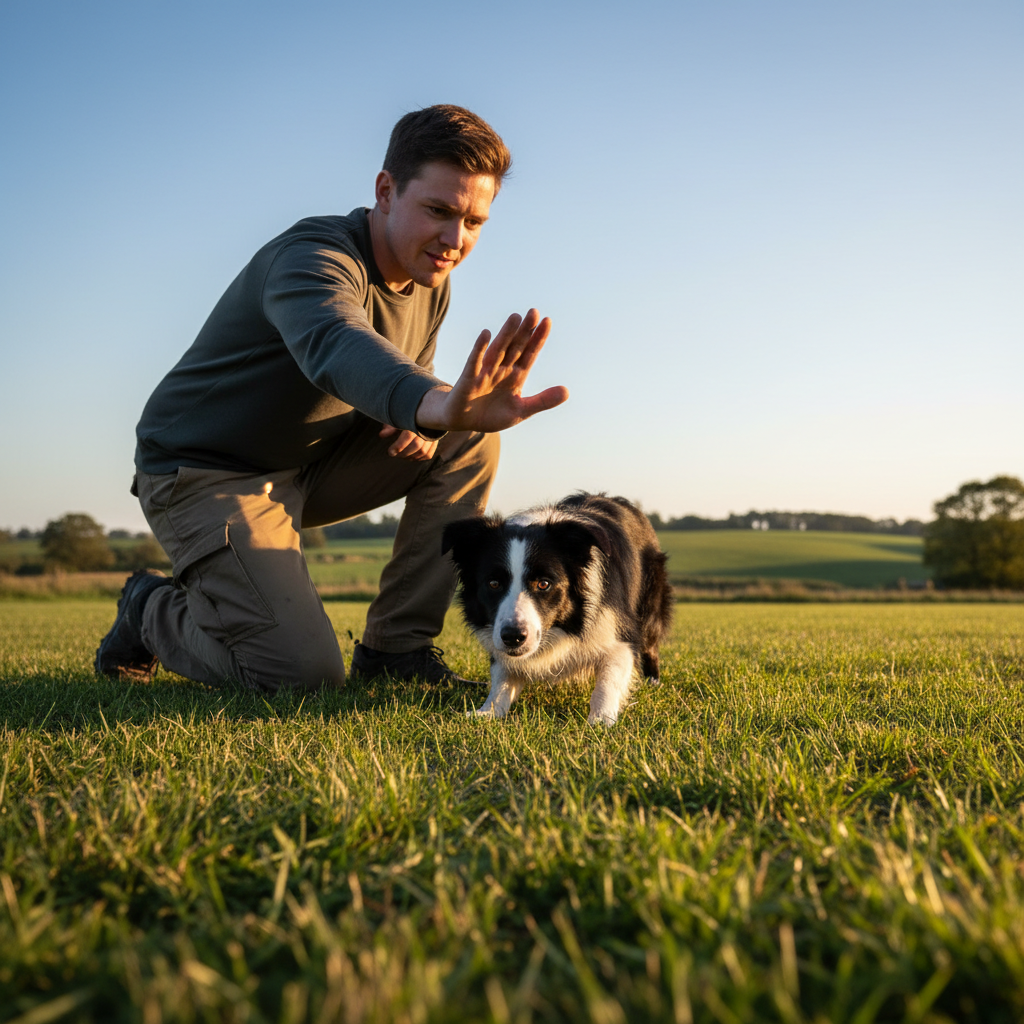
- Hand Signal: A good hand signal is one that is visually distinct from your other commands. A common signal for the army crawl is holding your hand flat, palm down, and moving it forward low to the ground.
To introduce the cues, follow this sequence: 1. Say your verbal cue (‘Crawl!’). 2. Immediately give the hand signal. 3. Reward any forward crawling movement. By consistently using this order, your dog will learn that the word ‘Crawl’ predicts the hand signal, which in turn predicts the crawling action and the subsequent reward. Over time, they will begin to respond to the verbal cue alone.
Advanced Training: Proofing and Generalization
Mastering the Crawl: Building Reliability and Duration
Getting your dog to army crawl in your quiet living room is a fantastic achievement. The next level of training is ‘proofing,’ which means teaching your dog to perform the command reliably in various situations, despite distractions. This stage is about generalizing the skill so it becomes a solid, dependable trick.
Increasing Duration and Distance
Once the cue is established, you can work on extending how long and how far your dog will crawl. Gradually increase your criteria for reward. Ask for a crawl of two body lengths, then three, then across the entire room. Use a ‘release’ word like ‘Okay!’ or ‘Free!’ to let them know when the trick is complete. This teaches them to continue the behavior until you give the release cue, rather than stopping whenever they choose.
Adding Distractions
Start with low-level distractions and gradually increase the difficulty.
- Practice in a different room of the house.
- Have another person walk calmly through the room while you are training.
- Move the training session to your fenced backyard.
- Practice in a quiet corner of a park, far away from other people and dogs.
If your dog breaks the crawl due to a distraction, it means the distraction was too intense. Simply lower the difficulty, move further away from the distraction, and try again, rewarding heavily for success.
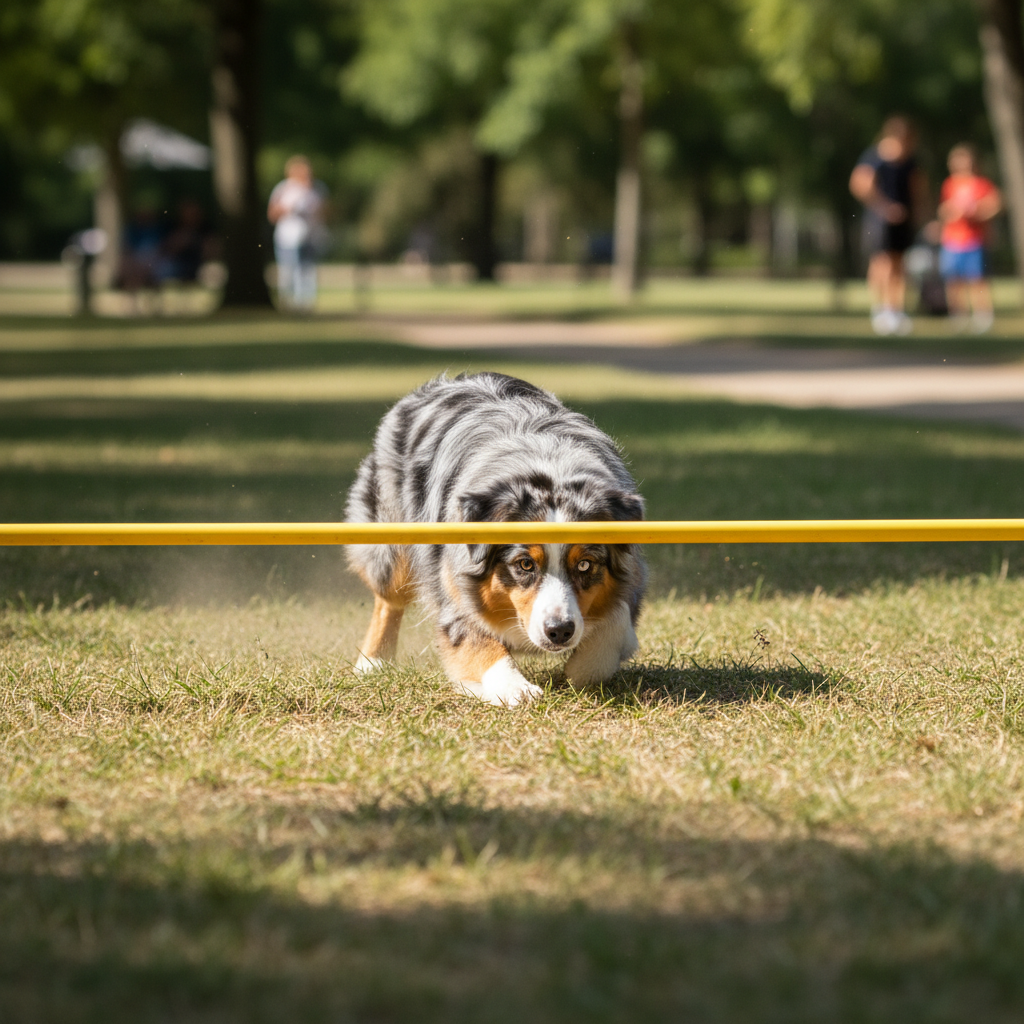
Incorporating Obstacles
To make the trick more challenging and visually impressive, you can teach your dog to crawl under objects. Start with something simple, like a broomstick held a foot off the ground by two books. Lure your dog to crawl underneath it. You can also use your own legs by forming a bridge for them to crawl under. This not only reinforces the ‘low to the ground’ aspect of the crawl but also adds a fun, practical application to the trick, similar to agility training.
| Proofing Stage | Environment | Goal |
|---|---|---|
| Stage 1: Foundation | Quiet room, no distractions | Reliable crawl for 5-10 feet on cue. |
| Stage 2: Generalization | Different rooms, backyard | Perform the crawl despite minor changes in location. |
| Stage 3: Distraction | Quiet park, person walking by | Maintain focus and perform the crawl with low-level distractions. |
| Stage 4: Advanced Application | Any safe environment | Crawl for long distances and under obstacles on command. |
Troubleshooting Common Training Roadblocks
Addressing Common Challenges and Mistakes
Even with the best plan, you may encounter challenges during the training process. Understanding these common issues and how to address them will help you stay on track and keep the training positive for your dog.
Problem: The Dog Keeps Standing Up
This is the most common issue. It usually happens when the lure is held too high or moved too quickly.
- Solution: Ensure your lure hand is kept very low, almost touching the floor. Slow down your luring motion. If your dog stands, do not scold them. Simply say ‘Oops!’ in a neutral tone, ask for a ‘down,’ and try again with a shorter, easier lure. You may need to go back to just rewarding a head stretch for a few repetitions to rebuild momentum.
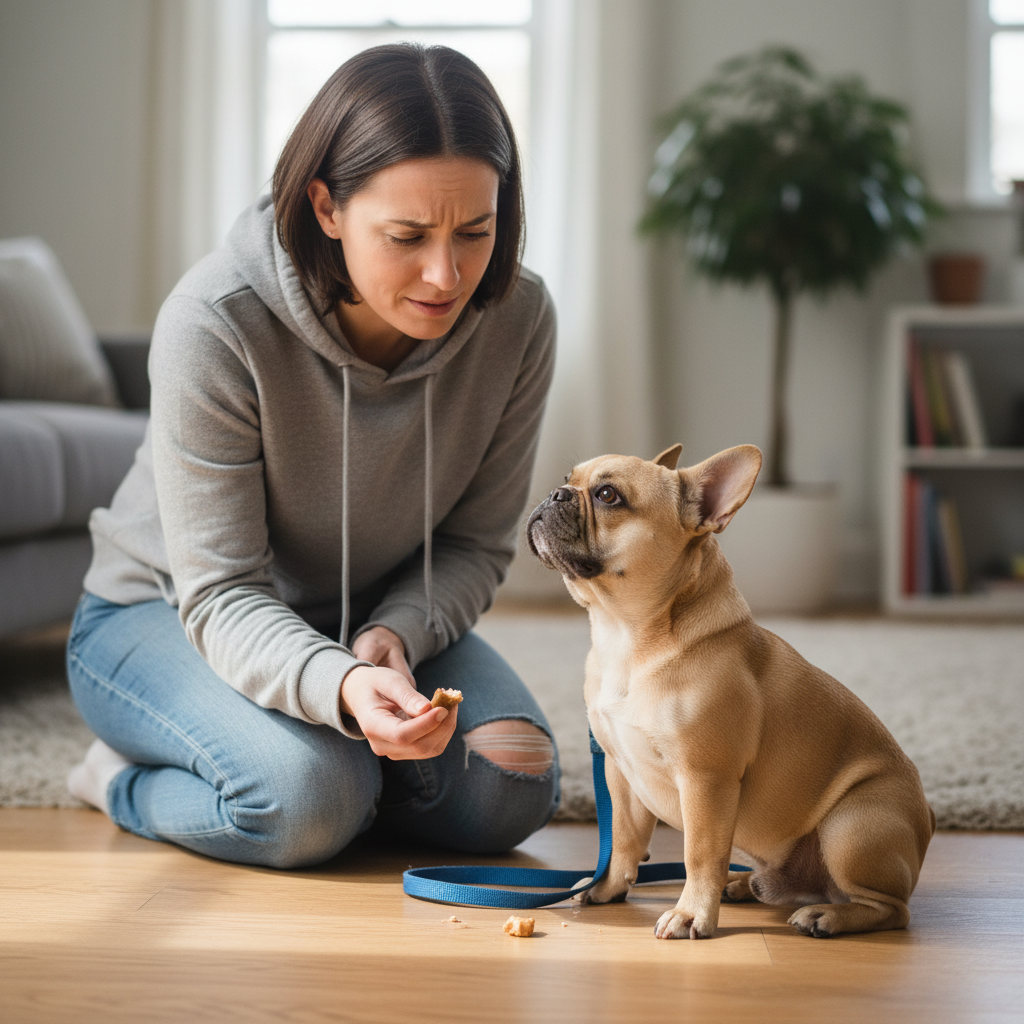
Problem: The Dog Loses Interest or Becomes Frustrated
If your dog starts sniffing the ground, walking away, or barking, they are likely either confused or tired.
- Solution: Your training sessions might be too long. Keep them under 10 minutes. Ensure you are using treats that are truly high-value and exciting. End the session on a positive note, even if it means asking for a simple ‘sit’ that you know they can do successfully. Always end with success.
Problem: The Dog Won’t Move Forward, Only Stretches
Sometimes a dog will master stretching its neck but hesitate to engage its front paws to pull its body.
- Solution: This indicates a need to build confidence. Try placing the treat slightly to the side of their nose, which may encourage them to shift their weight onto one paw, making it easier to pull forward. Reward any tiny shift in body weight or paw movement initially. You can also try training on a surface with more grip, like a thick rug.
A Trainer’s Reminder: The goal of trick training is to build your dog’s confidence and strengthen your relationship. If you feel yourself getting frustrated, take a break. Your dog is highly attuned to your emotional state, and your frustration can create a negative association with training.
Conclusion
Teaching your dog the army crawl is a rewarding journey that deepens your bond and provides excellent mental enrichment for your pet. By following the structured steps outlined in this guide—from establishing prerequisites and mastering the lure to introducing cues and proofing the behavior—you can successfully teach this impressive trick. Remember that the pillars of this process are patience, consistency, and positive reinforcement. Every dog is an individual and will learn at their own pace. Celebrate the small successes, troubleshoot challenges with a calm and analytical approach, and most importantly, ensure the experience remains fun for both of you. The skills, communication, and teamwork you build while training the army crawl will extend far beyond this single trick, enhancing your entire relationship with your canine companion.