Puppy Scratches At Collar? How To Get Them Used To Gear In 24 Hours
The arrival of a new puppy brings immense joy, but it also presents a series of crucial firsts. One of the earliest and most essential is introducing a collar. For many owners, the sight of their puppy incessantly scratching, pawing, or rolling to remove this foreign object can be distressing. This is not an act of defiance; it is a natural reaction to an unfamiliar sensation. Your objective is not to force compliance, but to systematically teach your puppy that a collar is a neutral, or even positive, part of their life.
This guide provides a systematic, behaviorist-approved protocol to acclimate your puppy to their collar, aiming for significant progress within a focused 24-hour period. By leveraging principles of classical conditioning and positive reinforcement, you can transform the collar from a source of irritation into a signal for positive experiences like walks, play, and rewards. This foundational training is critical for their safety and for building a relationship based on trust and clear communication.
Understanding the Aversion: Why Puppies Scratch at Collars

Before beginning any training protocol, it is imperative to understand the root cause of the behavior. A puppy’s resistance to a collar is rarely arbitrary. It is a logical response to one or more underlying factors that must be identified and addressed for successful acclimation.
A Novel and Unnatural Sensation
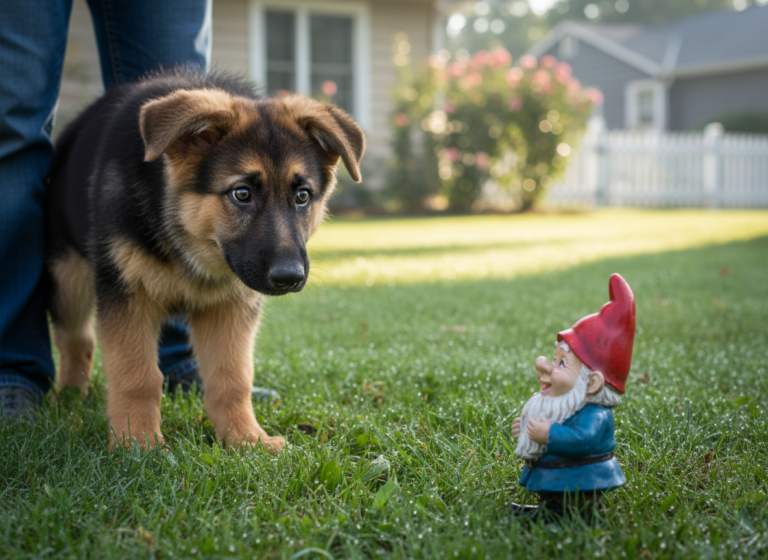
From birth, a puppy’s world is one of soft textures and the familiar weight of its littermates. A collar introduces a constant, localized pressure around the neck—one of the most sensitive areas of their body. This new sensory input can be overstimulating or alarming, triggering a reflexive need to scratch or paw at the source to remove it.
Improper Fit and Physical Discomfort
An incorrectly fitted collar is a primary cause of persistent scratching. A collar that is too tight can restrict breathing, chafe the skin, and cause significant pain. Conversely, a collar that is too loose can snag on objects, get caught in the puppy’s mouth during grooming, or shift uncomfortably. The material itself can also be a culprit; some puppies have sensitive skin that may be irritated by nylon, dyes, or heavy buckles.
Negative Associations
A puppy’s first experience with a collar can create a lasting impression. If the introduction involved restraint, a stressful car ride, a visit to the veterinarian, or any other frightening event, the puppy can form a negative conditioned emotional response. The collar then becomes a predictor of unpleasant things, and the puppy’s attempts to remove it are an effort to avoid the anticipated stress.
Underlying Medical Conditions
You must always rule out a medical basis for excessive scratching. A localized skin infection, an allergic reaction to the collar’s material, or the presence of ectoparasites like fleas or ticks can all cause intense itching. If the scratching is frantic, causes redness, hair loss, or broken skin, a veterinary consultation is mandatory before proceeding with any behavioral training.
Preparation: Setting the Stage for Success
Rapid and successful collar training is contingent on meticulous preparation. Rushing this stage will undermine your efforts. Before you begin the first training session, you must select the right equipment and prepare your training environment.
Choosing the Right First Collar
The puppy’s first collar should prioritize comfort and light weight over style. For a young puppy, a simple, flat-buckle collar made of lightweight nylon or soft, rolled leather is ideal. Avoid heavy chains, elaborate decorations, or wide designs that can be overwhelming. The goal is for the collar to be as unnoticeable as possible.
| Material | Pros | Cons | Ideal For |
|---|---|---|---|
| Nylon | Lightweight, affordable, wide variety of colors | Can cause chafing on sensitive skin, edges may fray | A puppy’s first collar, general use |
| Rolled Leather | Gentle on fur, prevents matting, durable | More expensive, requires maintenance | Long-haired breeds, long-term use |
| Neoprene-Padded | Soft, cushioned, dries quickly | Can be bulkier, may retain odors | Active puppies, dogs that swim |
Ensuring the Perfect Fit
The most critical aspect of collar safety and comfort is the fit. Use the ‘two-finger rule’ as your standard. You should be able to comfortably slide two fingers, held flat, between the collar and your puppy’s neck. There should be no bulging or straining. Check the fit daily, as puppies grow at an astonishing rate. A collar that fit perfectly on Monday could be dangerously tight by Friday.
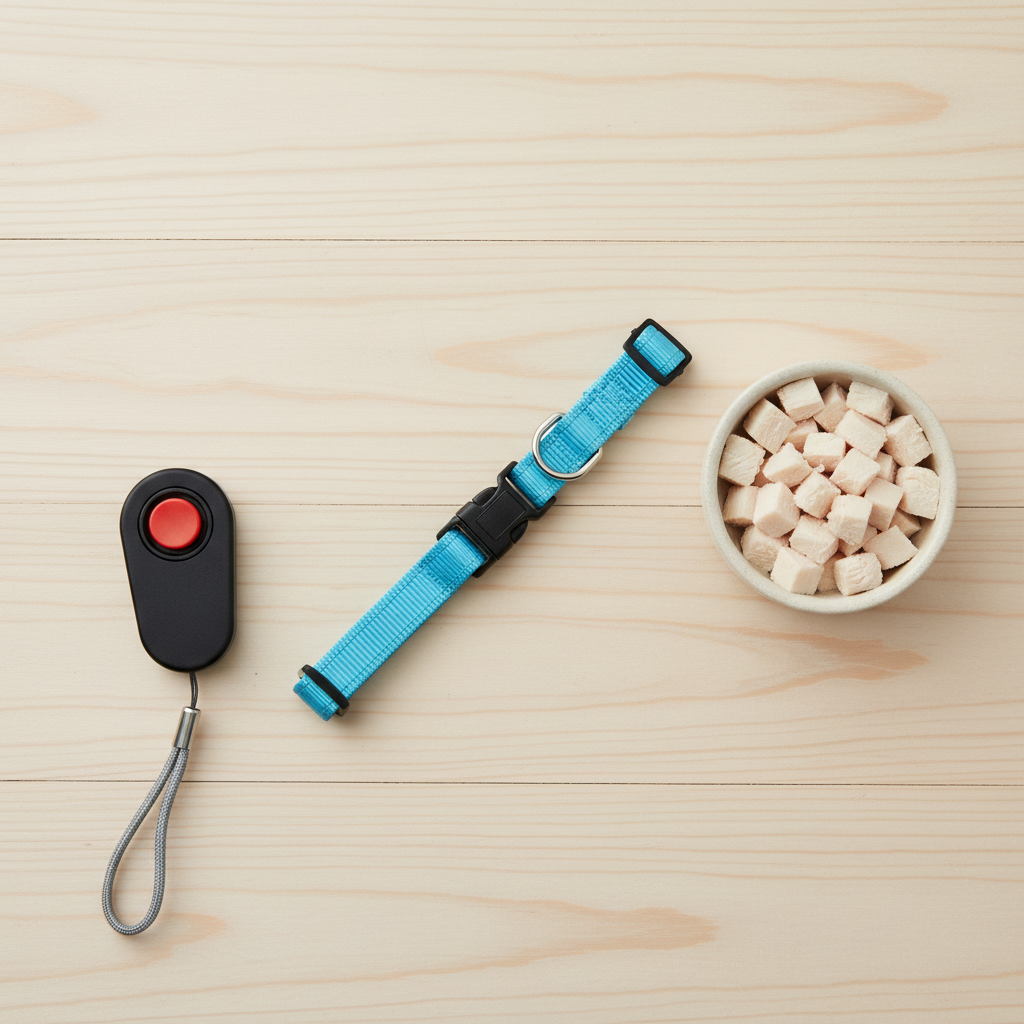
Gathering Your Reinforcement Tools
This protocol relies on high-value rewards to create a positive association. Standard kibble will not suffice. Prepare a supply of small, pea-sized, highly palatable treats. Options include boiled chicken, small cubes of cheese, or commercial soft training treats. You will also need a quiet, indoor space free from distractions like other pets, children, or loud noises to conduct the initial training sessions.
The 24-Hour Acclimation Protocol: A Step-by-Step Guide
This protocol is divided into short, frequent sessions over a 24-hour period. The key is to always end each session on a positive note, before the puppy shows signs of frustration. Consistency and patience are paramount.
- Step 1: Scent and Sight Introduction (Morning)
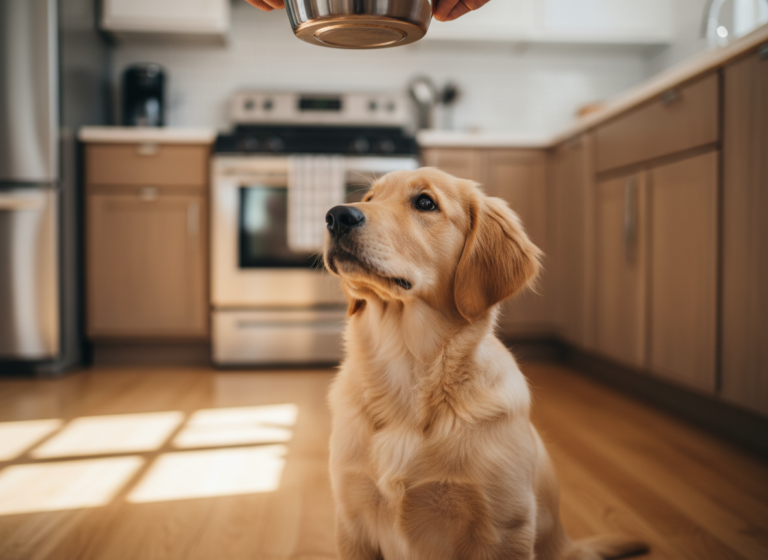
The goal of this step is to build a positive association with the mere presence of the collar. Hold the collar in your hand and present it to your puppy. The moment their nose touches it to sniff, mark the behavior with a verbal ‘Yes!’ and immediately provide a high-value treat. Do not attempt to put it on. Repeat this 10-15 times. Afterward, place the collar on the floor next to their food bowl while they eat their meal. - Step 2: Touch and Treat Association (Late Morning)
Now, you will associate the physical sensation of the collar with the reward. Hold the collar in one hand and treats in the other. Gently touch the collar to the side of your puppy’s neck for a single second, then immediately remove it and deliver the treat. Repeat this process, gradually increasing the duration of the touch to two, then three seconds. The puppy should learn that the feeling of the collar on their neck predicts the arrival of a delicious reward. - Step 3: Desensitization to the Buckle (Mid-Day)
The ‘click’ of the buckle can be startling. Desensitize your puppy to this sound. While sitting with your puppy, hold the collar away from their body and simply open and close the buckle. Each time it clicks, provide a treat. Continue until the puppy hears the click and looks at you expectantly for a reward. This changes the sound from a potential threat to a predictor of reinforcement. - Step 4: The First Application (Afternoon)
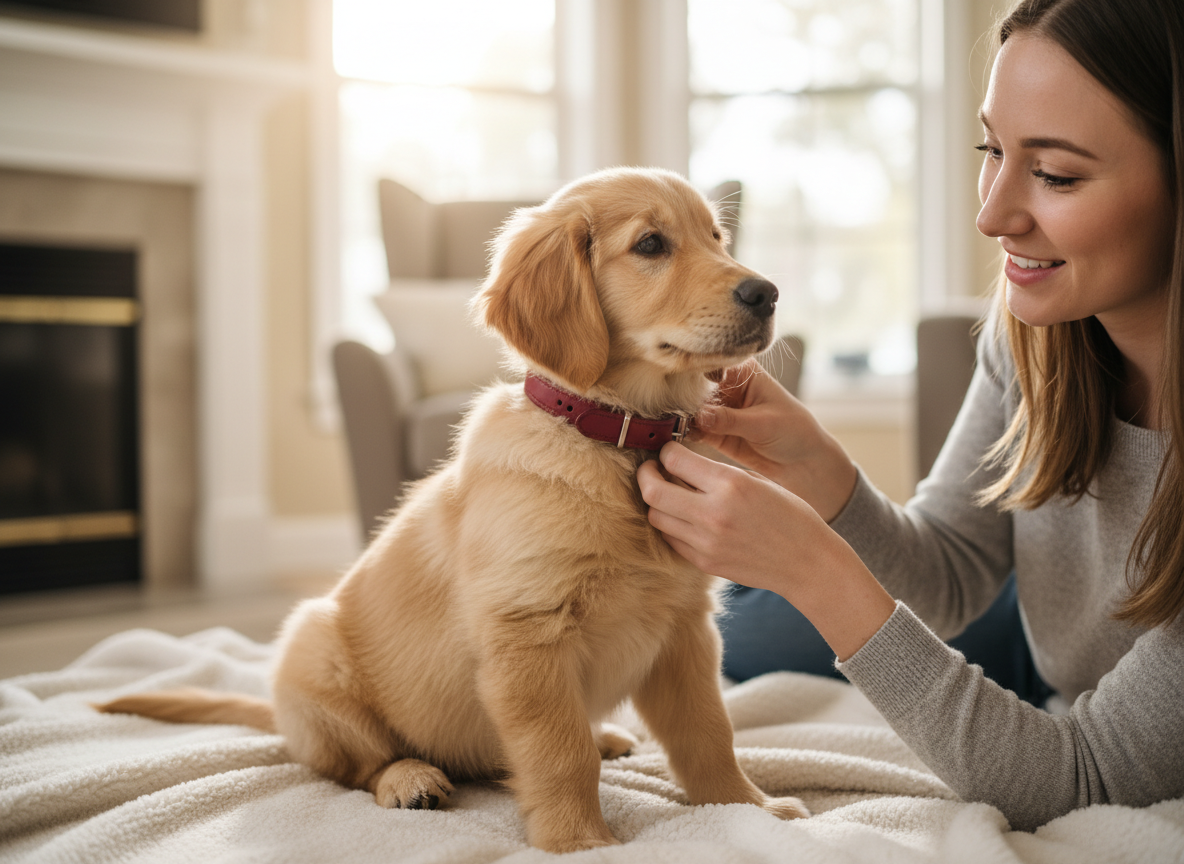
This is a critical transition. Prepare a high-value distraction that requires focus, such as a puzzle toy filled with treats or a lick mat smeared with dog-safe peanut butter. As your puppy becomes engrossed in the activity, calmly and swiftly fasten the collar around their neck. Keep it slightly looser than the final fit. Allow them to wear it for just 30-60 seconds while they are distracted. Then, before they finish with the toy, calmly remove it. The goal is for the first wearing to be brief, positive, and barely noticed. - Step 5: Increasing Duration with Active Engagement (Early Evening)
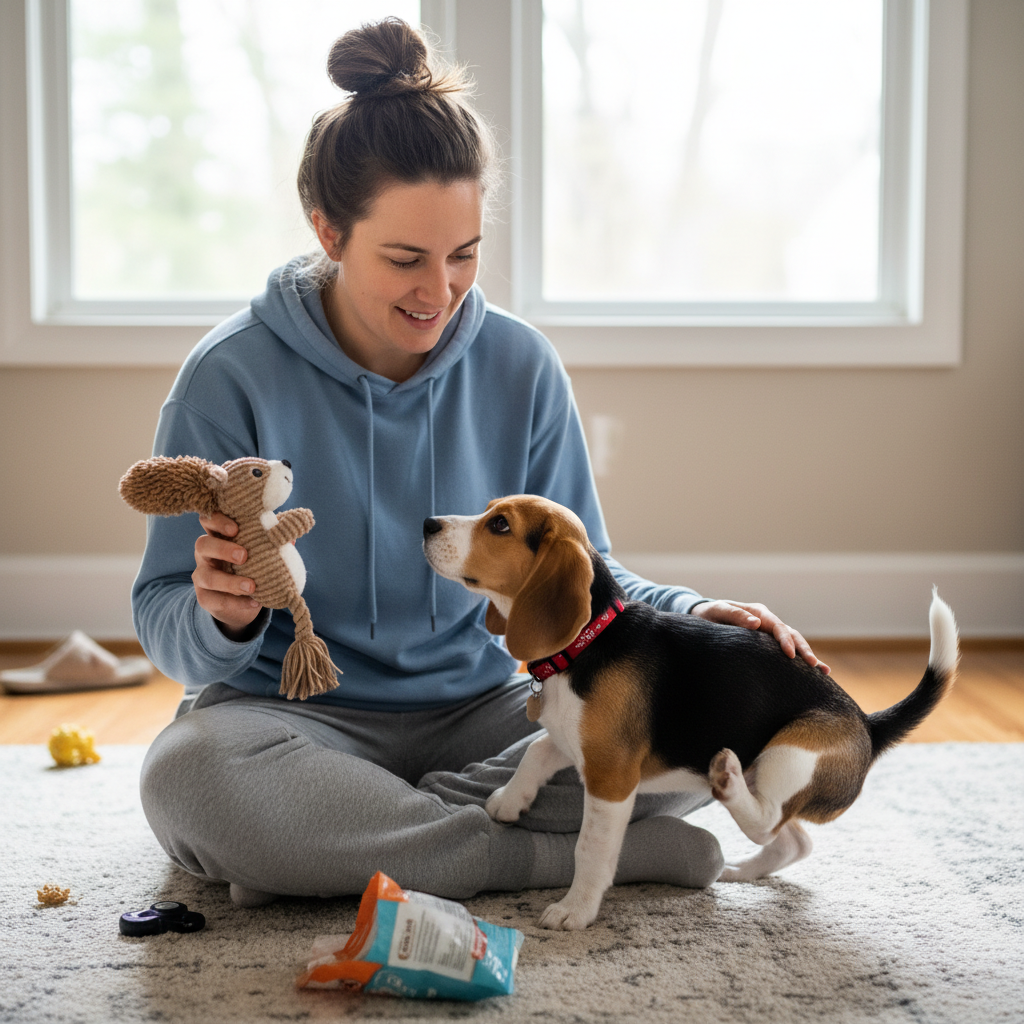
The next step is to extend the duration while the puppy is in a positive, engaged state of mind. Put the collar on and immediately initiate a fun, high-energy game of fetch or tug-of-war. A short, upbeat training session working on ‘sit’ or ‘down’ also works well. The objective is to make the collar ‘background noise’ to a highly enjoyable activity. If you notice a scratch attempt, redirect their attention back to the game. Keep this session to 5-10 minutes, and remove the collar while the puppy is still happy and playing. - Step 6: Calm Time and Overnight Integration (Night)
After their evening energy has been expended, put the collar on as the puppy is settling down for the night. Offer a long-lasting chew or simply sit with them, providing calm petting. Supervise them closely. If they are relaxed and comfortable, you can leave the collar on overnight. Ensure it is fitted correctly and that there are no dangling tags that could pose a choking hazard in their crate. If the puppy still seems agitated, remove it and be prepared to repeat the final steps the following day. The ’24-hour’ timeline is a framework for focused effort, not a rigid deadline.
Troubleshooting and Common Challenges
Even with a careful approach, some puppies may present more persistent resistance. If your puppy continues to scratch, it is essential to diagnose the problem systematically rather than assuming the training has failed.
Immediate Action: Re-Check Fit and Physicals
Your first response to continued scratching should always be to stop and perform a physical check. Remove the collar and carefully inspect the puppy’s skin for any redness, welts, hair loss, or signs of irritation. Re-verify the fit using the two-finger rule. Sometimes, a single sharp edge on a nylon collar or a buckle pressing into the neck is the sole cause of the problem.
Behavioral Strategy: Regress to the Last Point of Success
If you have ruled out physical discomfort, the most likely issue is that the training has progressed too quickly for your individual puppy’s tolerance. This is not a failure. Simply take a step back in the protocol. If they began scratching during Step 5 (active engagement), return to Step 4 (brief wearing with a high-value distraction) and conduct several more successful sessions at that level before attempting to move forward again.
The Power of Redirection
When you see your puppy begin to scratch, avoid scolding or physical punishment, as this will only create a negative association with the collar and with you. Instead, use a calm, neutral interrupter like ‘Oops!’ and immediately redirect their attention to a more desirable behavior. Toss a toy, ask for a ‘sit’ they know well, or scatter a few treats on the floor for them to find. This teaches them what to do instead of scratching.
Remember, the goal is not to stop the scratching, but to change the underlying emotional response that causes the scratching.
When to Consult a Professional
If you have diligently followed the protocol, ruled out medical issues, and the puppy’s distress continues or worsens, it is time to seek professional guidance. A board-certified veterinary behaviorist or a certified professional dog trainer (CPDT-KA) can provide a customized plan and help identify subtle environmental stressors or handling errors that may be contributing to the problem.
Conclusion
Successfully acclimating your puppy to a collar is a foundational exercise in responsible pet ownership. It is a non-negotiable tool for their safety, providing a place for essential identification tags should they ever become lost. The protocol outlined here is built on the modern, humane principles of canine behavioral science. It prioritizes the animal’s emotional well-being by systematically replacing fear and discomfort with positive associations.
Patience is your most valuable asset in this process. Every puppy is an individual, and while this framework is designed for rapid progress, the true goal is not speed, but lasting comfort and acceptance. By approaching collar training as an opportunity to build trust and communication, you are not just teaching your puppy to wear a piece of gear; you are strengthening the bond that will last a lifetime.