Impress Your Friends: How to Train Your Dog to Fetch You a Beer from the Fridge

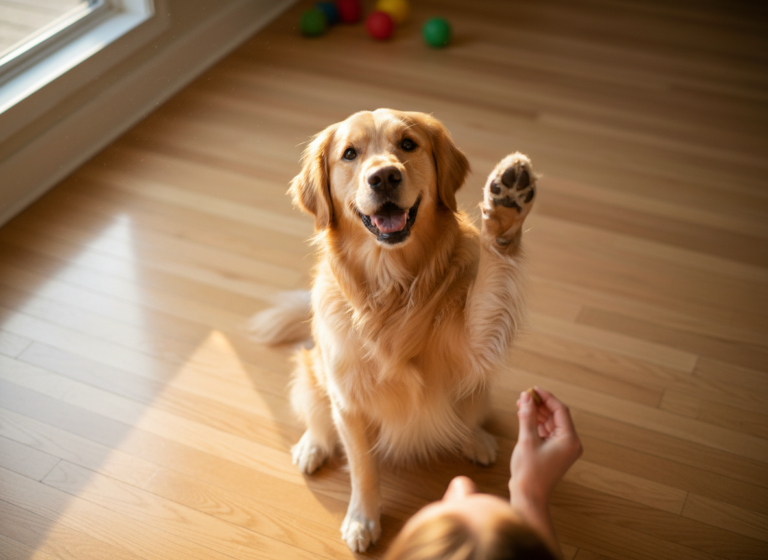
Training your dog to fetch a beer from the refrigerator is more than just a novelty party trick; it is a testament to the incredible bond you share and the remarkable intelligence of your canine companion. This advanced behavior chain requires patience, precision, and a deep understanding of positive reinforcement training principles. While the end result is undoubtedly impressive, the journey of teaching this complex task strengthens communication, builds confidence, and provides significant mental stimulation for your dog.
Before embarking on this training adventure, it is crucial to recognize that this is not a task for novice dogs or handlers. It builds upon a solid foundation of obedience and a strong desire to work with you. This guide will break down the process into manageable, sequential phases, from ensuring your dog is ready for the challenge to troubleshooting common hurdles. Our focus remains squarely on making this a safe, positive, and rewarding experience for both you and your talented pet. Let’s begin the process of unlocking your dog’s hidden potential.
Prerequisites: Is Your Dog Ready for This Advanced Trick?

Prerequisites: Is Your Dog Ready for This Advanced Trick?
Not every dog is an immediate candidate for a task this complex. Success hinges on pre-existing skills and the right temperament. Attempting to teach this trick without the proper foundation will only lead to frustration for both you and your dog. A thorough and honest assessment of your dog’s current abilities is the most critical first step.
Essential Foundational Commands
Your dog must have an unwavering mastery of several core commands before you can even consider approaching the refrigerator. These are the building blocks of the final behavior chain:
- Fetch (Retrieve): Your dog must not only chase and pick up an object but reliably bring it back to you. A casual game of fetch is different from a trained retrieve where the dog understands the full sequence of ‘go out, pick up, return, and deliver to hand.’
- Hold: This is paramount. Your dog needs to be able to hold an object of a specific size and shape gently but firmly in its mouth for a duration of time without chewing, mouthing, or dropping it. We will build on this, but a basic ‘hold’ is non-negotiable.
- Drop It (or ‘Give’): A clean release of the object into your hand on cue is the final step of any retrieve. A dog that is possessive of items or reluctant to release them will make this trick impossible and potentially unsafe.
Temperament and Physicality
Beyond commands, consider your dog’s innate personality and physical attributes:
- Motivation: Is your dog eager to please and food- or toy-motivated? This trick requires a high level of drive and enthusiasm for training. A dog that is easily bored or environmentally distracted may struggle.
- Confidence: A confident dog is less likely to be spooked by the sound of the refrigerator door opening or the movement of items inside. A timid or anxious dog may find the experience stressful.
- Physical Capability: The dog must be large and strong enough to pull the refrigerator door open and carry the weight of a can. A small toy breed, for example, would not be a safe or appropriate candidate for this particular trick. Ensure the task is well within your dog’s physical comfort zone.
Expert Tip: Before you begin, spend a few weeks sharpening these foundational skills. Use a variety of objects to practice ‘hold’ and ‘give’ to generalize the behavior. A rock-solid foundation is the fastest path to success in advanced training.
Gathering Your Training Tools and Setting Up the Environment
Gathering Your Training Tools and Setting Up the Environment
Proper preparation is key to creating clear, effective, and safe training sessions. Having the right tools on hand allows you to seamlessly reward desired behaviors and shape the actions you want to see. Your training environment should be controlled and free from distractions to help your dog focus entirely on the task at hand.
Essential Equipment Checklist
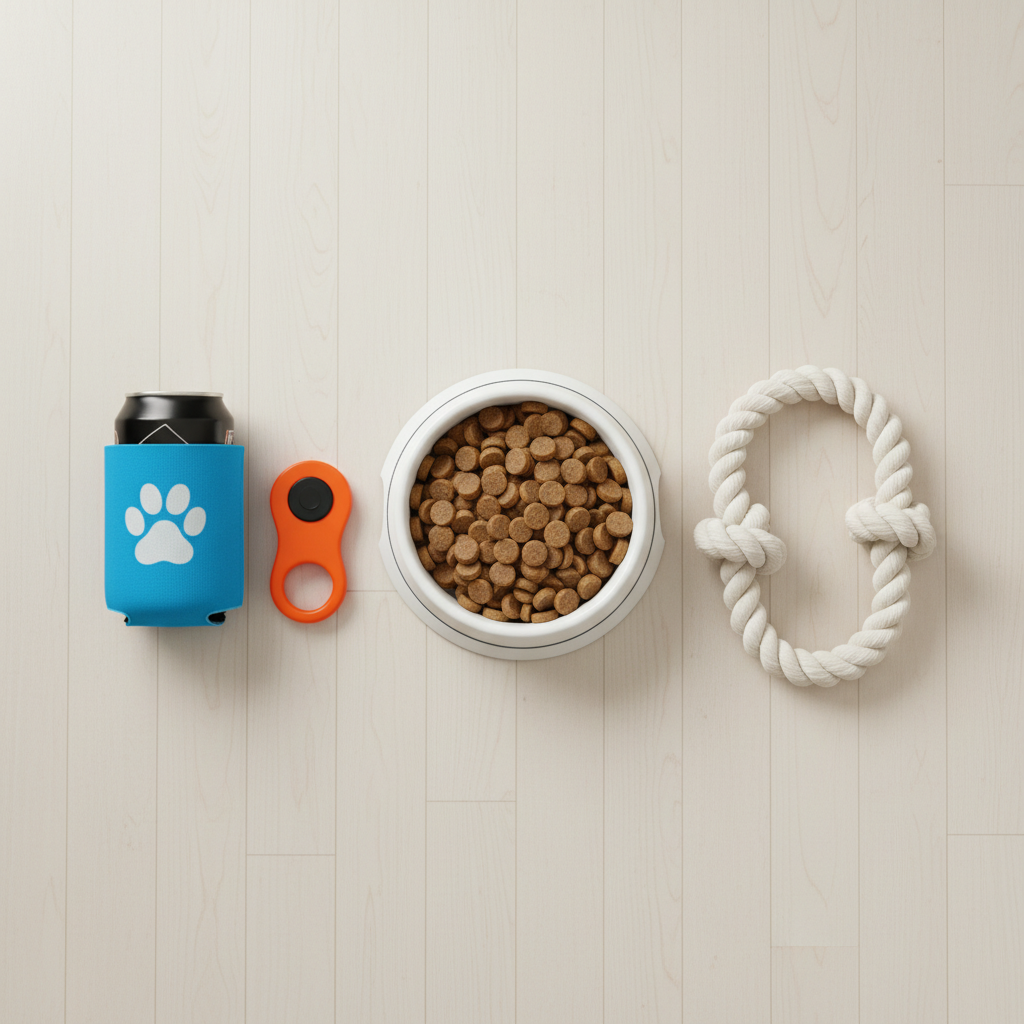
Before your first session, assemble the following items:
- High-Value Rewards: Standard kibble likely won’t be motivating enough. Use small, soft, and highly palatable treats that your dog loves, such as pieces of boiled chicken, cheese, or commercial training treats.
- Clicker (Recommended): A clicker is a powerful tool for marking the exact moment your dog performs the correct behavior. This precise communication can significantly speed up the learning process. If you are not using a clicker, choose a consistent verbal marker like “Yes!”.
- Training Object (Can Dummy): Do not start with a full, sealed can. Begin with an empty aluminum can that has been thoroughly rinsed. To protect your dog’s teeth and encourage a proper grip, wrap the can in a foam koozie, vet wrap, or even a thick sock secured with tape.
- Fridge Rope/Tug: You will need to attach a soft, durable rope or a cloth tug toy to your refrigerator handle. This gives your dog a clear and safe target to pull on. Ensure it is tied securely.
- A Designated Training Space: Choose a quiet area of your home where the refrigerator is located. Minimize distractions by turning off the television, putting away other toys, and ensuring other pets or family members will not interrupt the session.
| Tool | Purpose | Expert Recommendation |
|---|---|---|
| High-Value Treats | To provide powerful motivation and reinforcement. | Use treats that are quickly consumed to maintain training momentum. |
| Clicker | To precisely mark the desired behavior. | ‘Charge’ the clicker first by clicking and treating 10-15 times without asking for a behavior. |
| Wrapped Can Dummy | A safe object for practicing holding and retrieving. | Ensure the wrapping is secure and does not present a choking hazard. |
| Fridge Rope | To provide a clear, safe target for opening the door. | Choose a material that is comfortable for the dog to grip with its mouth, like braided fleece or thick cotton rope. |
Phase 1: Mastering the Fridge Door

Phase 1: Mastering the Fridge Door
The first major mechanical skill your dog needs to learn is how to open the refrigerator door. We will teach this by shaping the behavior of pulling on the rope target. Keep sessions short (5-10 minutes) and always end on a positive note. Remember to click/mark and treat every small step in the right direction.
Step 1: Introducing the Rope Target
Begin with the rope detached from the fridge. The goal is to get your dog excited about interacting with it.
- Hold the rope in your hand and encourage your dog to touch it with its nose. Click and treat for any interaction.
- Once the dog is consistently nosing the rope, wait for it to put its mouth on the rope. Click and treat this immediately.
- Gradually build on this by rewarding progressively firmer grips. Encourage a gentle tugging motion by lightly pulling back. Reward any pull, no matter how small.
Step 2: Associating the Rope with the Fridge
Now, securely attach the rope to the refrigerator handle. The handle should be low enough for your dog to reach comfortably.
- Lead your dog to the fridge and point to the rope. Use a cue like “Tug!” or “Get the rope!”.
- The moment your dog mouths the rope, click and treat. At first, you are not looking for a full pull, just the association of mouthing the target in its new location.
- As your dog gets more confident, begin to reward only the tugs that cause the refrigerator’s seal to break and the door to move, even slightly. The click of the door unlatching will become part of the reward sequence.
- Gradually increase the criteria, rewarding stronger pulls that open the door wider and wider. Keep it exciting with enthusiastic praise.
Step 3: Fading the Lure and Adding a Cue
Once your dog is reliably pulling the door open, you can begin to formalize the command.
- Start standing a little further away and give your chosen verbal cue, such as “Open it.”
- Reduce your pointing gesture until the dog responds to the verbal cue alone.
- Practice from different locations in the room to ensure the dog understands the command is not tied to you standing right next to the refrigerator.
Troubleshooting Tip: If your dog is hesitant to pull hard enough, try smearing a tiny bit of peanut butter (ensure it’s xylitol-free) or cream cheese on the rope to encourage more vigorous interaction.
Phase 2: The Retrieve and Delivery
Phase 2: The Retrieve and Delivery
With the door-opening skill established, the next phase focuses on the core of the trick: retrieving the designated object from inside the fridge and bringing it to you. This phase requires building on your dog’s foundational ‘fetch’ and ‘hold’ commands in a new context.
Step 1: Object Conditioning and Placement
First, re-familiarize your dog with the wrapped can dummy in a neutral setting, away from the fridge.
- Practice having your dog take the wrapped can from your hand and hold it for a few seconds before you cue “Drop It” and reward.
- Place the can on the floor and ask your dog to fetch it. This reinforces that this specific object is the one you want.
- Now, move to the fridge. Place the can on the lowest, most accessible shelf, initially near the very front edge. Make it as easy as possible for your dog to succeed.
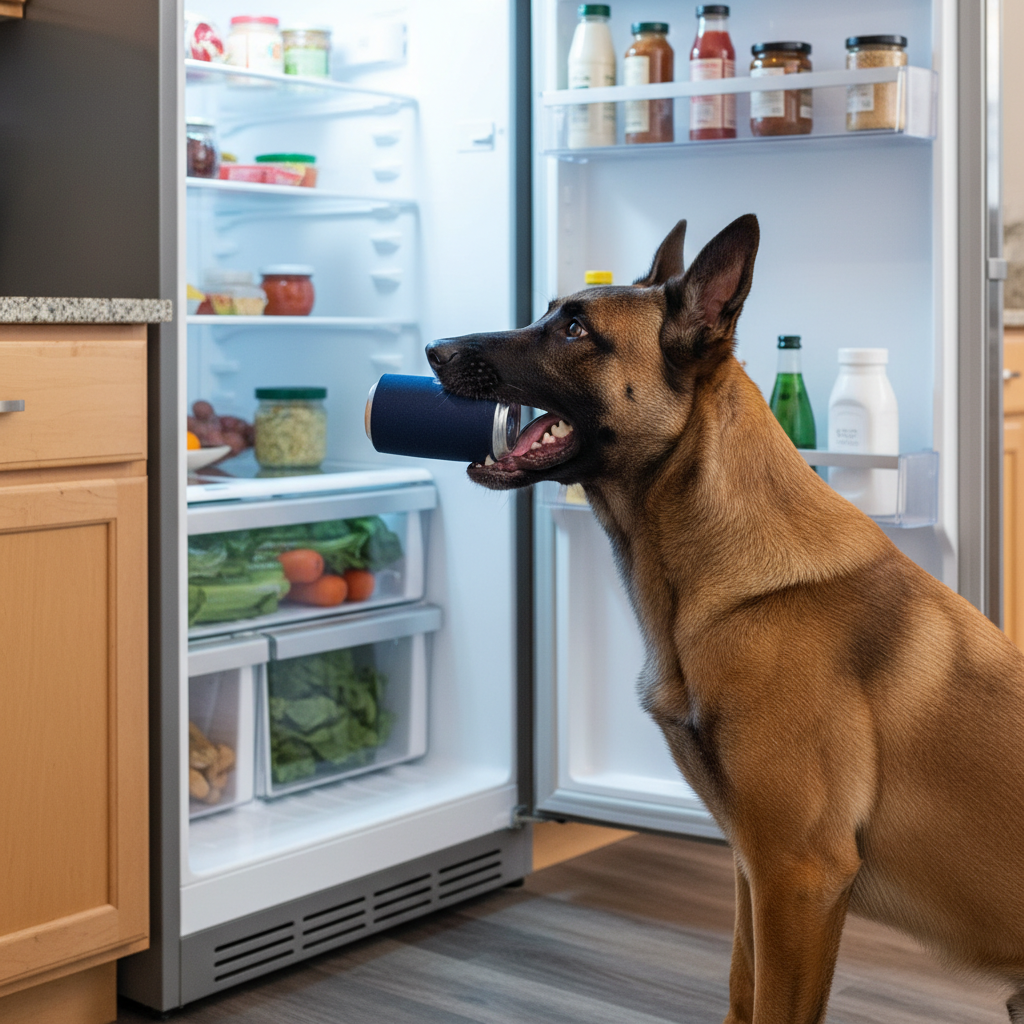
Step 2: The Inside-Fridge Retrieve
With the fridge door already open, encourage your dog to take the can.
- Use a specific cue like “Get the drink.” Point to the can inside the fridge.
- Reward any interaction at first: sniffing the can, nosing it, and finally, picking it up.
- Your dog may be hesitant about putting its head inside the fridge. Be patient and reward bravery. You can briefly place a high-value treat next to the can to encourage exploration.
- Once your dog reliably takes the can from the shelf, add your standard ‘fetch’ or ‘bring it here’ cue to complete the retrieve.
Step 3: Chaining the Behaviors
This is where it all comes together. You will now link the door-opening with the retrieve in one fluid sequence. This process is called back-chaining, where you connect the last behavior to the one before it.
- Start at the fridge with the door closed.
- Give your cue to “Open it.” As soon as the door is open, immediately give your cue to “Get the drink.”
- When your dog successfully performs the entire sequence (open, retrieve, bring to you), provide a ‘jackpot’ reward—multiple treats and lots of enthusiastic praise. This signals that they have done something exceptional.
- Practice this chain repeatedly until it becomes a smooth, reliable action.
Safety First: Never use glass bottles for this trick. The risk of breakage and serious injury is too high. Always use a lightweight can and ensure it is wrapped to protect your dog’s teeth from the hard metal edge.
Phase 3: Adding the Finishing Touch – Closing the Door
Phase 3: Adding the Finishing Touch – Closing the Door
For the ultimate ‘wow’ factor, you can teach your dog to push the refrigerator door closed after the retrieve. This is an extra step that solidifies the trick as a complete, start-to-finish task. This is taught using a simple targeting behavior.
Step 1: Teaching a Nose Target
The easiest way to teach a ‘push’ command is by teaching your dog to target something with its nose.
- Start with a sticky note or a special target stick. Hold it in your hand and click/treat your dog for touching it with its nose.
- Once the dog reliably targets the object in your hand, stick the note onto a variety of surfaces at your dog’s nose-level—a wall, a cabinet, a chair—and reward the dog for touching it. Use a cue like “Touch” or “Push.”
Step 2: Transferring the Target to the Fridge Door
Now, apply the targeting skill to the refrigerator.
- Place the sticky note on the outside of the refrigerator door. Give your “Push” cue. When your dog touches it, the door will likely move. Reward this heavily.
- Practice this until your dog is confidently pushing the door. You can begin to reward stronger pushes that cause the door to latch shut.
- Once the behavior is reliable, you can remove the sticky note, as the dog will understand that the door itself is the target.
Step 3: Integrating the Final Step
Finally, add this to the end of your established behavior chain.
- Ask your dog to perform the full sequence: open the door and fetch the beer.
- After you have taken the can from your dog, give the “Push” or “Close it” command.
- When the dog successfully closes the door, end the session with a huge celebration. You have now trained the complete behavior chain.
This final step requires significant concentration from your dog, as it must remember three distinct tasks in a row. Be patient and prepared to break it down again if your dog becomes confused. With consistency, your dog will be performing the entire impressive sequence on a single command.
Troubleshooting and Advanced Considerations
Troubleshooting and Advanced Considerations
Even with perfect training steps, you may encounter challenges. Understanding how to address them is part of the process. Furthermore, maintaining the trick and ensuring your dog’s ongoing safety are crucial long-term responsibilities.
Common Training Hurdles
- Problem: The dog slams the fridge door open too hard.
Solution: This usually happens from over-excitement. Go back to rewarding only gentle tugs. You can also place a soft object, like a pillow, to cushion the door’s impact and remove the exciting ‘bang’ sound it makes when it hits the wall or counter. - Problem: The dog chews or punctures the can.
Solution: This indicates the ‘hold’ command is not strong enough. Go back to basics, practicing a gentle hold with the can dummy for increasing durations. Never use real, full cans until the dog has an exceptionally soft mouth. Reinforce a calm, gentle grip. - Problem: The dog gets distracted and doesn’t complete the sequence.
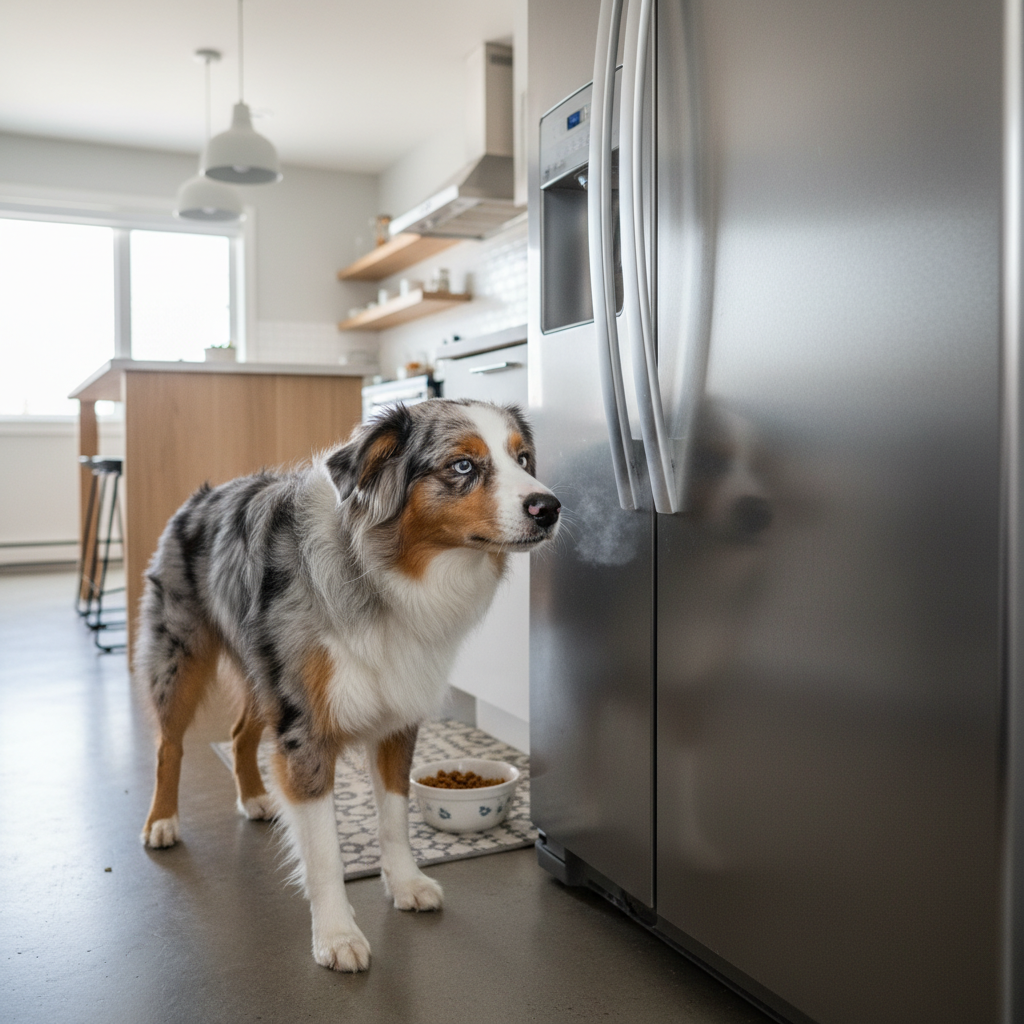
Solution: The behavior chain may be too long for your dog at its current training level. Shorten it. Ask only for the ‘open’, then reward. Then ask for ‘open’ and ‘get it’, then reward. Re-build the chain slowly. Also, ensure your training environment is truly free of distractions. - Problem: The dog is afraid of the sound or movement of the fridge.
Solution: This requires counter-conditioning. Spend time just hanging out near the fridge. Give your dog treats for calm behavior. Manually open and close the door and give treats. Create a positive association with the object before ever asking the dog to interact with it.
Long-Term Safety and Maintenance
Once your dog has mastered this trick, it’s important to manage it responsibly.
- Supervision is Key: Never allow your dog to perform this trick unsupervised. You need to be present to ensure they do it safely and to manage the contents of the fridge.
- Fridge Contents: Designate a specific, easily accessible spot on the door or a low shelf for the ‘fetchable’ beverage. Ensure there is nothing else your dog might grab, especially dangerous or toxic items like raw onions, grapes, or chocolate.
- Practice and Reinforce: Like any trained skill, it can get rusty. Practice the trick every so often to keep it sharp, and continue to reward your dog with praise or a treat to keep the association positive and strong.
Conclusion
Training your dog to fetch a beer from the fridge is an ambitious but achievable goal that showcases the height of canine training and partnership. By breaking down this complex task into a series of smaller, more digestible steps—mastering the door, retrieving the object, and closing up—you have created a reliable behavior chain built on trust and positive reinforcement. Remember that the true reward is not the applause from friends, but the strengthened bond and enhanced communication you have cultivated with your dog throughout the process.
Continue to practice this skill responsibly, always prioritizing your dog’s safety and well-being. This accomplishment is a clear demonstration of your dedication as a trainer and your dog’s incredible capacity to learn. Celebrate your joint success, and continue to find new, fun ways to challenge and enrich your dog’s life.