Dog Won’t Walk on Bridges? The Confidence Hack You Need
As a pet owner, you envision long, happy walks with your canine companion, exploring new paths and enjoying the outdoors together. But what happens when a simple bridge becomes an insurmountable obstacle? If you’ve ever felt the frustration and confusion of your dog planting their paws, refusing to cross a bridge, you are not alone. This behavior, while baffling to us, stems from a very real and understandable fear in your dog. The unusual sensations—the vibration under their paws, the strange sounds of traffic below, the unnerving height, or the odd texture of metal grating—can trigger significant anxiety.
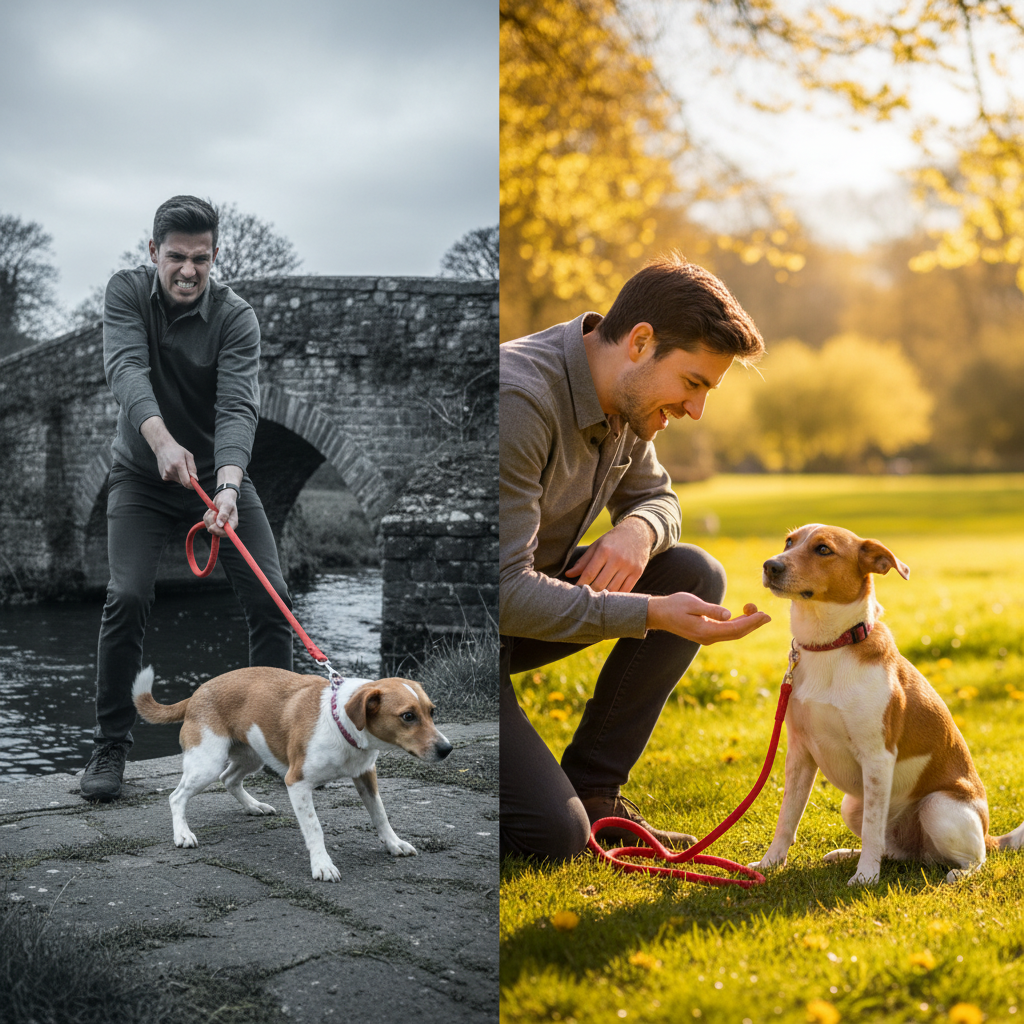
Forcing or dragging your dog across is not only ineffective but can deepen their fear and damage the trust you’ve built. The solution lies not in force, but in finesse. This comprehensive guide will serve as your professional playbook for transforming this fear into confidence. We will delve into the canine psychology behind this phobia and provide a systematic, step-by-step training protocol based on the proven principles of desensitization and counter-conditioning. This isn’t just about crossing a bridge; it’s about building your dog’s resilience and strengthening your bond through patience, understanding, and positive reinforcement.
Understanding the Fear: Why Bridges Terrify Some Dogs
Before we can address the behavior, we must first understand its origin. A dog’s refusal to walk on a bridge is rarely a matter of stubbornness; it is an expression of genuine fear. Dogs perceive the world differently than we do, and a bridge can present a massive sensory challenge that overwhelms their coping mechanisms.
Sensory Overload
A dog’s paws are incredibly sensitive. When they step onto a bridge, they may encounter unfamiliar and unsettling sensations:
- Vibrations: Bridges, especially those over roads or railways, vibrate. To a dog, this feeling of unstable ground can be terrifying, mimicking an earthquake or signaling danger.
- Noise: The sound of traffic from below or the echo of their own nails on a metal surface can be amplified and disorienting. What is background noise to us can be a deafening roar to a dog’s sensitive ears.
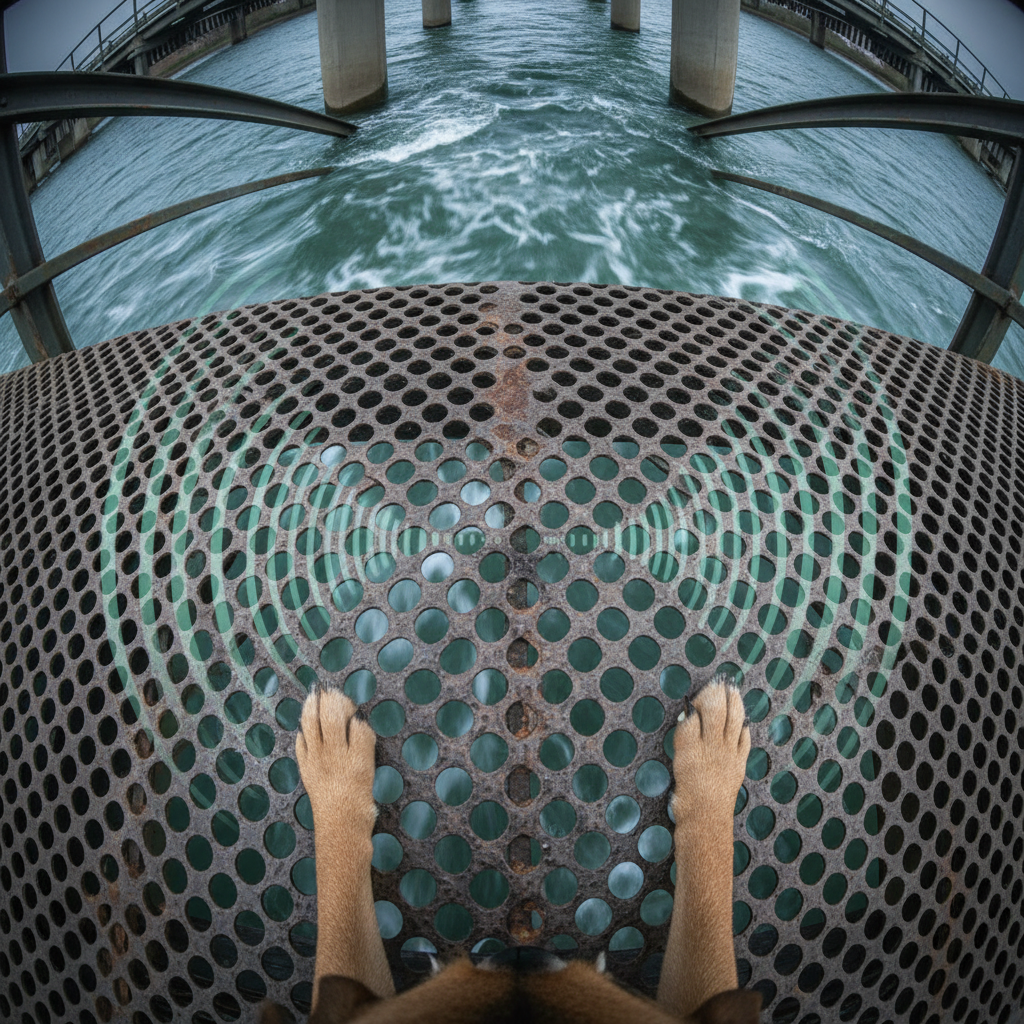
- Unusual Surfaces: Many bridges feature metal grating or wooden planks with gaps. Dogs can see the ground or water far below, which can trigger a fear of heights. The texture itself is also unnatural compared to grass, dirt, or pavement, and they may fear their paws getting stuck.
Instinct and Insecurity
From an evolutionary standpoint, dogs are terrestrial animals that are instinctually drawn to solid, predictable ground. A narrow, elevated structure with no clear escape routes can trigger a primal sense of vulnerability. This feeling is compounded if the bridge is wobbly or has low railings, as it removes their sense of security.
Negative Past Experiences
A single bad experience can create a lasting phobia. Perhaps a loud truck backfired as they were crossing, a sudden lurch scared them, or they slipped on a wet surface. Even an owner’s past anxiety, transmitted down the leash, can teach a dog that bridges are something to be feared. Understanding these potential causes allows you to approach the problem with empathy, which is the foundation of successful training.
Preparation is Key: Assembling Your Confidence-Building Toolkit
Successful training begins long before you approach the bridge. Setting yourself up with the right equipment and mindset is critical to creating a positive and productive learning environment for your dog. Your goal is to make the experience as rewarding and stress-free as possible.
Essential Equipment
Gather these items before you begin your training sessions:
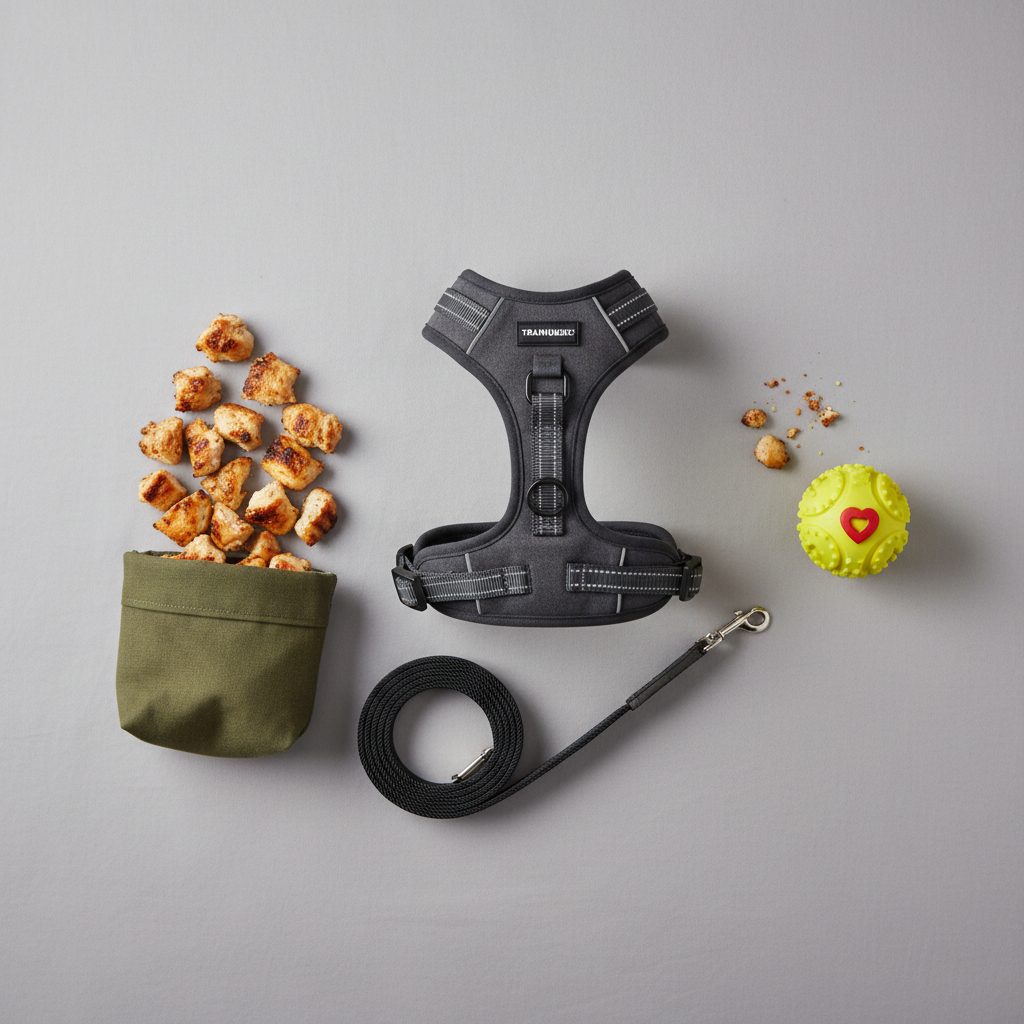
- High-Value Treats: This is non-negotiable. We’re not talking about their everyday kibble. You need something your dog absolutely loves and doesn’t get often. Think small pieces of cooked chicken, cheese, hot dogs, or a commercial high-value training bait. The treat must be more compelling than their fear.
- A Comfortable, Well-Fitted Harness: A harness is crucial because it distributes pressure across the dog’s chest and shoulders instead of their delicate neck. If a dog panics and pulls, a collar can cause choking or injury, creating a negative association with the situation. A front-clip harness can also provide better control without causing discomfort.
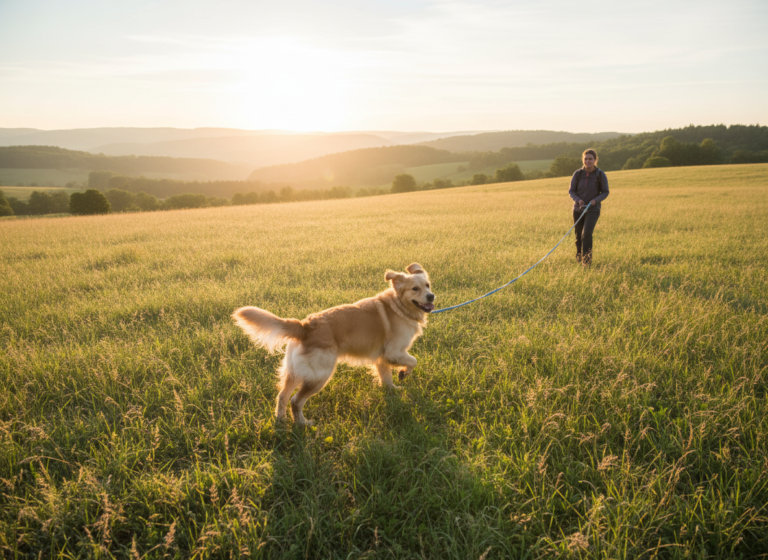
- A Standard 6-Foot Leash: Avoid retractable leashes. They offer poor control and can snap or tangle, creating a dangerous situation if your dog bolts. A standard leather or nylon leash allows you to keep the leash loose (a ‘J’ shape), which communicates calm and confidence to your dog. A tense leash signals danger.
- A Favorite Toy: For some dogs, especially those more motivated by play than food, a favorite tug toy or ball can be used as a powerful reward for brave behavior.
The Right Mindset
Your emotional state is just as important as your equipment. Dogs are masters at reading our body language. If you are anxious, frustrated, or impatient, your dog will sense it and become more fearful. Before each session, take a deep breath. Commit to being patient, positive, and prepared to end the session on a good note, even if you only make tiny progress. Your calm confidence is the anchor your dog needs to feel secure.
The Step-by-Step Bridge Training Protocol
This protocol is based on two core principles of modern animal behavior science: desensitization (gradually exposing the dog to the scary thing at a level that doesn’t produce fear) and counter-conditioning (changing the dog’s emotional response from fearful to happy). The key is to progress at your dog’s pace. Never rush a step.
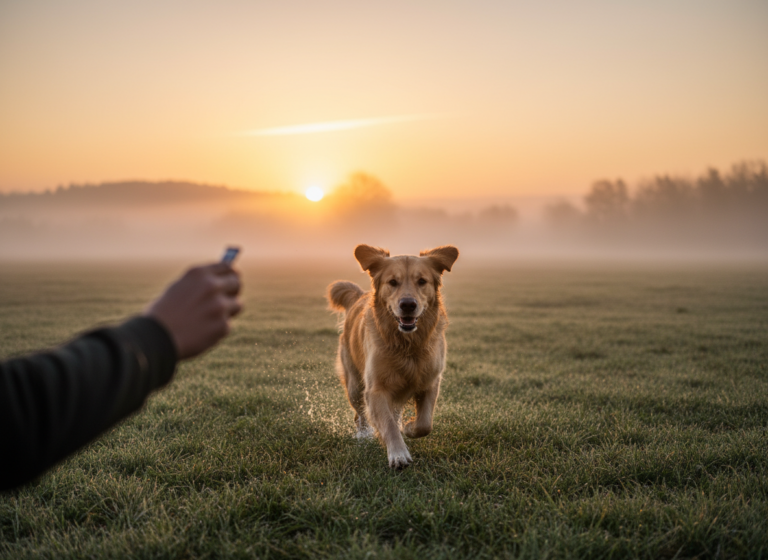
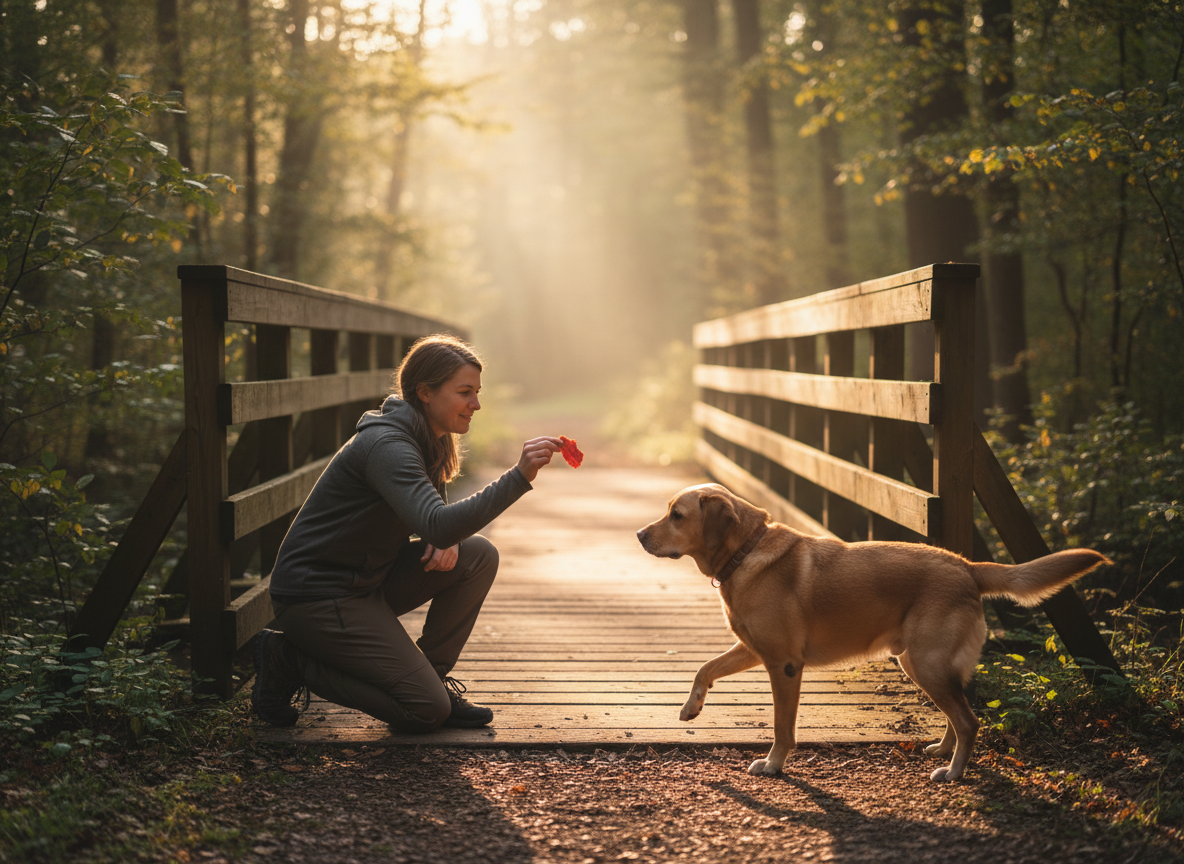
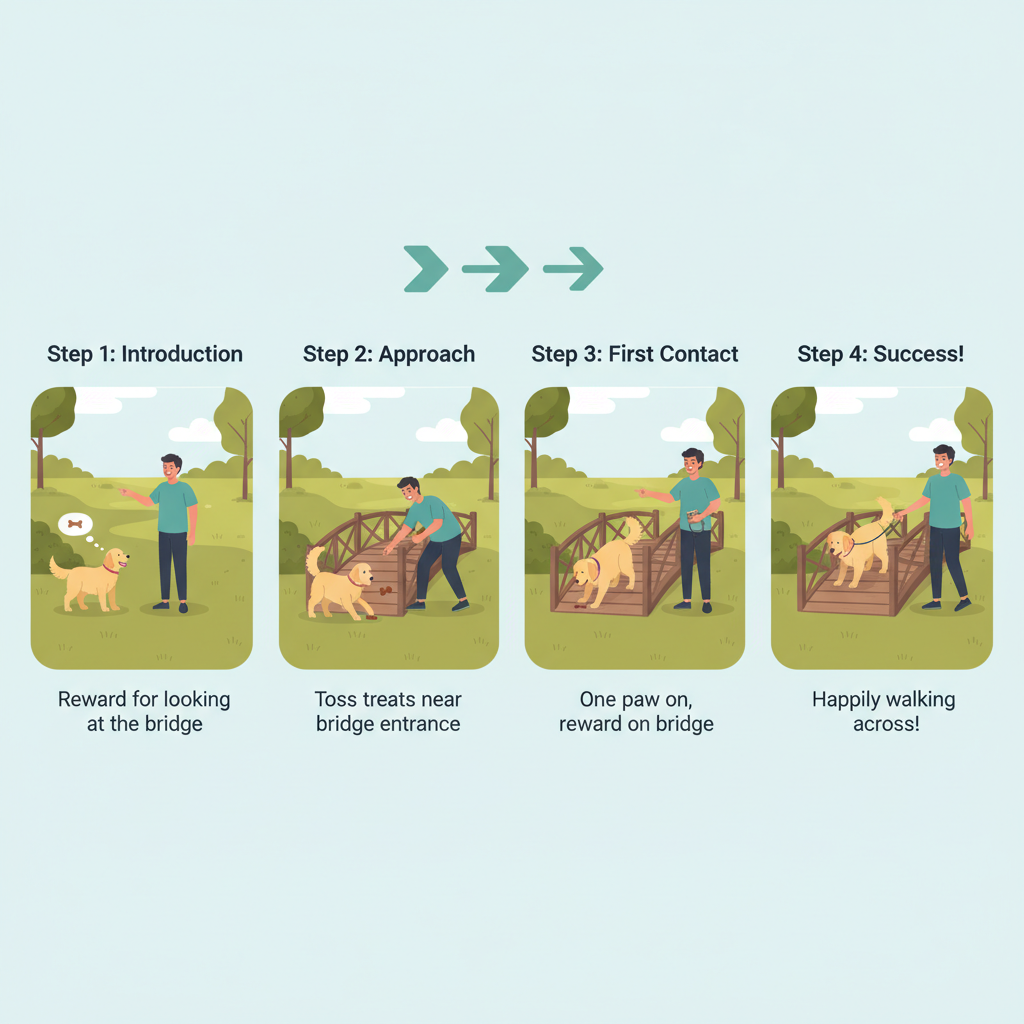
Step 1: Start Far Away (Distance is Your Friend)
Begin your first session at a distance from the bridge where your dog can see it but shows no signs of anxiety (no trembling, panting, or pulled-back ears). The moment your dog looks at the bridge, say “Yes!” in a happy tone and give them a high-value treat. Repeat this several times. The goal is simple: looking at the scary thing makes a great thing (chicken!) appear.
Step 2: The “Look at That” Game
As your dog gets comfortable, you can start to put a cue to the behavior. When they glance at the bridge, say “Look at that!” and then reward them. This game teaches them that the bridge is a predictor of rewards and gives you a way to communicate. Practice this for several short sessions over a few days.
Step 3: Closing the Gap Incrementally
Once your dog is happily looking at the bridge from a distance, take one or two steps closer. Repeat the “Look at That” game from this new spot. If your dog remains calm and happy, you can continue. If they show any signs of stress, you’ve moved too close, too fast. Simply increase the distance again to where they were last successful and end the session on that positive note.
Step 4: Touching the Surface
Over many sessions, you will eventually arrive at the entrance to the bridge. The goal now is interaction with the bridge itself. Toss a high-value treat right at the edge of the bridge’s surface. Let your dog choose to step forward to get it. Don’t lure or pull them. If they eat it, praise them enthusiastically! If they stretch their neck to get it without stepping on the bridge, that’s okay too. Reward the effort. Continue tossing treats closer and closer to the bridge entrance.
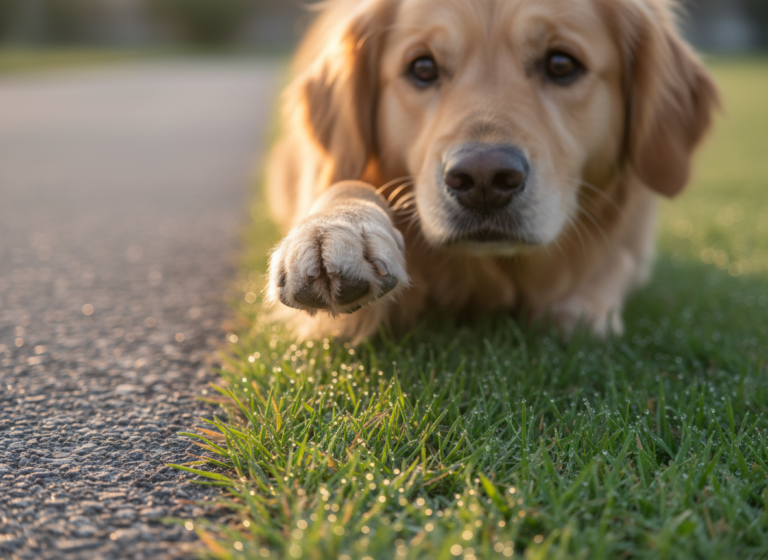
Step 5: One Paw, Then Two
The next major milestone is getting a paw on the bridge. Toss a treat just far enough onto the bridge surface that your dog must place one paw on it to reach it. The moment that paw touches down, shower them with praise and more treats. Work on this until they are comfortable placing one paw on. Then, toss the treat a tiny bit further to encourage two paws. This must be a slow, patient process.
Step 6: The First Full Crossing
When your dog can comfortably place two paws on the bridge, you can encourage them to walk a few steps. Keep the leash loose and the treats flowing. Make it a party! Your goal for the first crossing is not to get all the way to the other side. It might just be three steps on and three steps off. Always end on a success. Over time, you can build up the duration until you can walk calmly all the way across, rewarding your dog for their bravery along the way.
Step 7: Generalizing the Skill
Once your dog has mastered one specific bridge, it’s important to generalize this newfound confidence. Visit different types of bridges—wooden, metal, short, long, over quiet streams, and eventually over busier roads. You may need to go back a few steps in your training for each new bridge, but the process will be much faster each time.
Common Mistakes to Avoid During Training
How you handle setbacks is just as important as how you celebrate successes. Avoiding these common training pitfalls will prevent you from accidentally reinforcing your dog’s fear and ensure the process remains positive and effective.
| Mistake | Why It’s Harmful | What to Do Instead |
|---|---|---|
| Forcing or Dragging | This is the most damaging mistake. It confirms the dog’s belief that the bridge is a terrifying place and severely erodes their trust in you. It creates a state of learned helplessness, not confidence. | Always allow your dog the choice to engage. Use high-value rewards to make them want to approach the bridge. If they refuse, increase the distance and work from where they are comfortable. |
| Using a Tight Leash | A tense leash is a direct line of communication for anxiety. When you tighten the leash, you are non-verbally telling your dog, “Be alert! There is danger here!” This heightens their stress. | Make a conscious effort to keep the leash loose in a ‘J’ shape. This signals that you are relaxed and in control, which helps your dog feel more secure. |
| Moving Too Quickly | Progressing to the next step before the dog is truly comfortable with the current one is a recipe for failure. This often leads to the dog shutting down and refusing to participate. | Patience is paramount. Spend multiple sessions on a single step if needed. Watch your dog’s body language—calm, loose body, and a wagging tail are signs of readiness. Averted eyes, lip licking, and a tucked tail mean you need to slow down. |
| Punishing Fear | Scolding, yelling at, or physically correcting a dog for being scared will only make them more fearful. They will associate the bridge not only with fear but also with punishment from their trusted human. | Adopt a mindset of a supportive coach. Use a happy, upbeat tone of voice. Praise any small effort, no matter how insignificant it seems to you. Your job is to be their safe space. |
| Training in a High-Stress Environment | Attempting to train during peak hours with lots of foot traffic, cyclists, or loud noises sets your dog up for failure. Too many environmental triggers (a concept known as ‘trigger stacking’) will overwhelm them. | Choose your training times wisely. Early mornings or late evenings are often quietest. Start with the most secluded, least-trafficked bridge you can find. Control the environment as much as possible. |
When to Seek Professional Help

While the protocol outlined in this guide is highly effective for most cases of mild to moderate fear, some phobias are more deeply entrenched and require professional intervention. It is a sign of responsible pet ownership to recognize when you need to call in an expert.
Signs That You Need a Professional
Consider seeking help if you observe any of the following:
- Extreme Panic Reactions: If your dog’s reaction goes beyond simple refusal and includes severe shaking, frantic pulling, screaming, shutting down completely, or showing aggression (growling, snapping).
- No Progress Over Time: If you have been consistently and patiently applying the training methods for several weeks with no discernible improvement.
- The Fear is Generalizing: If the fear of bridges is beginning to expand to other similar surfaces, such as manhole covers, grates on the sidewalk, or even shiny floors.
- Safety Concerns: If your dog’s panic is so intense that you fear they might injure themselves or pull free from their harness and bolt into a dangerous area.
Finding the Right Professional
Not all trainers are created equal. It’s vital to find someone who uses modern, science-based, positive reinforcement methods. Look for the following credentials:
- Veterinary Behaviorist (DACVB): This is a veterinarian who has undergone extensive, specialized training in animal behavior. They are the top-tier experts and can diagnose underlying medical issues and prescribe anti-anxiety medication if necessary.
- Certified Applied Animal Behaviorist (CAAB): These are professionals with advanced degrees (Ph.D. or Master’s) in animal behavior.
- Certified Professional Dog Trainer (CPDT-KA/KSA): These trainers have passed rigorous exams and are committed to continuing education and ethical practices. Look for trainers who explicitly state they use force-free or positive reinforcement methods.
A qualified professional will not blame you or your dog. They will create a customized behavior modification plan, provide hands-on coaching, and support you through the process, ensuring the well-being of your dog is the top priority.
Conclusion
Helping your dog overcome a fear of bridges is a journey that tests your patience but ultimately deepens your bond. Remember that you are not just teaching your dog to cross an obstacle; you are teaching them a far more valuable lesson: that they can trust you to guide them safely through scary situations. Every small victory—a curious glance at the bridge, a single brave paw step—is a testament to their growing confidence and your effective, compassionate training.
Celebrate the progress, manage your expectations, and never forget to see the world from your dog’s perspective. By replacing fear with positive associations and force with patient guidance, you will not only conquer the bridge but also build a more resilient, confident, and trusting companion for all the adventures that lie ahead on your path together.