DIY Hydrotherapy: Safe Exercises to Heal Your Dog’s Joints in Your Own Bathtub
Canine hydrotherapy is a powerful, low-impact therapeutic tool utilized in veterinary rehabilitation to manage a host of musculoskeletal conditions. By harnessing the physical properties of water, we can create an environment that supports weight, reduces stress on painful joints, and provides gentle resistance to build muscle. While professional rehabilitation centers offer advanced underwater treadmills and pools, a carefully managed at-home program using a standard bathtub can serve as an excellent supplement to formal therapy or as a maintenance program for chronic conditions like arthritis. This guide provides a clinical framework for pet owners to safely conduct these sessions. It is imperative to understand that this protocol is not a substitute for a professional diagnosis or a prescribed rehabilitation plan. You must consult with your veterinarian or a certified canine rehabilitation therapist to confirm if at-home hydrotherapy is appropriate for your dog’s specific condition before you begin.
The Science Behind Water-Based Healing

Understanding Hydrotherapy: The Principles of Buoyancy and Resistance
To implement hydrotherapy effectively, one must first appreciate the scientific principles at play. Water is not merely a medium for exercise; its intrinsic properties create a unique therapeutic environment. Understanding these properties will inform every aspect of your at-home sessions, from water depth to exercise selection.
The Power of Buoyancy
Buoyancy is the upward force exerted by water that counteracts the force of gravity. When your dog is submerged, this principle significantly reduces the amount of weight its joints must bear. For instance, a dog submerged to its shoulders bears only a fraction of its actual body weight. This is profoundly beneficial for dogs suffering from osteoarthritis, hip dysplasia, or those recovering from orthopedic surgery. The reduction in weight-bearing stress allows for pain-free movement, enabling the dog to exercise joints through a greater range of motion than would be possible on land.
Viscosity and Natural Resistance
Water is more viscous, or thicker, than air. This viscosity provides gentle, uniform resistance to movement in all directions. As your dog moves its limbs through the water, it is effectively performing resistance training. This helps to strengthen the supporting muscles around affected joints without the concussive impact of land-based exercise. Stronger muscles provide better joint stability, which in turn reduces pain and slows the progression of degenerative joint disease.
The Role of Hydrostatic Pressure
Hydrostatic pressure is the force exerted by the water on the dog’s submerged body. This pressure acts like a full-body compression garment, which can help to reduce swelling (edema) in the limbs and improve circulation. Enhanced blood flow brings oxygen and nutrients to tissues while carrying away metabolic waste, promoting healing and reducing inflammation. The water temperature also plays a critical role; warm water helps to relax tight muscles and further increase blood flow, easing stiffness and discomfort.
Crucial Safety Check: When to Proceed and When to Consult a Vet
Is At-Home Hydrotherapy Right for Your Dog?
Before filling the tub, a thorough assessment of your dog’s health is non-negotiable. At-home hydrotherapy can be a tremendous asset, but it can be detrimental if applied to the wrong condition or at the wrong time. This section serves as your primary safety checklist.
Conditions That May Benefit:
Under veterinary supervision, dogs with the following conditions are often good candidates for gentle, at-home hydrotherapy:
- Mild to Moderate Osteoarthritis: To maintain mobility and muscle mass while minimizing joint pain.
- Post-Surgical Recovery: Only after sutures have been removed and the incision is fully healed, and with explicit clearance from your surgeon. It is excellent for rebuilding strength after procedures like TPLO or FHO surgery.
- Weight Management: For obese dogs, hydrotherapy provides a way to burn calories without stressing already overloaded joints.
- Geriatric Weakness: To help senior dogs maintain muscle tone and balance.
- Canine Athletes: For conditioning and post-event muscle recovery.
Absolute Contraindications: When NOT to Use Hydrotherapy
Do not proceed if your dog exhibits any of the following. Consult your veterinarian immediately.
- Open Wounds or Infections: Submerging unhealed wounds or skin infections can lead to severe complications.
- Cardiovascular or Respiratory Disease: The exertion and hydrostatic pressure can be too taxing for dogs with compromised heart or lung function.
- Vestibular Disease or Neurological Issues: Dogs with balance problems may become disoriented and panicked in the water.
- Incontinence: Fecal incontinence poses a significant hygiene risk in the tub.
- Severe Phobia of Water: Forcing a terrified dog into water will cause extreme stress, elevating cortisol levels and negating any potential physical benefits.
Always secure explicit approval from your veterinarian before beginning any hydrotherapy program. They can identify underlying issues that may not be apparent and provide guidance tailored to your dog’s specific medical history.
Setting Up for Success: Your DIY Hydrotherapy Station

Preparing Your Bathtub Sanctuary
A successful session is rooted in meticulous preparation. Your goal is to create a safe, calm, and efficient environment that minimizes stress for both you and your dog. Rushing this stage can lead to anxiety or injury.
- Create a Non-Slip Environment: The single greatest risk in a bathtub setting is slipping. Place a high-quality, textured non-slip mat inside the tub. Also, place towels or a rubber-backed rug on the floor outside the tub where your dog will enter and exit.
- Gather Your Equipment: Have everything within arm’s reach before you bring your dog into the bathroom. This includes:
- A canine life vest or supportive harness with a handle. This is highly recommended for all dogs, as it provides you with a secure way to guide and support them.
- High-value, waterproof treats (e.g., small pieces of cooked chicken or commercial soft treats) to be used for positive reinforcement.
- Plenty of large, absorbent towels for drying your dog afterward.
- A waterproof thermometer to ensure correct water temperature.
- Set the Water Temperature: The water must be therapeutic, not shocking. The ideal temperature range is between 90-94°F (32-34°C). Water that is too cold can cause muscles to tense, while water that is too hot can lead to overheating. Use a thermometer to verify the temperature before your dog gets in.
- Determine the Correct Water Level: The water depth directly impacts the amount of buoyancy and support. For most joint conditions, the water level should come up to the dog’s shoulder when it is standing. This provides significant support while still requiring the dog to use its muscles. For smaller dogs, this may mean only a few inches of water.
- Acclimatize Your Dog: Before the first session, lead your dog into the dry tub several times over a day or two. Give them treats and praise inside the tub. Then, try with just an inch of warm water. This gradual introduction helps prevent the development of fear or anxiety associated with the bathtub.
The Therapeutic Protocol: Gentle Exercises for Joint Mobility

A Step-by-Step Guide to In-Tub Exercises
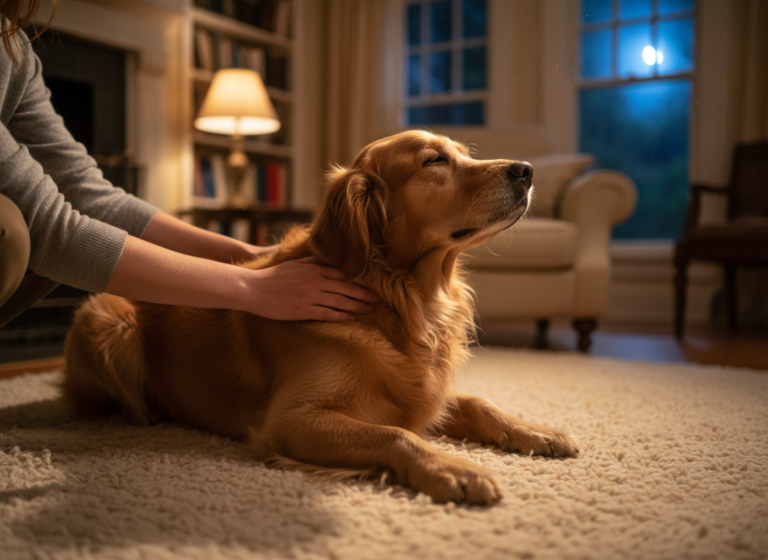
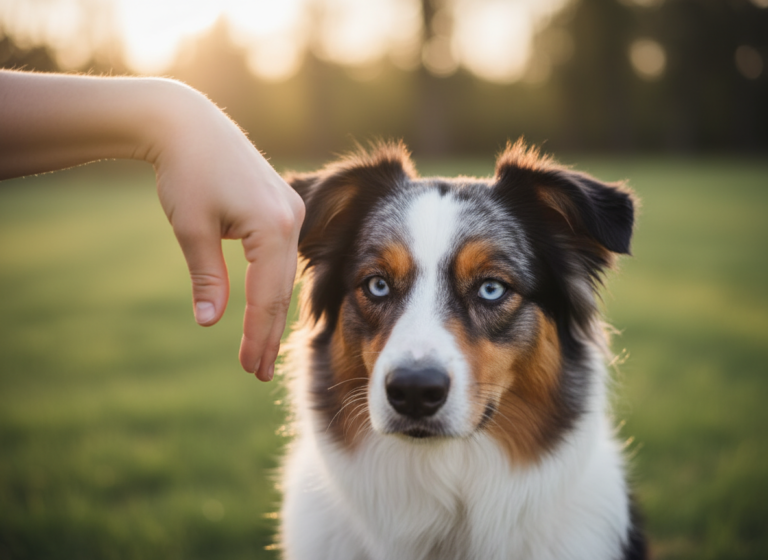
Once your dog is calm and comfortably standing in the prepared tub, you can begin the therapeutic portion of the session. All movements should be slow, deliberate, and gentle. Never force a limb or joint. Watch your dog’s body language—pinned ears, a tense jaw, or showing the whites of their eyes (‘whale eye’)—are signs of stress, indicating you should stop.
Step 1: Assisted Standing and Acclimation (1-2 minutes)
For the first minute, simply allow your dog to stand in the warm water. Use one hand to steady them with the harness or life vest, and the other to gently stroke their back and speak in a calm, reassuring voice. This allows them to adjust to the sensation of the water and pressure. You can offer a treat to reinforce calmness.
Step 2: Gentle Weight Shifting (1-2 minutes)
Purpose: To engage core muscles and improve balance without joint movement.
- Stand facing your dog’s side, with one hand securely on their harness.
- Place your other hand on their hip.
- Apply very gentle pressure to one hip, encouraging them to shift their weight to the opposite side. Hold for 3-5 seconds.
- Release and apply gentle pressure to the other hip.
- Repeat this sequence 5-8 times per side. The movement should be subtle; you are not trying to push them over.
Step 3: Passive Range of Motion (PROM) (2-3 minutes per leg)
Purpose: To gently move the joints through their natural range, lubricating them and preventing stiffness.
- Position yourself alongside your dog. Secure their body with one arm.
- With your other hand, gently cup the paw of a rear leg, supporting the entire limb.
- Slowly and smoothly, guide the leg forward in a gentle flexion (like bringing a knee toward the chest), then extend it backward.
- The entire motion should mimic a slow-motion bicycle pedal. Perform 10-15 repetitions.
- Crucially, only move the joint within a comfortable, pain-free range. If you feel any resistance or your dog shows discomfort, reduce the range of motion.
- Repeat on the other rear leg, and if needed, the front legs as well.
Step 4: Assisted Walking in Place (1-2 minutes)
Purpose: To encourage the natural gaiting pattern and muscle engagement without impact.
- Stand in front of your dog, holding a high-value treat near their nose.
- Slowly move the treat from side to side to encourage them to shift their weight and lift their paws as if they are about to take a step.
- Praise and reward any attempt to lift a paw. The goal is not to have them walk around the tub, but to simulate the muscle firing patterns of walking while standing still.
Frequency and Duration: Creating a Sustainable Routine
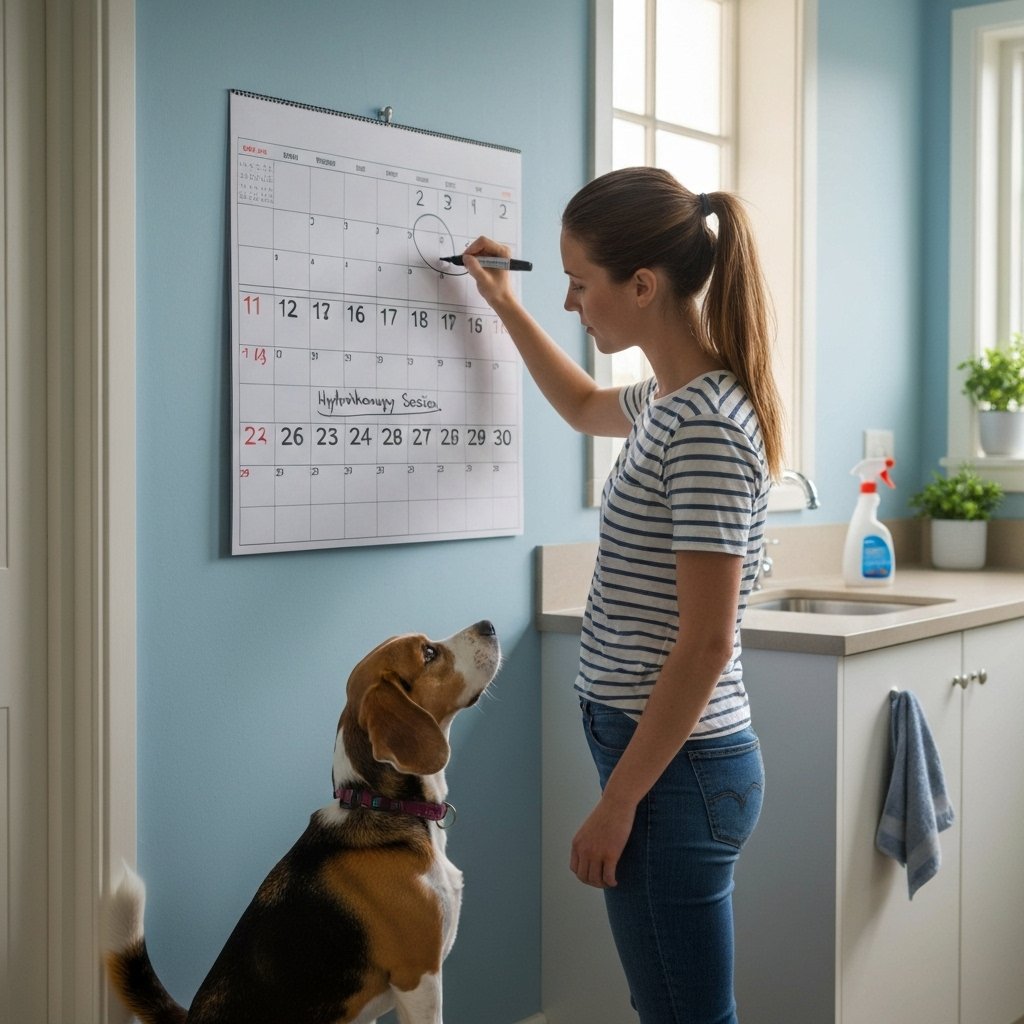
Structuring Your Sessions for Maximum Benefit
Consistency is more important than intensity. Overdoing it can lead to muscle soreness and a negative association with the therapy. A structured, progressive plan is essential for long-term success. Always monitor your dog for signs of fatigue, such as excessive panting, lagging, or a desire to exit the tub. End the session on a positive note, before they become exhausted.
The following table provides a sample progression. Adjust it based on your dog’s tolerance and your veterinarian’s recommendations.
| Phase | Session Duration | Frequency | Key Focus |
|---|---|---|---|
| Week 1: Acclimation | 3-5 minutes | 3 times per week | Getting comfortable in the water. Focus on Assisted Standing and positive reinforcement. |
| Weeks 2-3: Introduction to Movement | 5-8 minutes | 3 times per week | Introduce Gentle Weight Shifting and one set of Passive Range of Motion (PROM) per leg. |
| Weeks 4-6: Building Endurance | 8-12 minutes | 2-3 times per week | Perform all exercises. Can increase PROM repetitions to 15-20 if tolerated well. |
| Week 7+: Maintenance | 10-15 minutes | 2-3 times per week | Full routine. Focus on smooth, controlled movements and maintaining muscle tone. |
Cool-Down and Recovery: After the Water Work
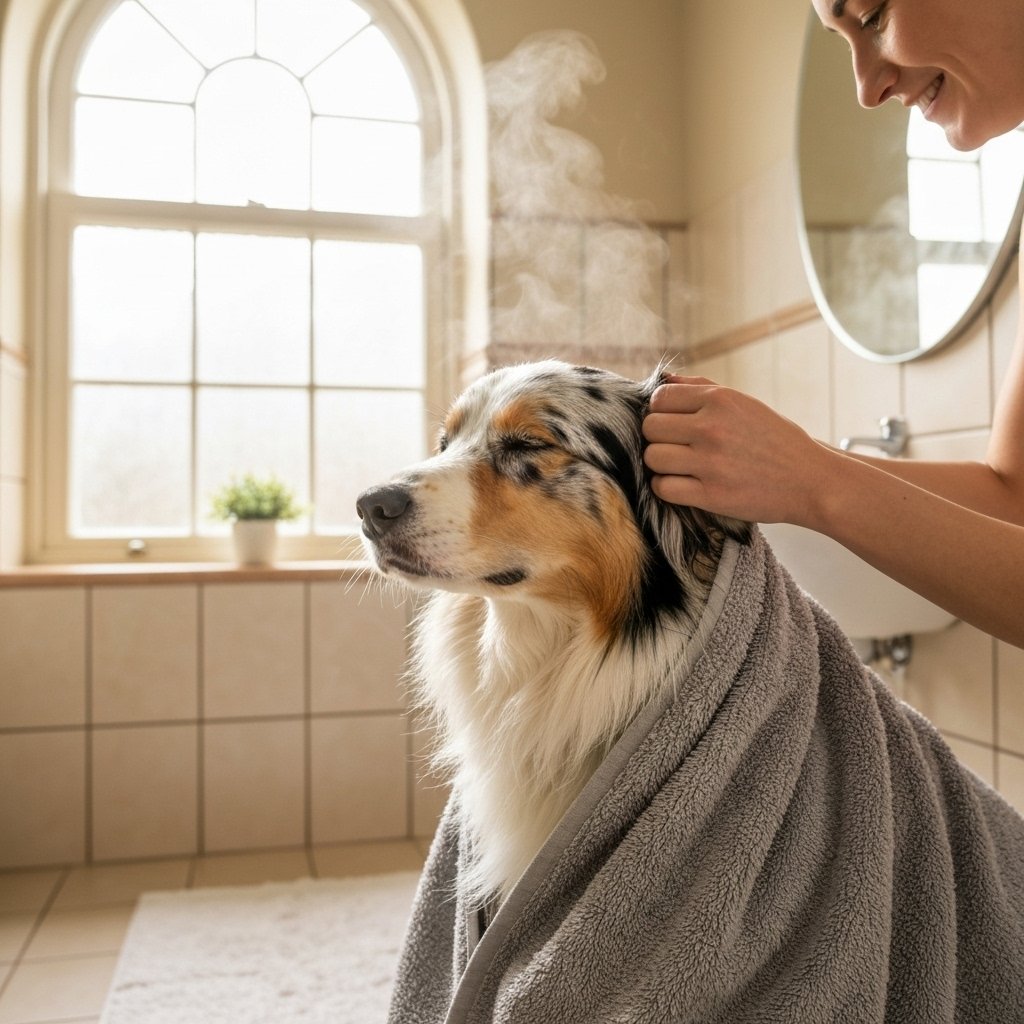
Post-Session Care and Monitoring
The therapeutic process does not end when the water drains. Proper aftercare is vital for your dog’s comfort, safety, and for evaluating the session’s effectiveness.
Step 1: Thorough Rinsing
If you used any cleaning products in the tub prior to the session, a quick rinse with clean, lukewarm water is a good precaution to remove any residue from your dog’s coat and skin, which could cause irritation.
Step 2: Comprehensive Drying
A wet dog can easily become chilled, which will cause muscle tension and negate the benefits of the warm water therapy. Use absorbent towels to dry your dog as much as possible. For dogs with thick double coats, a pet-safe blow dryer on a low, cool setting may be necessary. Pay special attention to drying inside the ear flaps to prevent moisture buildup that can lead to ear infections.
Step 3: Provide a Warm Resting Place
After the session and drying, guide your dog to a comfortable, warm bed away from drafts. Their muscles have worked, and they need a quiet space to rest and recover. This is not the time for a game of fetch or a long walk.
Step 4: Monitor for Effects
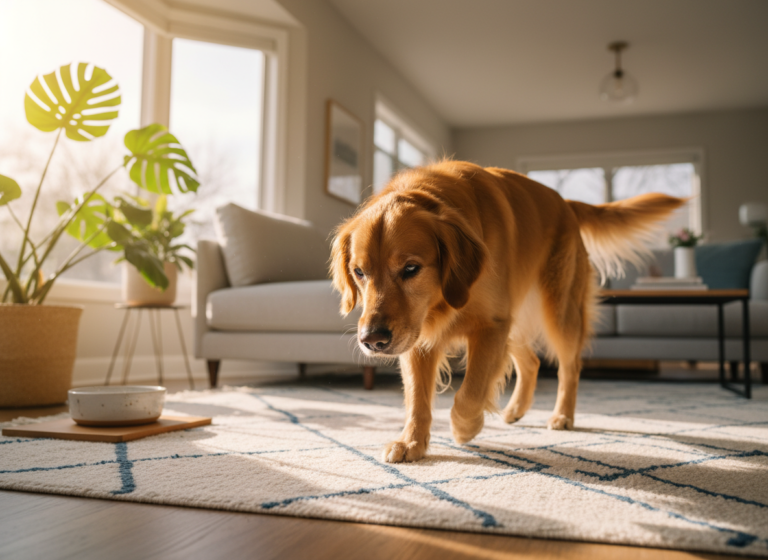
In the hours and days following a session, be a keen observer. Look for positive signs, such as a more fluid gait, easier time rising from a down position, or increased general activity. Also, watch for any negative signs, such as stiffness or soreness, which may indicate the session was too long or too intense. Keep a simple log to track session details (duration, exercises performed) and your dog’s response. This data will be invaluable for discussions with your veterinarian and for adjusting future sessions.
Conclusion
At-home hydrotherapy, when approached with knowledge, caution, and veterinary partnership, can be a profound addition to your dog’s wellness plan. It offers a unique opportunity to alleviate their discomfort, strengthen their body, and deepen the bond you share. By following a structured protocol—from meticulous preparation and gentle exercises to diligent post-session care—you can create a safe and therapeutic experience in your own home. Remember that you are your dog’s most important advocate. Your dedication to their well-being, demonstrated through proactive and informed care, is the greatest tool you have to ensure they live a long, comfortable, and happy life.