Deaf Dog Training Secrets: 10 Hand Signals That Actually Work
Welcoming a deaf dog into your life is an immensely rewarding journey, yet it presents a unique set of communication challenges. Many owners feel overwhelmed, questioning how they can effectively train and bond with a dog that cannot hear their voice. The misconception that deaf dogs are more difficult to train, or somehow less capable, is a myth we must dismantle. As a canine behaviorist, I can state with absolute certainty that these dogs are just as intelligent, eager to please, and trainable as their hearing counterparts. The secret lies not in their ears, but in their eyes.
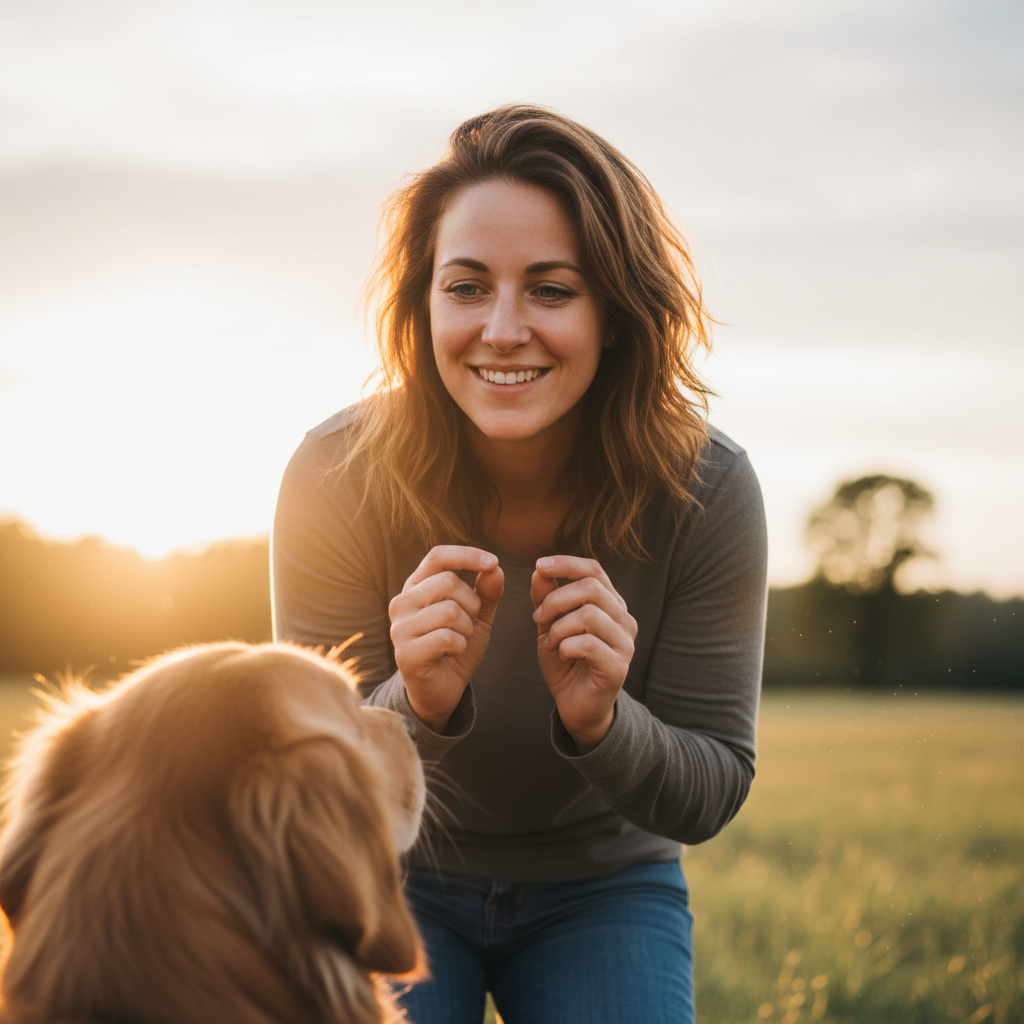
Deaf dogs become masters of observation, tuning into our body language and visual cues with an intensity that hearing dogs often miss. Our role is to provide them with a clear, consistent visual language. This guide will move beyond basic theory and provide you with ten foundational hand signals that are practical, effective, and form the cornerstone of a safe and enriching life for your companion. Through patience and positive reinforcement, you will not only teach commands but also build an unbreakable bond of trust and mutual understanding, communicated through the elegant language of silence.
The Foundation: Why Visual Cues are Your New Language
Before we introduce specific signals, we must establish the principles of visual communication. Dogs are inherently skilled at interpreting body language; it is their primary mode of communication with each other. For a deaf dog, this skill is heightened. Your posture, facial expressions, and movements are already conveying information. Our goal is to refine these movements into a consistent and understandable vocabulary.
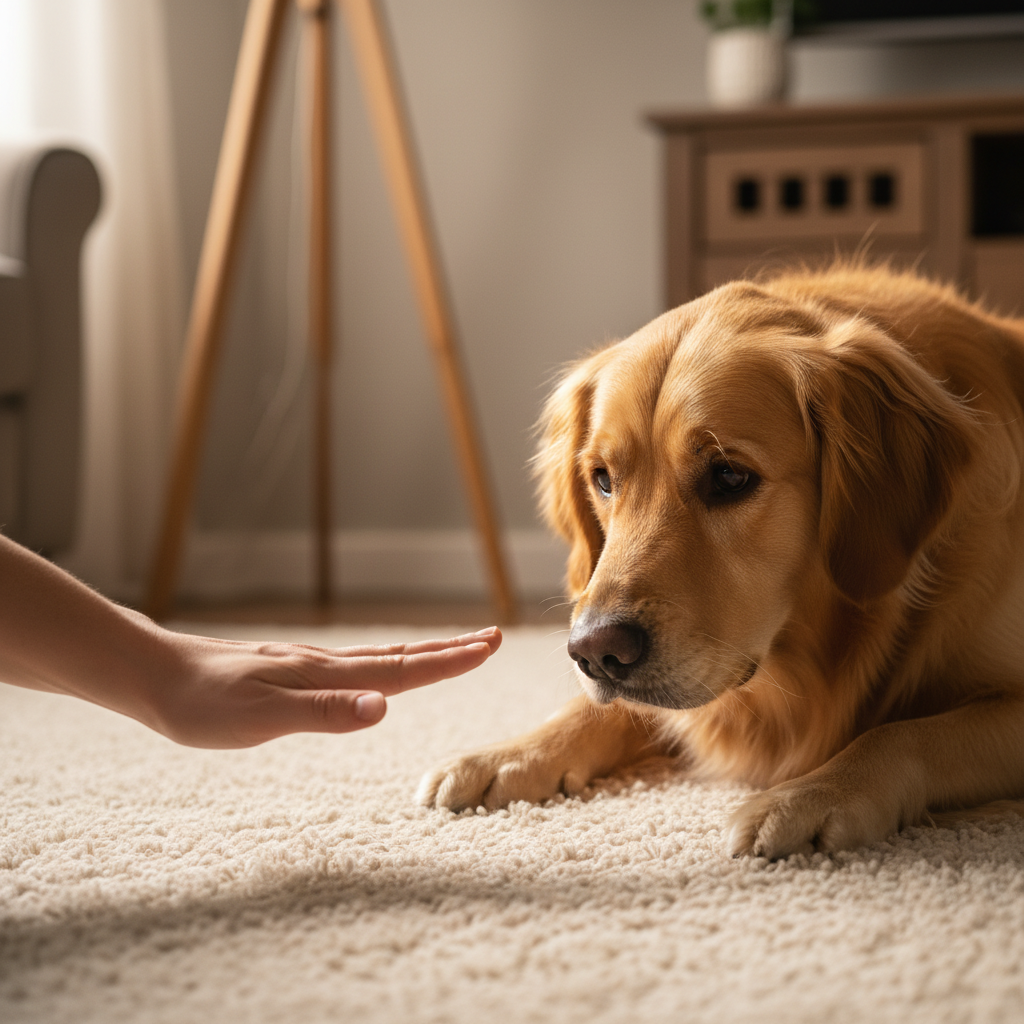
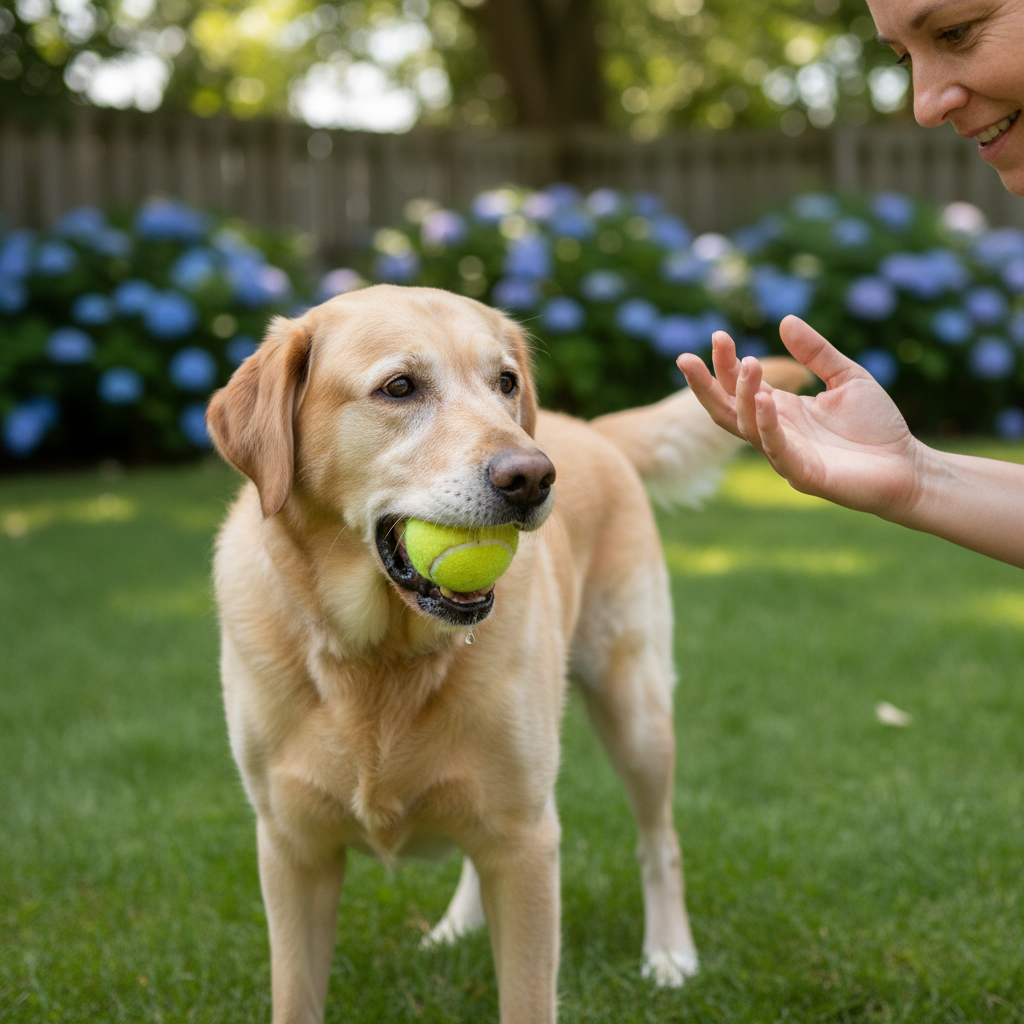
The first and most critical element is securing your dog’s attention. You cannot give a cue to a dog that is not looking at you. This replaces the act of calling their name. Gentle methods like a light touch on the shoulder, stomping on the floor to create a vibration, or using a flashlight beam can be used to signal, ‘I need your focus.’ Once you have eye contact, you can deliver the hand signal. The second key is a visual marker. In hearing-dog training, a clicker or a verbal ‘Yes!’ marks the exact moment a dog performs the correct behavior. For a deaf dog, this marker must be visual. A quick, sharp thumbs-up, a flash of an open palm, or even a specific light flash from a small penlight can serve this purpose. This visual ‘Yes!’ must be immediately followed by a high-value reward. This process creates a clear association: Correct Behavior -> Visual Marker -> Reward. Consistency is non-negotiable. Every family member must use the exact same hand signal to avoid confusing the dog. Patience and positivity are your greatest tools. Training sessions should be short, engaging, and always end on a successful note.
Signal 1: The ‘Watch Me’ Cue – Your Starting Point
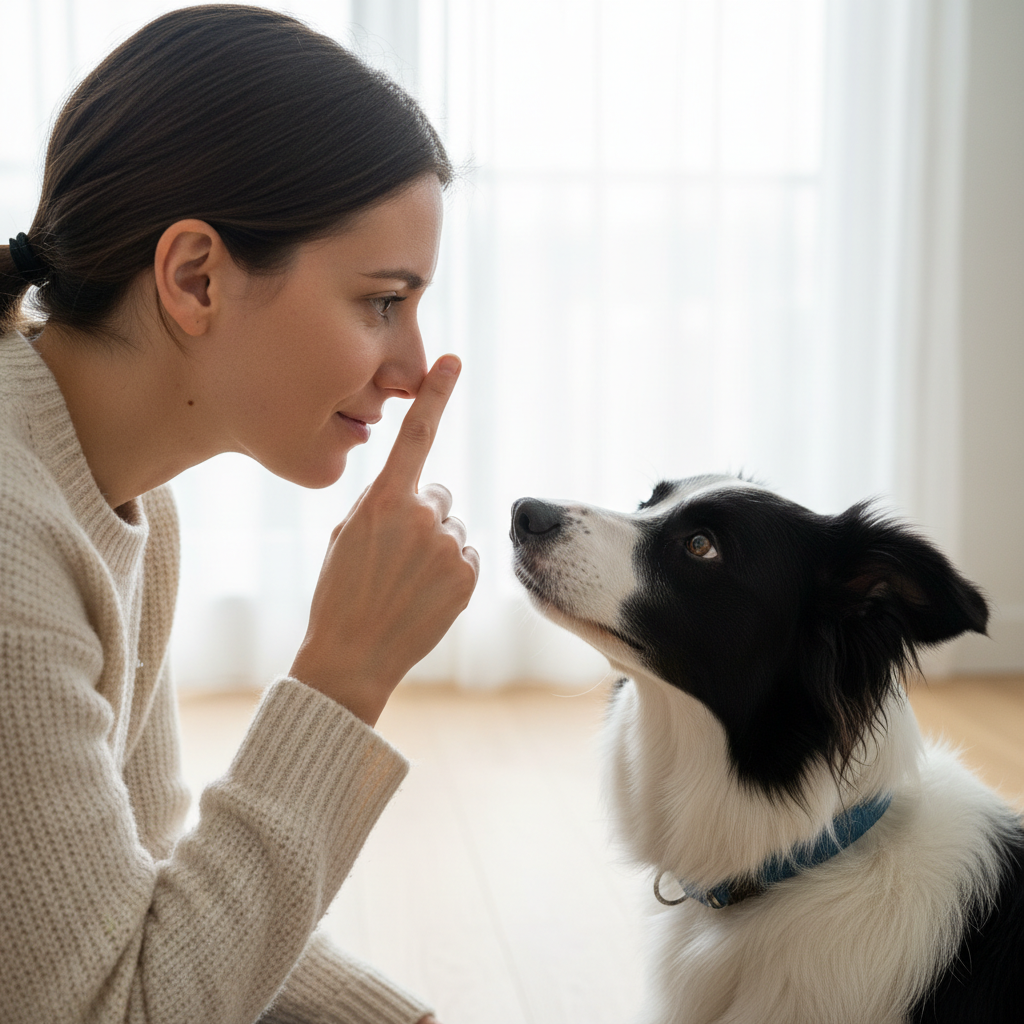
This is the most important signal you will ever teach. It is the foundation for every other cue. The ‘Watch Me’ signal asks your dog to stop what they are doing and make eye contact with you, awaiting further instruction. It is your visual equivalent of saying their name.
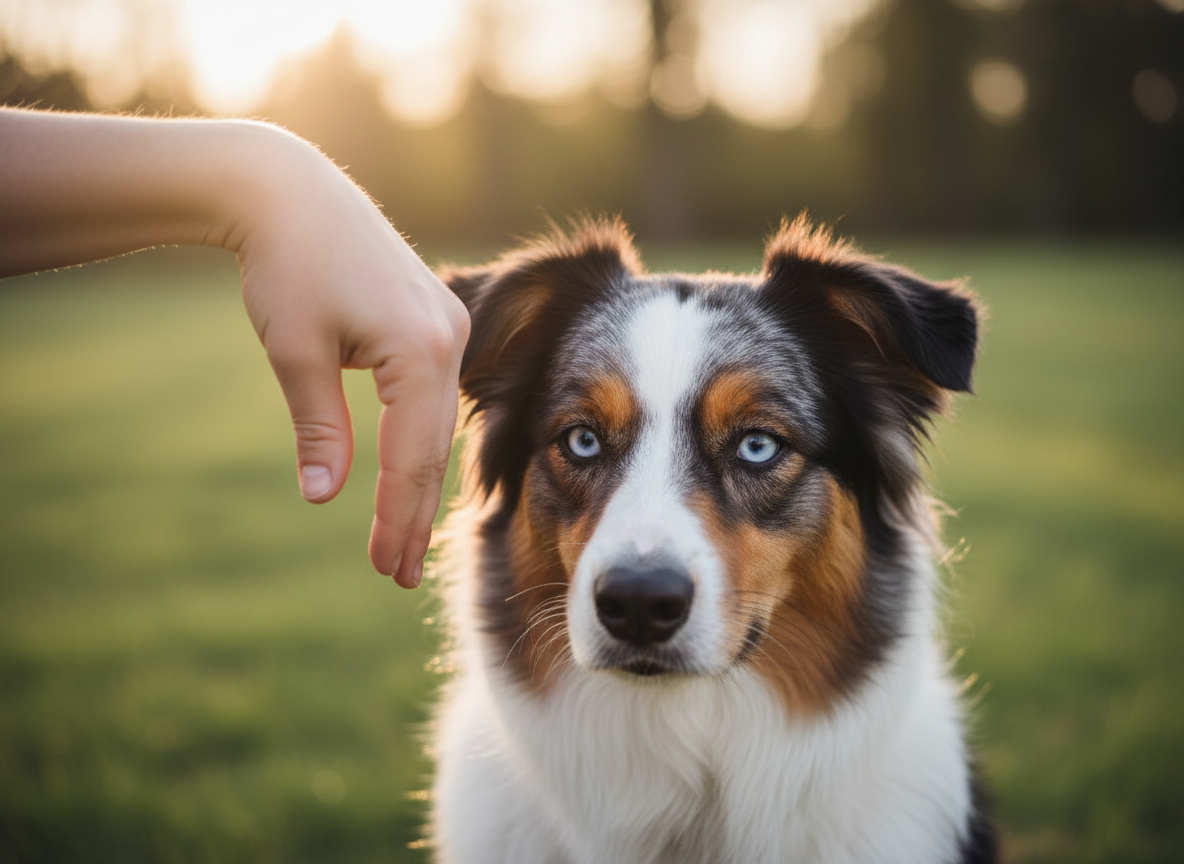
The hand signal is simple: with your hand open or closed, bring your index finger and tap your own nose or a spot between your eyes. This directs the dog’s attention straight to your face.
- Begin in a quiet, distraction-free area.
- Hold a very high-value treat (like a small piece of chicken or cheese) near your dog’s nose.
- Slowly lure the treat up from their nose towards the spot between your eyes. The moment their eyes meet yours, use your visual marker (e.g., a thumbs-up) and immediately give them the treat.
- Repeat this process several times in a short session.
- Once the dog understands the lure, start incorporating the hand signal. Tap your nose with one hand while luring the treat with the other. Mark and reward the eye contact.
- Gradually, you will fade the lure. Perform the hand signal without a treat in your luring hand. When they make eye contact, mark and reward them with a treat from your other hand or pocket. The goal is for the hand signal alone to elicit the behavior.
Signal 2: The Classic ‘Sit’
The ‘Sit’ command is a fundamental obedience cue that helps with management and impulse control. It is often one of the easiest signals for a dog to learn.
The standard hand signal for ‘Sit’ is an open hand, palm facing upwards, moving from waist level slightly up and back. This motion naturally encourages the dog’s head to go up and their rear to go down.
- Gain your dog’s attention with the ‘Watch Me’ cue.
- Hold a treat in your hand and let your dog sniff it.
- Slowly move the treat from their nose upwards and slightly back over their head. As their head follows the treat, their hindquarters will naturally lower into a sit position.
- The instant their rear touches the floor, use your visual marker and give them the treat and praise.
- After several successful repetitions, begin to use the hand signal just before you lure with the treat. Make the ‘Sit’ signal, then lure them into position. Mark and reward.
- Practice until you can give the signal without the treat lure, and the dog responds correctly. Always remember to mark and reward the successful completion of the cue.
Signal 3: ‘Down’ for Relaxation and Control
The ‘Down’ position is a calming posture and an excellent tool for managing a dog’s excitement in various situations. It indicates a state of relaxation and deference.
A common hand signal for ‘Down’ is a flat hand, palm facing down, moving from your chest straight down towards the floor. Alternatively, simply pointing to the ground with your index finger can be effective.
- Start with your dog in a ‘Sit’ position.
- Hold a treat near their nose. Slowly lower the treat straight down between their paws. Their head will follow the treat, which should encourage them to lie down.
- The moment their elbows touch the ground, mark the behavior and release the treat.
- Repeat this luring motion. If the dog is hesitant, you can try luring the treat slightly forward to encourage them to stretch out.
- Once they reliably follow the lure, introduce the hand signal just before you begin the lure. Give the ‘Down’ signal, then guide them with the treat.
- Over time, increase the distance between your hand and the floor when giving the signal, until the signal alone is enough to cue the behavior.
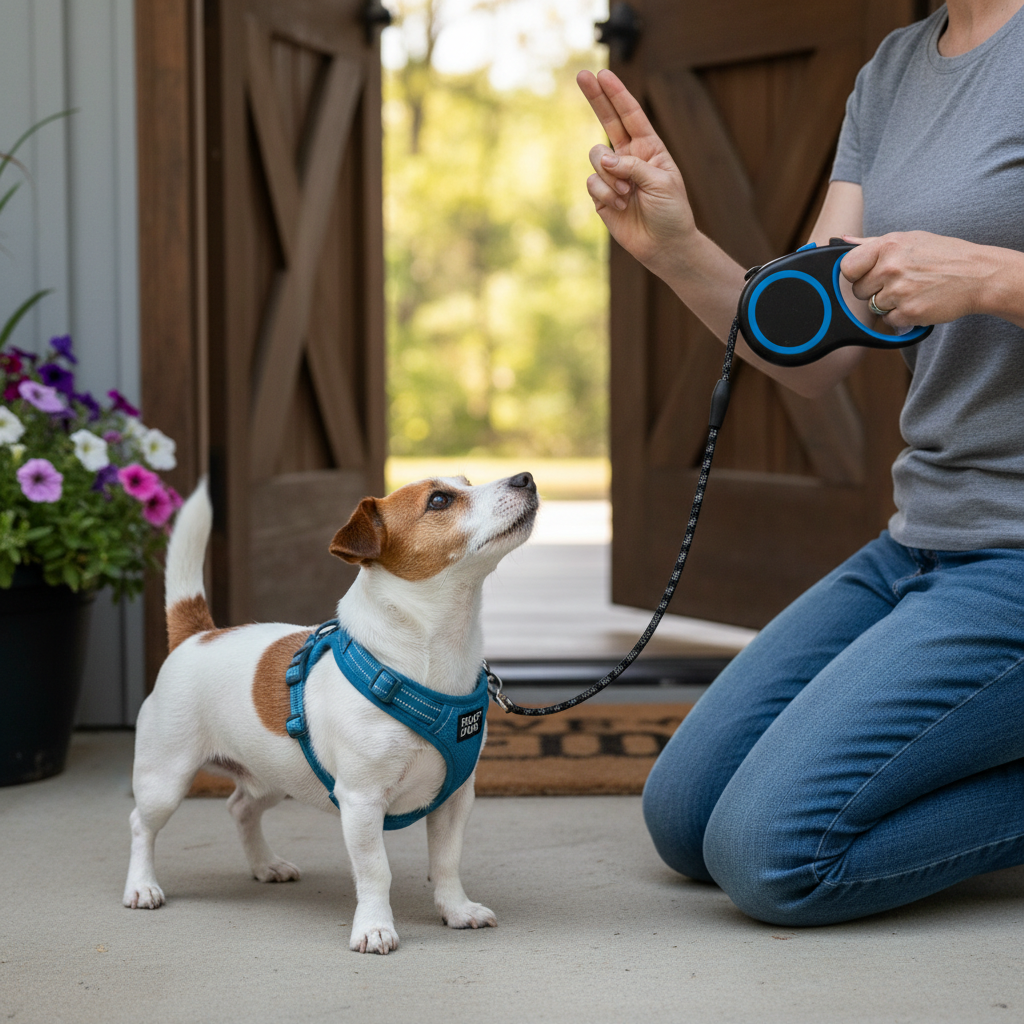
Signal 4: The Crucial ‘Stay’
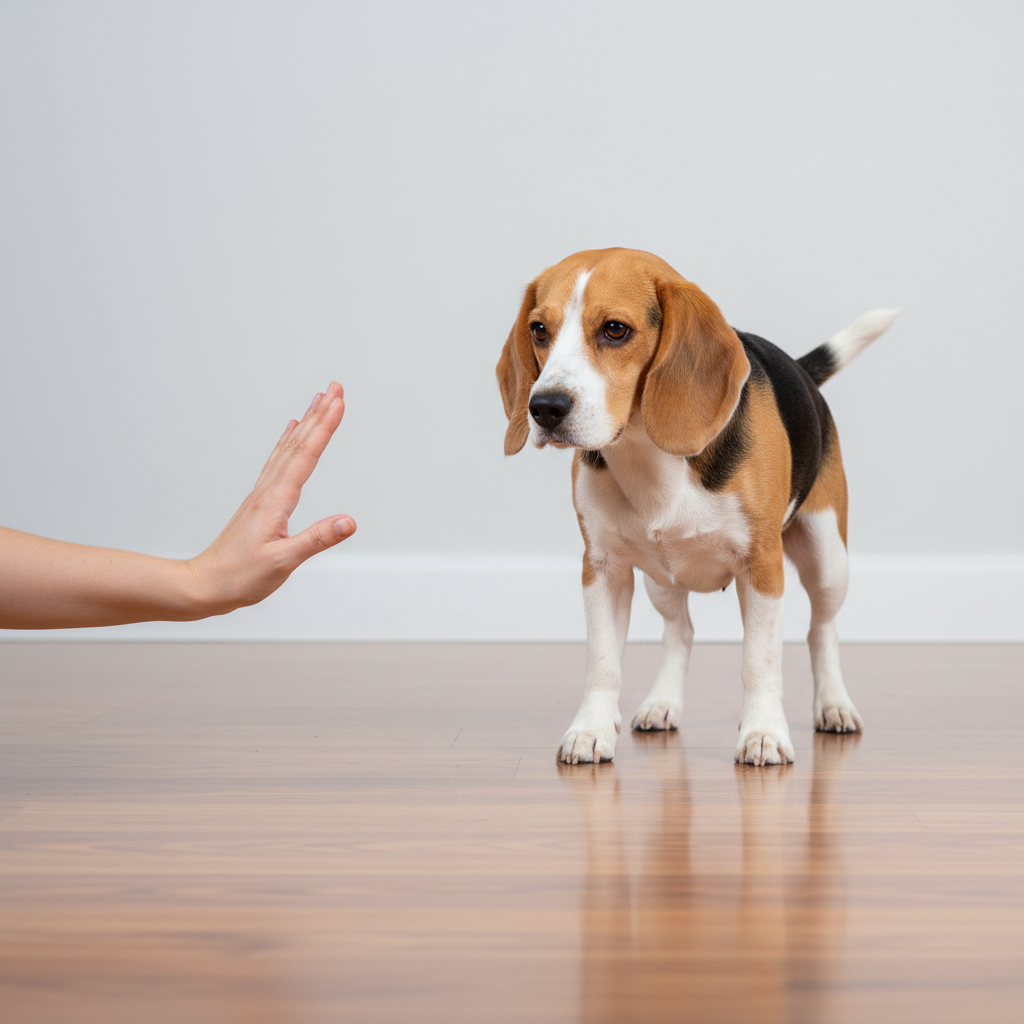
A reliable ‘Stay’ is essential for safety. It keeps your dog out of harm’s way, whether you are answering the door or have dropped something potentially dangerous on the floor.
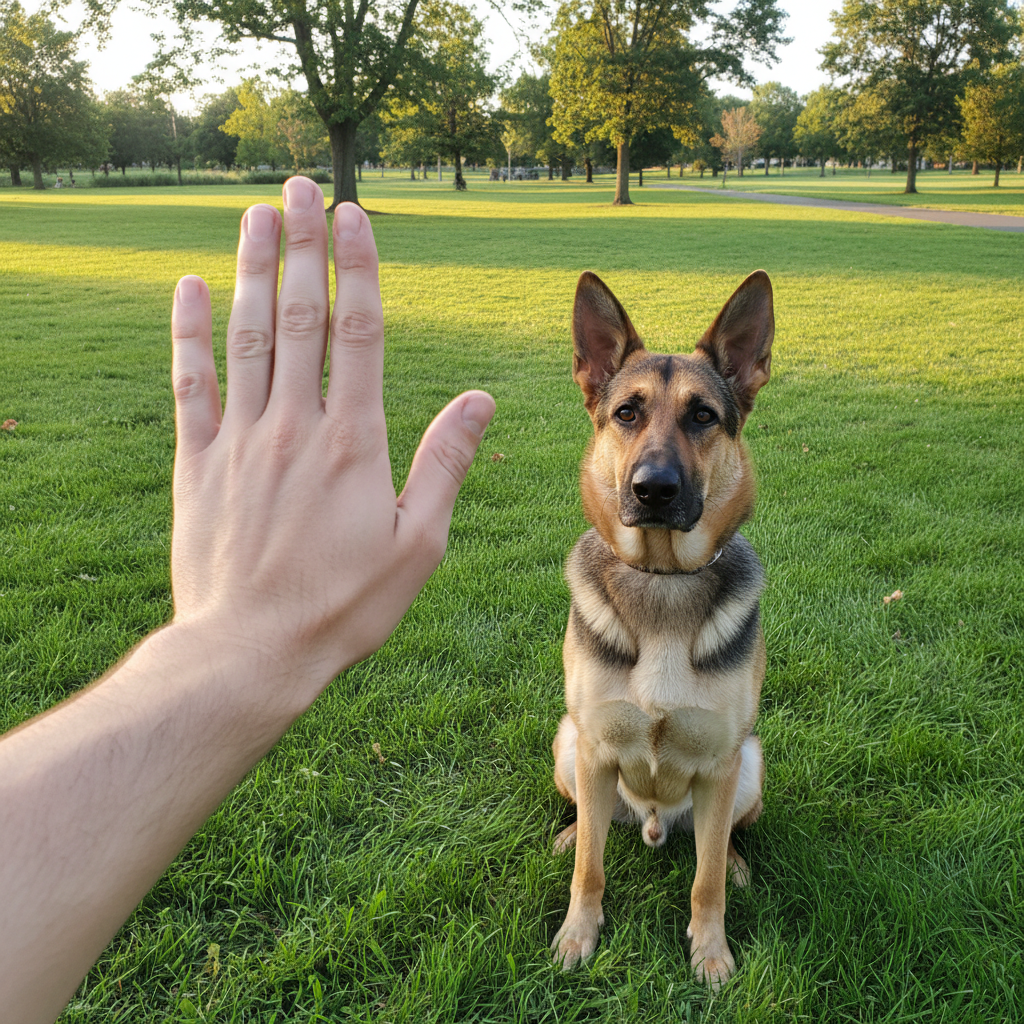
The universal hand signal for ‘Stay’ is a flat, open palm held towards the dog’s face, much like a traffic officer’s ‘stop’ signal.
- Ask your dog to ‘Sit’ or ‘Down’.
- Give the ‘Stay’ hand signal clearly and calmly.
- Wait for just one second, then give your visual marker and reward them while they are still in position.
- Gradually increase the duration. Ask for a ‘Stay’, wait two seconds, then mark and reward. Slowly work your way up to longer periods.
- Once they can hold the ‘Stay’ for several seconds, begin adding distance. Give the signal, take one small step back, then step forward to mark and reward.
- Slowly increase the distance and duration over many training sessions. Always return to your dog to deliver the reward; do not call them to you, as that can confuse the meaning of ‘Stay’. Release them with a different signal, like a wave.
Signal 5: The Lifesaving ‘Come’ (Recall)
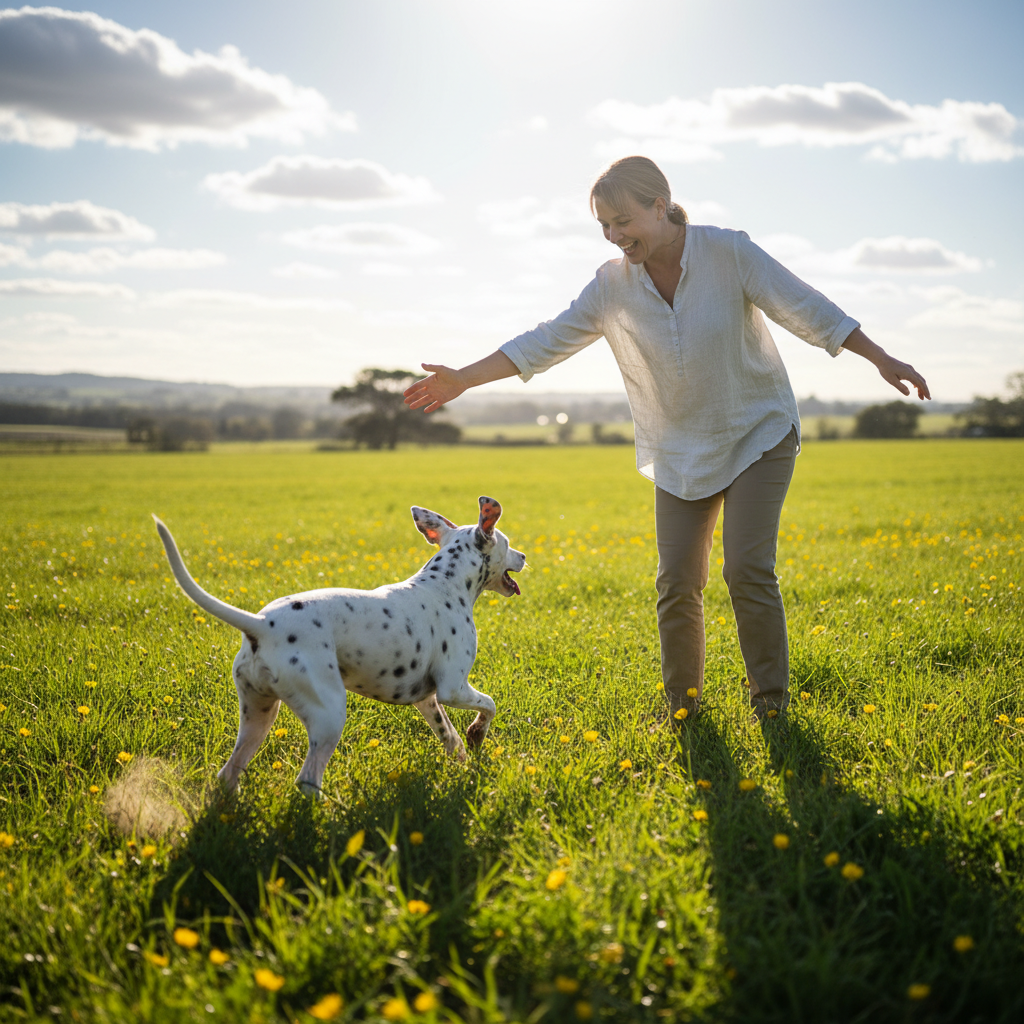
For a deaf dog, a visual recall is one of the most important safety commands. Since you cannot call them away from danger, they must learn to respond to a visual cue instantly.
The hand signal for ‘Come’ should be large and easy to see from a distance. A common signal is to start with your arm extended to the side and make a large, sweeping motion towards your chest or body, repeated twice.
- Start in a small room. Get your dog’s attention.
- Show them you have a very high-value treat, get excited, and give the sweeping ‘Come’ signal.
- Because you are close, they will likely move towards you. The moment they do, give your visual marker and reward them with a jackpot of treats and praise. Make it a party!
- Practice this, gradually increasing the distance within the house.
- Move to a securely fenced outdoor area. Use a long line for safety. Let them wander a bit, then get their attention (perhaps with a vibration collar) and give the big, enthusiastic ‘Come’ signal. Reward generously when they arrive.
- Never use the recall signal for something negative. It must always be the best experience possible for your dog.
Signal 6: ‘Leave It’ for Safety
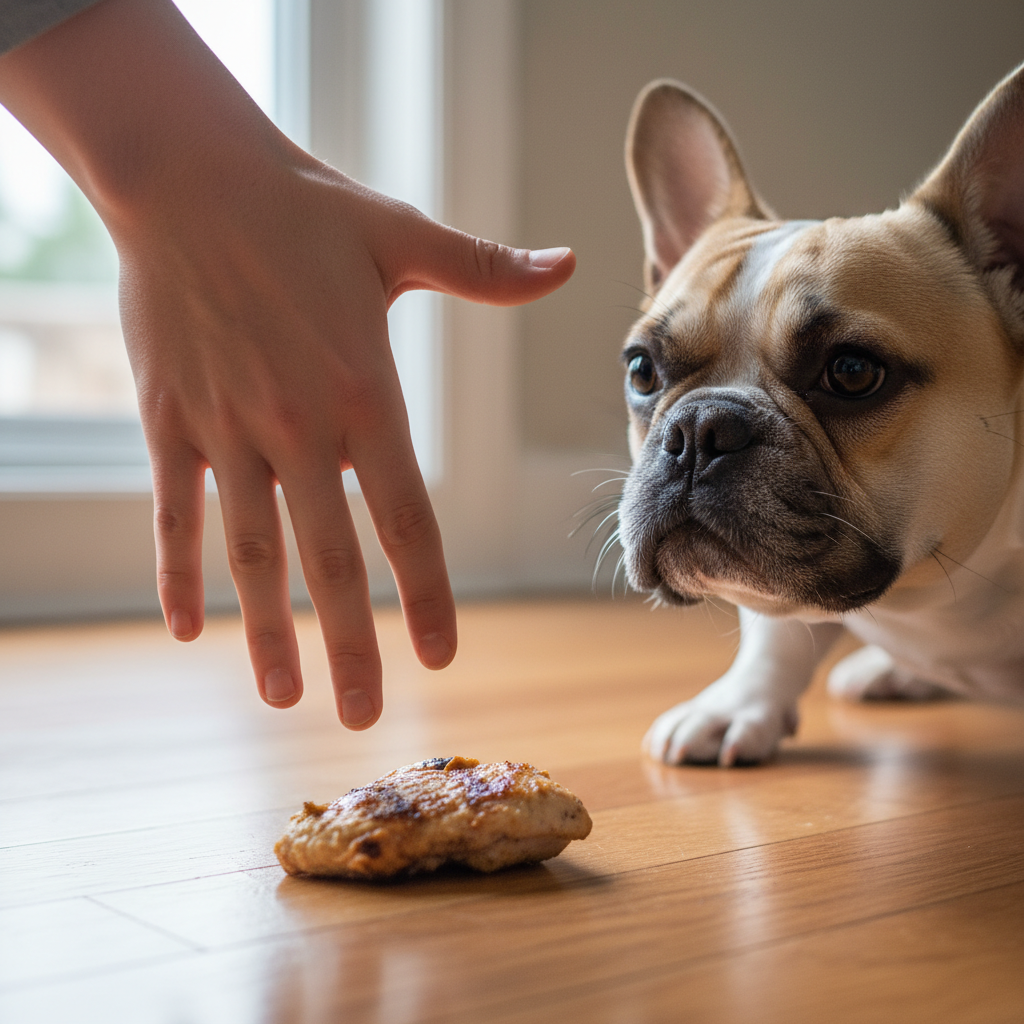
This cue tells your dog to disengage from an object and is critical for preventing them from ingesting harmful items.
A clear signal for ‘Leave It’ is a sharp, cutting motion with your hand between your dog’s face and the object. Another option is a closed fist presented to the dog.
- Place a low-value item (like a piece of kibble) on the floor and cover it with your hand.
- Your dog will likely sniff or paw at your hand. Ignore this. The moment they pull their head away, even for a second, mark and reward them with a much better treat from your other hand.
- Repeat until they are no longer trying to get the item under your hand.
- Now, place the item on the floor uncovered. As they go for it, give your ‘Leave It’ hand signal. When they hesitate or look away from the item and at you, mark and give them the high-value reward.
- Practice with various objects, always rewarding disengagement with something better.
Signal 7: ‘Drop It’ for Relinquishing Items
Unlike ‘Leave It,’ which is for items the dog does not yet have, ‘Drop It’ asks them to release something already in their mouth. This is vital for safety and for games like fetch.
A good signal is an open, flat palm facing up. You can also add wiggling fingers to draw attention to the hand.
- Start with a toy your dog likes but is not overly possessive of.
- While they are holding the toy, present a high-value treat near their nose. To eat the treat, they must drop the toy. The moment they drop it, say your visual marker and give them the treat.
- Once they understand the trade, add the hand signal. Present your open-palm ‘Drop It’ signal, then present the treat. Mark and reward the drop.
- Gradually fade the immediate presentation of the treat. Give the signal, wait for the drop, then mark and reward.
- Always make it a positive trade. Sometimes, reward them by immediately giving the toy back for another round of play. This prevents them from thinking ‘Drop It’ always means the fun ends.
Signal 8: ‘Good Dog!’ – Your Visual Marker
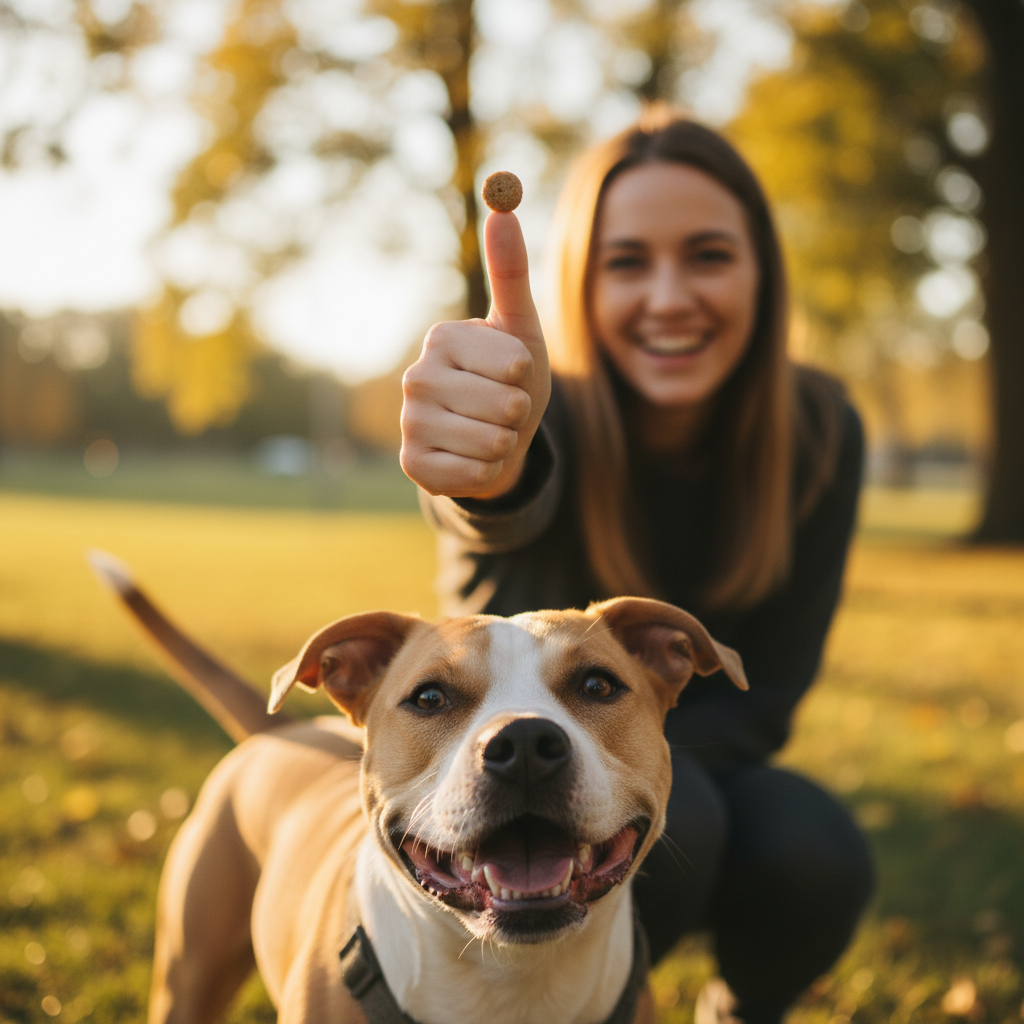
As mentioned earlier, the visual marker is the cornerstone of clear communication. It pinpoints the exact moment of success for your dog. It must be a signal that is fast, unique, and easy for you to perform consistently.
The most popular visual marker is a sharp Thumbs-Up. It is distinct from most other hand signals. Another option is a quick flash of an open hand (like a camera shutter).
- This process is called ‘charging the marker.’ In a quiet space, get your dog’s attention.
- Perform the chosen signal (e.g., Thumbs-Up).
- Immediately give your dog a high-value treat.
- Repeat this sequence 10-15 times in a row. Thumbs-Up, treat. Thumbs-Up, treat. Do not ask for any other behavior.
- Do this in several short sessions. The goal is to build a powerful positive association. When your dog sees the Thumbs-Up, their brain should think, ‘I did something right, and a reward is coming!’ This turns the signal into a powerful communication and reinforcement tool.
Signal 9: ‘Settle’ for Calmness

The ‘Settle’ cue is invaluable for teaching your dog to relax on cue, especially in stimulating environments or when guests are over. It differs from ‘Down’ by implying duration and relaxation, not just a position.
A soothing signal works best. For example, using both hands, palms down, and making a slow, downward motion as if you are gently pressing the air down.
- Choose a time when your dog is already calm or sleepy.
- Sit on the floor with them. When they lie down on their own, give the slow ‘Settle’ signal, use your visual marker, and calmly give them a treat.
- The key is to associate the signal with their existing state of calm.
- You can also guide them into a ‘Down’ position on a comfortable bed. Once they are down, give the ‘Settle’ signal and reward them for staying calm and relaxed.
- Practice this in quiet environments first, gradually introducing it in situations with mild distractions. This is not a command for high-energy moments but a tool to foster a calm mindset.
Signal 10: ‘Let’s Go!’ for Walks and Adventures
This is a fun, contextual cue that builds excitement for positive activities like walks or car rides. It helps transition from one activity to another smoothly.
A simple, ‘active’ signal works well. A common one is to point forward with two fingers (index and middle) and move them in a ‘walking’ motion. Another is simply pointing towards the door you are about to use.
- When it is time for a walk, get your dog’s attention while you are near the leash.
- Make the ‘walking fingers’ signal with enthusiasm.
- Immediately pick up the leash. The leash itself is a huge reward predictor.
- As they get excited, repeat the signal while you leash them up and head for the door.
- The association will become very strong very quickly. Soon, the hand signal alone will be enough to communicate that a fun outing is about to happen, helping you manage their excitement and direct their attention.
Beyond the Basics: Safety and Advanced Considerations

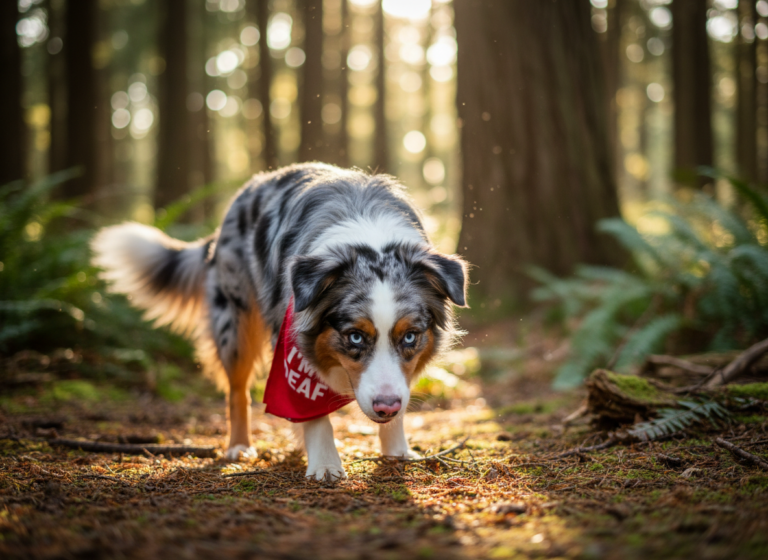
Living with a deaf dog requires a heightened awareness of their environment to ensure their safety. A vibrating collar (never a shock collar) can be a game-changer. It is not used for correction but as a non-verbal tap on the shoulder to get your dog’s attention when they are far away or facing another direction. This allows you to then deliver a visual cue like ‘Come’. A securely fenced yard is non-negotiable for off-leash time, and walks should always be on-leash unless in a designated, safe, fenced area. For nighttime or low-light situations, a flashlight beam can be used to get their attention or signal ‘Come’. Finally, ensure your dog wears clear identification tags stating they are deaf and is microchipped. A vest or bandana that says ‘I AM DEAF’ can also be helpful to inform strangers not to startle them from behind.
To help you practice, here is a summary of the signals discussed:
| Cue | Hand Signal Description | Purpose |
|---|---|---|
| Watch Me | Tap your nose or between your eyes. | To get your dog’s focused attention. |
| Sit | Open palm, facing up, moving slightly upward. | Basic obedience and impulse control. |
| Down | Flat palm, facing down, moving downward. | A calming and control position. |
| Stay | Flat palm held out towards the dog (stop sign). | Safety and duration command. |
| Come | Large, sweeping arm motion towards your body. | Lifesaving recall command. |
| Leave It | Sharp cutting motion or closed fist. | Preventing ingestion of unwanted items. |
| Drop It | Open palm, facing up, often with wiggling fingers. | To release an item from their mouth. |
| Good Dog! | Sharp thumbs-up or a quick hand flash. | Visual marker to pinpoint correct behavior. |
| Settle | Two hands, palms down, in a slow downward motion. | To encourage relaxation and calmness. |
| Let’s Go! | Two fingers making a ‘walking’ motion. | To signal a walk or other fun activity. |
Conclusion
Training a deaf dog is not a greater challenge; it is simply a different one. It requires you to become more attuned to your own body language and more deliberate in your communication. The ten signals outlined in this guide are more than just commands; they are words in a shared language that you and your dog will build together. Every successful ‘Sit,’ every joyful recall, and every calm ‘Settle’ strengthens your connection. The bond you will form through this focused, visual partnership is often profoundly deep and resilient. Embrace the silence, celebrate the small victories, and trust in your dog’s incredible ability to adapt and learn. With consistency, patience, and love, you will unlock their full potential and build a relationship based on the clearest communication of all: mutual trust and understanding.