Cycling with Dogs: How to Start Bikejoring Safely Today

The bond between a human and their dog is often forged through shared activities, and for the adventurous pet owner, few activities are as thrilling and rewarding as bikejoring. This high-energy dog sport, a cousin to dogsledding, channels a dog’s natural instinct to pull into a cooperative cycling partnership. It’s an exceptional way to provide physical exercise and mental stimulation for your canine companion while strengthening your communication and teamwork.
However, launching into bikejoring requires more than just a dog, a bike, and a leash. Safety, proper training, and the right equipment are paramount to prevent injury and ensure the experience is enjoyable for everyone involved. This guide is designed to serve as your definitive resource, providing a professional, step-by-step approach to safely introducing your dog to the world of bikejoring. We will cover everything from assessing your dog’s suitability to mastering verbal commands and navigating your first trail ride together.
Assessing Your Dog’s Suitability for Bikejoring

Is Your Dog a Good Candidate for Bikejoring?
Before you invest in gear or begin training, the first and most critical step is to honestly assess whether bikejoring is the right sport for your dog. Not all dogs are built for or interested in this demanding activity. A successful bikejoring partnership depends on the dog’s physical structure, age, health, and temperament.
Physical and Breed Considerations
Bikejoring is a high-impact sport that requires significant strength and stamina. Generally, medium to large breeds with a natural inclination to pull and run are the best candidates. Consider the following:
- Ideal Breeds: Northern breeds like Siberian Huskies and Alaskan Malamutes are naturals. Sporting breeds such as German Shorthaired Pointers, Vizslas, and Border Collies also excel due to their athleticism and work ethic. Many mixed-breed dogs with the right build and drive can also make fantastic partners.
- Breeds to Avoid: Brachycephalic (flat-faced) breeds, such as Pugs, Bulldogs, and Boxers, should not participate in bikejoring due to their compromised respiratory systems, which puts them at high risk of overheating and respiratory distress. Similarly, giant breeds with heavy frames may be prone to joint issues, and small or delicate breeds lack the power and structure required.
Age and Health Prerequisites
Age is a crucial factor. It is imperative that a dog be skeletally mature before starting any high-impact activity. Engaging in strenuous pulling before their growth plates have closed can lead to severe, lifelong joint problems.
- Minimum Age: Most veterinarians recommend waiting until a dog is at least 18 to 24 months old. Larger breeds may mature even later.
- Veterinary Clearance: A comprehensive check-up with your veterinarian is non-negotiable. Discuss your intentions to start bikejoring and request an evaluation of your dog’s heart, lungs, and musculoskeletal system, particularly their hips and elbows.
Temperament and Drive
The ideal bikejoring dog possesses a specific mindset. They should have a strong desire to run and a natural inclination to pull forward. A dog that constantly stops to sniff, is easily distracted, or shows signs of fear or anxiety when ahead of you may not enjoy the sport. Confidence and focus are key traits for a happy and effective pulling dog.
Gearing Up: The Non-Negotiable Equipment for Bikejoring
Gearing Up: The Non-Negotiable Equipment for Bikejoring
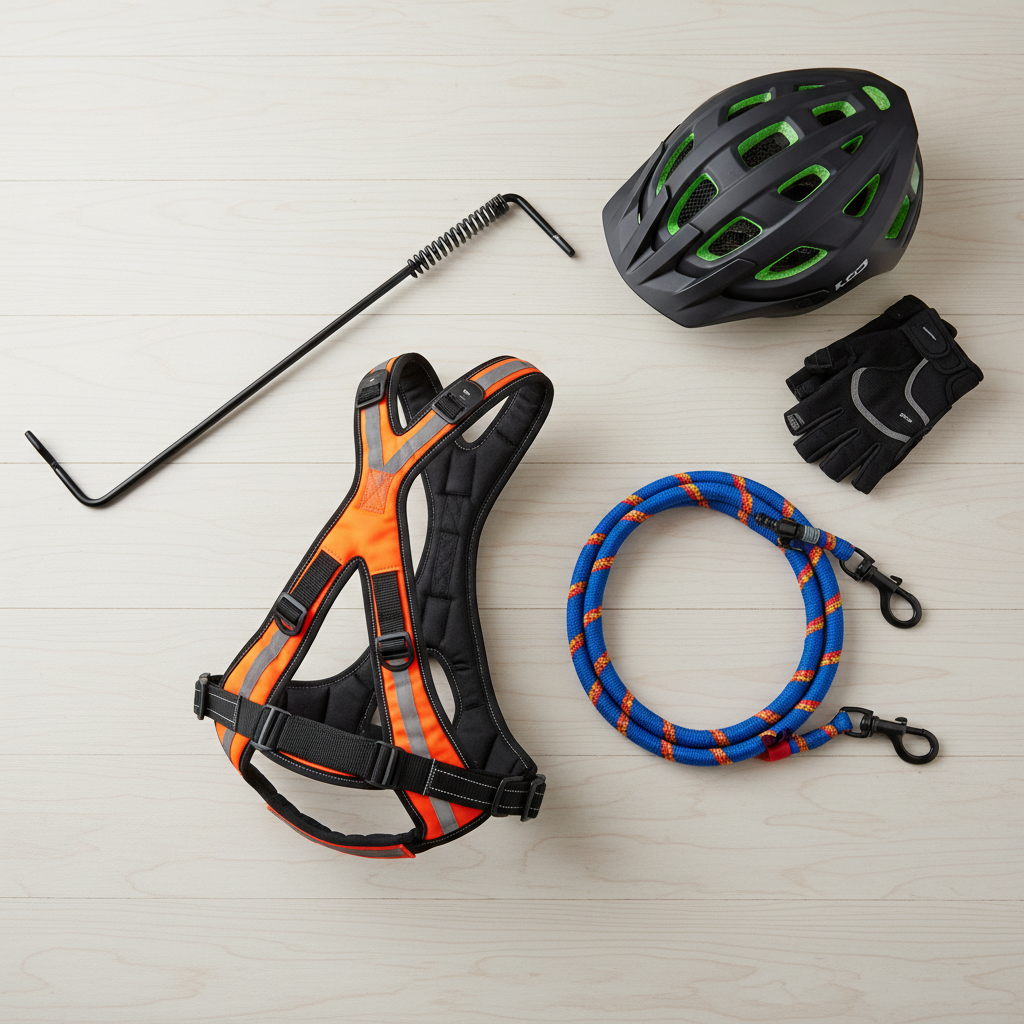
Using improper equipment is one of the fastest ways to cause injury to your dog or yourself. Investing in specialized, high-quality gear is not an optional expense; it is a fundamental requirement for safety and performance. Standard walking harnesses, leashes, and collars are dangerously unsuitable for this sport.
For Your Dog
- Pulling Harness: This is the most critical piece of equipment for your dog. A proper bikejoring or mushing harness is specifically designed to distribute pulling force evenly across the dog’s chest and shoulders, avoiding any pressure on the neck and throat. It allows for full range of motion and unrestricted breathing. Look for brands that specialize in dog-powered sports.
- Dog Booties (Optional but Recommended): For runs on rough terrain or for dogs with sensitive paws, booties can protect pads from cuts, abrasions, and wear.
For the Connection
- Gangline or Towline: This is the line that connects your dog’s harness to your bike. It must have a bungee section integrated into it. This bungee absorbs shock, protecting both your dog’s back and your own from jarring movements during starts, stops, and changes in pace.
- Bike Antenna or Outrigger: This is a rigid arm that attaches to the front of your bike and extends forward. The gangline is threaded through it to keep the line from tangling in your front wheel—a catastrophic failure you must prevent at all costs.
For You
- A Suitable Bicycle: A mountain bike with quality front suspension and reliable brakes (preferably disc brakes) is the standard choice. Its sturdy frame and knobby tires provide the stability and control needed for off-road trails. Do not use a road bike or cruiser.
- Helmet: A certified cycling helmet is an absolute must. Accidents can and do happen, and protecting your head is your top priority.
- Gloves and Eye Protection: Cycling gloves improve your grip and protect your hands, while glasses or goggles shield your eyes from debris kicked up by your dog or the trail.
From Zero to Trail Hero: A Step-by-Step Training Guide
From Zero to Trail Hero: A Step-by-Step Training Guide
Training for bikejoring is a gradual process that builds skills, confidence, and communication. Patience and positive reinforcement are your most valuable tools. Never rush the process; each step builds a foundation for the next. The goal is a dog that understands its job and performs it with enthusiasm and focus.
Step 1: Acclimation to Gear
Before you even think about movement, get your dog comfortable with the equipment. Introduce the pulling harness in a positive way with treats and praise. Let them wear it for short periods around the house and on walks. Separately, let them investigate the bike while it’s stationary. Reward them for calm behavior near it.
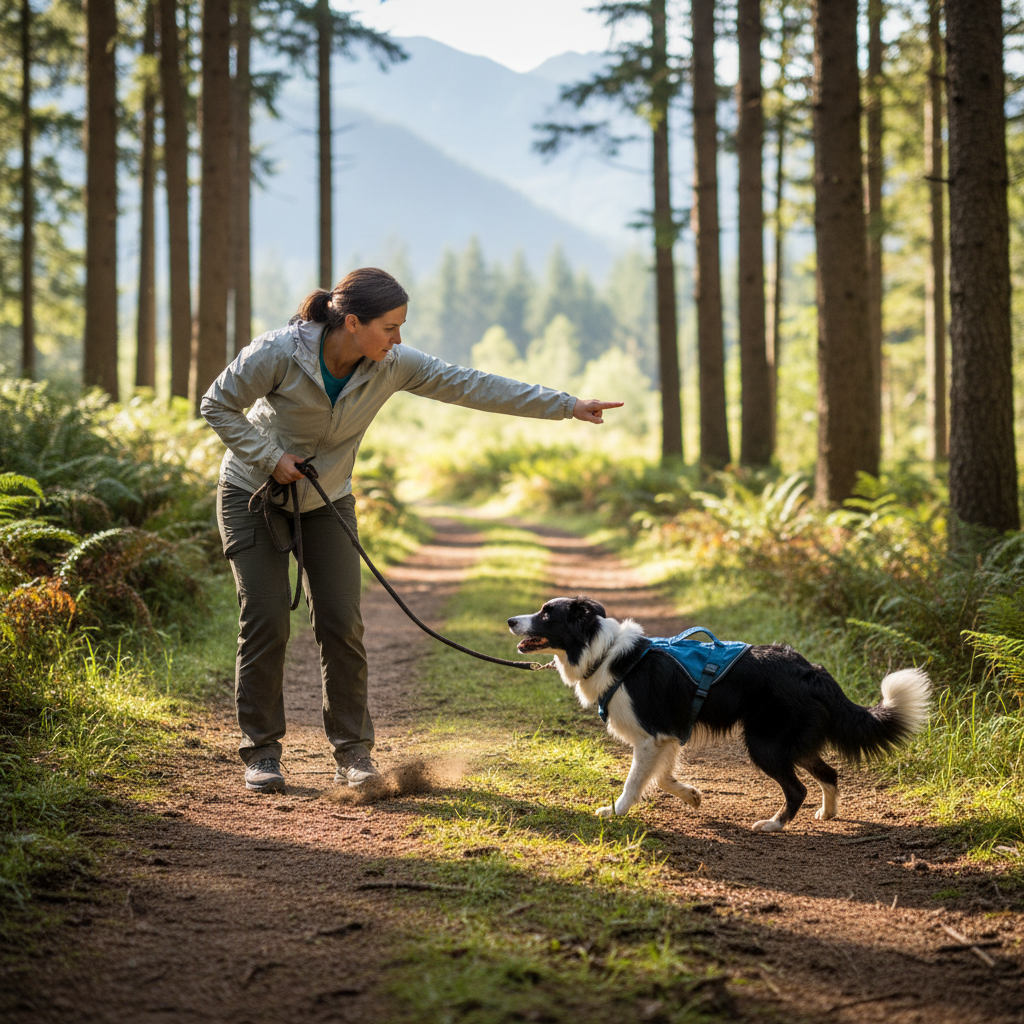
Step 2: Mastering Verbal Commands on Foot
Your voice is your primary tool for steering and speed control. These commands must be taught and proofed on the ground before you get on the bike. Practice during your daily walks while your dog is on a regular leash.
| Command | Meaning | Training Tip |
|---|---|---|
| Hike / Let’s Go | Start pulling forward. | Use an enthusiastic tone and take a few running steps to encourage forward movement. |
| Whoa / Stop | Come to a complete stop. | Say the command firmly and stop moving yourself. Reward them when they stop with you. |
| Gee | Turn right. | As you approach a right turn, say “Gee” and use leash pressure to guide them right. Praise heavily. |
| Haw | Turn left. | As you approach a left turn, say “Haw” and use leash pressure to guide them left. Praise heavily. |
| On By | Ignore a distraction and continue straight. | When you see a distraction (like a squirrel or another dog), say “On By” firmly and use a high-value treat to keep their focus forward as you pass. |
Step 3: The First Pull (Canicross)
Once your dog is comfortable in the harness, attach the gangline to it and to a canicross belt on your waist (do not attach it to the bike yet). Start by jogging or running behind your dog on a quiet trail. Use your verbal commands and encourage them to pull ahead. This teaches them the fundamental concept of pulling against resistance without the complexity of the bike.
Step 4: Introducing the Bike
After your dog is confidently pulling you on foot, it’s time to bring in the bike. Attach the gangline and antenna to the bike. Start by walking the bike alongside your harnessed dog, keeping the line slack. Practice your verbal commands, especially “Gee” and “Haw,” while you walk the bike through turns.
Step 5: The First Ride
Choose a safe, flat, and straight path with minimal distractions for your first ride. Keep it short—no more than a few hundred yards. Start slowly, ask for a gentle “Hike,” and pedal to assist them. Use your “Whoa” command to stop after a short distance and reward them with effusive praise and treats. The goal of the first few sessions is simply to build a positive association. Gradually increase the distance and introduce gentle turns as their confidence and understanding grow.
Prioritizing Safety: Protocols and Common Pitfalls
Prioritizing Safety: Protocols and Common Pitfalls
Safety should be at the forefront of every bikejoring session. Diligence and awareness are key to preventing accidents and ensuring the long-term health and happiness of your canine partner. By establishing a routine of safety checks and avoiding common mistakes, you can mitigate most risks associated with the sport.
Pre-Ride Safety Protocols
Make this checklist a non-negotiable part of your routine before every single run.
- Equipment Check: Inspect all your gear. Check the harness for any fraying, the gangline’s bungee and clips for wear, and ensure the bike antenna is securely fastened. Test your bike’s brakes and tire pressure.
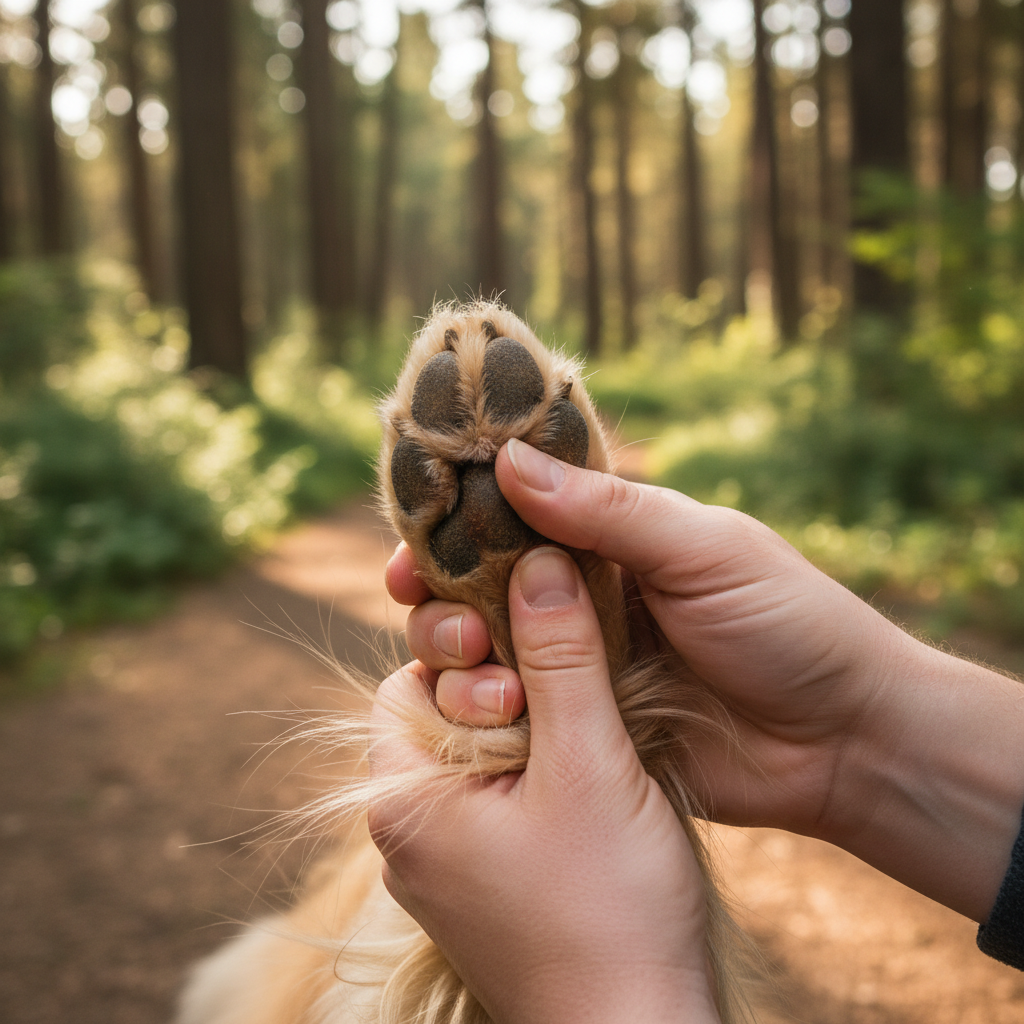
- Paw Pad Inspection: Before and after every run, carefully inspect your dog’s paw pads for any cuts, scrapes, or signs of excessive wear.
- Hydration and Nutrition: Ensure your dog is well-hydrated before you start. Avoid feeding a large meal within two hours before or one hour after a run to reduce the risk of bloat. Always carry fresh water for both of you.
- Weather Assessment: Never run a dog in hot or humid conditions. Dogs are much more susceptible to heatstroke than humans. If the sum of the temperature in Fahrenheit and the humidity percentage is greater than 120, it’s generally too risky. Be mindful of hot pavement, which can severely burn paw pads.
Common Mistakes to Avoid
Even with the best intentions, new bikejorers can make mistakes that compromise safety and enjoyment. Be aware of these common pitfalls:
- Using the Wrong Equipment: Never use a neck collar or a standard walking harness. This is the most dangerous mistake, as it can restrict breathing and cause serious injury to your dog’s neck, throat, or back.
- Going Too Far, Too Fast: Build distance and speed gradually over weeks and months. Pushing an unconditioned dog too hard can lead to muscle strains, joint damage, and a negative association with the sport.
- Ignoring Your Dog’s Signals: You must learn to read your dog’s body language. Signs of fatigue include excessive panting, lagging behind, or a lowered tail. If you see these signs, stop immediately. Your dog’s well-being always comes first.
- Forgetting Warm-Ups and Cool-Downs: Just like a human athlete, your dog needs to prepare their muscles for work and recover afterward. Start with a 5-minute brisk walk or light jog to warm up, and end every session with a 5-10 minute walk to cool down.
- Losing Focus: Always be aware of your surroundings. Scan the trail ahead for obstacles, wildlife, other people, or off-leash dogs. Anticipating potential issues is key to avoiding them.
Conclusion
Bikejoring is more than just a dog sport; it’s a dynamic partnership that builds trust, communication, and an incredible bond between you and your dog. By committing to a foundation of safety, investing in the correct specialized equipment, and embracing a patient, step-by-step training philosophy, you can unlock a thrilling new world of shared adventure. Remember that the ultimate goal is not speed or distance, but the joy of working together as a team.
Always listen to your dog, prioritize their health and happiness above all else, and celebrate the small victories along the way. With the knowledge and strategies outlined in this guide, you are now equipped to begin your bikejoring journey responsibly. So gear up, get out there, and enjoy the ride of a lifetime with your best friend leading the way.