Cute Trick Alert: Teach Your Dog to Unroll Your Yoga Mat
Integrating our pets into our daily routines deepens the bond we share, turning mundane activities into moments of connection and joy. For yoga enthusiasts, practice is often a solitary, meditative experience. But what if your canine companion could not only join you but also help you set up? Teaching your dog to unroll your yoga mat is more than just an impressive party trick; it’s a fantastic brain game that provides mental stimulation, builds confidence, and strengthens communication between you and your pet. This guide will walk you through the entire process, from foundational commands to advanced troubleshooting, ensuring a fun and successful training journey for both of you. Using the principles of positive reinforcement, you’ll transform your pre-yoga setup into an exciting and rewarding training session that your dog will look forward to every day.
Preparing for Success: Gathering Your Tools and Mindset

Preparing for Success: Gathering Your Tools and Mindset
Before you begin any training session, proper preparation is paramount. Setting up the right environment and having the necessary tools on hand will significantly increase your chances of success and make the experience more enjoyable for your dog. The goal is to create a positive, low-pressure atmosphere where your dog feels eager to learn.
Essential Training Tools
You don’t need a lot of fancy equipment to teach this trick, but having the right items will make the process smoother:
- A Yoga Mat: Initially, it’s best to use an older or inexpensive mat. Your dog might use its paws or teeth at first, so don’t use your favorite high-end mat until the behavior is polished. A lighter-weight mat is also easier for a dog to move.
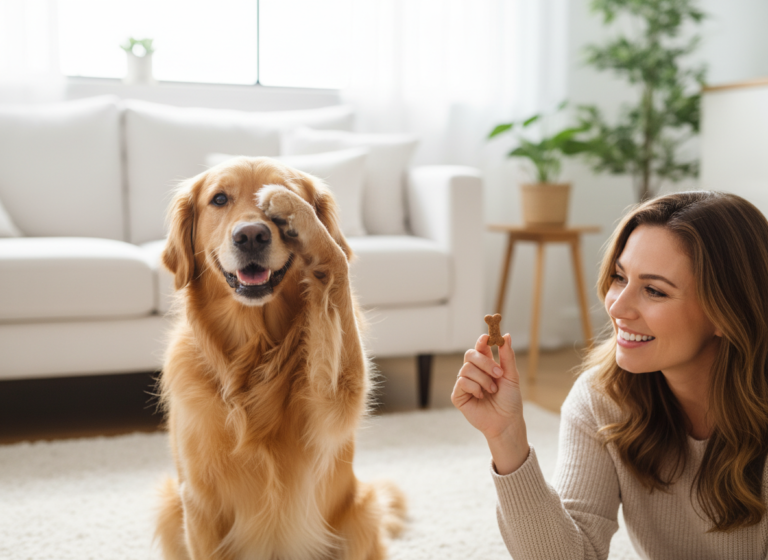
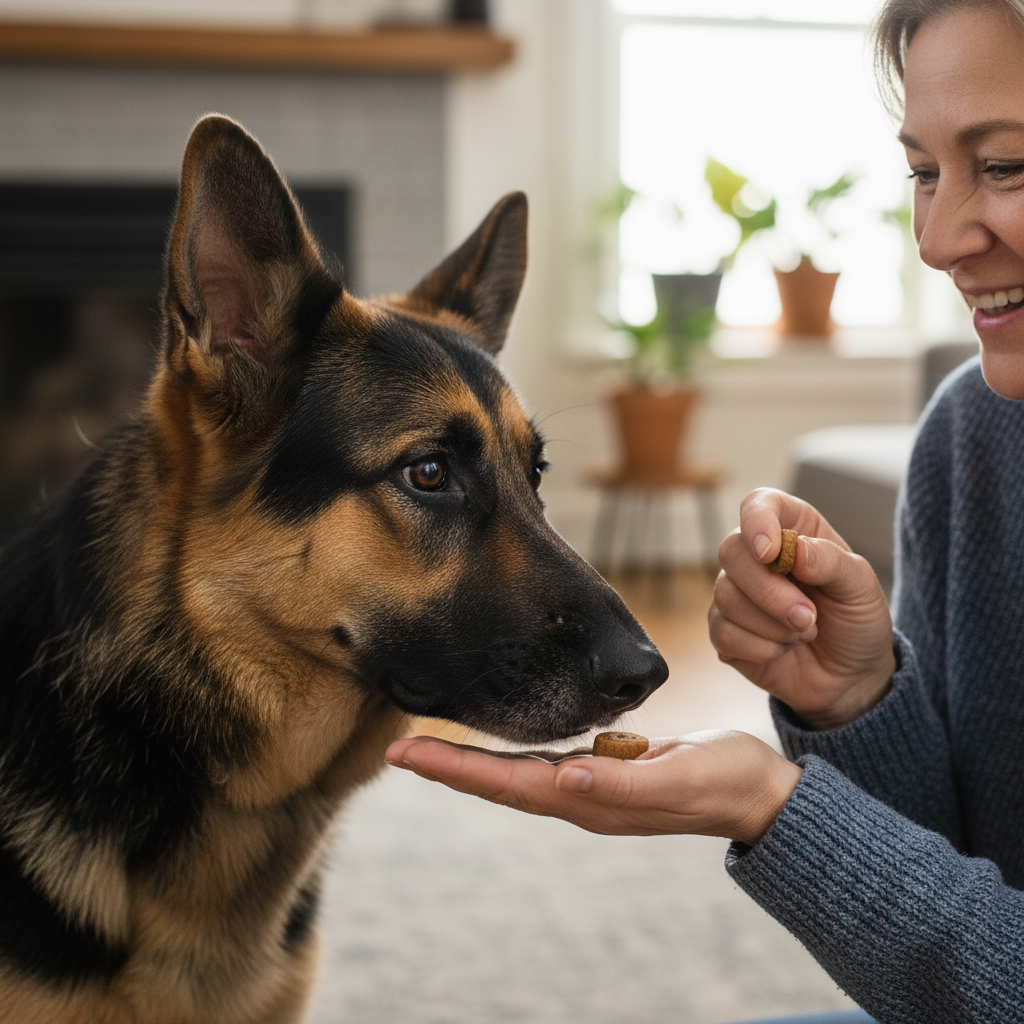
- High-Value Treats: These are special, delicious treats that your dog absolutely loves and doesn’t get at any other time. Small, soft, and smelly treats like tiny pieces of cheese, boiled chicken, or commercial training treats work best. You’ll need quite a few, so cut them into pea-sized portions to avoid overfeeding.
- A Clicker (Optional): A clicker is a powerful tool for marking the exact moment your dog performs the correct behavior. If you’re new to clicker training, you’ll first need to ‘charge’ the clicker by clicking and immediately giving a treat, repeating this about 10-15 times until your dog associates the sound with a reward.
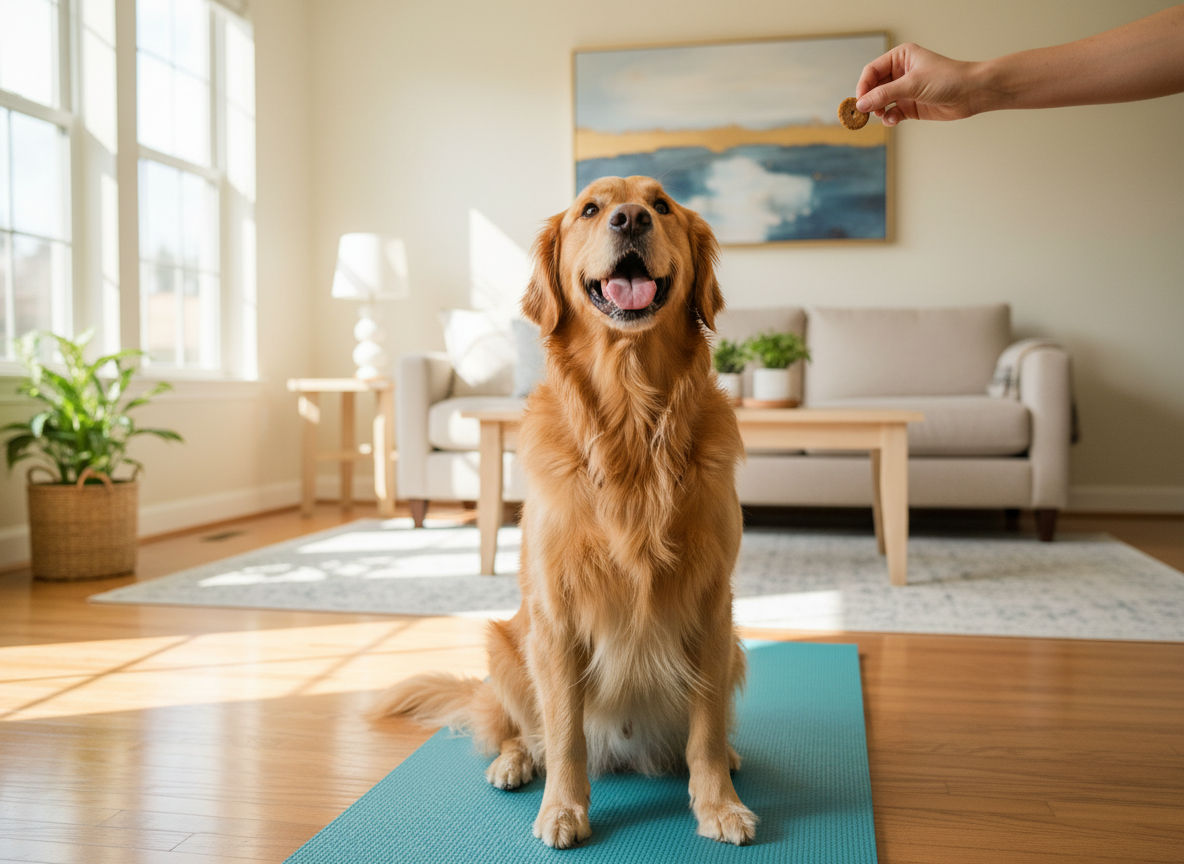
- A Quiet Training Space: Choose a location free from distractions. A living room or any open area where you normally practice yoga is ideal, as it helps the dog associate the behavior with the context. Ensure other pets or family members won’t interrupt your session.
Cultivating the Right Mindset
Your attitude and approach are just as important as the physical tools. Remember these key principles:
- Patience is Key: Every dog learns at a different pace. There will be moments of brilliance and moments of confusion. Never get frustrated or punish your dog. End the session on a positive note if you or your dog are feeling overwhelmed.
- Keep Sessions Short and Sweet: Dogs, especially puppies, have short attention spans. Aim for multiple short sessions of 5-10 minutes per day rather than one long, grueling session. This keeps the dog engaged and prevents burnout.
- Stay Positive: Your dog is highly attuned to your energy. Keep your voice upbeat and offer plenty of verbal praise, smiles, and petting in addition to treats. Training should always feel like a fun game, not a chore.
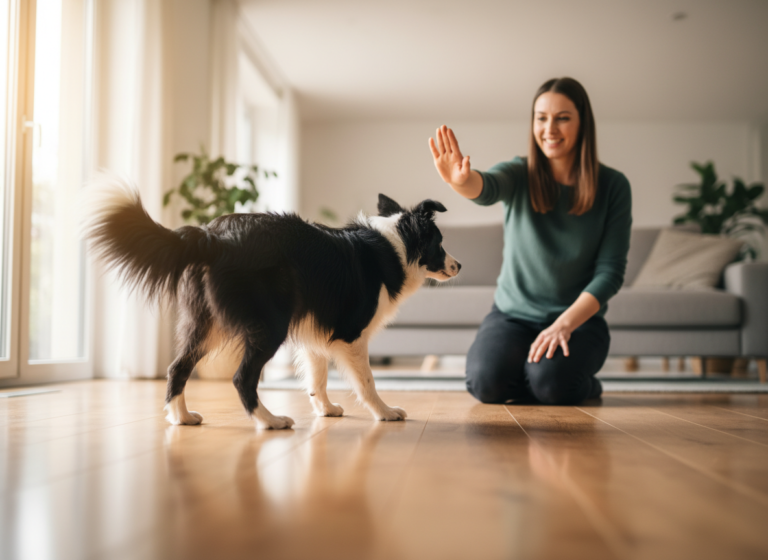
Laying the Foundation: Mastering the ‘Touch’ Command
Laying the Foundation: Mastering the ‘Touch’ Command
Most complex tricks are simply a chain of smaller, simpler behaviors. Before your dog can push a yoga mat open, it first needs to understand the concept of intentionally touching an object with its nose. This is called targeting, and the ‘touch’ command is the perfect foundation. It teaches your dog to engage with objects on cue, a skill that is transferable to countless other tricks and useful behaviors.
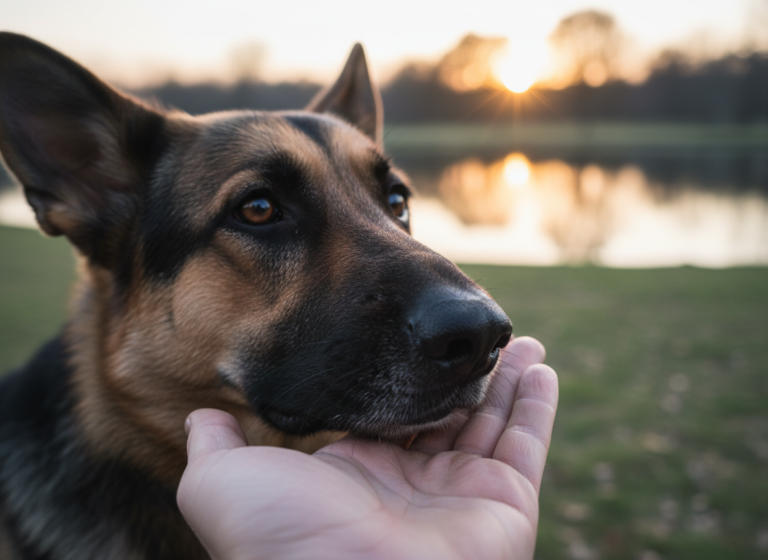
How to Teach ‘Touch’ (Nose-to-Hand Targeting)
Follow these steps to build a reliable nose target:
- Present Your Hand: Hold your hand out flat, with your palm open, a few inches from your dog’s nose. Most dogs will naturally be curious and move forward to sniff it.
- Mark and Reward: The very instant your dog’s nose makes contact with your palm, mark the behavior with a ‘click’ from your clicker or a verbal marker like ‘Yes!’. Immediately give your dog a high-value treat from your other hand.
- Reset and Repeat: Pull both hands back. Then, present your open palm again. Repeat the process. In the beginning, reward any physical contact, even a slight bump. Your goal is to build a strong association: Nose touches hand = Click/Yes! = Treat.
- Fade the Lure: Initially, you might have held a treat in your target hand to lure the dog. Once they understand the game, present an empty hand. The reward should always come from your other hand to keep the target hand ‘clean’.
- Add the Verbal Cue: When your dog is reliably and enthusiastically touching your hand every time you present it, you can start adding the verbal cue. Just as you present your hand, say the word ‘Touch’. Mark and reward upon contact. After several repetitions, your dog will associate the word with the action.
- Generalize the Behavior: Practice in different rooms, in the yard, and with your hand in different positions (higher, lower, to the side) to solidify the command. This ensures the dog understands the concept of ‘touch’ itself, not just touching your hand in one specific spot.
Expert Tip: Keep your ‘touch’ hand still. Moving it towards your dog can be intimidating for some and may cause them to back away. Let your dog be the one to initiate the contact.
The Main Event: A Step-by-Step Guide to the Unroll Trick

The Main Event: A Step-by-Step Guide to the Unroll Trick
With a solid ‘touch’ command established, you’re ready to transfer that skill to the yoga mat. This process is called ‘shaping,’ where you reward successive approximations of the final behavior. You’ll start with a simple touch and gradually build up to a full unroll. Remember to work in short, positive sessions.
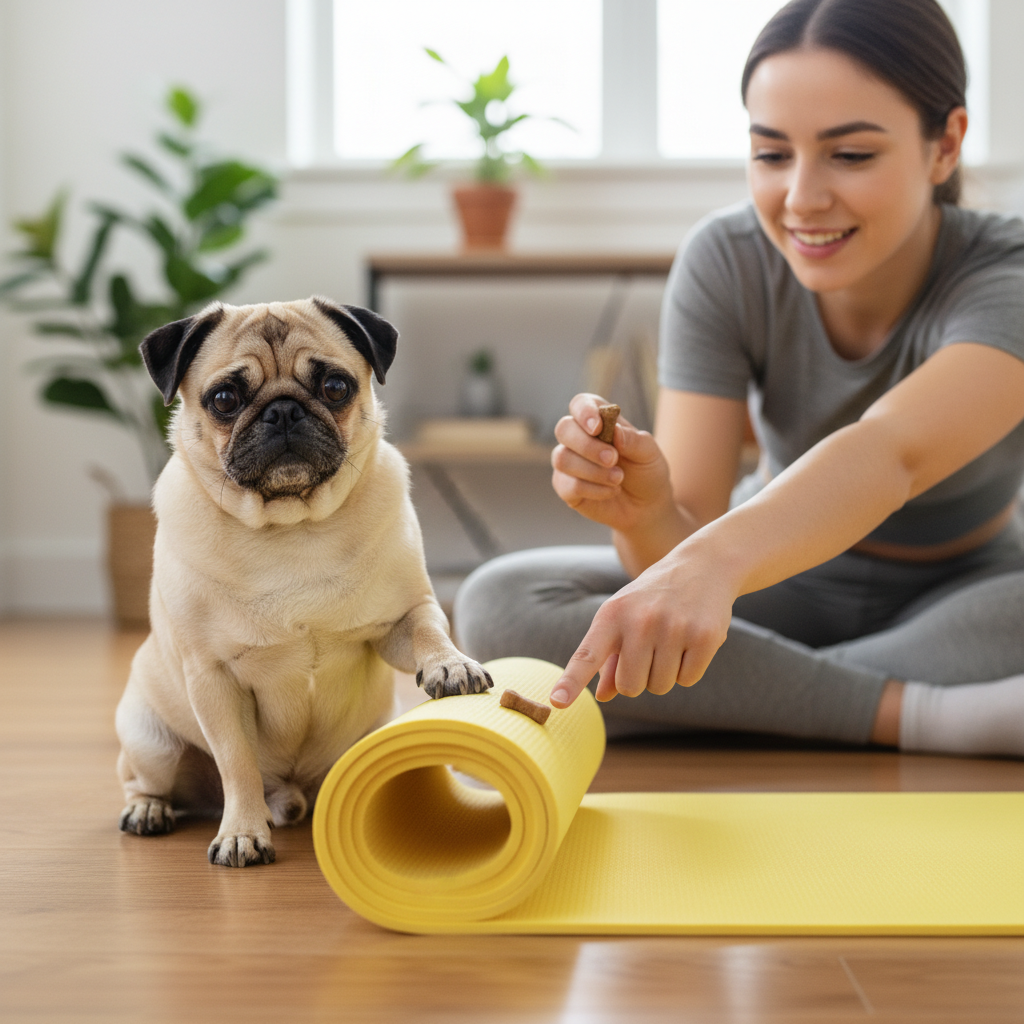
- Step 1: Introduce the Mat: Place the rolled-up yoga mat on the floor. Let your dog investigate it freely. If they sniff or touch it out of curiosity, click and treat. You want them to form a positive association with the object right from the start.
- Step 2: Transfer the ‘Touch’ to the Mat: Now, ask for the ‘touch’ command, but instead of holding out your hand, point to the flat, circular end of the rolled-up mat. When their nose touches the end of the mat, click and treat. Repeat this until they are confidently targeting the end of the mat on cue.
- Step 3: Encourage a Push: This is where shaping begins. Start withholding the click and treat for a simple, delicate touch. Wait for a slightly harder nose bump. The moment you feel any pressure or forward momentum from their nose, click and give a ‘jackpot’ reward (multiple treats at once) to signify they’ve done something great. This encourages them to repeat the stronger push.
- Step 4: Capture the First Movement: Continue rewarding only the stronger pushes. Eventually, your dog’s push will be strong enough to cause the mat to move or unroll slightly. The very first time this happens, even if it’s just an inch, react with excitement! Click and deliver a jackpot reward. This is the ‘aha!’ moment for your dog.
- Step 5: Build Duration and Distance: Once your dog understands that pushing makes the mat move and earns a reward, you can start asking for more. Wait for them to push the mat for two inches, then click and treat. Then three. Then ask for two or three pushes in a row before rewarding. Gradually shape the behavior until they can unroll the entire mat in one go.
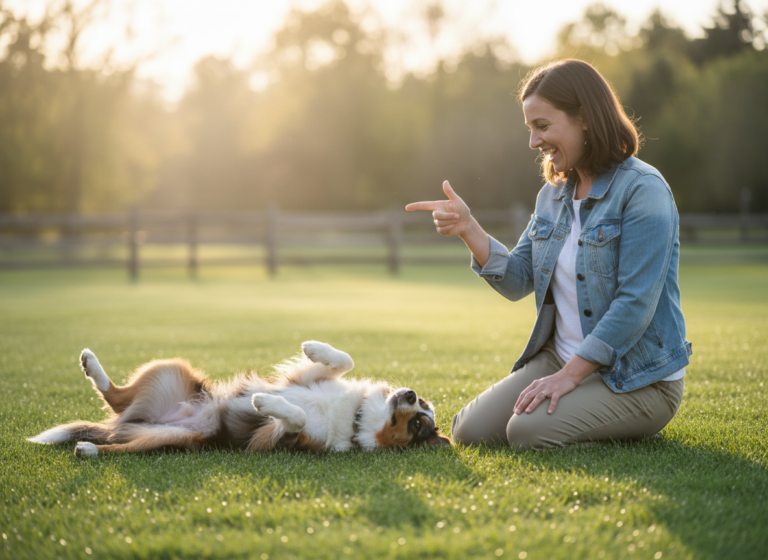
- Step 6: Add the Verbal Cue: When your dog is reliably unrolling the mat a significant distance without any hand-pointing cues, you can add a verbal command. Choose a fun cue like, ‘Unroll,’ ‘Yoga time,’ or ‘Get the mat!’ Say the cue right as your dog begins to perform the action. After many repetitions, they will associate the phrase with the entire unrolling sequence.
- Step 7: Fading the Lures: Over time, phase out your pointing finger. Your goal is to have the dog respond to the verbal cue alone. Practice from further away, eventually being able to give the cue from across the room.
Troubleshooting Common Hurdles
Troubleshooting Common Hurdles
Even with the best plan, you might encounter a few bumps along the road. This is a normal part of the training process. Here’s how to address some common challenges with patience and positive redirection.
| Challenge | Solution |
|---|---|
| My dog keeps chewing or biting the mat. | This is very common, especially with younger dogs. It usually means they are over-excited or frustrated. Never scold them. Instead, calmly redirect their attention. If they start to bite, say ‘Oops!’ and briefly withdraw the mat. Re-present it and ask for a gentle nose ‘touch’. Reward heavily for any interaction that uses their nose instead of their teeth. You can also smear a tiny bit of peanut butter on the end of the mat to encourage nose/tongue interaction over biting. |
| My dog uses its paws instead of its nose. | Pawing can damage the mat and isn’t the desired behavior. If your dog paws at the mat, simply ignore the behavior (don’t click or treat). Wait for them to offer a different behavior. The moment their nose gets near the mat, click and treat to reinforce that the nose is the tool we want them to use. You can reset by asking for a few simple nose-to-hand ‘touch’ commands before trying the mat again. |
| My dog loses interest quickly. | This is a clear sign that your training sessions are too long or the rate of reinforcement is too low. End the session on a successful repetition and try again later. Ensure your treats are high-value enough to hold their attention. For the next session, make it shorter (even just 2-3 minutes) and focus on an easier step where they can be successful and earn lots of rewards. |
| The mat is too heavy and won’t unroll. | If your dog is pushing but getting no results, they will become frustrated and give up. Make it easier for them to succeed. Start with a very lightweight mat (a travel or children’s mat works well). You can also give the mat a little ‘nudge’ with your hand to help it get started as they push, then reward them as if they did it all on their own. As they get stronger and more confident, you can reintroduce the heavier mat. |
Beyond the Basics: Advancing the Trick and Other Fun Ideas
Beyond the Basics: Advancing the Trick and Other Fun Ideas
Once your dog has mastered the art of unrolling the yoga mat on cue, you can add layers of complexity to keep their minds sharp and the game interesting. This is also a great jumping-off point for teaching other useful, cooperative behaviors related to your daily routines.
Increasing the Difficulty
- Generalization: Practice the trick in different locations—in the backyard, at a friend’s house, or in a different room. Use different mats of various textures and weights. This process, known as generalization, helps your dog understand that the ‘Unroll’ cue applies to any mat, anywhere, not just the specific one you used for training.
- Adding Distance and Distractions: Can your dog perform the cue while you are sitting on the couch across the room? Start by taking one step back before giving the cue. Gradually increase the distance. Next, add mild distractions, like another person walking through the room or the TV playing softly. This builds focus and reliability.
- Creating a Behavior Chain: Chain the unroll command with other tricks. For example, you could teach your dog to first fetch the strap off the yoga mat, then unroll it, and then lie down on their own small mat beside yours. This creates a full ‘yoga setup’ routine.
What’s Next? Other ‘Helper’ Tricks
The principles you used to teach the unroll trick—targeting and shaping—can be applied to an endless variety of fun and helpful behaviors. Consider teaching your dog to:
- Roll the mat back up: This is a significantly more advanced trick requiring precise shaping of nudging the mat from the side to get it to roll over itself. It’s a great challenge for a dog that loves to learn.
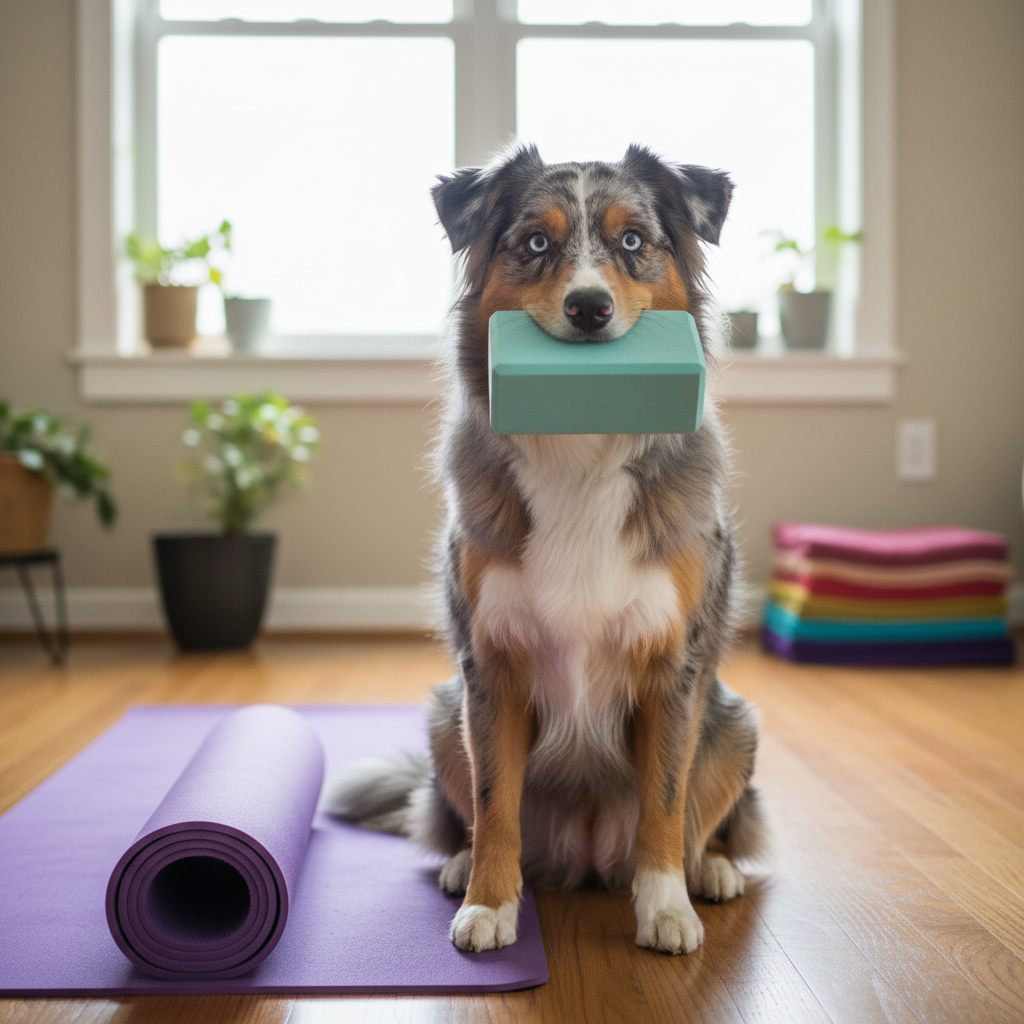
- Fetch your yoga blocks: Using the ‘touch’ command, you can transition to a ‘take it’ and ‘hold’ command for a yoga block.
- Close a door or cabinet: The same nose-pushing motion can be used to teach your dog to close doors, drawers, or cabinets on cue.
Remember the Goal: The ultimate purpose of trick training extends beyond the trick itself. It is about engaging your dog’s mind, building their confidence, and finding new ways to communicate and have fun together. Every training session is an investment in your relationship.
Conclusion
Teaching your dog to unroll your yoga mat is a rewarding journey that enriches your dog’s life with mental stimulation and strengthens the precious bond you share. By following the steps outlined in this guide—from establishing a solid foundation with the ‘touch’ command to patiently shaping the final behavior—you have empowered your dog to become an active and helpful participant in your daily routines. Remember that the pillars of successful training are always patience, consistency, and an abundance of positive reinforcement. Celebrate the small victories, laugh at the goofy mistakes, and cherish the process of learning together. Now, when it’s time for your practice, you’ll have an eager and talented assistant ready to help you begin. Enjoy your shared moment of Zen!