Build a Backyard Agility Course for Under $50 (Fun & Easy!)
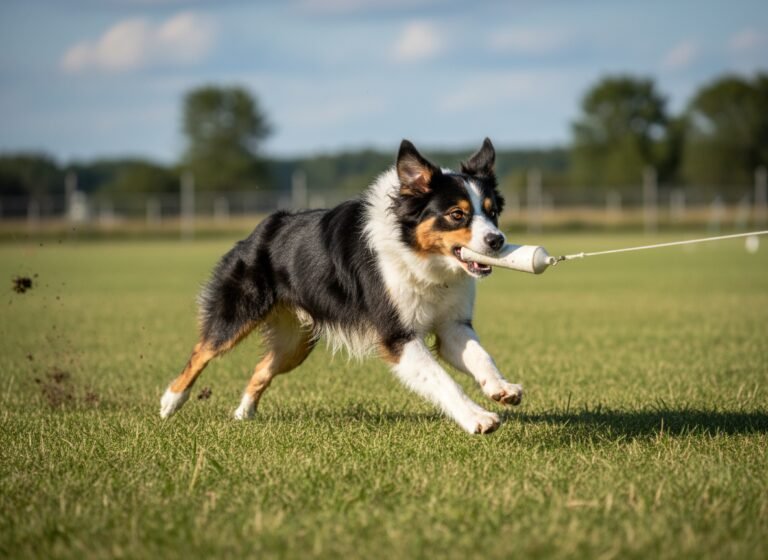
Dog agility is a thrilling sport that offers a powerful combination of physical exercise, mental engagement, and bond-building for you and your canine companion. Many pet owners are captivated by the grace and speed of dogs navigating a complex course but are often deterred by the perceived cost and complexity of the equipment. The great news is that you do not need a professional, competition-grade setup to reap the benefits. In fact, you can create a safe, effective, and incredibly fun agility course right in your own backyard for less than the cost of a large bag of premium dog food.
This comprehensive guide, designed by canine specialists, will walk you through every step of the process, from initial planning and material selection to construction and training. We will focus on creating three core obstacles—jumps, weave poles, and a tunnel—using readily available and inexpensive materials. By investing a little bit of time and less than $50, you can provide your dog with a fantastic outlet for their energy, boost their confidence, and open up a new world of interactive play that will strengthen your relationship for years to come.
Phase 1: Planning Your Course for Safety and Success
Phase 1: Planning Your Course for Safety and Success
Before you purchase a single PVC pipe, the most critical step is to plan your course with safety as the paramount concern. A well-planned course not only prevents injuries but also creates a more positive and effective training environment for your dog. Start by evaluating your available space.
Assessing Your Space
You don’t need acres of land to build a functional agility course. A small to medium-sized yard can easily accommodate the basic obstacles. Use a tape measure to get the exact dimensions of the area you intend to use. Look for a relatively flat, even surface. Grass is the ideal ground cover as it provides good traction and cushioning. Carefully inspect the area for any potential hazards:
- Holes or divots that could cause a dog to trip or twist a leg.
- Exposed roots, rocks, or sprinkler heads.
- Fencing that is damaged or has sharp protrusions.
- Toxic plants that your dog might be tempted to chew.
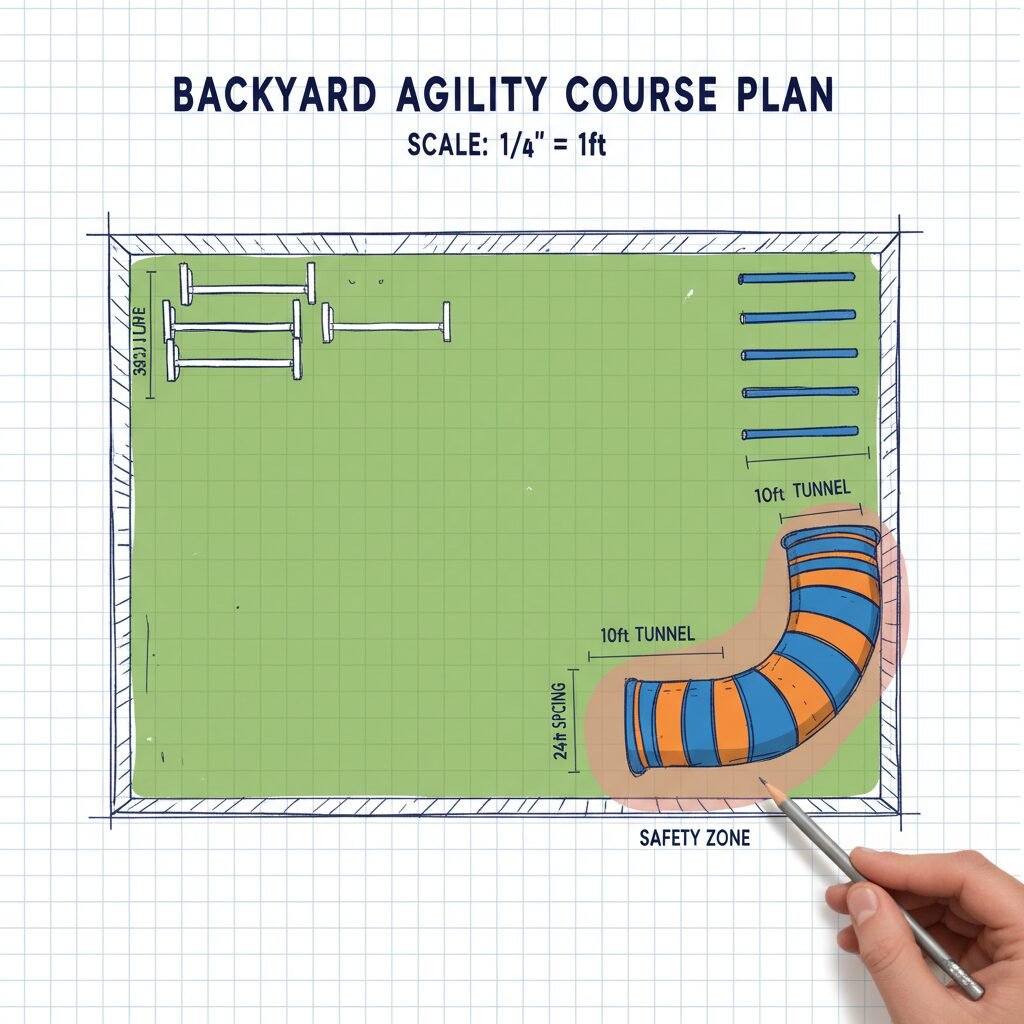
Once you’ve cleared the area and deemed it safe, create a simple sketch of your yard. Pencil in where you envision placing each obstacle. Remember to leave ample space around each piece of equipment. Your dog will need room for their approach, landing (for jumps), and exit. A good rule of thumb is to leave at least 10-15 feet of clear space before and after each obstacle.
Considering Your Dog’s Needs
Agility is for dogs of all shapes and sizes, but the equipment must be scaled appropriately. A course built for a Jack Russell Terrier will look very different from one designed for a Great Dane. When planning, consider your dog’s height, weight, and physical condition. Jumps should be adjustable and set low initially. The spacing of weave poles should be appropriate for your dog’s length and flexibility. If you have a senior dog or one with joint issues, consult your veterinarian before starting any new high-impact activity.
Expert Tip: Always prioritize a proper warm-up and cool-down routine. A 5-minute walk or light jog before each session and a similar cool-down afterward can significantly reduce the risk of muscle strain or injury.
Phase 2: Gathering Your Budget-Friendly Materials
Phase 2: Gathering Your Budget-Friendly Materials
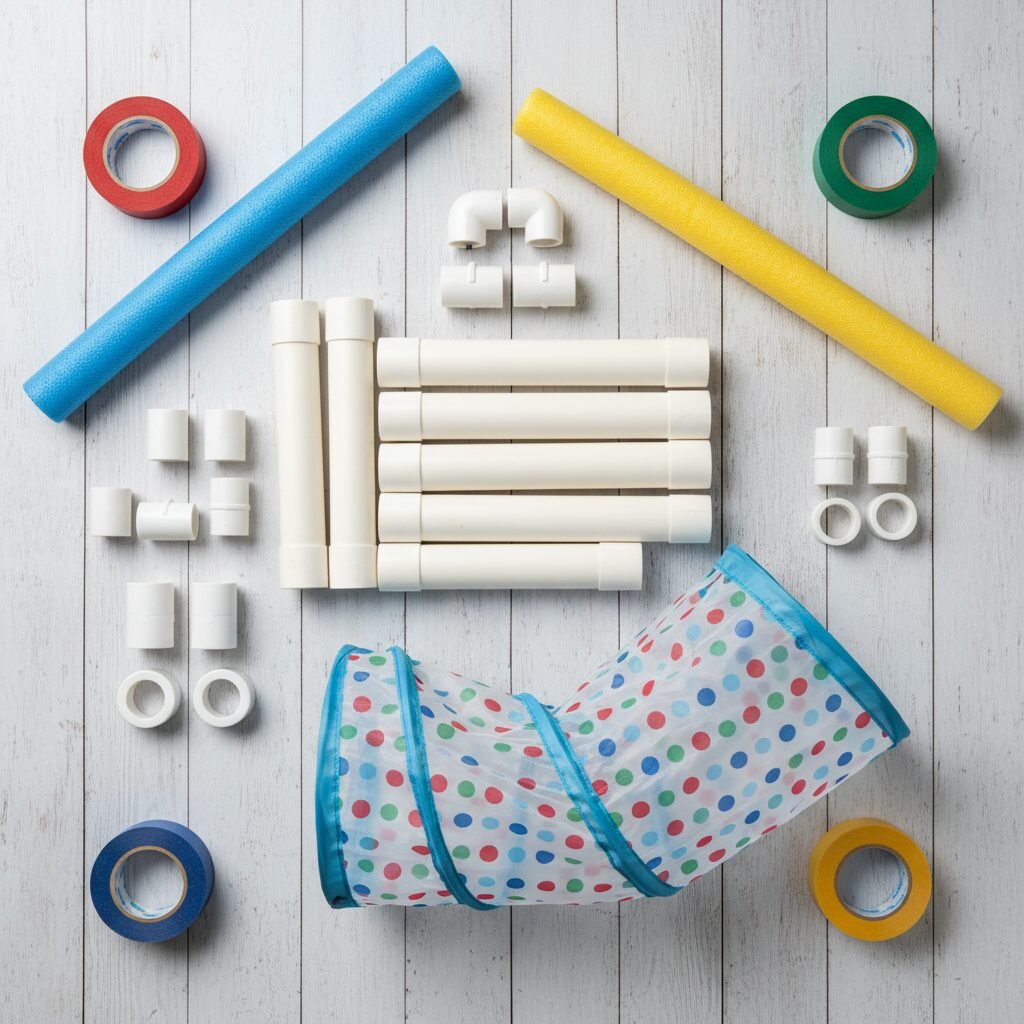
The key to keeping this project under $50 is selecting common, low-cost materials from your local hardware store. PVC pipe is the star of this build—it’s cheap, lightweight, weather-resistant, and easy to work with. Below is a comprehensive shopping list that will provide everything you need to build a set of weave poles, two adjustable jumps, and incorporate a play tunnel.
Here is a detailed breakdown of materials, their purpose, and estimated costs. Prices may vary slightly based on your location.
| Material | Quantity | Purpose | Estimated Cost |
|---|---|---|---|
| 1-inch Schedule 40 PVC Pipe (10-foot lengths) | 4 | Main structure for jumps and weave poles | $15 – $20 |
| 1-inch PVC ‘T’ Connectors | 12 | Building the bases for jumps and weave poles | $8 – $10 |
| 1-inch PVC 90-Degree Elbow Connectors | 4 | Corners for jump bases | $2 – $3 |
| 1-inch PVC End Caps | 4 | Finishing the feet of the jumps for stability | $2 – $3 |
| Pool Noodles (Standard Size) | 2 | Soft, safe crossbars for the jumps | $3 – $5 |
| Children’s Play Tunnel (4-6 feet long) | 1 | The tunnel obstacle | $10 – $15 |
| PVC Primer and Cement | 1 small can each | (Optional but recommended) For permanently securing non-adjustable joints | $8 – $10 |
| Colorful Duct Tape or Electrical Tape | 1-2 rolls | Securing weave poles, marking jump heights | $3 – $6 |
Total Estimated Cost: $43 – $62
To stay under the $50 budget, you can often find children’s play tunnels at discount stores or second-hand. You may also choose to friction-fit the PVC parts together instead of using cement, which saves money and allows for disassembly, though it results in a less rigid structure. Always use Schedule 40 PVC, as it is more durable and less likely to shatter than thinner-walled pipe.
Phase 3: Step-by-Step Obstacle Construction Guide
Phase 3: Step-by-Step Obstacle Construction Guide
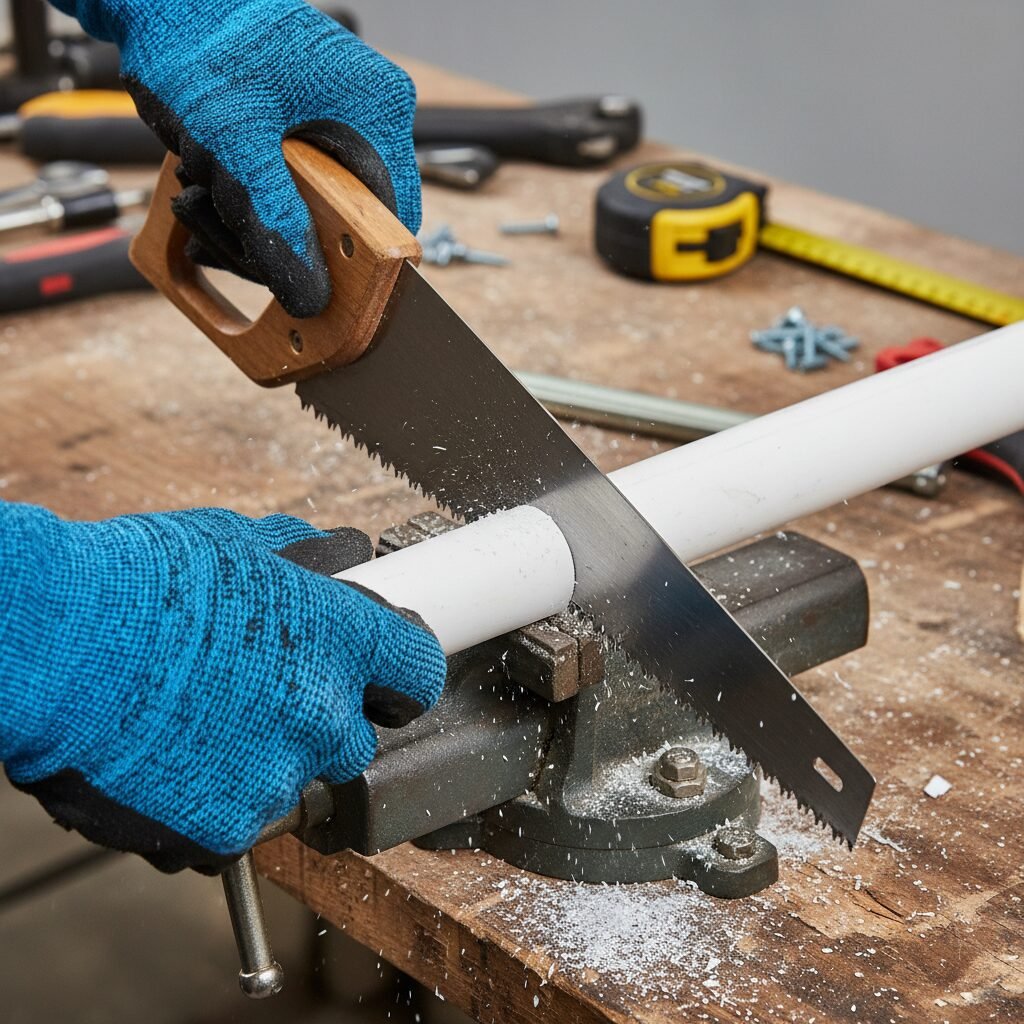
With your materials gathered, it’s time for the most rewarding part: building the obstacles. You will only need a few basic tools: a tape measure, a marker, and a saw for cutting the PVC (a simple handsaw or PVC cutter works perfectly). Always wear safety glasses when cutting materials.
Obstacle 1: The Adjustable Bar Jump
We will build two identical jumps. For each jump, you will need to cut your PVC pipe into the following lengths:
- Four (4) pieces at 12 inches (for the feet)
- Two (2) pieces at 24 inches (for the uprights)
- One (1) piece at 36 inches (for the base cross-section)
Assembly Instructions:
- Build the Base: Take the 36-inch piece. Attach a ‘T’ connector to each end, with the middle opening of the ‘T’ facing up.
- Attach the Feet: Into the side openings of each ‘T’ connector, insert a 12-inch piece. At the end of these 12-inch pieces, attach a 90-degree elbow connector, facing it outwards for stability. Insert the final 12-inch pieces into these elbows to form two ‘L’ shaped feet. Your base should now sit flat on the ground.
- Insert the Uprights: Place the two 24-inch pieces into the upward-facing openings of the ‘T’ connectors on the base. These are your jump uprights.
- Create the Crossbar: Simply rest a pool noodle across the jump. You can use ‘T’ connectors that slide up and down the uprights as jump cups to hold the noodle, or drill holes and insert a dowel. For the simplest version, just use tape to mark heights and teach your dog to clear the noodle. The pool noodle is essential for safety—if your dog hits it, it will fall harmlessly away.
Obstacle 2: The Weave Poles
This design creates a set of 6 weave poles. Cut your PVC into:
- Seven (7) pieces at 12 inches (for the base connectors)
- Six (6) pieces at 30 inches (for the upright poles)
Assembly Instructions:
- Build the Base: Take six ‘T’ connectors. Connect them in a straight line using the 12-inch PVC pieces. Ensure all the middle openings of the ‘T’ connectors are facing up in the same direction.
- Insert the Poles: Securely insert the six 30-inch PVC pieces into the upward-facing openings. Use colorful tape at the base of each pole to secure it tightly within the ‘T’ connector. This friction fit allows for some give if a dog bumps a pole.
- Stabilize: The standard distance between weave poles for training is 24 inches. Your 12-inch connectors will create a slightly tighter spacing, which is fine for backyard practice. The long, connected base provides excellent stability.
Obstacle 3: The Tunnel
This is the easiest obstacle of all. Simply purchase a child’s collapsible play tunnel. They are durable enough for dog use, lightweight, and store easily. When you set it up, you can place it in a straight line or create a gentle curve to increase the challenge as your dog becomes more confident.
Phase 4: Introducing Your Dog to the Course
Phase 4: Introducing Your Dog to the Course
Building the course is only half the journey; the other half is teaching your dog to use it with confidence and enthusiasm. The golden rule of agility training is to keep it positive, fun, and free of pressure. Use high-value treats, favorite toys, and lots of verbal praise.
Training on Each Obstacle
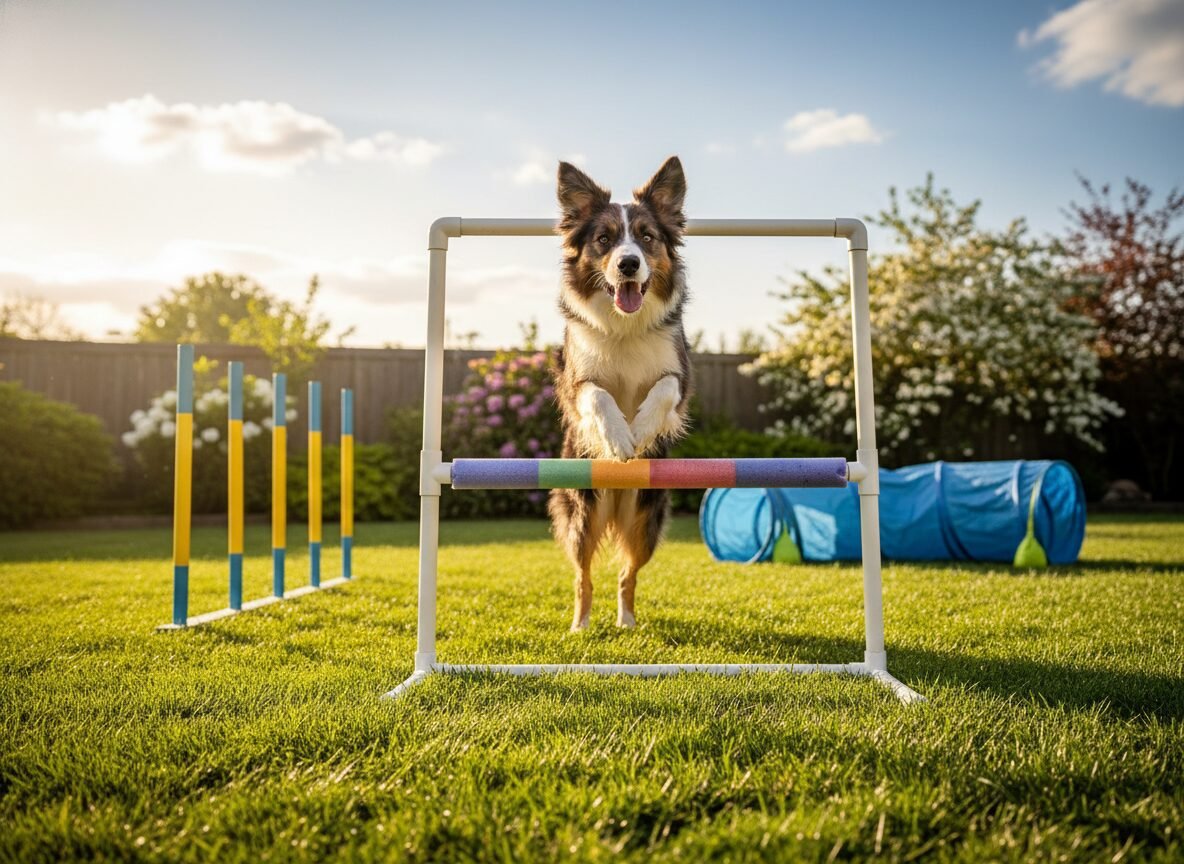
- The Jumps: Start with the pool noodle crossbar lying on the ground. Lead your dog on a leash and walk them over the noodle, rewarding them as they step across. Gradually, raise the bar a few inches at a time. Never raise it higher than your dog’s elbow height for general practice to protect their joints. Use a clear verbal cue like ‘Jump!’ or ‘Over!’.
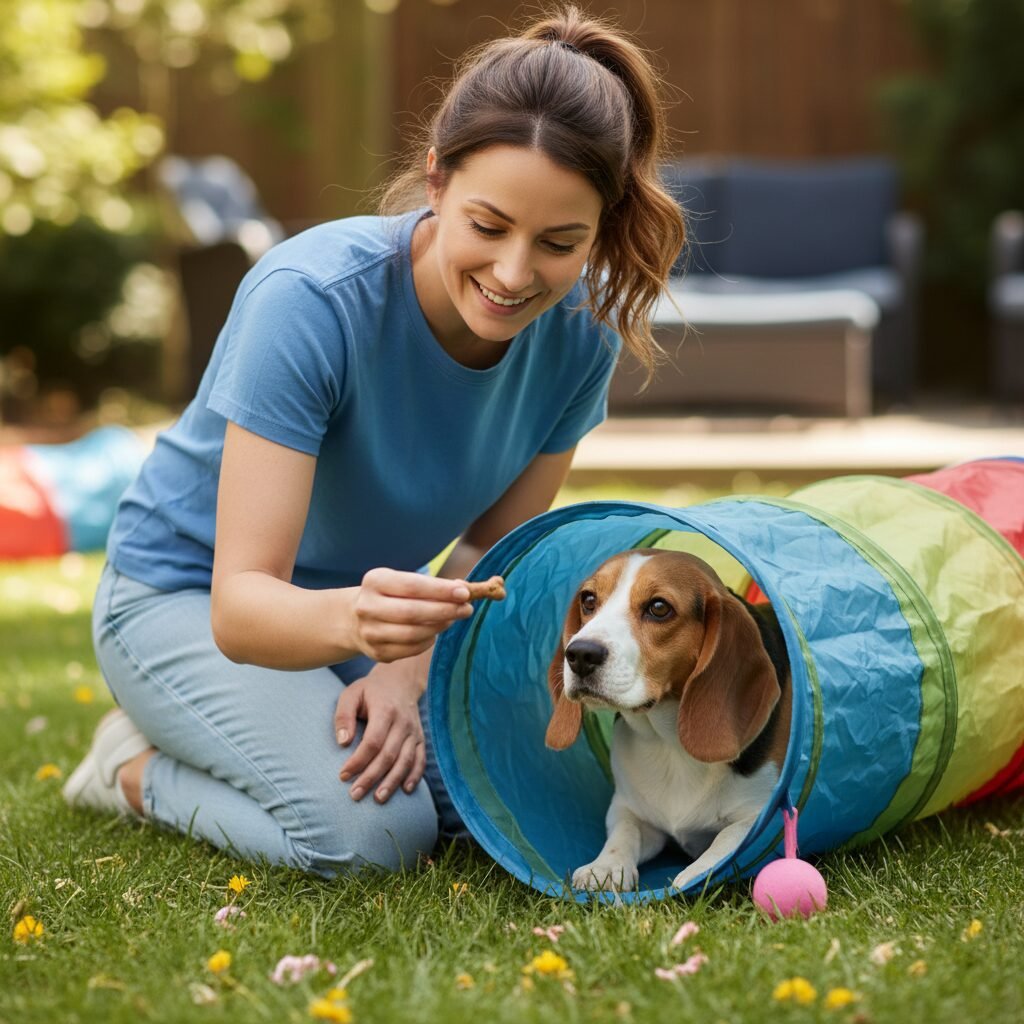
- The Tunnel: Many dogs are hesitant about tunnels at first. Start by collapsing the tunnel to its shortest length so they can see through to the other side. Have a helper hold the dog at one end while you get on your knees at the other, calling their name excitedly and offering a treat. As they come through, give them a ‘jackpot’ reward (multiple treats and lots of praise). Gradually extend the tunnel to its full length.
- The Weave Poles: This is often the most technically challenging obstacle. Begin by guiding your dog through the poles on a leash, luring them with a treat held in your hand. Guide them in the correct serpentine pattern, ensuring they enter with the first pole on their left shoulder. Go very slowly at first. There are many advanced methods for teaching weaves, but a simple lure-and-reward system is perfect for backyard fun.
Professional Trainer’s Insight: Keep your training sessions short and sweet—5 to 10 minutes is plenty. Always end on a positive note with a successful attempt or a simple command your dog knows well. This builds a positive association with the agility course and keeps them eager for the next session.
Never force your dog to perform an obstacle. If they show fear or hesitation, go back a step and work on building their confidence. The goal is a joyful, shared activity, not a high-pressure competition.
Conclusion
You have now successfully planned, built, and begun training on your very own backyard agility course for under $50. This project does more than just save you money on expensive equipment; it provides a profound and lasting set of benefits. You have created a dedicated space for physical exercise that helps manage your dog’s weight and improve their cardiovascular health. You have also built a powerful mental enrichment tool that combats boredom, reduces anxiety, and channels your dog’s energy into a productive and fun activity.
Most importantly, the time spent training together, solving the ‘puzzles’ of each obstacle, and celebrating successes will forge a deeper, more trusting bond between you and your canine partner. Remember to always prioritize safety, keep your sessions positive, and adapt the course to your dog’s individual needs. Welcome to the exciting and rewarding world of dog agility!