The “Start Button” Trick That Stops Dog Aggression Instantly
Dealing with dog aggression can be an isolating and stressful experience for any pet owner. The lunging, barking, and growling can create feelings of fear, frustration, and helplessness. Many owners search for a quick fix, a single command that will solve the problem. While the idea of an ‘instant’ stop to aggression is appealing, the reality of canine behavior is far more nuanced. However, there is a powerful management tool that can feel almost magical in its effectiveness: the ‘Start Button’ behavior.
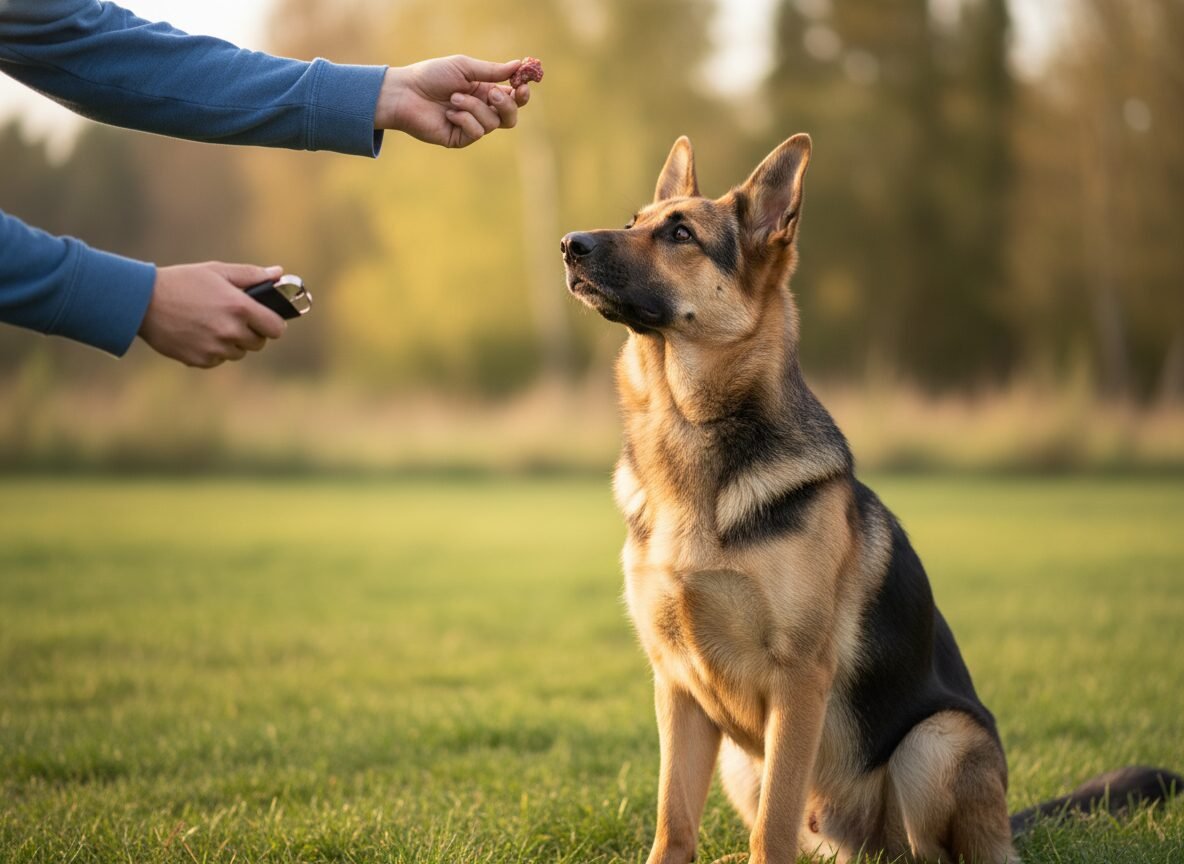
This is not a magic wand, but rather a profound shift in communication between you and your dog. The ‘Start Button’ is a specific, voluntary behavior your dog offers to tell you they are ready to perceive a trigger. In essence, you are giving your dog control over its environment, a core principle in modern, science-based behavior modification. By teaching your dog that they can ‘turn on’ brief exposure to a scary thing in exchange for a reward, you replace their anxiety and reactivity with predictability and confidence. This guide will walk you through the science, the step-by-step training process, and the practical application of this transformative technique.
Understanding the ‘Start Button’: The Science of Choice and Control
At its core, the ‘Start Button’ technique is rooted in the behavioral science concept of cooperative care and consent. Aggression is most often a fear-based response to a perceived threat that the dog feels it cannot escape. The dog’s reactive display is an attempt to create distance and regain a sense of safety. Traditional methods might focus on suppressing this behavior, but the ‘Start Button’ addresses the underlying emotional state.
Empowerment Through Predictability
Imagine being afraid of spiders. Now, imagine someone repeatedly surprising you by showing you a spider up close. Your anxiety would skyrocket. But what if you were given a button and told, ‘When you press this button, you will see a spider for one second from 20 feet away, and then you will receive $100.’ Suddenly, you have predictability and control. The spider is no longer a surprise threat; it’s a predictable event that you initiate, and it leads to a positive outcome. This is precisely the psychological shift we create for our dogs.
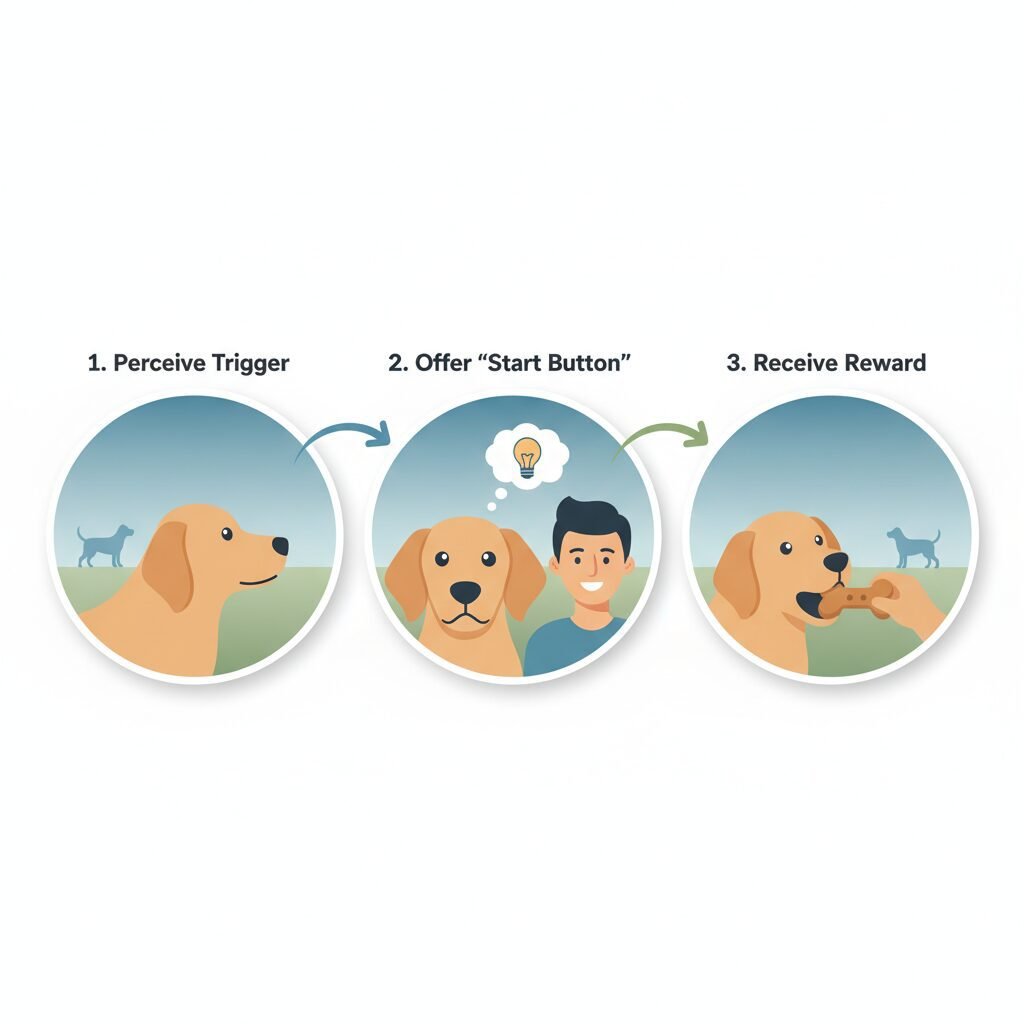
By teaching a dog that offering a specific behavior—such as making eye contact with you or touching your hand with their nose—is the ‘button’ that starts a brief, controlled exposure to their trigger, we accomplish several critical things:
- It builds trust: The dog learns that you will not force them into an overwhelming situation. You respect their communication.
- It reduces stress: Predictability lowers cortisol and other stress hormones. The dog is no longer constantly scanning the environment for threats because they know nothing will happen without their ‘permission.’
- It changes the emotional response: Through classical counter-conditioning, the trigger’s appearance is paired with a high-value reward. Over time, the dog’s emotional response to the trigger shifts from fear and anxiety to neutral anticipation or even positive excitement. This is known as changing the Conditioned Emotional Response (CER).
Expert Tip: The ‘Start Button’ is not about obedience. It’s about communication. The goal is for the dog to voluntarily offer the behavior, not for you to command it. This voluntary aspect is what gives the dog a true sense of agency and control.
Preparation and Prerequisites: Setting the Stage for Success
Before you can begin training, it’s crucial to lay the proper foundation. Rushing this stage is a common reason for failure. You must prepare your tools, your environment, and your dog for a positive learning experience.
Essential Tools and Equipment
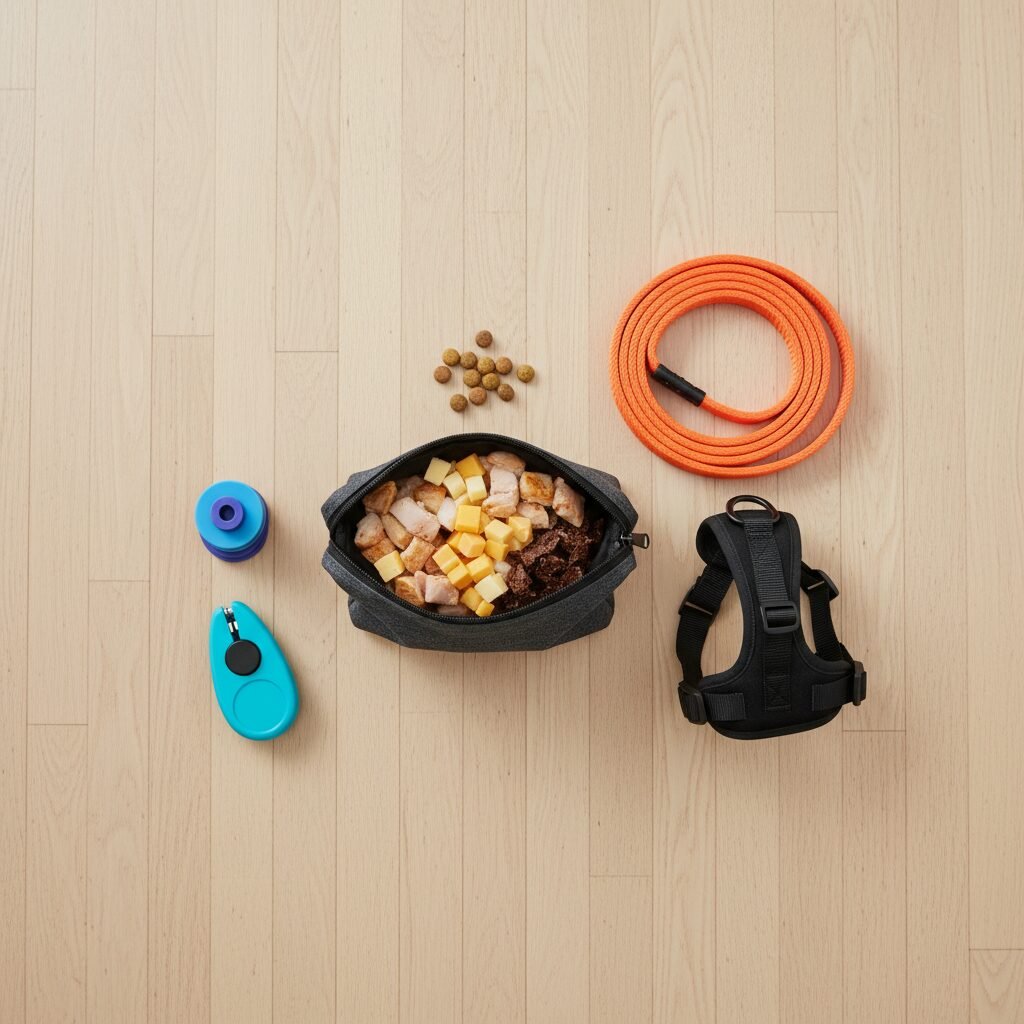
Gathering your materials beforehand ensures your training sessions run smoothly.
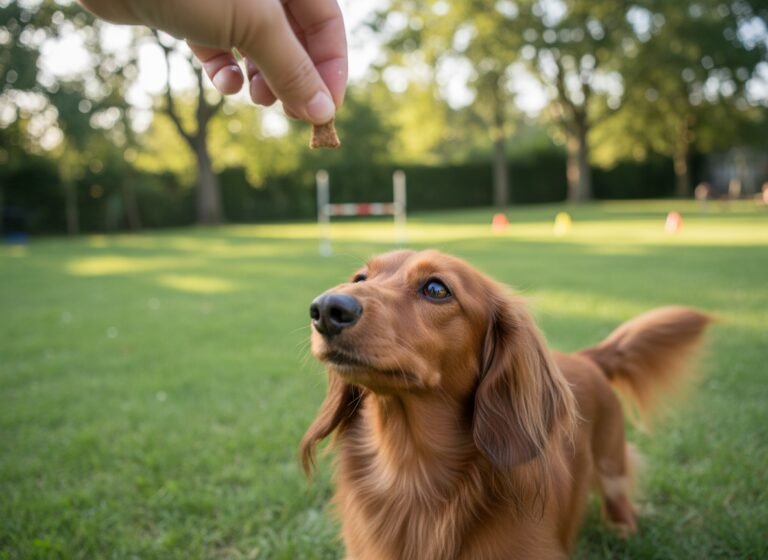
- High-Value Reinforcers: This is not the time for dry kibble. You need rewards your dog finds incredibly motivating. Think small pieces of cooked chicken, cheese, hot dogs, or commercial soft treats. The reward must be more valuable to the dog than reacting to the trigger.
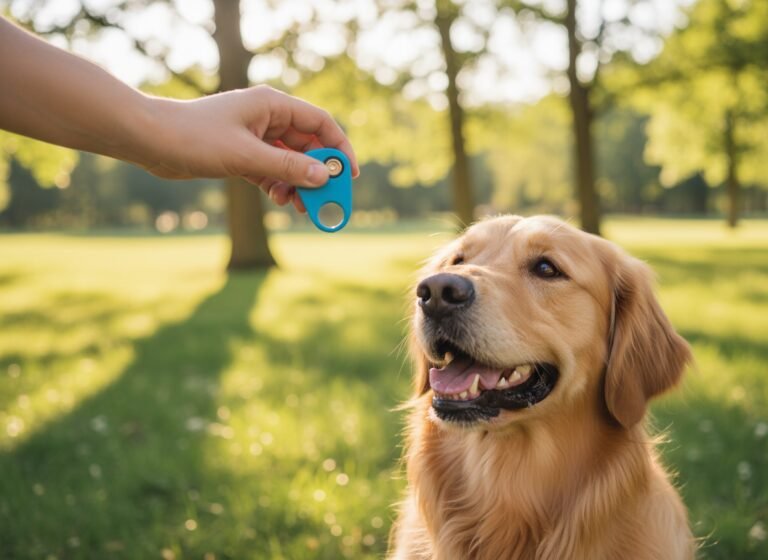
- A Marker Signal: A marker, like a clicker or a verbal cue like ‘Yes!’, is used to pinpoint the exact moment the dog performs the correct behavior. This provides clear communication. If you haven’t used a marker before, you’ll need to ‘charge’ it by saying the word or clicking the clicker, then immediately giving a treat, repeating this 15-20 times until the dog associates the sound with the reward.
- A Quiet Training Space: Your initial sessions must be in an environment with zero distractions or triggers. A living room, a quiet backyard, or a garage are all good options.
Choosing Your Dog’s ‘Start Button’ Signal
The signal should be a behavior that is easy for your dog to offer and easy for you to see. It must be a clear, deliberate choice. Good options include:
- Sustained Eye Contact: The dog looks at your face for 1-2 seconds. This is excellent for building focus.
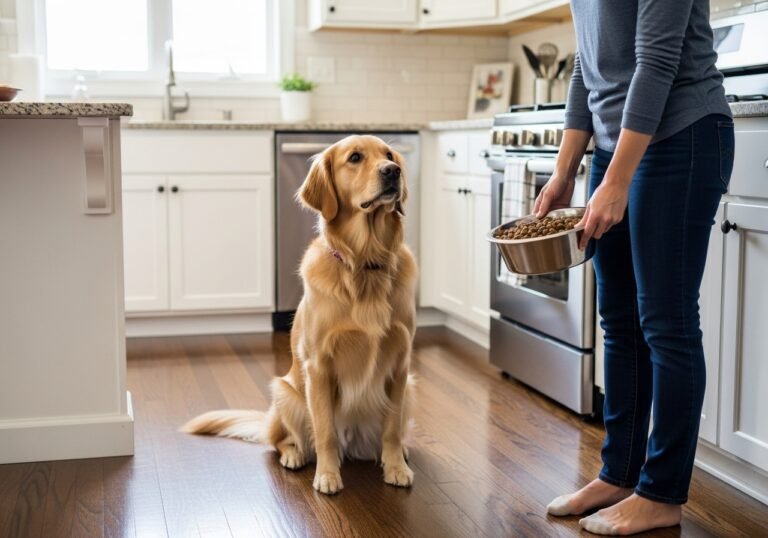
- Nose Target to Hand: The dog touches their nose to your open palm. This is a very clear, physical behavior.
- Sit on a Mat: The dog moves to a designated ‘station’ like a small mat or towel and sits. This is useful for creating a calm default behavior.
Choose one behavior and stick with it. The key is that the dog must be able to perform it reliably in a neutral environment before you ever introduce a trigger.
The Step-by-Step Training Protocol
This process is broken down into distinct phases. Do not move to the next phase until your dog is confident and successful in the current one. Patience is paramount.
Phase 1: Teaching the ‘Start Button’ Behavior in a Neutral Setting
In this phase, there are no triggers present. We are simply teaching the dog the ‘game’ with a neutral object.
- Shape the Signal: Begin rewarding your dog for offering the chosen behavior. If you chose eye contact, use your marker and treat for any glance at your face, gradually building up to a sustained 1-2 second gaze. If you chose a nose target, reward any movement toward your hand, then touching your hand. Keep sessions short (1-3 minutes) and positive.
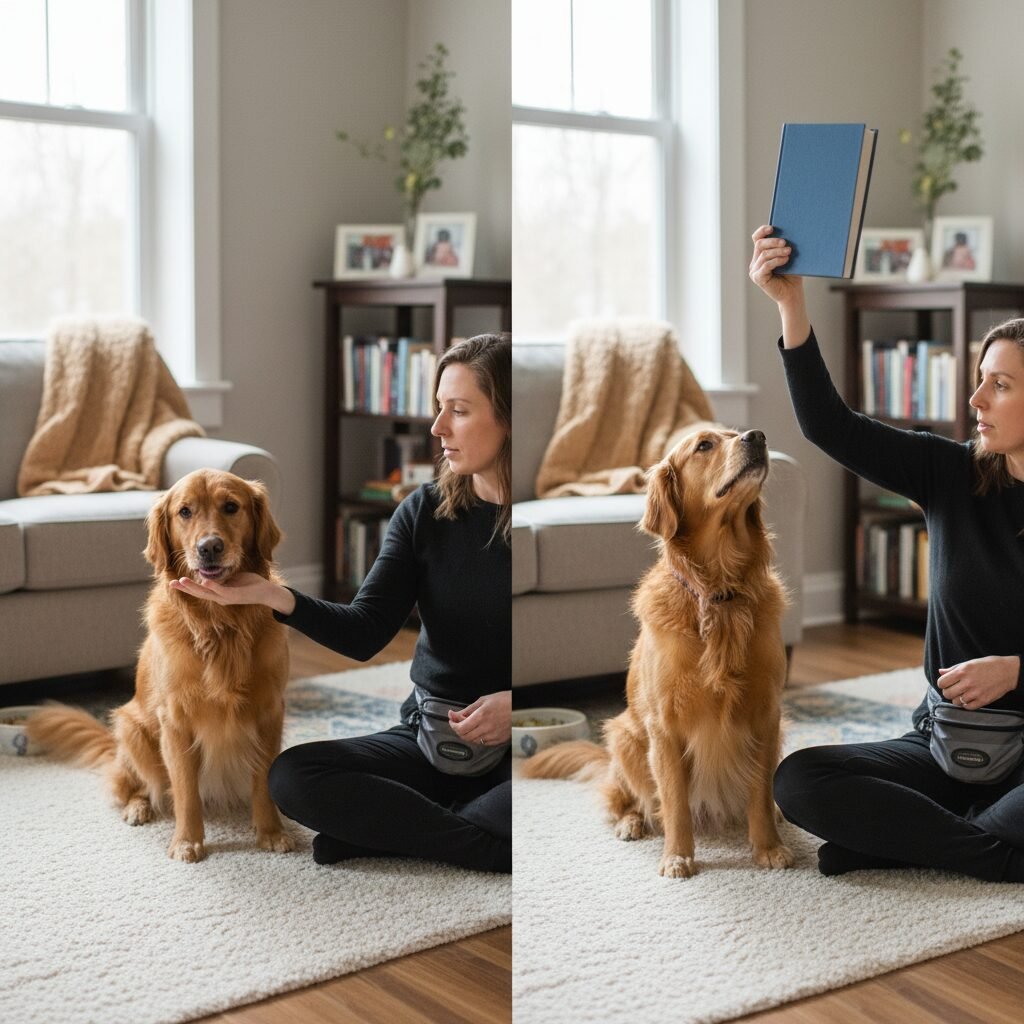
- Introduce the ‘Game’ with a Neutral Object: Place a boring object, like a book or a water bottle, on the floor a few feet away. This is your ‘pretend trigger.’
- Wait for the Signal: Stand with your dog and wait. The moment your dog offers the ‘Start Button’ behavior (e.g., looks at you), mark (‘Yes!’) and toss a treat away from the object. This resets the dog for the next repetition. The dog learns: look at the human, get a treat.
- Link the Signal to the Object: Now, change the sequence. Wait for your dog to offer the ‘Start Button’ signal. The instant they do, mark (‘Yes!’) and simultaneously present the ‘pretend trigger’ (e.g., lift the book for a second). Then, lower the book and give the dog the treat. The sequence is: Dog offers signal -> Object appears briefly -> Object disappears -> Dog gets treat.
Phase 2: Generalizing the Behavior
Once your dog understands the game with one neutral object, practice with several different boring items (a shoe, a cup, a remote control) in different quiet locations. This helps the dog understand the concept, not just the specific picture. Your dog should be eagerly offering the ‘Start Button’ behavior to make the objects appear.
Applying the ‘Start Button’ to Real-World Aggression Triggers
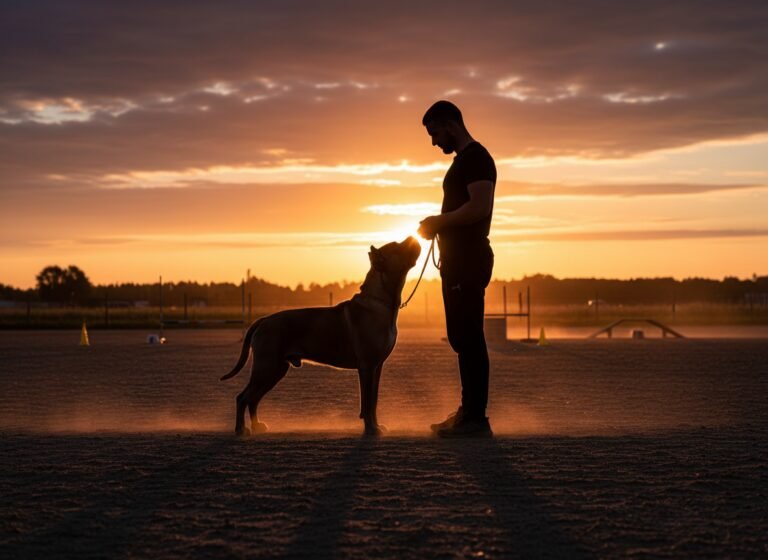
This is the most critical phase and requires the most skill and observation from the handler. The goal is to always keep your dog ‘sub-threshold,’ meaning at a level of exposure where they are not yet reacting. If your dog barks, lunges, or growls, you have moved too fast or are too close to the trigger.
The Golden Rules: Distance, Duration, and Intensity
You must control the trigger’s difficulty by managing these three elements:
- Distance: This is your primary tool. Start at a massive distance where your dog can see the trigger but is not concerned by it. For a dog reactive to other dogs, this might be 100 yards or more.
- Duration: How long is the trigger visible? In the beginning, the exposure after the ‘Start Button’ signal should be for a single second.
- Intensity: A calm, stationary dog is a low-intensity trigger. A running, barking dog is a high-intensity trigger. Always start with the lowest intensity possible.
A Practical Example: Leash Reactivity
| Step | Action | Goal |
|---|---|---|
| 1. Find Threshold Distance | Go to a park or area where you can see a trigger (e.g., another dog) from very far away. Find the distance where your dog notices the other dog but can still easily disengage and focus on you. This is your starting point. | To operate in a ‘sub-threshold’ zone where learning can occur without fear. |
| 2. Wait for the ‘Start Button’ | Stand at this distance and wait. Do not cue your dog. When your dog sees the trigger and then voluntarily looks back at you (offers the ‘Start Button’), mark ‘Yes!’ enthusiastically. | The dog makes the connection: ‘I see the dog, I look at my human…’ |
| 3. Reward and Create Distance | After marking, immediately reward your dog with a high-value treat. You can toss the treat on the ground away from the trigger to encourage disengagement or turn and walk away, rewarding as you go. | ‘…and good things happen, and the pressure is removed.’ The reward is both the food and the increased distance. |
| 4. Repeat and Slowly Decrease Distance | Repeat this process over many sessions. As your dog becomes more confident and immediately offers the ‘Start Button’ upon seeing a trigger, you can gradually decrease the distance by a few feet. | To build a strong, positive conditioned emotional response to the sight of other dogs. |
Important: Every dog is an individual. Progress may be slow and is rarely linear. There will be good days and bad days. The key is to end every session on a successful note and never push your dog into a reaction.
Common Mistakes and Troubleshooting

This technique is highly effective, but handler error can impede progress. Be aware of these common pitfalls.
Mistake 1: Working ‘Over Threshold’
This is the most common error. Owners are impatient and work too close to the trigger too soon. If your dog is stiff, fixated, whining, or barking, they are over their emotional threshold and are incapable of learning. You are reinforcing their fear, not alleviating it.
- The Fix: Immediately create more distance. If your dog reacts, your only job is to calmly and quickly move them away to a place where they feel safe. In your next session, start much farther away.
Mistake 2: The Trigger Controls the Session
The ‘Start Button’ means your dog initiates the exposure. If the trigger appears unexpectedly or gets too close before your dog can offer the signal, the game is broken. Your dog loses their sense of control.
- The Fix: Be a better environmental manager. Scan your surroundings constantly. If you see a trigger approaching, move away preemptively. Work with a training partner who can control the ‘trigger’ dog for more predictable setups.
Mistake 3: Luring or Cueing the ‘Start Button’
It’s tempting to say ‘Look at me!’ or hold a treat up to your face to get the dog to offer the signal. This defeats the purpose. The power of the technique comes from the dog voluntarily choosing to engage.
- The Fix: Be patient. If your dog isn’t offering the signal, you are likely too close to the trigger. Create more distance and wait. Go back to practicing with neutral objects if necessary to reinforce the core concept.
Mistake 4: Inconsistent or Low-Value Rewards
If the reward isn’t good enough, the dog has no incentive to play your game instead of reacting. The paycheck must be worth the work.
- The Fix: Use the best treats your dog can safely have and reserve them only for this training. Ensure your timing is precise, marking the exact moment they offer the signal.
Conclusion
The ‘Start Button’ is more than a trick; it’s a paradigm shift in how we approach dog aggression. It transforms a one-way street of management into a two-way conversation, giving our dogs a voice and a measure of control over the things that frighten them. By implementing this technique with patience, consistency, and a deep understanding of your dog’s emotional state, you can systematically change their fear into confidence. This process builds an incredible bond of trust, teaching your dog that you are their partner and their safest place in a challenging world.
However, it is critical to recognize that aggression is a complex and serious issue. While the ‘Start Button’ is an indispensable tool for management and modification, severe cases of aggression—especially those involving a bite history—require professional guidance. This technique should be used as part of a comprehensive behavior plan. Do not hesitate to enlist the help of a board-certified veterinary behaviorist or a certified professional dog trainer who specializes in aggression cases. Their expertise can provide the tailored support and safety protocols necessary to ensure the well-being of your dog, your family, and your community.