Rainy Day Saver: How To Teach Your Dog To Use A Treadmill Safely
Inclement weather can present a significant challenge for owners of high-energy dogs. A day of missed walks can lead to a cascade of undesirable behaviors born from pent-up energy, from destructive chewing to incessant barking. While nothing can truly replace the multi-sensory enrichment of an outdoor walk, a treadmill can serve as a powerful tool for providing structured physical exercise and mental stimulation. However, introducing a dog to a moving machine requires a methodical, safety-conscious approach. It is not a matter of simply placing your dog on the belt and pressing ‘start’.
This guide provides a comprehensive, behaviorist-approved protocol for safely integrating a treadmill into your dog’s fitness regimen. We will cover the critical distinctions between human and canine treadmills, essential safety measures, and a phased training plan designed to build your dog’s confidence. Approached with patience and positive reinforcement, treadmill training can become a valuable component of your dog’s routine, ensuring their exercise needs are met even when the skies open up. This is more than just a workout; it’s a focused training session that strengthens the bond between you and your canine companion.
The Case for Canine Treadmills: More Than Just a Rainy Day Solution
While treadmills are an obvious solution for exercise during storms, heatwaves, or icy conditions, their utility extends far beyond managing bad weather. When used correctly, a treadmill is a sophisticated conditioning tool that offers a range of benefits for a dog’s physical and mental health.
- Mental Stimulation: A treadmill session is not a passive activity. It requires a dog to focus, maintain a steady pace, and be aware of their body in space. This concentration provides significant mental engagement, which can be just as tiring and satisfying as physical exertion.
- Controlled Physical Conditioning: For canine athletes, working dogs, or any dog needing to build endurance, a treadmill offers unparalleled control. You can precisely manage speed, incline, and duration to create a structured workout tailored to specific fitness goals, free from the variables of outdoor terrain and distractions.
- Weight Management: In conjunction with a veterinarian-approved diet, consistent, low-impact exercise on a treadmill can be a cornerstone of a canine weight loss or management program. It provides a reliable way to burn calories in a controlled environment.
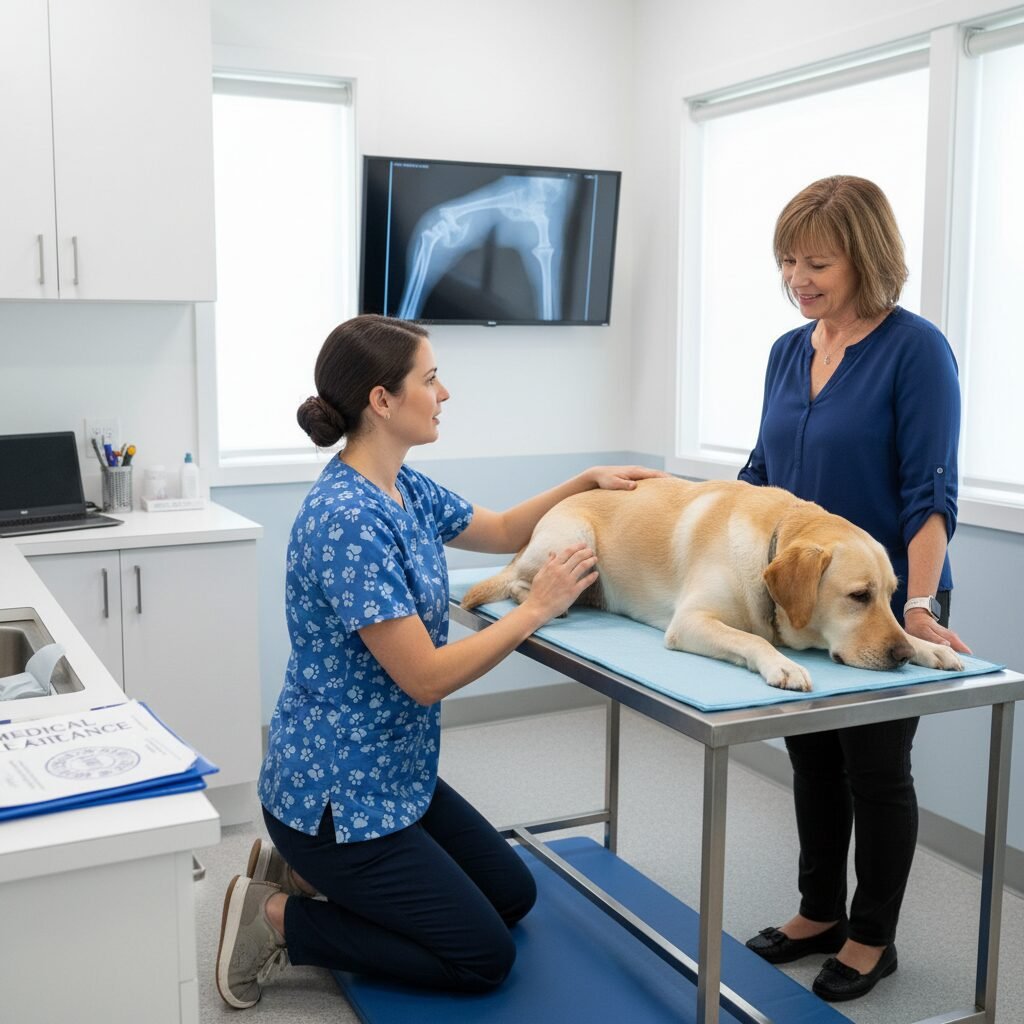
- Post-Injury Rehabilitation: Under the strict guidance of a veterinarian or certified canine rehabilitation professional, treadmills (especially underwater treadmills) are invaluable for rebuilding muscle and improving range of motion after an injury or surgery. The controlled surface and speed allow for safe, progressive therapeutic exercise.
Remember, a treadmill is a tool to supplement, not replace, outdoor activities. The sniffing, socializing, and exploration that occur on a walk are crucial for a dog’s behavioral health and cannot be replicated indoors.
Selecting the Right Equipment: Canine vs. Human Treadmills
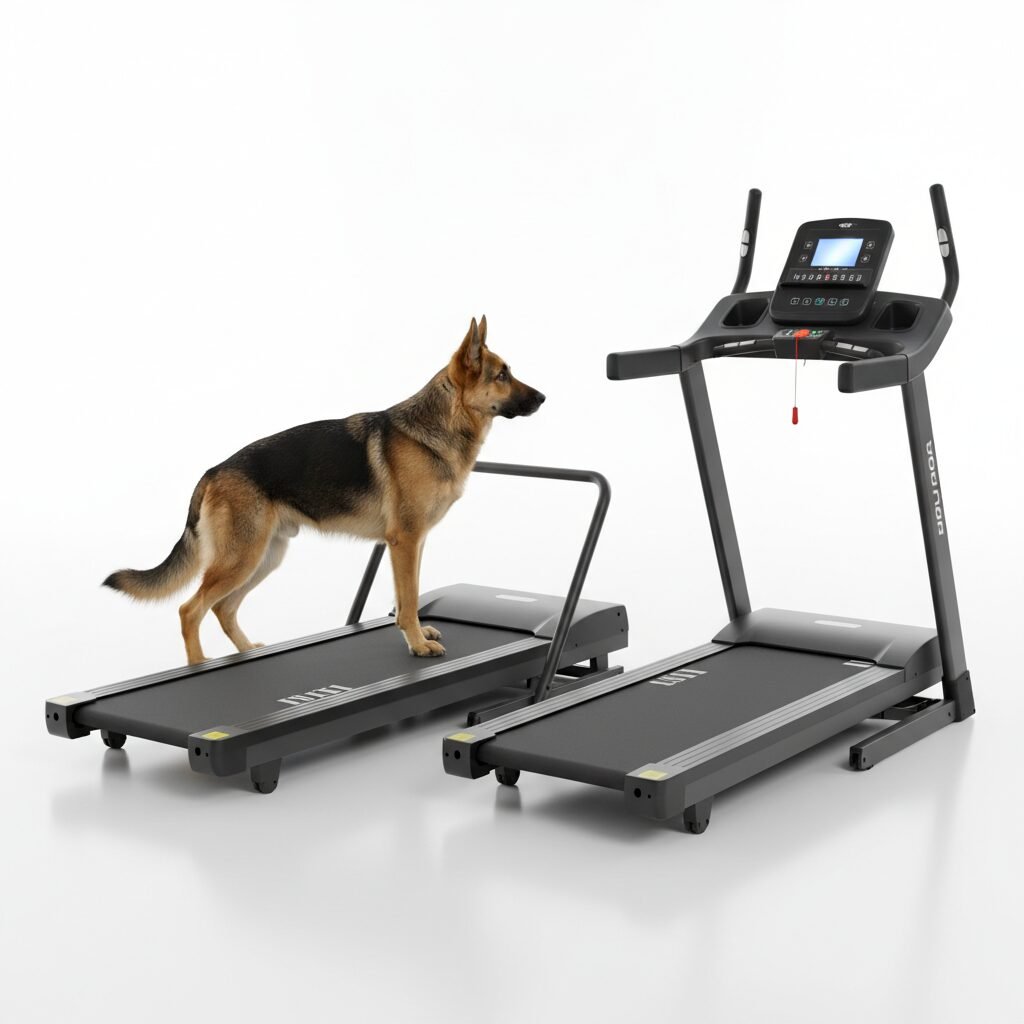
A common and dangerous mistake is attempting to train a dog on a treadmill designed for humans. While it may seem like a cost-saving measure, the design differences pose significant safety risks. Investing in a dog-specific treadmill is a non-negotiable aspect of this training. The structural distinctions are based on canine anatomy and behavior.
Human treadmills feature short, wide belts designed for a bipedal gait. A dog’s natural stride is much longer, and they require a longer, narrower belt to move comfortably and safely without being forced into an unnatural, shortened gait that could cause injury. Furthermore, the motor on a human treadmill is typically housed under a large hood at the front, which can be a frightening obstacle for a dog. Dog treadmills have quiet, enclosed motors and lack the bulky upright console and handlebars that can intimidate or trap an animal. The side rails are also lower, providing a guide without making the dog feel enclosed.
| Feature | Dog-Specific Treadmill | Human Treadmill |
|---|---|---|
| Belt Length & Width | Long and narrow to accommodate a natural canine stride. | Shorter and wider, designed for a two-legged gait. |
| Motor Housing | Enclosed and low-profile to prevent interference. | Often large and bulky at the front, creating an obstacle. |
| Side Rails | Low and open, providing a guide without confinement. | High and constricting, posing a trapping hazard. |
| Noise Level | Engineered to be very quiet to minimize anxiety. | Can be loud and startling to a dog’s sensitive hearing. |
| Control Panel | Simple, often detachable, and placed away from the dog. | Large, upright console that can be intimidating. |
Essential Safety Protocols Before You Begin
Before your dog takes a single step on the machine, a foundation of safety must be established. Overlooking these protocols can lead to physical injury or create a negative association with the treadmill that will be difficult to overcome. Your role is that of a vigilant and calm supervisor.
- Veterinary Consultation: This is the most critical first step. Obtain clearance from your veterinarian before beginning any new exercise program. This is especially important for puppies with developing joints, senior dogs, or dogs with pre-existing orthopedic, cardiac, or respiratory conditions.
- Never Use a Leash or Tether: Under no circumstances should you ever tie your dog to the treadmill. If the dog stumbles, panics, or tries to get off, a tether can lead to serious injury or strangulation. Your supervision is the only safety restraint needed.
- Constant Supervision: A dog should never be left unattended on a treadmill, not even for a second. You must be present and focused for the entire duration of the session.
- Choose a Safe Location: Place the treadmill in a quiet, low-traffic area of your home, away from walls or furniture that the dog could be pushed against. Ensure the area is well-ventilated and free from distractions that might startle your dog.
- Start Slow, End Slow: Every session should begin with a brief warm-up at a very slow pace and end with a cool-down period at that same slow pace. Never start or stop the machine abruptly while the dog is on it.
- Keep Sessions Short: Initial sessions should be no longer than one or two minutes. The goal is to build positive experiences, not to achieve a marathon workout. Gradually increase duration as your dog’s comfort and fitness improve, but general fitness sessions should rarely exceed 20-30 minutes.
The Phased Approach: A Step-by-Step Training Guide
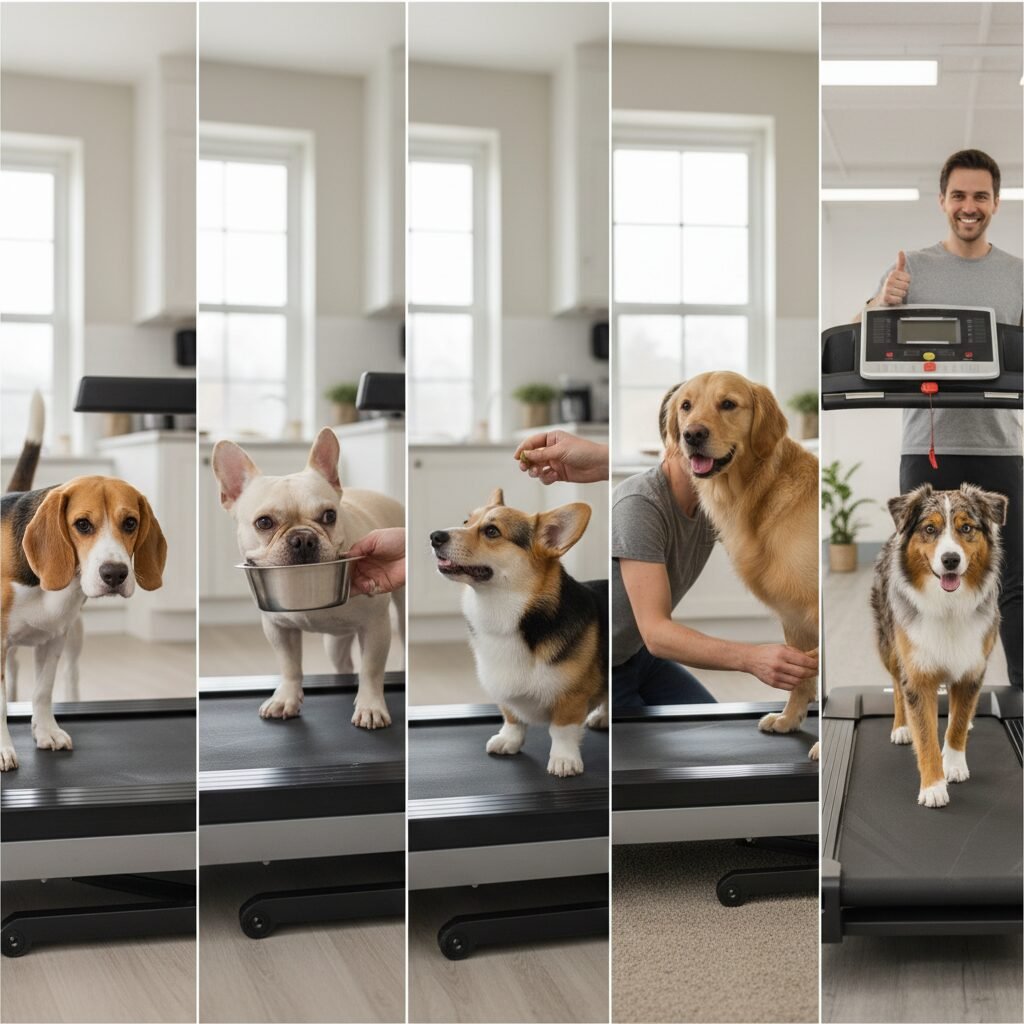
This training process is a marathon, not a sprint. It is broken down into distinct phases to ensure the dog builds confidence at each stage. Rushing this process is the primary cause of failure and fear. You must be prepared to spend several days or even weeks on a single phase. Use high-value treats—something your dog truly loves and doesn’t get often—to create a powerful positive association.
-
Phase 1: Introduction and Acclimation
The goal of this phase is to teach the dog that the treadmill is a neutral, non-threatening piece of furniture. Place the treadmill in its designated spot and leave it there, turned off. For several days, simply let your dog investigate it at their own pace. When they sniff it or show calm curiosity, praise them and drop a treat on the stationary belt. Do not try to force them onto it. Let them discover that good things happen around this object.
-
Phase 2: Building Positive Association
Once your dog is comfortable being near the machine, you can begin encouraging them to step onto it. With the machine still off, use a high-value treat to lure them to place one paw, then two, then all four paws onto the belt. Mark and reward each small success. Keep these interactions short and positive. Once they will stand on it comfortably, you can begin feeding their entire meal on the stationary treadmill. This creates a powerful association between the machine and a highly positive daily event.
-
Phase 3: Introducing Noise and Motion
This is a critical desensitization phase. With your dog standing calmly on the belt (you may need a second person to help keep them steady), turn the motor on at the absolute lowest speed for just one second, then immediately turn it off. Reward heavily with praise and a jackpot of treats. Repeat this over several sessions until the sound no longer startles them. Next, with a lure in hand, turn the machine on its lowest setting and encourage your dog to take a single step as the belt moves an inch or two. Stop the machine and reward. The goal is to connect the sound and the slight movement with a positive outcome.
-
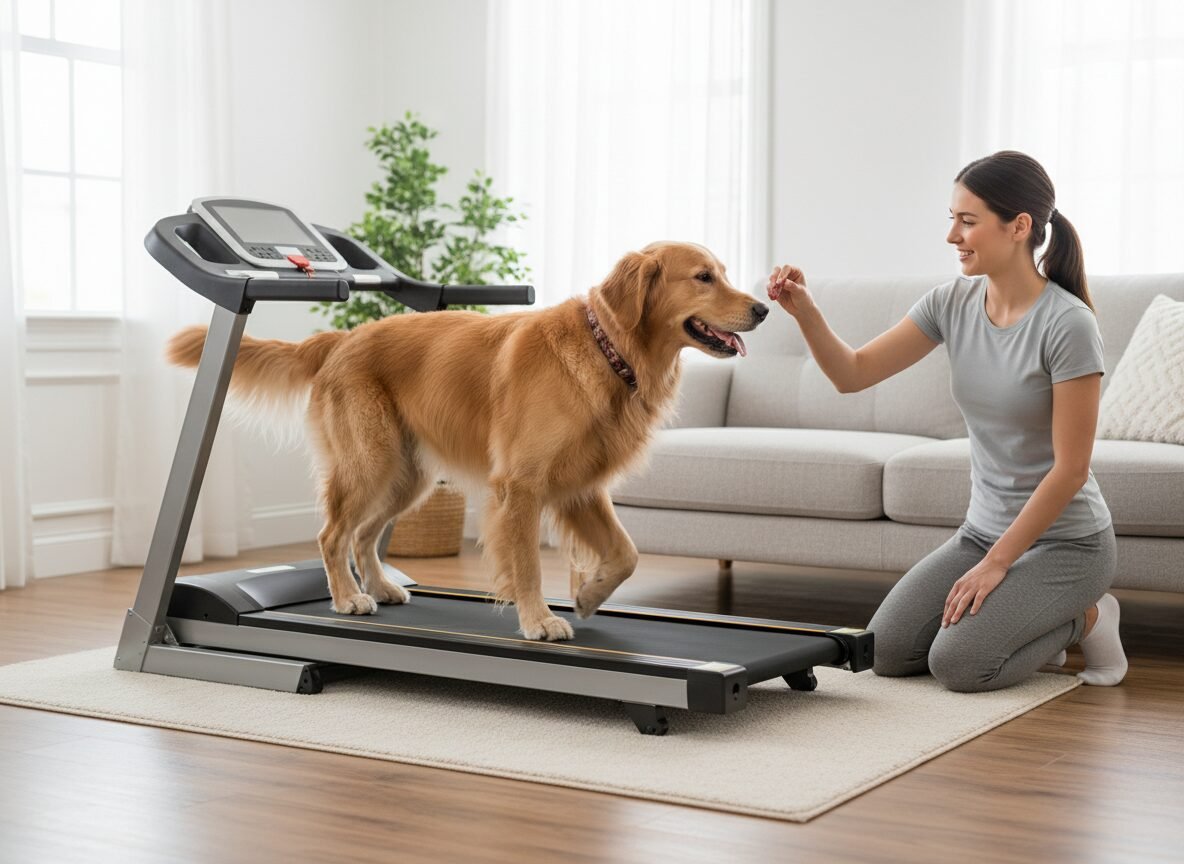
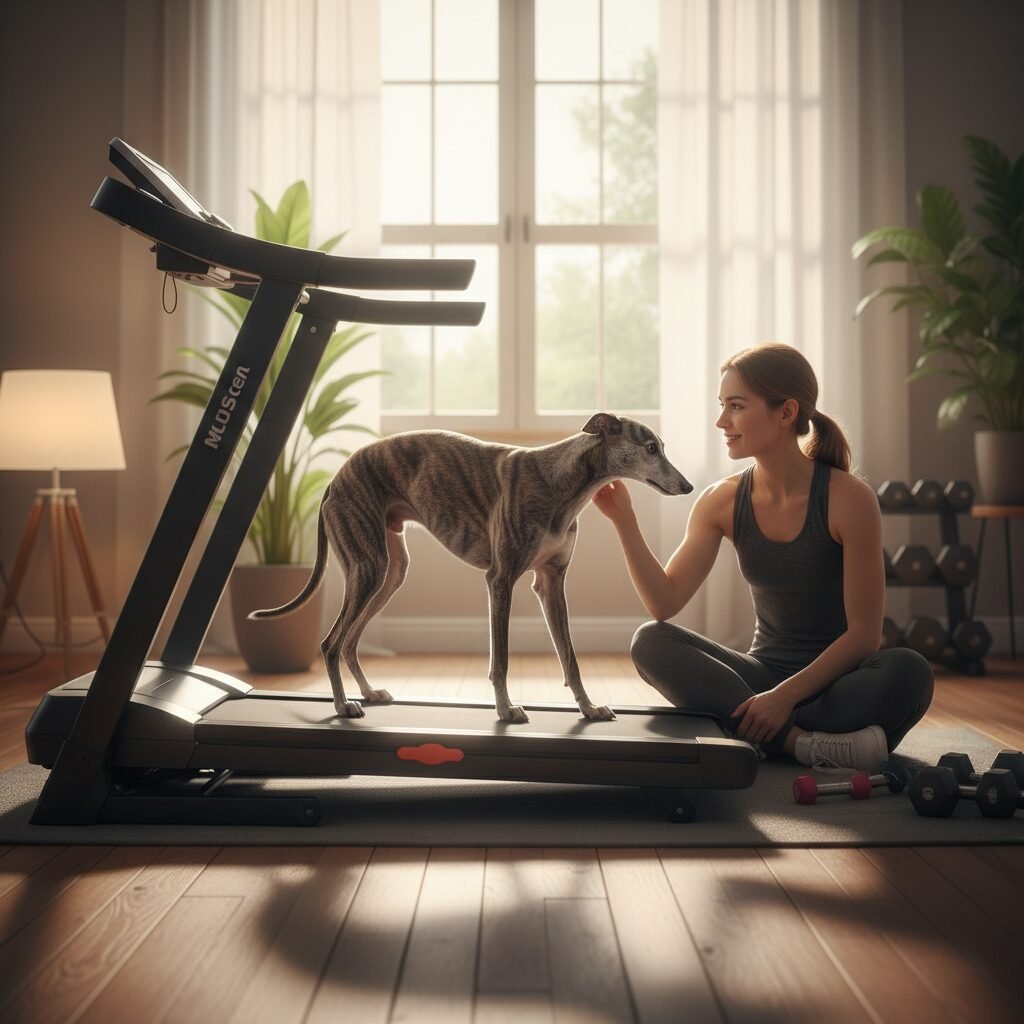
Phase 4: The First Walk
When your dog is comfortable with the sound and initial movement, you can attempt the first real walk. Standing in front of the treadmill, use a steady lure to encourage your dog to walk forward as you set the machine to its slowest speed. Keep a continuous stream of small, high-value treats coming as long as they are walking. The first session might only last 15-30 seconds. That is a huge success. Stop the machine, praise them enthusiastically, and end the session on that high note. Over many sessions, gradually increase the duration to one minute, then two, always at a slow, comfortable pace.
-
Phase 5: Building Duration and Pace
Only when your dog is walking confidently and calmly for several minutes at a slow speed should you consider increasing the pace. Slowly adjust the speed to match your dog’s natural walking trot. Watch their gait to ensure it is smooth and not rushed. You can now gradually build the duration of the sessions. Remember to always include a 1-2 minute warm-up and cool-down at a slow walk. Your goal is a dog that can step onto the machine, wait for it to start, and walk or trot with a relaxed posture and focused demeanor.
Canine Communication: Recognizing Stress and Comfort Signals
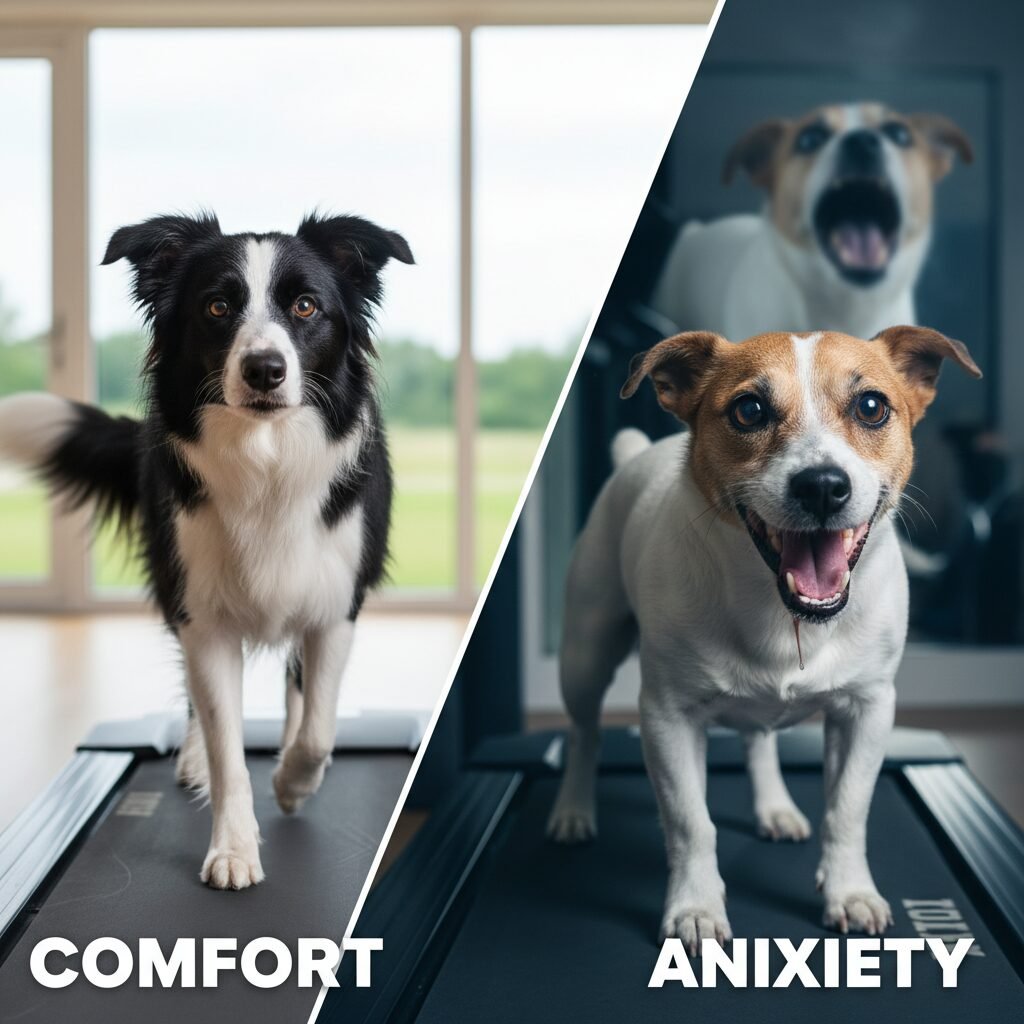
Your ability to accurately read your dog’s body language is paramount to safe and effective treadmill training. You must learn to distinguish between a dog who is focused and one who is stressed. Pushing a dog through stress signals will only create fear and aversion.
Signs of a Comfortable, Engaged Dog:
- Posture: Relaxed, neutral body posture.
- Ears: In a natural, forward position.
- Tail: Held in a neutral or slightly raised position, possibly with a loose wag.
- Mouth: Closed or slightly open with a soft pant.
- Focus: Eyes are looking forward, focused on you or the path ahead.
Signs of Stress or Anxiety:
- Pinned Ears: Ears are held back flat against the head.
- Whale Eye: The whites of the eyes are visible as the dog looks sideways.
- Excessive Panting or Drooling: Panting that is out of proportion to the level of exertion.
- Tucked Tail: The tail is held low or tucked completely between the legs.
- Body Posture: A lowered or tense body posture, or repeatedly trying to drift to the back or sides of the treadmill.
- Vocalization: Whining or barking.
If you observe any of these stress signals, you must stop the session immediately in a calm and controlled manner. Do not coddle the dog, but end the training for the day. The next session should regress to the previous phase where the dog was fully comfortable and successful. This ensures the treadmill remains a place of confidence, not conflict.
Troubleshooting Common Treadmill Training Hurdles
Even with a perfect training plan, you may encounter setbacks. These are normal. The key is to address them with patience and by breaking the behavior down into smaller, more manageable steps.
Problem: My dog is terrified of the machine’s noise.
Solution: You have moved too quickly past the desensitization phase. Move the treadmill away from its final spot. Turn it on its lowest setting in another room while feeding your dog high-value treats. Gradually, over days, decrease the distance between your dog and the running machine, always pairing the sound with something positive. Do not attempt to put the dog on it until the sound alone is neutral.
Problem: My dog keeps trying to jump off the side.
Solution: This is a clear sign of being overwhelmed. The speed is likely too fast or the session has gone on for too long. Stop immediately. Your next session should be half the duration and at a slower speed. Ensure you are not creating anxiety with your own tense posture; stay relaxed. You are the leader, and your calm energy is crucial.
Problem: My dog refuses to get on the treadmill at all.
Solution: The treadmill does not yet have a strong enough positive association. Go back to Phase 1 and 2. Spend several more days just rewarding the dog for being near the machine. Feed every meal on the stationary belt for a week. Do not use any pressure. The dog must choose to interact with the machine because it predicts wonderful things.
Problem: My dog walks at the very back of the belt.
Solution: This often happens when the owner holds the food lure too high or too far in front. This can cause the dog to stretch its neck, altering its gait and balance. Try holding the treat lower and closer to their nose to encourage them to move forward into a more natural position in the center of the belt.
Conclusion
Teaching your dog to use a treadmill is an exercise in patience, observation, and positive reinforcement. When done correctly, it provides a fantastic outlet for physical energy and a wonderful opportunity for focused mental engagement. The controlled environment allows you to build your dog’s fitness safely and effectively, strengthening their body and your bond. Remember that this powerful tool is meant to enrich your dog’s life, serving as a valuable supplement to the irreplaceable joy and sensory fulfillment of outdoor adventures. By following these safety protocols and training steps, you can turn any rainy day into a productive and positive experience for your canine companion.