How to Cut Black Dog Nails Without Hitting the Quick: A Visual Guide
The task of trimming a dog’s nails can be a source of significant anxiety for many pet owners, a feeling that is amplified when faced with dark or black nails. The opaque color conceals the sensitive inner structure known as the quick, turning a routine grooming task into a high-stakes procedure. Fear of causing pain or bleeding is valid, but allowing nails to overgrow is not a benign alternative. Overly long nails can alter a dog’s posture and gait, leading to skeletal strain, joint pain, and even injury. They reduce traction on smooth surfaces and can split or break, causing considerable pain and potential infection.
This guide serves as a definitive resource, designed to demystify the process and build your confidence. We will dissect the anatomy of the nail, equip you with the proper tools and techniques, and provide a precise visual method for identifying where to cut safely. By approaching this task with knowledge and patience, you can transform nail trimming from a dreaded chore into a manageable, stress-free bonding experience for you and your canine companion.
The Crucial Anatomy: What Lies Beneath the Black Nail
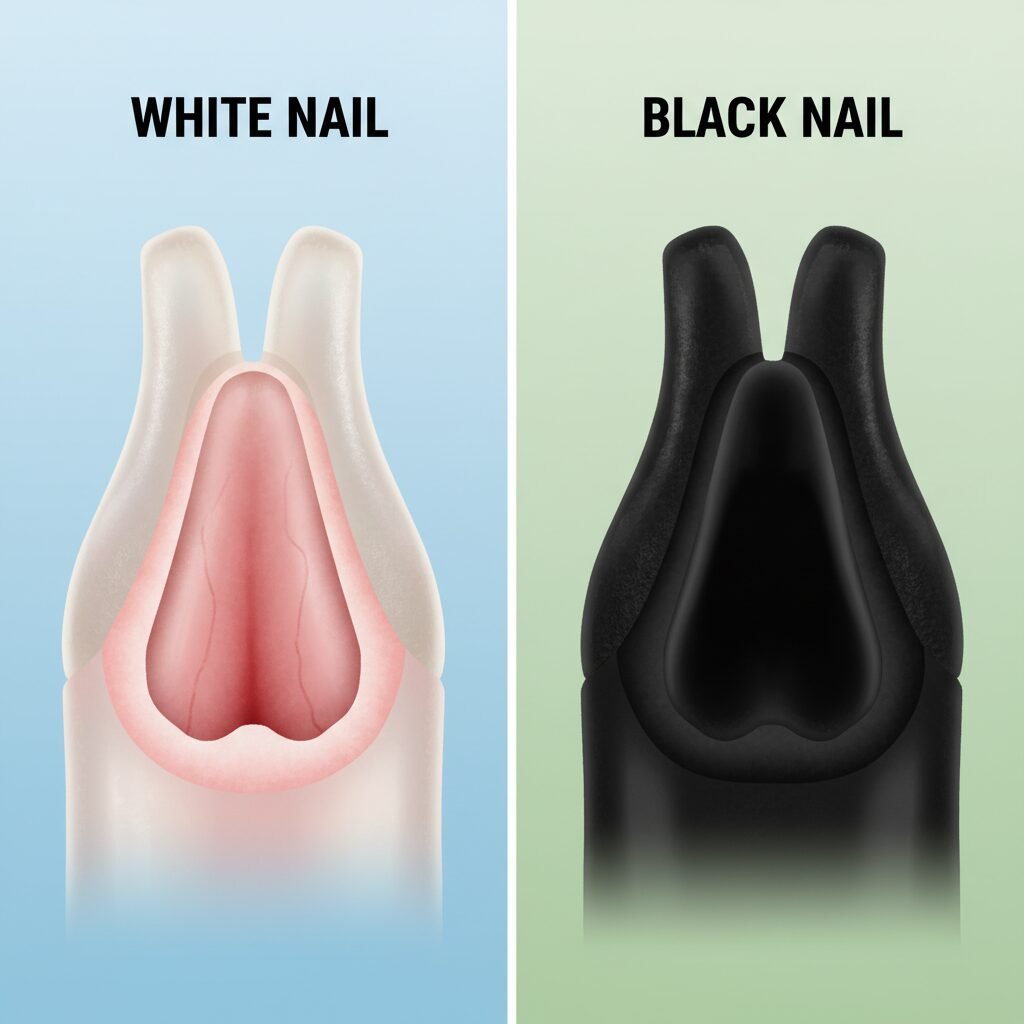
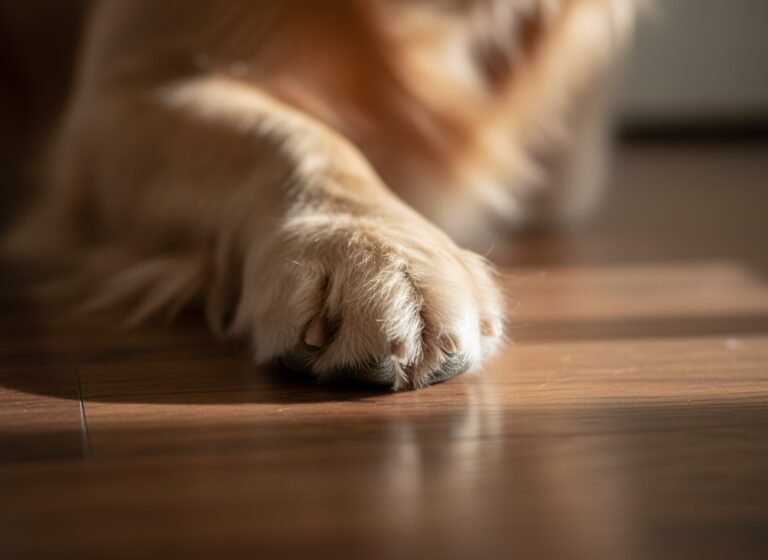
Before you ever pick up a pair of clippers, it is imperative to understand the structure of the nail you are about to trim. A dog’s nail is not a lifeless piece of keratin; it is a complex structure with a living core. The outer portion, the part we see, is the shell. It is made of hard keratin, similar to a human fingernail. Inside this shell is the quick, also called the pulp. This is a soft, pinkish tissue rich with blood vessels and nerve endings.
On dogs with light-colored or white nails, the quick is easily visible as a pink core. This provides a clear visual guide, making it simple to know where to stop cutting. On black nails, this internal guide is completely obscured. Cutting into the quick is painful for the dog, equivalent to cutting into the nail bed on a human. It will cause immediate bleeding and, more damagingly, can create a lasting negative association with nail trims. This learned fear can make future grooming sessions progressively more difficult and stressful. Understanding this anatomy is the first and most critical step toward preventing such an outcome.
Essential Equipment for a Safe and Successful Trim
Using the correct tools is not a matter of preference; it is a prerequisite for safety and efficiency. Dull or inappropriate equipment can crush the nail instead of cutting it, causing pain even if you avoid the quick. Your primary toolkit should be small but of high quality.
Clippers vs. Grinders
There are two primary tools for shortening nails: clippers and grinders. Each has its advantages.
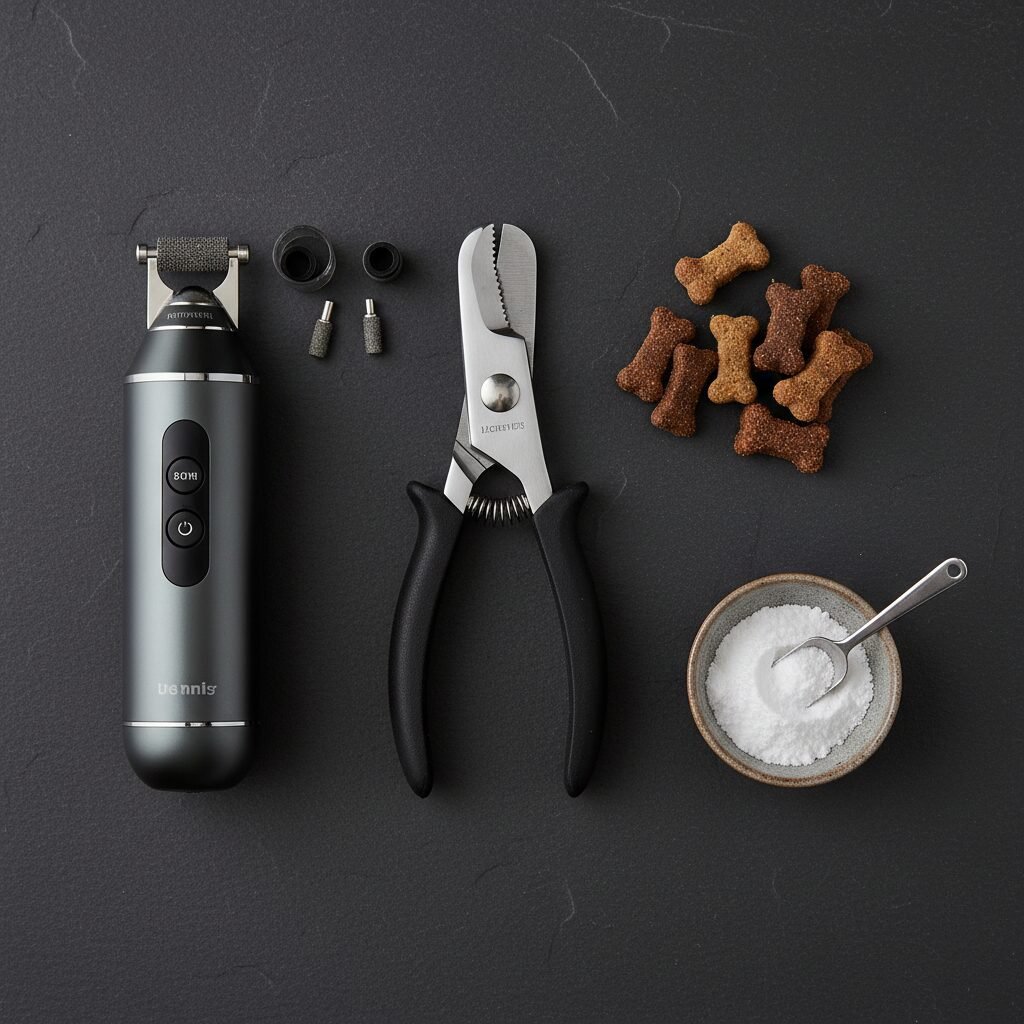
- Scissor-Style Clippers: Often called ‘plier-style’ clippers, these are the preferred choice for most professionals. They offer a clean, precise cut when sharp and are suitable for nails of all sizes. Their open design allows you to see exactly where you are cutting.
- Guillotine-Style Clippers: These clippers have a ring through which the nail is placed. A blade then slides across to cut the tip. While effective for smaller, thinner nails, they can crush thicker nails and completely hide your view of the nail at the moment of cutting.
- Nail Grinders: A grinder is a rotary tool (like a Dremel) that files the nail down. This is an excellent option for owners fearful of clippers. It offers incredible control, smooths the nail edge, and makes it nearly impossible to cut the quick suddenly. The trade-off is the noise and vibration, which requires a separate desensitization process for the dog.
Mandatory Safety Equipment
Accidents can happen, even to the most experienced groomers. Being prepared is non-negotiable. You must have a clotting agent on hand before you begin.
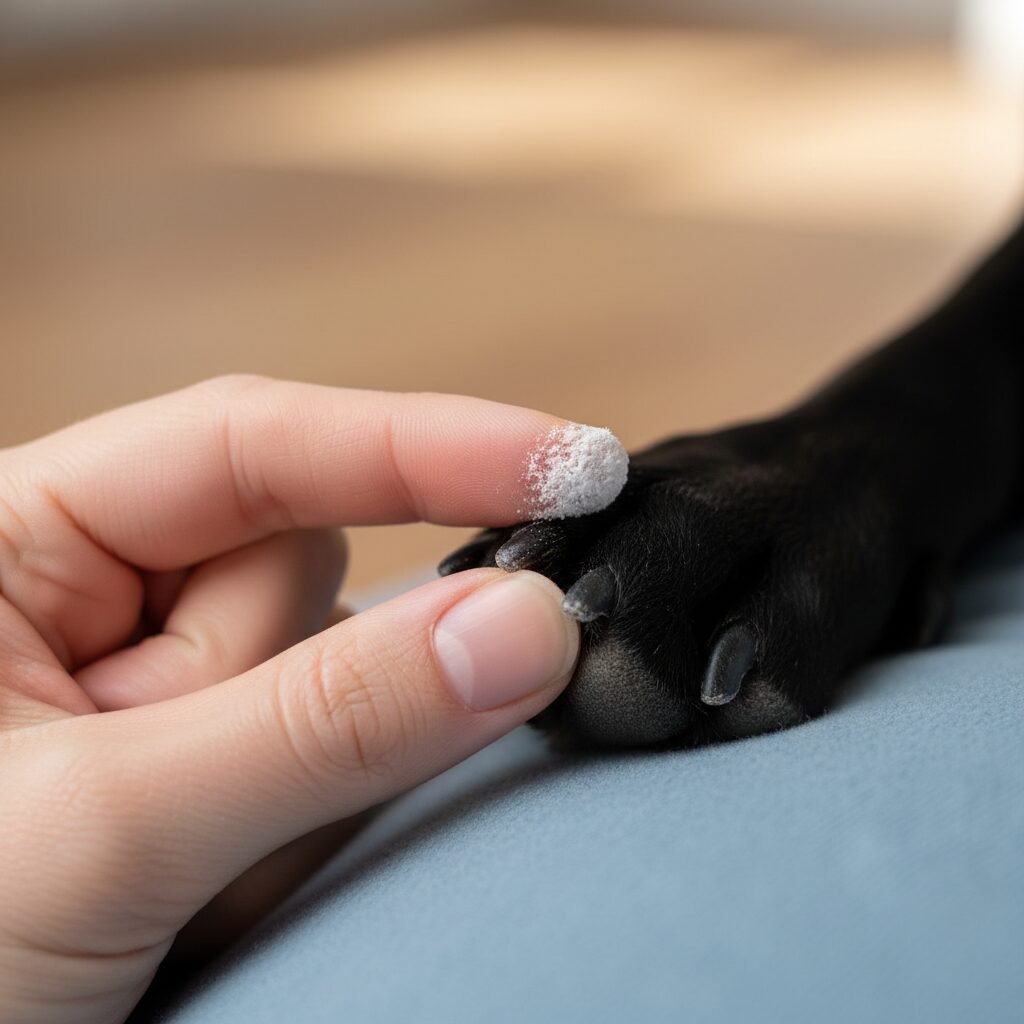
- Styptic Powder: This is an anti-hemorrhagic agent that stops bleeding from minor cuts almost instantly. It contains ingredients like ferric subsulfate that act as a vasoconstrictor. This is the gold standard for managing a nicked quick.
Finally, ensure you have excellent lighting. A headlamp or a well-positioned task light can make the difference in seeing the subtle visual cues within the nail.
Conditioning Your Dog for a Stress-Free Experience
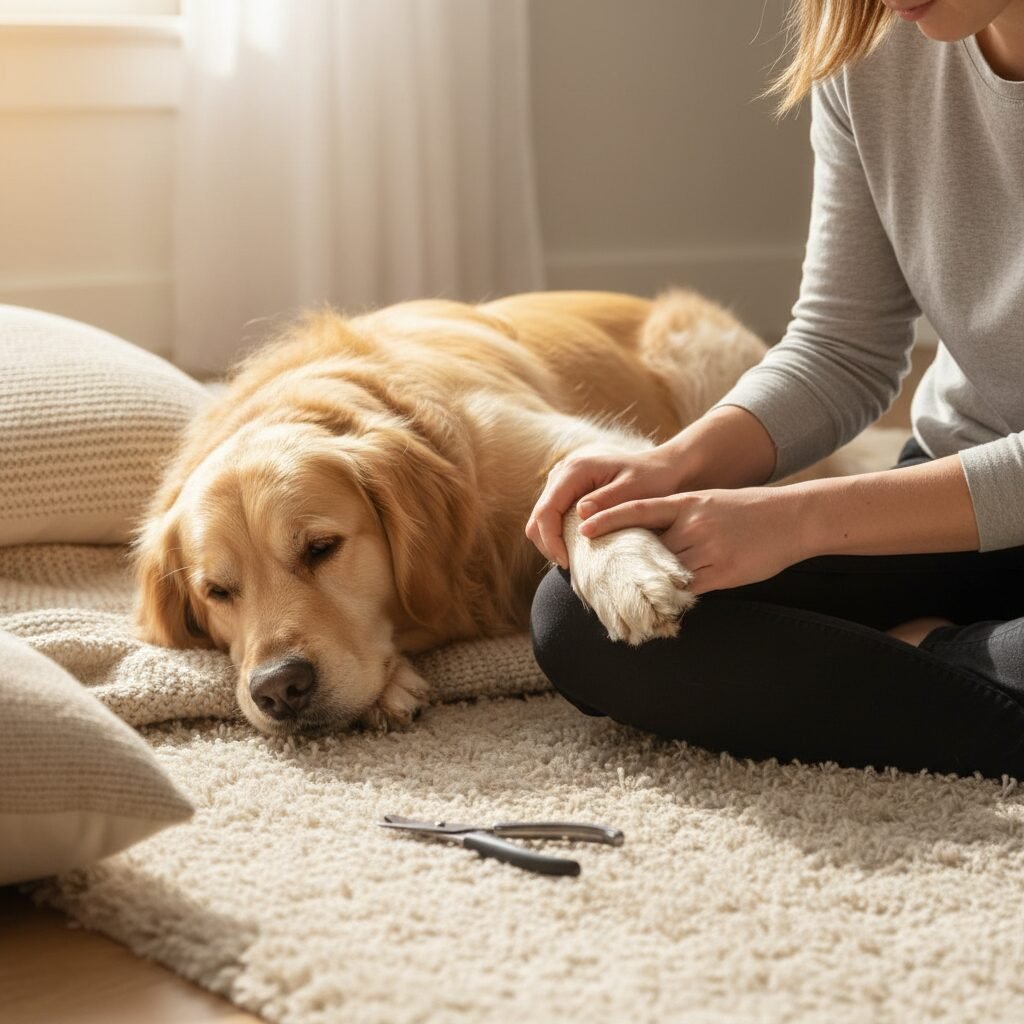
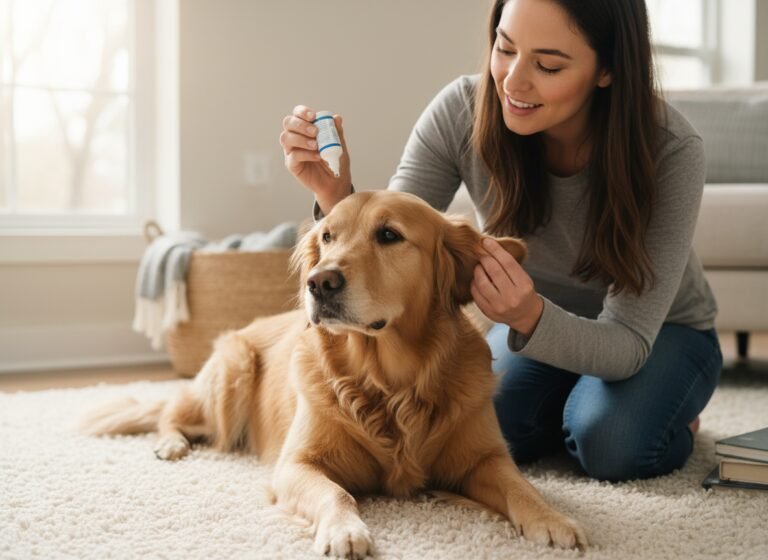
The psychological aspect of nail trimming is just as important as the physical act. A fearful, struggling dog is at a much higher risk of injury. The goal is cooperative care, where your dog willingly participates, or at least tolerates, the procedure. This is achieved through conditioning and desensitization, a process that should begin long before you intend to cut a single nail.
Start by simply handling your dog’s paws daily. Gently touch and massage each paw and toe for a few seconds, then reward with a high-value treat and praise. Do this in short, happy sessions. Once your dog is comfortable with paw handling, introduce the tools. Let your dog sniff the clippers. Touch the clippers to a nail without cutting. Reward. Turn the grinder on for a second in another room, then treat. Gradually decrease the distance until you can touch the vibrating (but not grinding) tool to a nail. Every step is paired with positive reinforcement.
Pay close attention to your dog’s body language. A dog that is stressed will show subtle signs. Look for ‘whale eye’ (where the whites of the eyes are visible), pinned-back ears, excessive lip licking, or pulling the paw away. These are not signs of defiance; they are communications of discomfort. Heeding these signals and stopping before your dog becomes overwhelmed is crucial for building trust.
The Trimming Process: A Precise, Step-by-Step Method
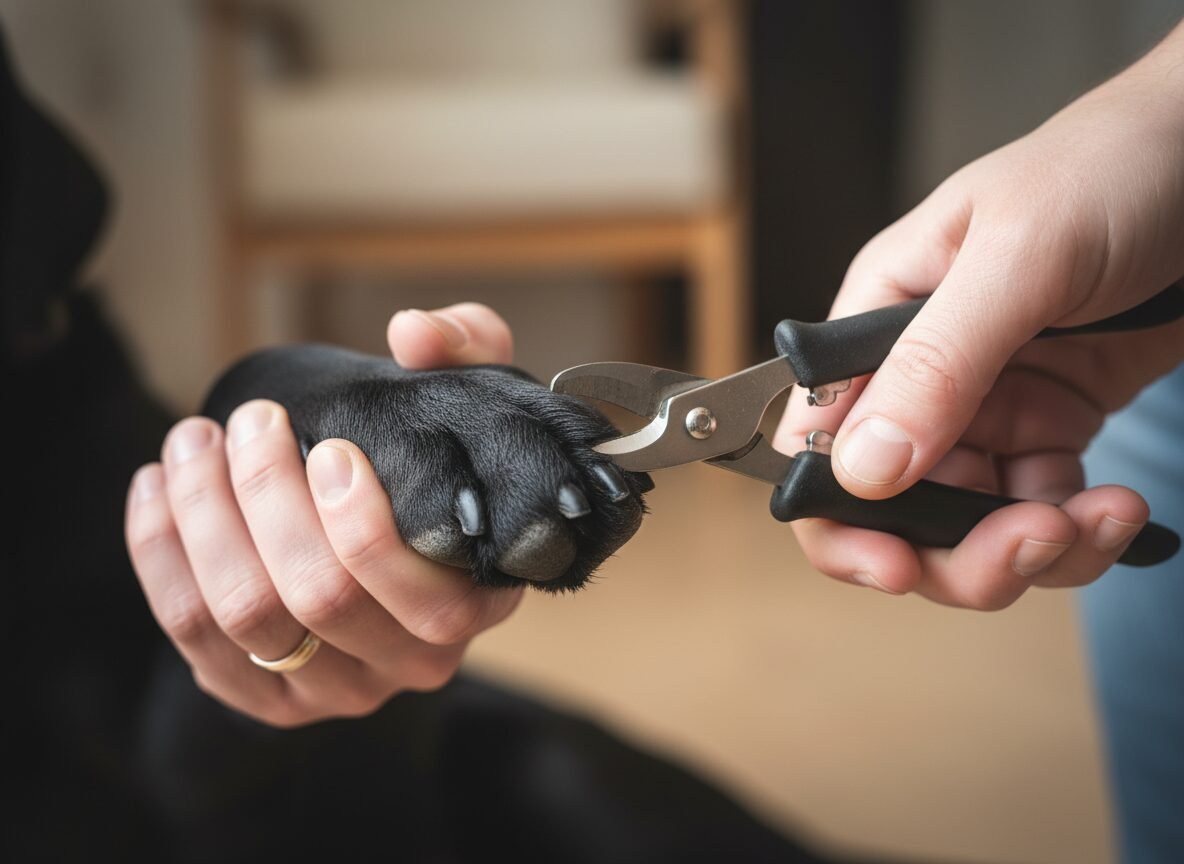
With your dog conditioned and your tools prepared, you can now approach the trim itself. Proceed with calm confidence. Your dog will sense your emotional state. The core principle for black nails is to remove tiny slivers of the nail at a time, inspecting the cut surface after each snip.
- Secure and Comfortable Positioning: Position your dog in a way that is comfortable for both of you and provides easy access to the nails. For many, this means sitting on the floor with the dog lying down beside them. Secure the paw you are working on gently but firmly. Isolate a single toe by holding it between your thumb and forefinger.
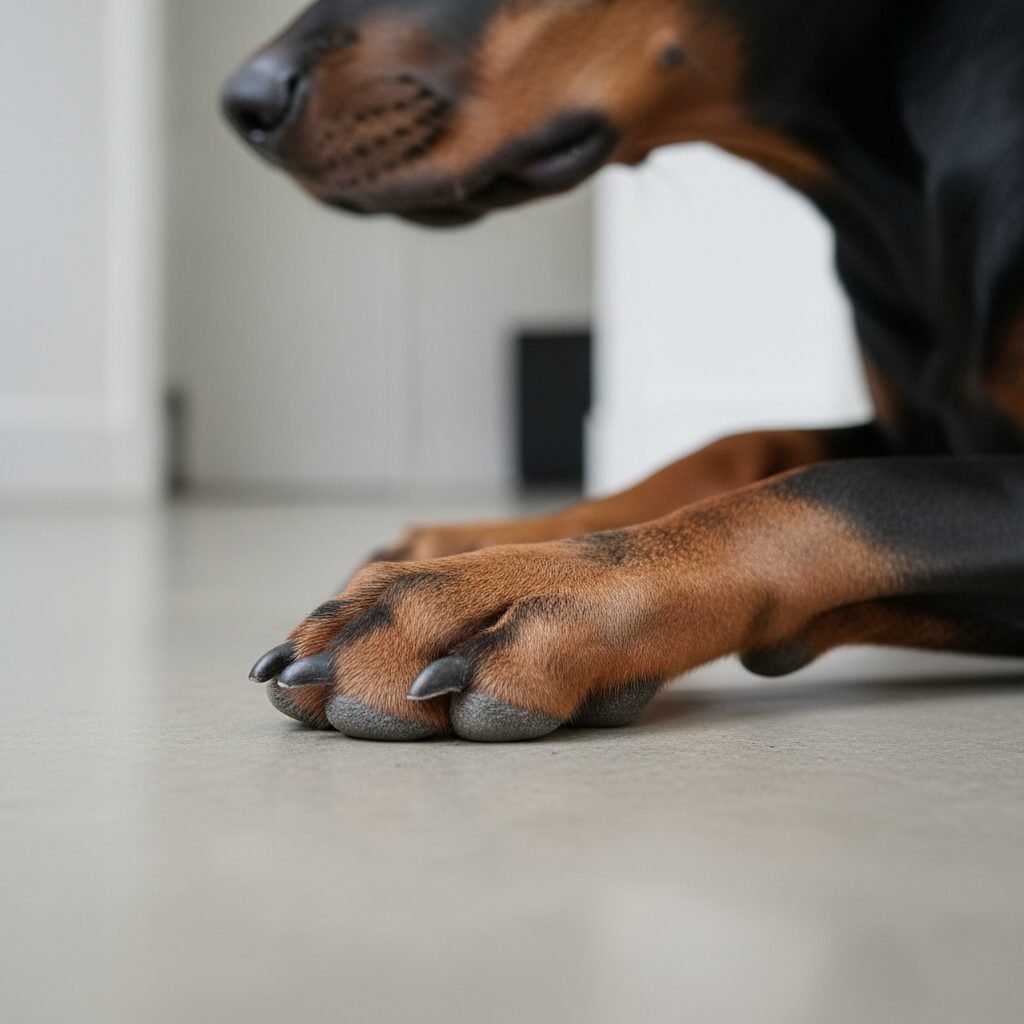
- Identify Your Starting Point: Look at the nail from the side. The nail often has a noticeable curve downwards. The initial cut should be to remove the very tip of this hook, cutting straight across.
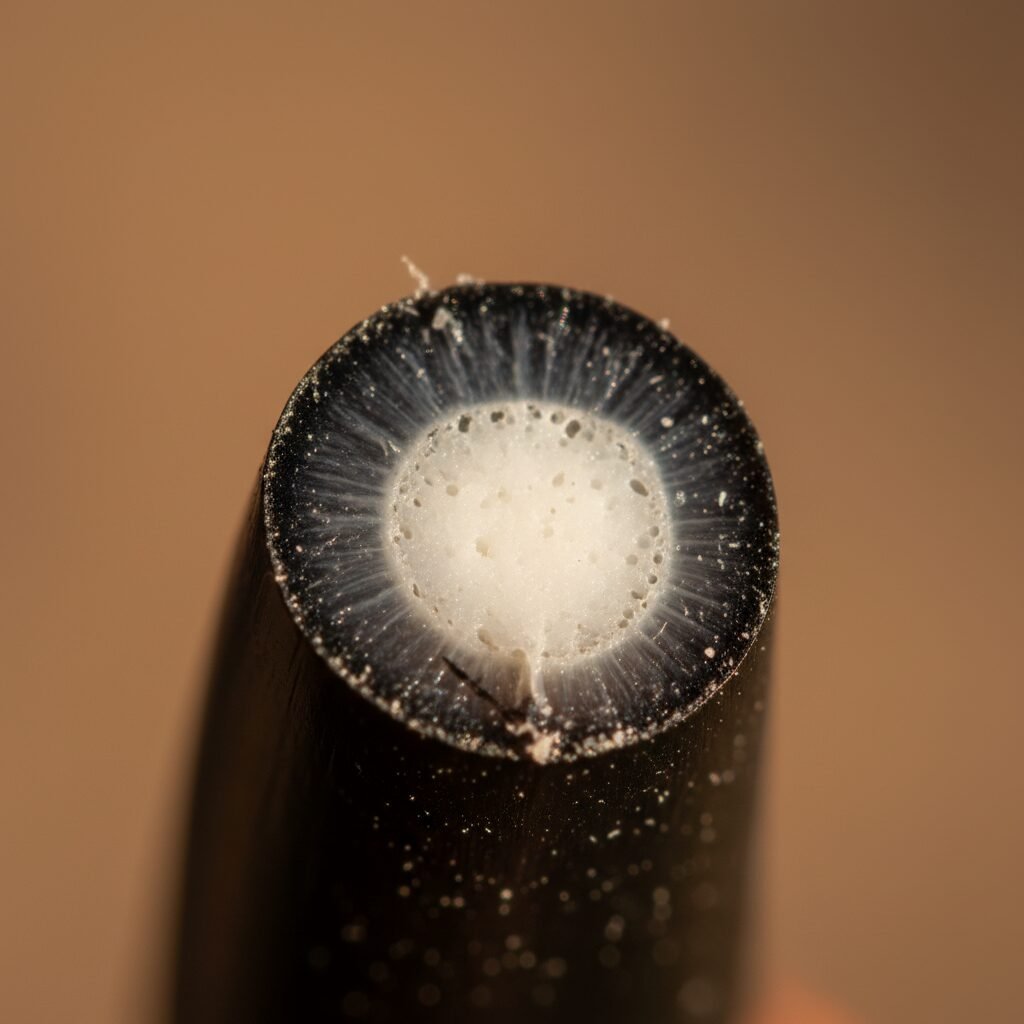
- The ‘Chalky Ring’ Landmark: After you snip the very tip, look at the cross-section of the nail. It will likely look like a solid black oval. Now, take another paper-thin sliver off. Continue this process. As you get closer to the quick, the texture in the center of the nail will change. You will begin to see a grayish or white, chalky-looking ring appear before you reach the live tissue. This is your first warning sign to be cautious.
- The ‘Black Dot’ Stop Sign: If you continue trimming in tiny increments past the chalky ring, a small, darker, gelatinous-looking dot or circle will appear in the very center of the nail. This is the absolute stop sign. This is the tip of the quick’s tissue. Cutting any further will result in pain and bleeding. Once you see this dot, you are done with that nail.
- Trimming at an Angle: Hold the clippers at a slight 45-degree angle to the nail’s growth axis. This helps create a more natural shape and reduces the chance of splintering. Remember: multiple small snips are always safer than one large cut.
- Reward and Repeat: After successfully trimming one nail, provide praise and a treat. It is not necessary to complete all four paws in one session. It is far better to trim one or two nails successfully and end on a positive note than to push a stressed dog to completion.
The Critical Stop Sign: Visualizing the Quick’s Tip

Among all the techniques for trimming black nails, recognizing the ‘black dot’ is the most crucial skill for preventing injury. While the chalky ring is a warning, the black dot is a definitive signal to stop. This dot is the very beginning of the live pulp tissue. It appears darker and moister than the surrounding nail material because it is the start of the blood and nerve supply.
To a trained eye, the appearance of this dot is as clear as the pink quick in a white nail. It is the anatomical landmark that separates a safe trim from a painful one. Mastering its identification is the key to confidence.
When you see this dot, your work on that nail is complete. Do not attempt to ‘get a little closer’ or ‘even it out’. The risk is not worth it. By stopping here, you have successfully trimmed the nail as short as is safely possible in this session. Over time, with consistent trims to this point, the quick will naturally recede, allowing you to gradually shorten the nails even further.
Damage Control: A Calm Response to an Accidental Nick
Even with the utmost care, accidents can happen. If you do nick the quick, the most important thing you can do is remain calm. Your panicked reaction will only escalate your dog’s fear and anxiety. The bleeding may look dramatic, but it is rarely a medical emergency and is easily managed.
Follow these steps immediately:
- Do Not Panic: Take a deep breath. Speak to your dog in a calm, reassuring voice.
- Isolate and Apply Pressure: Gently but firmly hold the paw to prevent the dog from running and smearing blood.
- Use Your Styptic Powder: Take a generous pinch of the powder on your fingertip or pour a small amount into the container’s lid. Press the powder firmly onto the tip of the bleeding nail. Hold it there with steady pressure for at least 30 to 60 seconds. Do not dab or wipe it away; direct, sustained pressure is key.
- Verify and Reassure: The bleeding should stop. If it continues, apply the powder again. Once the bleeding has ceased, give your dog a high-value treat and some gentle affection.
It is generally advisable to end the grooming session after such an incident. Do not force your dog to continue. The priority is to ensure the experience doesn’t become overwhelmingly negative. Alternatives like cornstarch or flour can be used in a pinch, but they are significantly less effective than a commercial styptic powder designed for this purpose.
Establishing a Routine: How Often Should You Trim?
The frequency of nail trims is not one-size-fits-all. It depends heavily on your dog’s lifestyle, breed, and age. A simple auditory cue is often the best indicator: if you can hear your dog’s nails clicking on your hardwood or tile floors, they are too long.
Factors influencing trim frequency include:
- Activity Level: Active dogs that run frequently on hard, abrasive surfaces like pavement or rocky trails will naturally wear down their nails. They may require less frequent trims than a dog that primarily walks on grass or stays indoors.
- Breed and Genetics: Some breeds are genetically predisposed to faster-growing nails.
- Age: Senior dogs are often less active, leading to reduced natural wear and a greater need for regular trims.
As a general guideline, most dogs benefit from a nail trim every 3 to 4 weeks. The most significant benefit of a consistent routine is that it helps the quick recede. When nails are kept short, the quick retracts back into the nail bed. This is particularly important for dogs that present with extremely overgrown nails. Through frequent, small trims (perhaps weekly), you can gradually remodel the nail back to a healthy, functional length. Consistency is far more effective than infrequent, aggressive trimming sessions.
Conclusion
Mastering the art of trimming black dog nails is a journey of patience, knowledge, and trust. By understanding the anatomy, using high-quality tools, and conditioning your dog for a positive experience, you can remove the fear from this essential grooming task. The key lies in the technique: taking only tiny slivers at a time and diligently watching the cut surface for the tell-tale signs of the approaching quick—first the chalky ring, and ultimately, the black dot that signals you to stop. This methodical approach transforms the process from a guessing game into a controlled, predictable procedure.
Remember that consistency is your greatest ally. Regular, short trims are healthier for your dog’s posture and will make the process easier over time as the quick recedes. If you or your dog continue to experience extreme stress, do not hesitate to consult a professional groomer or your veterinary team. Their expertise can help get you on the right track. With the guidance provided here, you are now equipped to proceed with the confidence of a professional, ensuring your dog’s comfort and well-being from paw to tail.