Stop The Bleeding: How to Trim Dog Nails Without The Meltdown
The mere sight of nail clippers can send even the most stoic dog into a state of panic, transforming a routine grooming task into a wrestling match. For many pet owners, the process is fraught with anxiety, culminating in a shared sense of dread. The fear of causing pain, or worse, drawing blood, is a significant barrier to proper canine foot care. As a canine behaviorist and veterinary nutrition consultant, I have guided countless owners through this exact challenge. The goal is not merely to get the job done, but to fundamentally change your dog’s emotional response to the procedure.
This guide is not about restraint or forcing compliance. It is a comprehensive, behavior-focused protocol designed to build trust and eliminate fear. We will delve into the anatomy of the canine nail to understand the root of the anxiety, equip you with the right tools, and walk you through a systematic process of desensitization and counter-conditioning. By following these steps, you will replace the meltdown with methodical calmness, ensuring the health of your dog’s paws and strengthening the bond you share.
Why Nail Trims Trigger Panic: A Look Inside the Claw
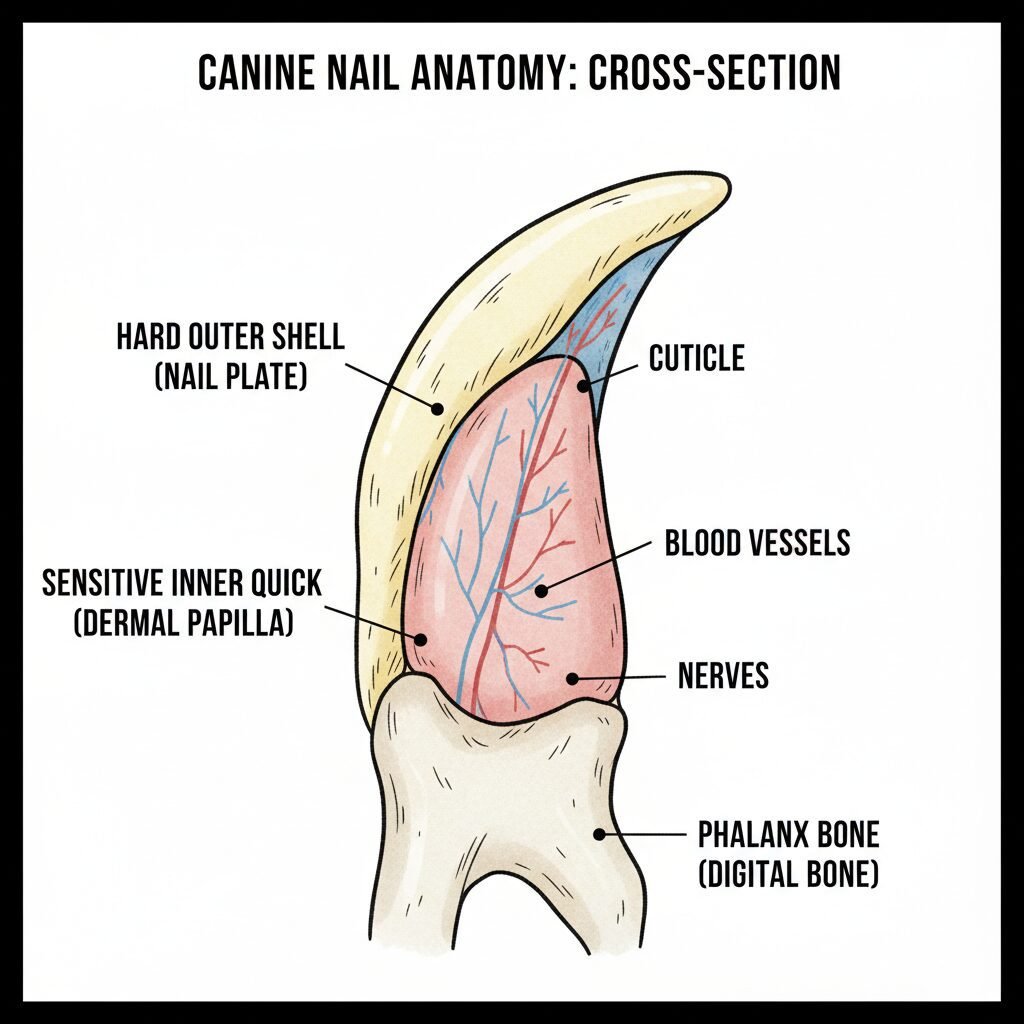
To effectively address the fear, you must first understand its biological basis. A dog’s nail is not a lifeless piece of keratin; it is a complex structure with a live, sensitive core. The hard outer shell that we see is only part of the story. Within this shell lies the quick, or pulp, a pinkish tissue rich with blood vessels and nerves. If you have ever broken a nail too far down, you have a mild sense of the sharp, intense pain cutting the quick can cause.
When clippers cut into this nerve-filled center, the pain is immediate and significant. A dog does not understand that it was an accident. From their perspective, the clippers, your hands, and the entire situation are the direct cause of this pain. This single negative experience is often enough to create a powerful and lasting phobia. The dog learns that nail trims are a painful, frightening event to be avoided at all costs. This leads to defensive behaviors you may recognize: pulling the paw away, growling, showing teeth (a ‘submissive grin’ or a ‘snarl’), or even snapping. Their body language screams discomfort—ears pinned back, tail tucked, whites of the eyes showing (known as ‘whale eye’). Understanding this is the first step toward empathy and a more patient approach.
Setting the Stage for Success: Your Essential Nail Care Toolkit
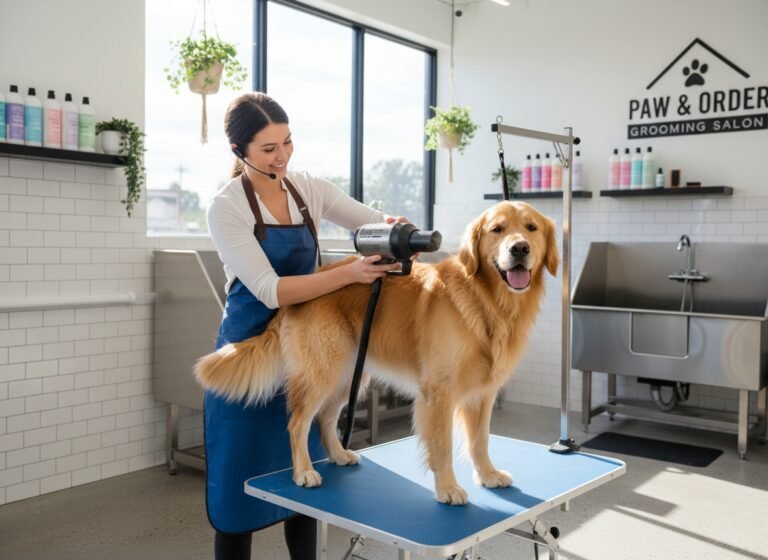
Attempting a nail trim with subpar or incomplete equipment is like trying to perform surgery with a butter knife—it sets you up for failure and potential harm. Assembling a professional-grade toolkit is a non-negotiable prerequisite. Your dog’s comfort and your confidence depend on it.
Clippers vs. Grinders: Choosing Your Instrument
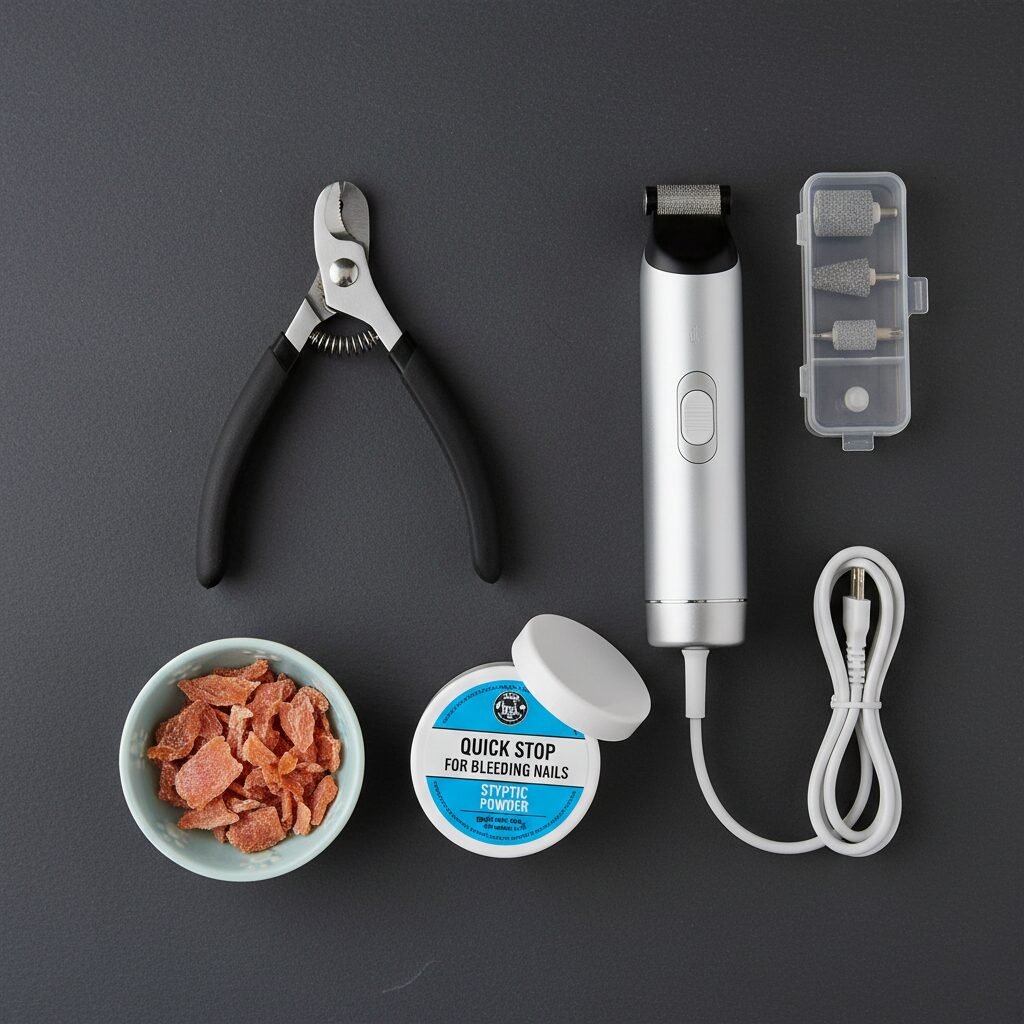
The two primary tools for nail maintenance are clippers and rotary grinders. Neither is universally superior; the best choice depends on the dog’s nail type, your comfort level, and your dog’s tolerance. Many professionals use both—clippers to remove length and a grinder to smooth the edges.
| Tool Type | Pros | Cons |
|---|---|---|
| Scissor-Style Clippers | Provide a clean, quick cut. Good for thick or large nails. Allows for precise control. | Risk of crushing the nail if blades are dull. The ‘snap’ sound can be startling to dogs. |
| Guillotine-Style Clippers | Easy to use for beginners. Works well on small to medium nails. | Blade can dull quickly. Not suitable for very large or thick nails. Can crush the nail if not sharp. |
| Rotary Grinder (Dremel) | Low risk of cutting the quick. Creates a smooth, rounded edge. Ideal for dogs with dark nails where the quick is invisible. | The noise and vibration can be frightening. Creates nail dust. Takes longer than clipping. |
Styptic Powder: Your Non-Negotiable Safety Net
Accidents happen, even to seasoned professionals. Having a clotting agent on hand is an absolute necessity. Styptic powder is an antihemorrhagic agent that works rapidly to stop bleeding from minor cuts, such as a nicked quick. It contains ingredients like ferric subsulfate which contracts the blood vessels. Do not begin a nail trim without having this, or a substitute like cornstarch or a styptic pencil, within immediate reach. Fumbling for a solution while your dog is bleeding will only amplify the stress for both of you.
High-Value Reinforcements
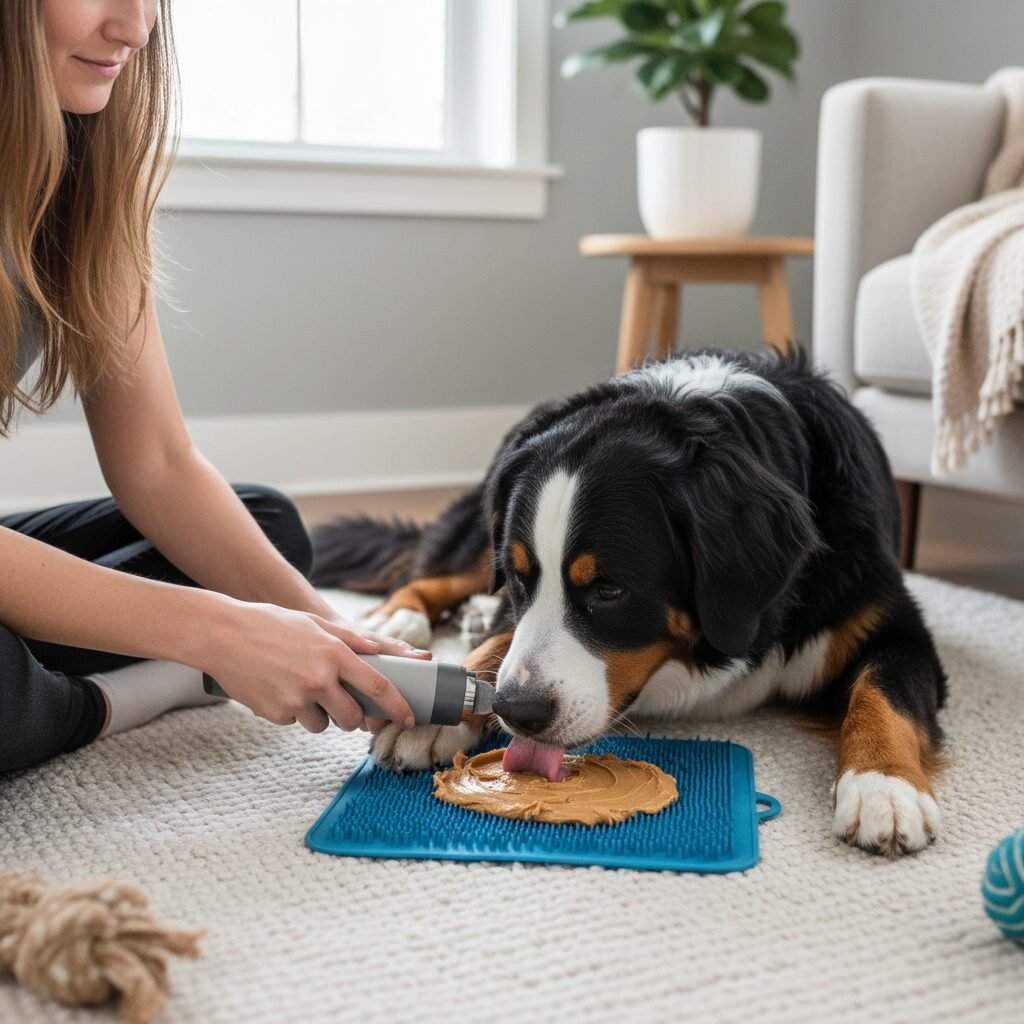
This process is built on the principles of positive reinforcement. You are actively changing your dog’s association with nail care from something negative to something that predicts a reward. Standard kibble will not suffice. You need exceptionally high-value treats—things your dog finds irresistible and doesn’t get at other times. Think small pieces of cooked chicken, cheese, freeze-dried liver, or even a lickable treat from a tube. The reward must be more compelling than the fear.
Phase One: The Desensitization and Counter-Conditioning Protocol
Before you ever attempt to cut a nail, you must systematically dismantle your dog’s fear. This phase is about patience and creating new, positive associations. It may take days or even weeks. Do not rush it. Each step should be repeated in short, upbeat sessions (1-5 minutes) until your dog is completely comfortable before moving to the next.
- Tool Introduction: Place the clippers or grinder (turned off) on the floor. Let your dog investigate them. Any time your dog sniffs or looks at the tool, mark the behavior with a ‘Yes!’ and give a high-value treat. Do this until your dog sees the tool and looks to you for a reward.
- Handling Paws without Tools: In a separate session, practice gently handling your dog’s paws. Touch a paw for a second, say ‘Yes!’, and treat. Gradually increase the duration of the touch. Progress to lifting a paw, and then to gently separating the toes. Your goal is for your dog to offer their paw willingly.
- Pairing Tools and Paws: Now, combine the two. Hold the clippers in one hand and gently touch your dog’s paw with your other hand. ‘Yes!’ and treat. Then, touch the clippers (not the blade end) to the paw. ‘Yes!’ and treat. If you are using a grinder, touch the grinder (while off) to the nail. Reward any calm acceptance. The tool simply becomes part of the paw-handling routine.
- Mimicking the Action: For clippers, hold the paw and the clippers in position, but don’t cut. Squeeze the clippers so they make their ‘snap’ sound near the nail, but not on it. ‘Yes!’ and treat. For grinders, turn the grinder on its lowest setting several feet away. Reward your dog for calm behavior. Gradually decrease the distance over multiple sessions until you can turn it on near your dog and they remain relaxed. Then, briefly touch the vibrating (but not grinding) part of the tool to the nail. ‘Yes!’ and treat lavishly. This step is critical for habituating them to the sound and sensation.
Phase Two: The Trimming Technique for a Meltdown-Free Experience
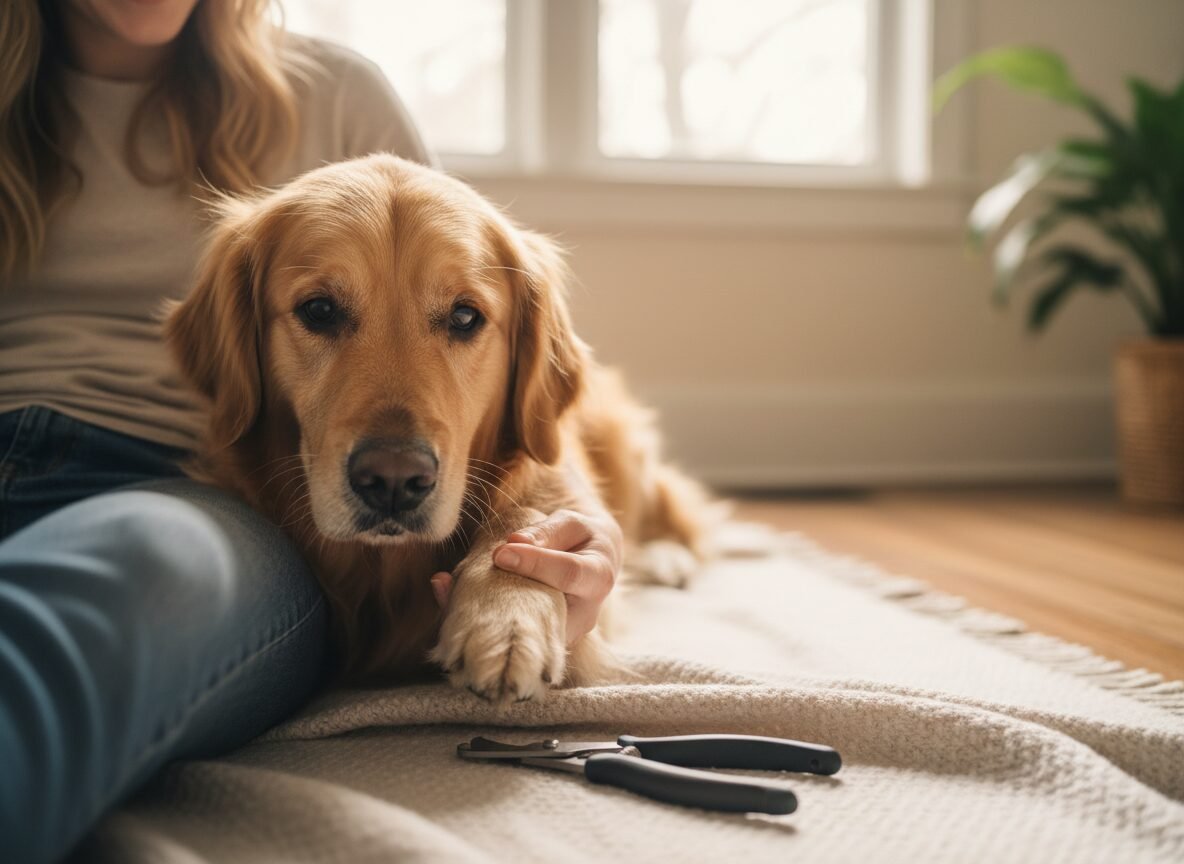
Once your dog is fully desensitized to the tools and handling, you can proceed with the trim. Maintain a calm, confident demeanor. Your dog will take cues from your emotional state. Work in a well-lit area and ensure your dog is in a comfortable, stable position—whether that’s lying on their side or sitting in your lap.
- Secure Your Grip: Hold the paw firmly but gently. Place your thumb on the top of the toe and your index finger on the paw pad underneath. This grip helps to extend the nail slightly and stabilize the toe you are working on.
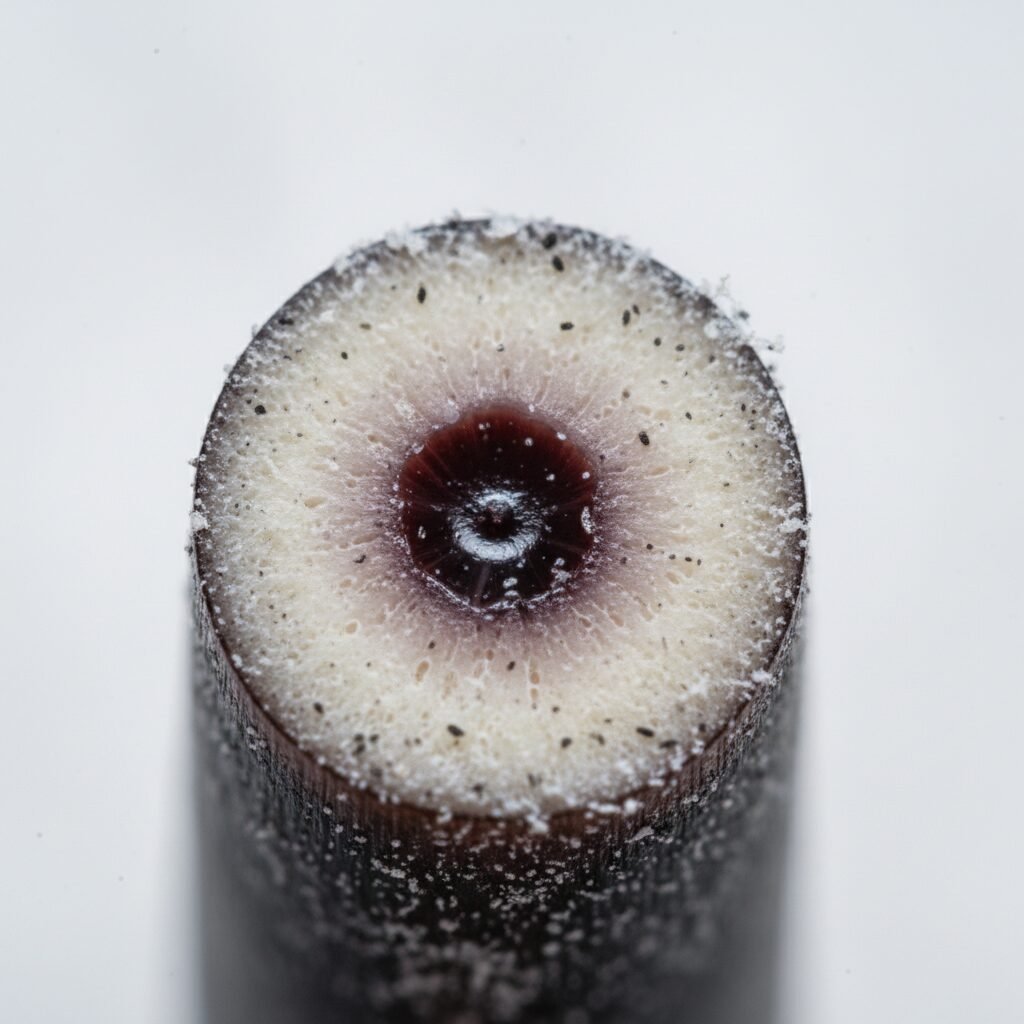
- Visualize the Quick: If your dog has light-colored nails, the pink quick should be visible through the shell. Your goal is to cut at least 2-3 millimeters away from it. For dark or black nails, this is impossible. You must rely on identifying the nail’s anatomy from the cut surface.
- Adopt the ‘Sliver by Sliver’ Method: Do not attempt to lop off a large chunk of nail. This is the most common cause of quicking. Instead, trim a tiny sliver from the very tip of the nail. After the first sliver is removed, look at the cut surface of the nail.
- Read the Nail: On a black nail, the newly cut surface will initially look chalky and white or grayish. As you continue to take tiny slivers off, you will see a black dot begin to appear in the center of the cut surface. This is the beginning of the quick. Stop cutting when you see this dot. Going any further will result in pain and bleeding.
- Grind with Caution: If using a grinder, apply the same principle. Grind for only a second or two at a time to avoid heat buildup, which is uncomfortable. Constantly check the nail tip for the appearance of the tell-tale dot.
- One Nail is a Victory: For a very fearful dog, your goal for the first session might be trimming just one nail successfully. End on that positive note. Celebrate with treats and praise. You can do another nail the next day. The objective is quality over quantity. This builds a history of positive experiences, which is invaluable.
Emergency Protocol: How to Stop the Bleeding Calmly and Effectively
Even with the utmost care, you may one day cut the quick. Your reaction in this moment is critical. Panicking will only escalate your dog’s fear and anxiety, reinforcing their belief that nail trims are a terrifying ordeal.
Remember: A bleeding quick is not a veterinary emergency if handled correctly. It looks dramatic, but the bleeding is manageable with the right supplies and a calm mindset.
Step 1: Do Not Panic
Your dog will mirror your energy. Take a deep, steadying breath. Speak to your dog in a calm, reassuring voice. Frantic movements and a high-pitched, stressed voice will confirm their worst fears.
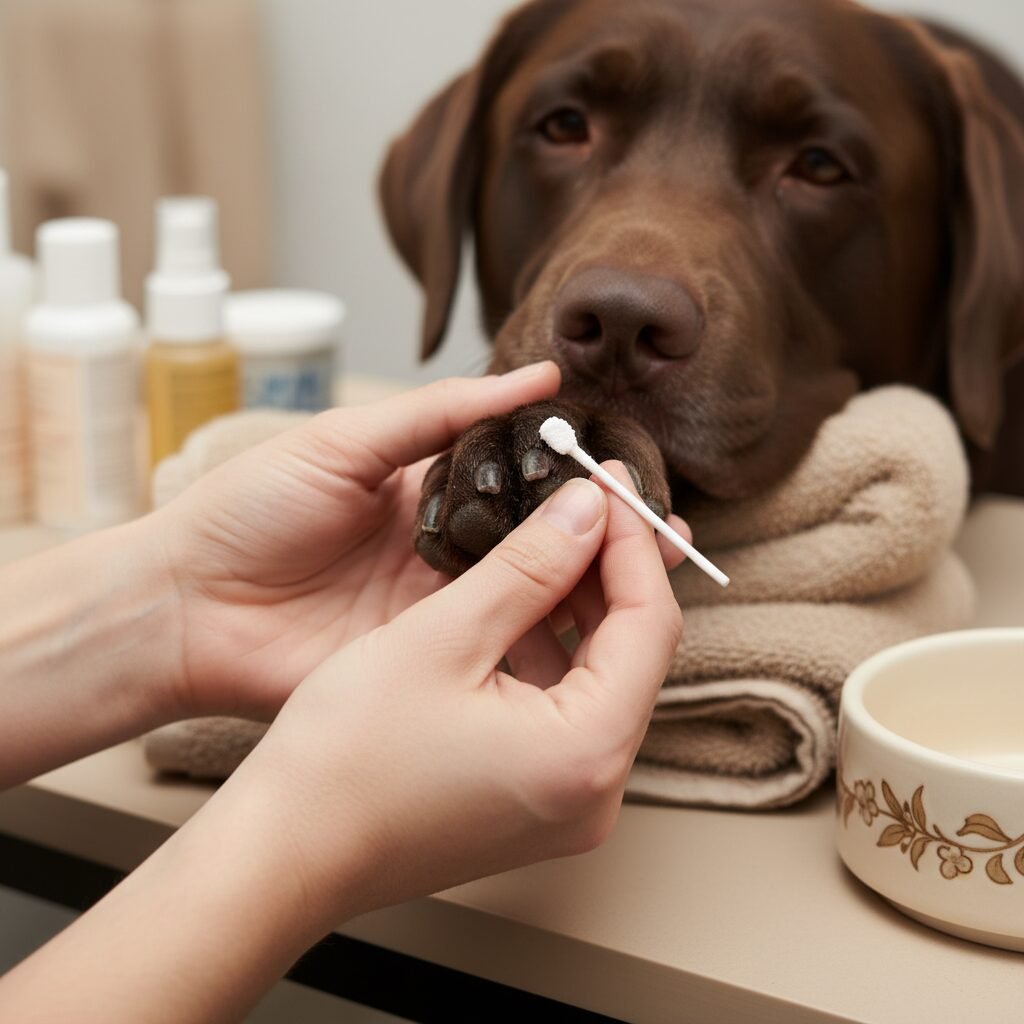
Step 2: Apply Styptic Powder
Take a small pinch of styptic powder or dip a cotton swab into the container. Press it firmly onto the tip of the bleeding nail and hold it there for 30-60 seconds. The powder will sting for a moment, so be prepared for your dog to flinch or pull away, but it is the fastest way to stop the bleeding. Do not wipe away the blood before applying the powder; the blood helps the powder to clot.
Step 3: Comfort and Conclude
Once the bleeding has stopped, offer your dog a very high-value treat and some gentle praise. It is crucial to attempt to end the experience on a neutral or positive note. For most dogs, it is best to end the grooming session for the day. Forcing them to continue will only create a stronger negative association. You can re-evaluate and try again in a day or two, perhaps starting again with the basic desensitization steps to rebuild confidence.
Conclusion
Transforming your dog’s nail trim experience is a testament to your patience and dedication as a pet owner. It is a process rooted in behavioral science, requiring a shift in perspective from a chore to be completed to a training opportunity to be embraced. By understanding the anatomy of the nail, investing in the proper tools, and meticulously following the protocols of desensitization and counter-conditioning, you are not just trimming nails—you are building a foundation of trust that will extend to all areas of your life together.
Remember that consistency and patience are your greatest assets. Every short, positive session chips away at old fears and builds new confidence. A single nicked quick does not erase your progress, provided you handle it with the calm competence you now possess. Move forward with the knowledge that you have the tools and the technique to provide your dog with safe, fear-free nail care for life.