Mess-Free DIY Paw Print Art Using Ingredients in Your Pantry
Capturing the essence of our canine companions is a goal for every devoted pet owner. We fill our phones with their photos and share their antics online, but a photograph can only tell part of the story. A paw print, however, is a tangible, unique signature—a direct impression of the animal who walks beside us. Many owners shy away from creating paw print art, envisioning a chaotic scene of spilled ink, stained fur, and a stressed-out dog. This is a valid concern when using commercial, chemical-based products.
This guide fundamentally changes that narrative. As a canine behaviorist and veterinary nutrition consultant, my approach prioritizes your dog’s physical safety and emotional well-being above all else. We will explore how to transform common, pantry-safe ingredients into vibrant, non-toxic ‘inks’ for your art projects. More importantly, we will detail the process of turning this activity into a positive, enriching experience through cooperative care techniques. Forget the mess and the worry; it’s time to create a beautiful keepsake that truly represents the joyful bond you share with your dog.
The Unwavering Importance of Pet Safety in Crafting
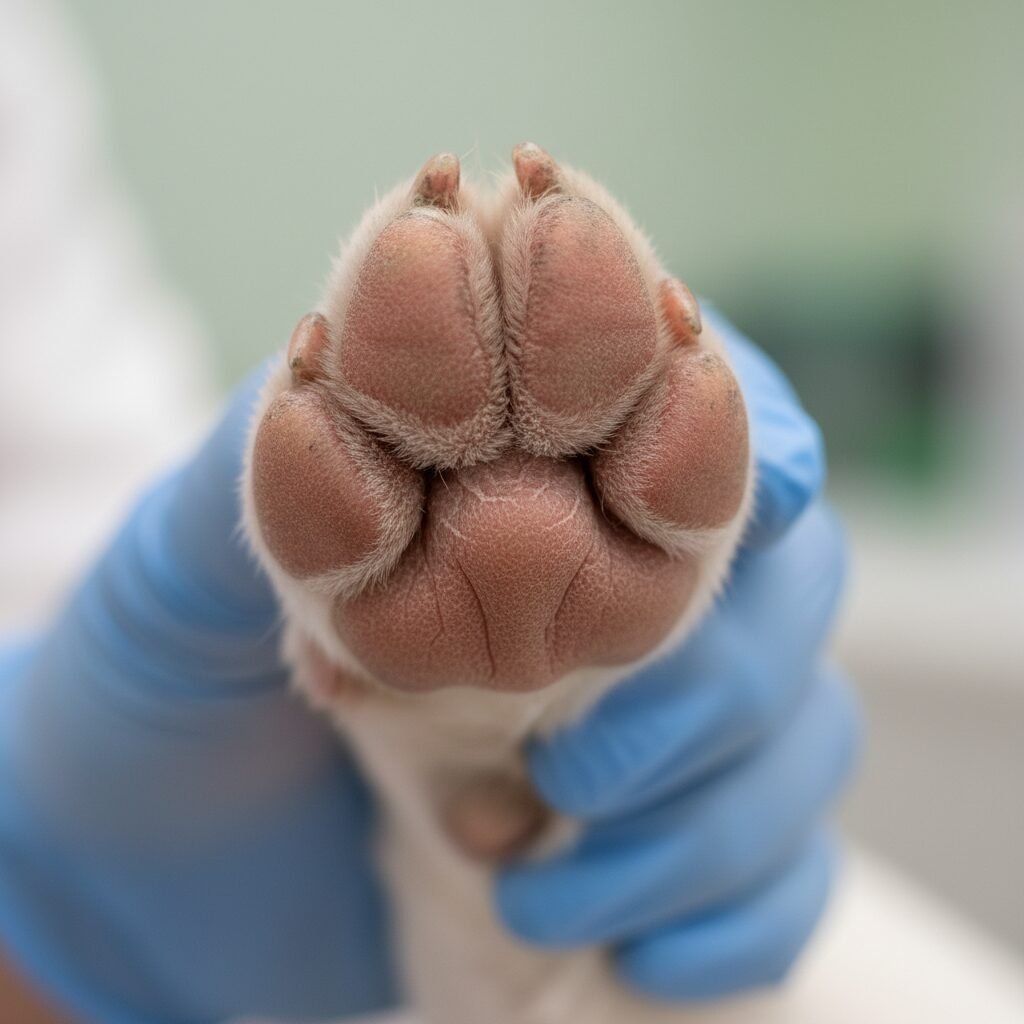
Before we delve into the creative aspects, we must establish a non-negotiable foundation: safety. A dog’s paws are not just for walking; they are complex structures with sensitive pads that absorb pressure and provide traction. The skin here is permeable, and anything applied to it can be absorbed into the bloodstream. Furthermore, dogs are meticulous groomers. Whatever you put on their paws will inevitably be licked off and ingested. This is why using standard craft supplies like acrylic paints, ink pads, or markers is unequivocally dangerous.
Many of these products contain volatile organic compounds (VOCs), heavy metals, or chemical solvents that can cause severe skin irritation, allergic reactions, or internal toxicity if ingested. Even products labeled ‘non-toxic’ are typically rated for human children, who are not expected to lick an entire paint-covered hand. For our canine companions, the standard for safety must be far higher—it must be food-grade.
Ingredients to Strictly Avoid
When considering ingredients, even from the kitchen, vigilance is key. Never use any product containing the following, as they are toxic to dogs:
- Xylitol: This artificial sweetener is extremely toxic to dogs, causing a rapid insulin release and potentially fatal hypoglycemia. It’s often found in sugar-free peanut butter, yogurts, and puddings.
- Chocolate or Cocoa Powder: Both contain theobromine, which is poisonous to dogs. Use carob powder as a safe alternative for a brown color.
- Onion or Garlic Powder: These can damage a dog’s red blood cells, leading to anemia.
- Certain Food Dyes: While some are safe in small amounts, it’s best to rely on natural colorants from whole foods to eliminate any risk.
By choosing to create your own ‘ink’ from simple, edible ingredients, you are not just making a craft; you are upholding your responsibility as a diligent and caring guardian for your pet’s health.
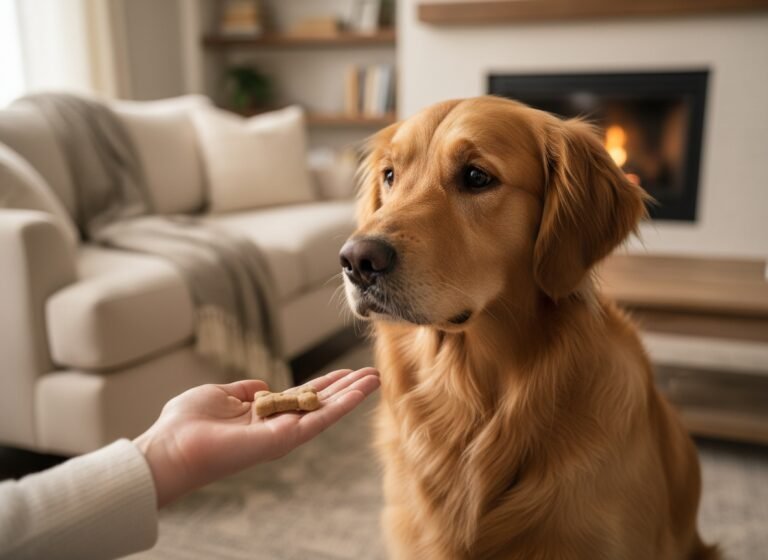
Preparing Your Canine Artist for a Positive Experience
A successful and mess-free art session is 90% preparation and 10% execution. The goal is to make the experience feel like a fun training game, not a stressful veterinary procedure. This requires understanding canine body language and using the principles of positive reinforcement.
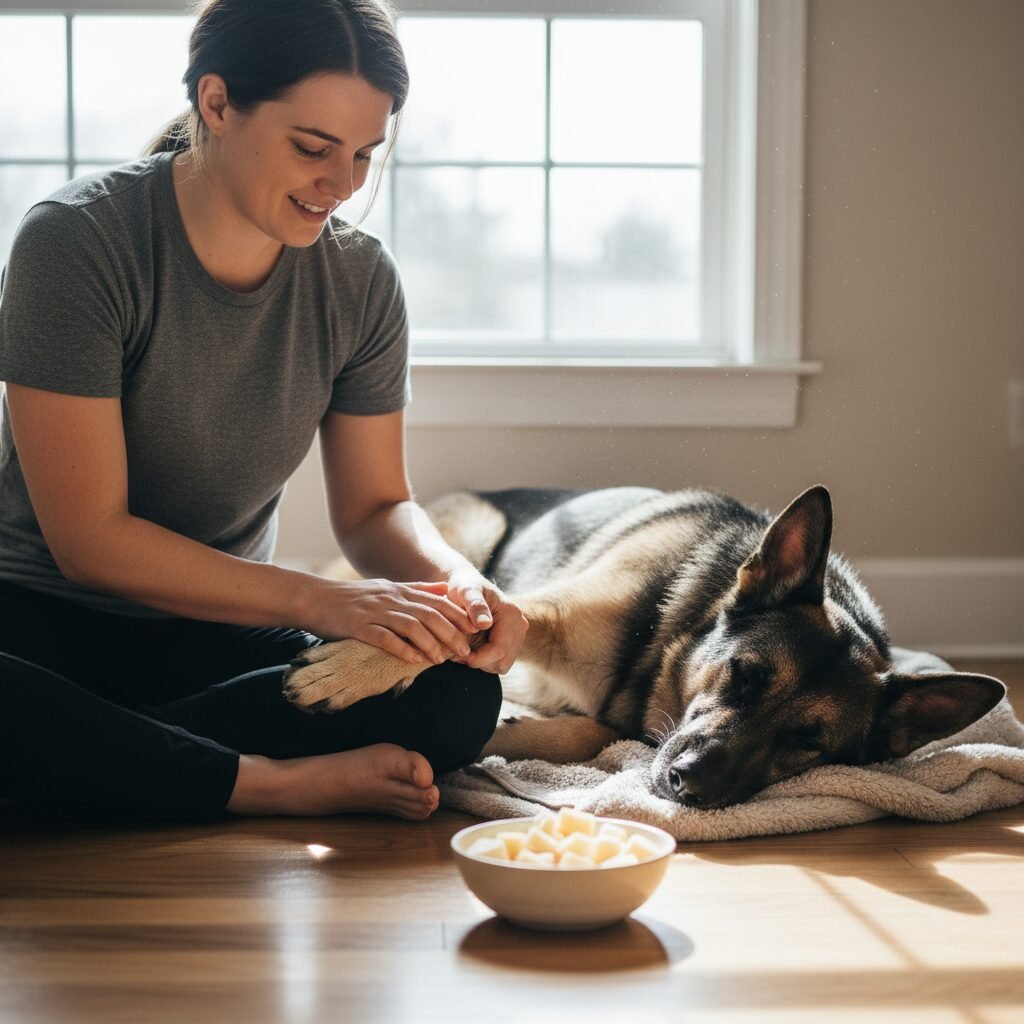
Handling Desensitization and Cooperative Care
Many dogs are sensitive about having their paws touched. Forcing the issue will only create a negative association. Instead, practice cooperative care. Over several days leading up to your art project, engage in short, happy sessions of paw handling. Gently touch a paw for one second, then give a high-value treat. Gradually increase the duration. If your dog shows signs of stress—such as pulling their paw away, showing the whites of their eyes (whale eye), licking their lips, or pinning their ears back—you are moving too fast. Go back a step and keep the sessions shorter. The dog should always have the option to withdraw. This builds immense trust and makes activities like this, and nail trims, much easier.
Setting the Stage for Success
Your environment plays a critical role. Choose a time when your dog is naturally calm, perhaps after a long walk or a meal. Select a well-lit room with a non-slip floor. Lay down an old towel or sheet, not because our method is messy, but to define the ‘art studio’ space for your dog. Have all your supplies organized and within your reach before you bring your dog into the area. Fumbling for paper while trying to hold a paw is a recipe for failure.
Gathering Your Supplies
- Your chosen ‘ink’ ingredients: See the recipes in the next section.
- Sturdy paper: Cardstock, watercolor paper, or a canvas board work best.
- A shallow dish: For holding the ‘ink’. A plate or a small tray is ideal.
- Pet-safe grooming wipes or a damp cloth: For immediate clean-up.
- A shallow tray of clean water: For a final rinse.
- A dry towel: For drying the paw.
- High-value treats: Small pieces of chicken, cheese, or their absolute favorite training reward.
The Mess-Free, Pet-Safe ‘Ink’ Recipes
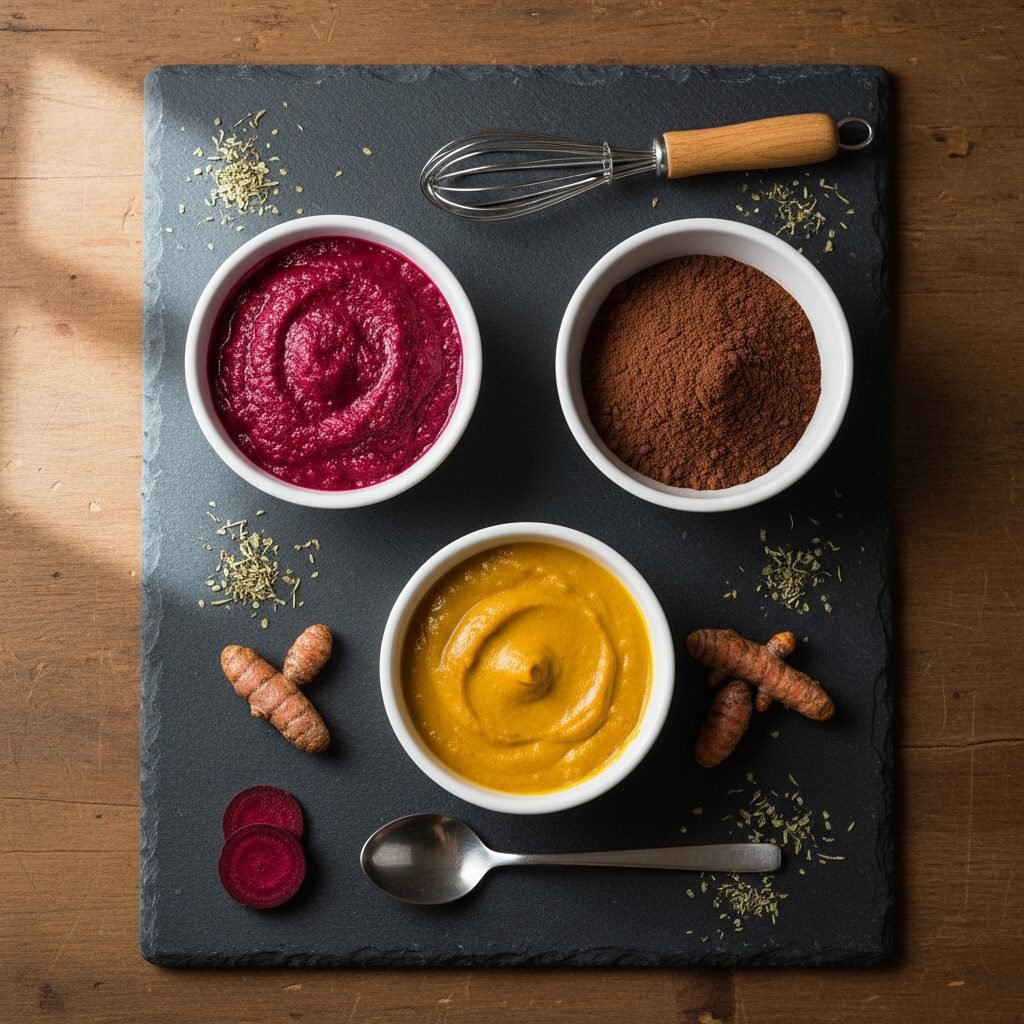
The heart of this project lies in creating a stamping medium that is both vibrant and completely safe. The ideal consistency is similar to a thick yogurt or paste—thick enough to adhere to the paw pad without dripping, yet wet enough to leave a clear impression. Always mix in a small, non-porous bowl and adjust with tiny amounts of water or flour until the texture is perfect. All of these recipes are not only safe if licked but can also be a nutritious little snack.
| Color | Primary Ingredient | Mixing Agent (Optional) | Notes |
|---|---|---|---|
| Deep Red / Pink | 1 tbsp Beetroot Powder or Puree | 1 tsp plain, unsweetened yogurt or water | Beetroot creates a stunningly vibrant color. It is a natural dye, so it may temporarily stain very light-colored fur, but it is harmless. |
| Rich Brown | 1 tbsp Organic Carob Powder | 1-2 tsp water or plain, unsweetened applesauce | Carob is the perfect safe substitute for chocolate. It produces a deep, earthy brown print. |
| Golden Yellow | 1 tbsp Turmeric Powder | 1-2 tsp water or plain, unsweetened yogurt | Turmeric is known for its anti-inflammatory properties. The paste should be thick to get a strong color transfer. |
| Deep Blue / Purple | 1 tbsp Mashed Blackberries or Blueberries | 1/2 tsp cornstarch or rice flour to thicken | Crush the berries thoroughly to create a pulp. The natural juices provide a beautiful, dark color. |
| Green | 1 tbsp Spirulina Powder | 1-2 tsp water | Spirulina is a nutrient-dense algae that creates a deep, dark green. It has a strong smell, so ensure your dog is amenable to it first. |
Always introduce new foods to your dog in small quantities. While these ingredients are safe, an individual dog could have a sensitivity. A tiny taste test before you begin the project is a prudent measure.
The Step-by-Step Stamping Process
With your dog calm and your supplies ready, you can now proceed with the stamping itself. Move with calm, deliberate confidence. Your dog will take cues from your energy. Remember, this is a fun game. Keep the session short, aiming for one or two good prints rather than pushing a stressed dog for a dozen mediocre ones.
- Prepare the ‘Ink’ and Paper: Mix your chosen recipe to the ideal paste-like consistency. Place it in your shallow dish. Lay your piece of cardstock on a hard, flat surface like a clipboard or directly on the floor.
- Prepare the Paw: If your dog has long fur growing between their paw pads (common in breeds like Poodles or Doodles), carefully trim it so it is flush with the pads. This creates a much cleaner, more defined print.
- Position Your Dog: Ask your dog for a comfortable ‘down’ or ‘sit’ on the prepared towel. If they are more comfortable standing, that is also acceptable. Reward them for settling.
- Apply the Mixture: Using your finger or a small, soft food brush (like a pastry brush), apply a thin, even layer of the mixture to all the pads of one front paw. Avoid getting too much between the toes.
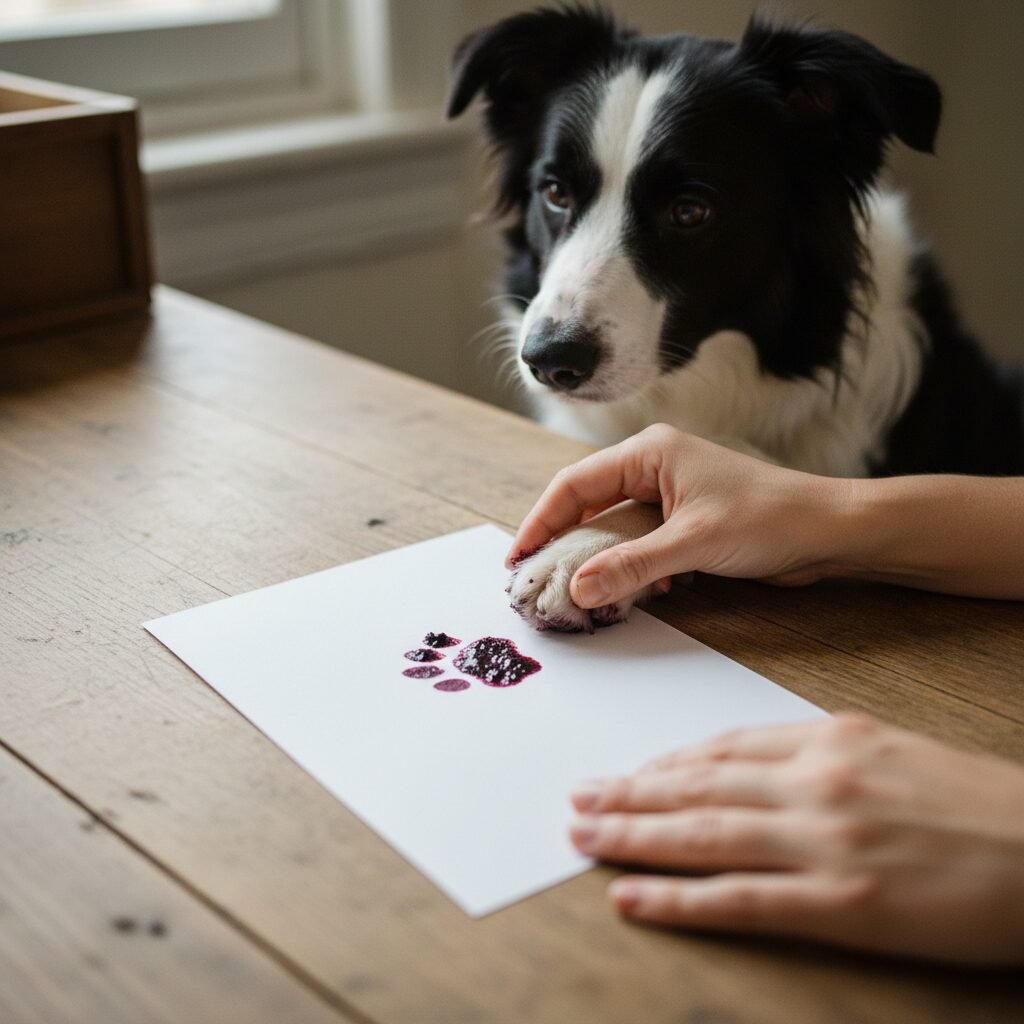
- Make the Print: Place the paper-on-clipboard directly in front of the coated paw. Gently take hold of your dog’s leg just above the paw. Guide the paw straight down onto the paper with firm, even pressure for about two to three seconds.
- Lift and Release: Lift the paw straight up to avoid smudging the print. This is the most critical movement for a clean impression.
- Immediate Clean-Up: Before your dog has a chance to walk away, use a pet-safe wipe or damp cloth to wipe the majority of the mixture off their paw. Guide their paw into the shallow water tray for a final rinse, then pat dry with the towel.
- Reward Generously: The moment the paw is clean and dry, provide a jackpot reward! Shower your dog with praise, pets, and several high-value treats. This reinforces the positive association with the entire process.
- Let it Dry: Place the print in a safe location to dry completely. Depending on the thickness of the mixture, this can take several hours.
- Assess and Repeat (If Necessary): Evaluate your dog’s demeanor. Are they still relaxed and happy? If so, you can attempt another print with a different paw. If they seem stressed or antsy, end the session on a positive note. You can always try again another day.
Clean-Up: The ‘Mess-Free’ Promise Delivered
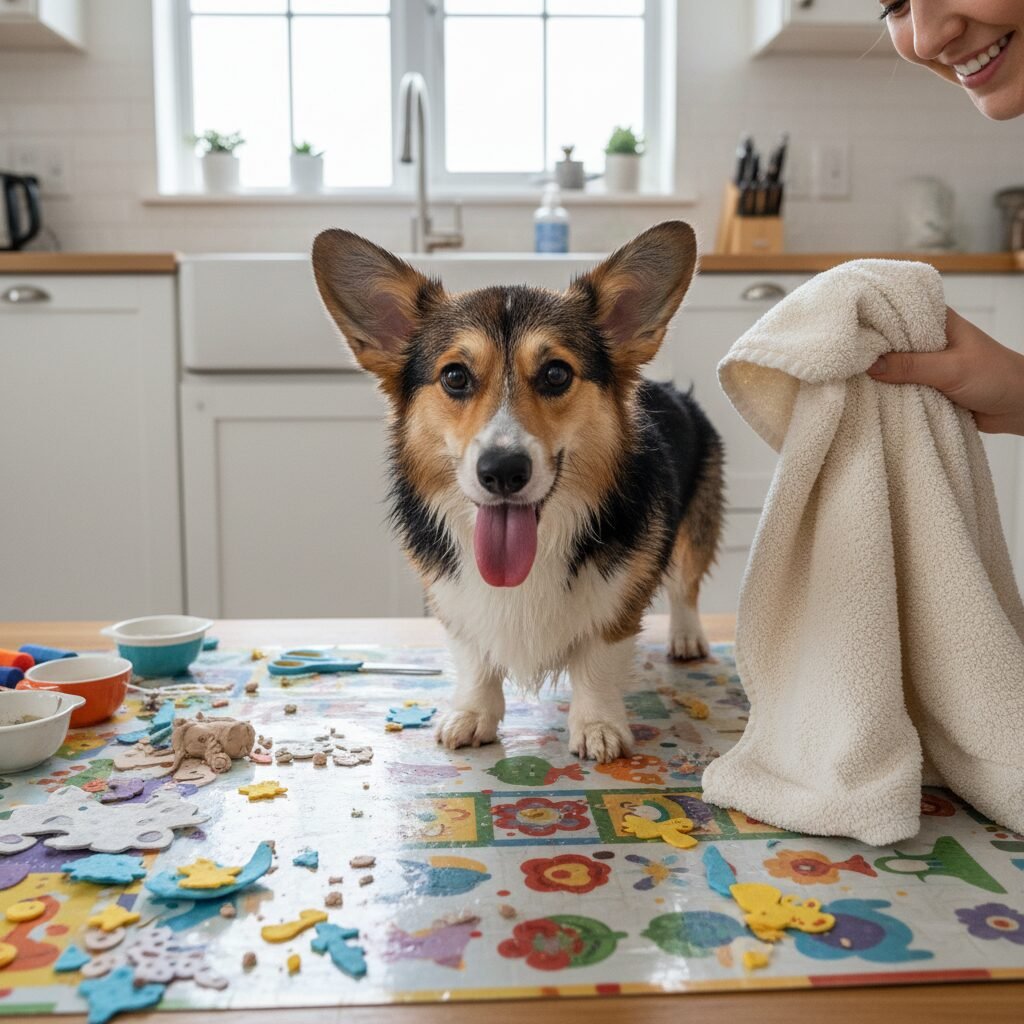
The true beauty of using food-based ingredients is the simplicity of the clean-up. There is no need for harsh soaps or chemical removers that can dry out your dog’s paw pads. The process is quick, easy, and completely stress-free.
The immediate wipe-down and rinse detailed in the previous section should remove nearly all of the mixture from your dog’s paw. Because the ‘ink’ is essentially food, any small residue that remains is perfectly safe for your dog to lick clean—in fact, they will likely enjoy the process! This stands in stark contrast to the frantic scrubbing required to remove traditional ink or paint, which often involves chemicals and creates a negative, stressful experience for the pet.
For any mixture that may have gotten on the floor or your hands, a simple wipe with a damp cloth is all that’s needed. There are no permanent stains to worry about. The towel you laid down will catch any minor drips, and it can be tossed directly into the washing machine. By preparing your station and using these edible recipes, you honor the promise of a mess-free activity, allowing you to focus on the joy of creation with your pet rather than dreading the aftermath.
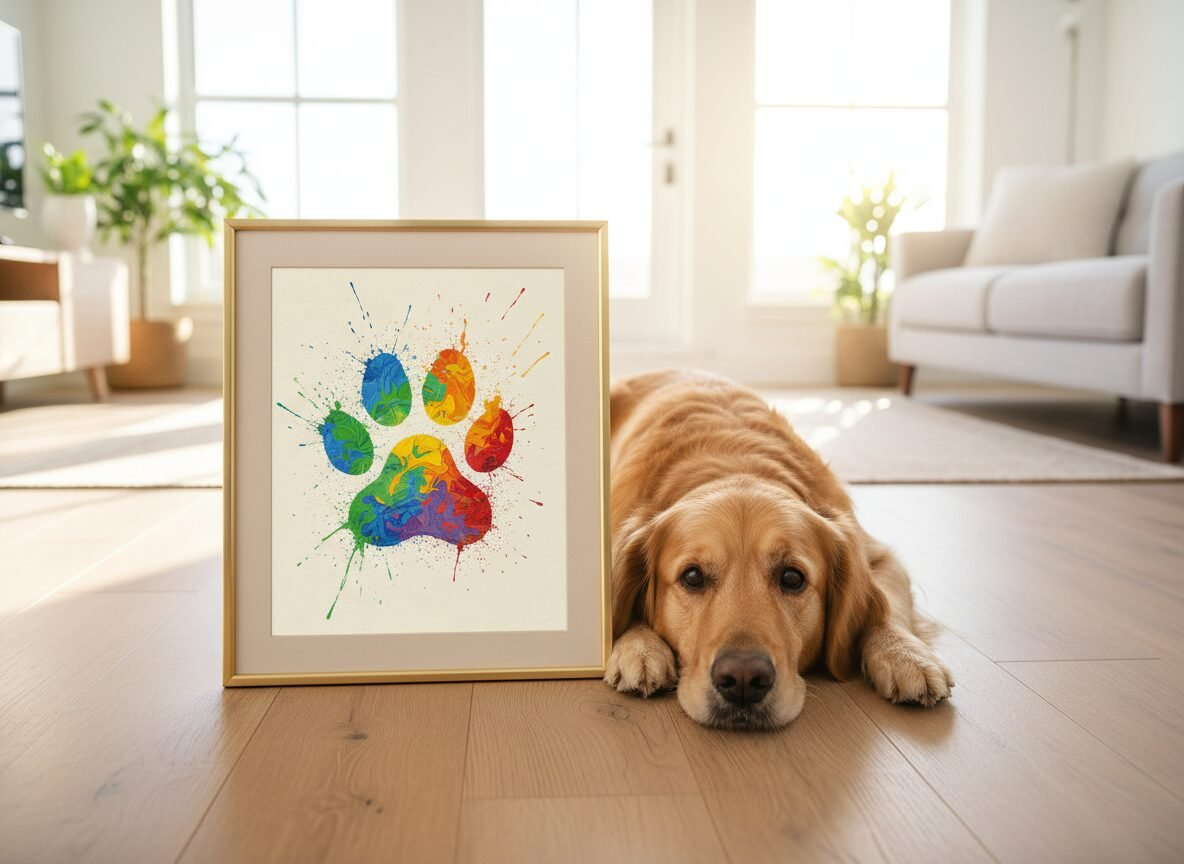
Transforming Paw Prints into Priceless Art
Once your paw print is completely dry, the second phase of your creative journey begins. A simple, elegant paw print is a beautiful statement on its own, but it can also serve as the foundation for more elaborate and personalized works of art. This is your opportunity to infuse the piece with personality and meaning.
Creative Embellishment Ideas:
- Floral Bouquets: Use fine-tipped, acid-free markers to draw stems and leaves extending down from each paw print, transforming them into a vibrant bunch of flowers.
- Holiday-Themed Crafts: A brown paw print can easily become a reindeer by adding antlers and a red nose. A white print on dark paper can be a ghost for Halloween. Four prints arranged in a circle can form a lucky four-leaf clover.
- The Paw-trait: Frame a single, perfect print. Below it, you can write your dog’s name, their date of birth or adoption day, and the date the print was made. This creates a timeless, minimalist keepsake.
- Custom Stationery: Scan the high-quality print into your computer. You can then use this digital version to design custom greeting cards, gift tags, or notepads, sharing your dog’s unique signature with friends and family.
- A Family ‘Tree’: Create a piece of art that includes the handprints of the human family members and the paw prints of the pets. It serves as a beautiful representation of your entire family unit.
Whatever you choose to create, you will have more than just a piece of art. You will have a tangible memory of a positive, collaborative experience with your canine companion. It is a story captured not just in form, but in the safe, loving, and respectful method of its creation.
Conclusion
Creating a piece of paw print art is a profound way to celebrate the unique mark your dog leaves on your life. By prioritizing safety with pantry-fresh ingredients and focusing on a positive, trust-building experience, you elevate a simple craft into a meaningful act of bonding. You have learned not only how to make the ‘ink’ and capture the print, but how to do so in a way that respects your dog’s comfort and strengthens your relationship. The final product is more than just an image; it is a testament to a partnership built on care, patience, and mutual understanding. This keepsake, created with love and expertise, will be a cherished reminder of your companion for years to come.