Save Money on Groomers: How to Make a DIY Dog Grooming Hammock
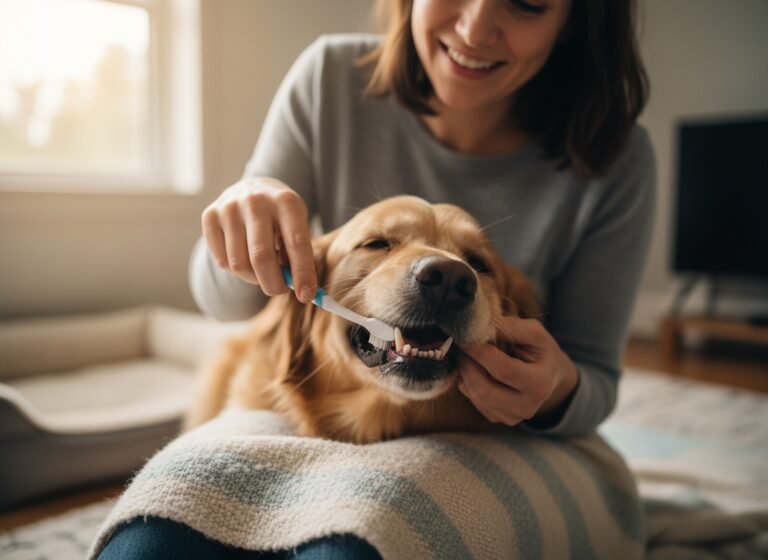
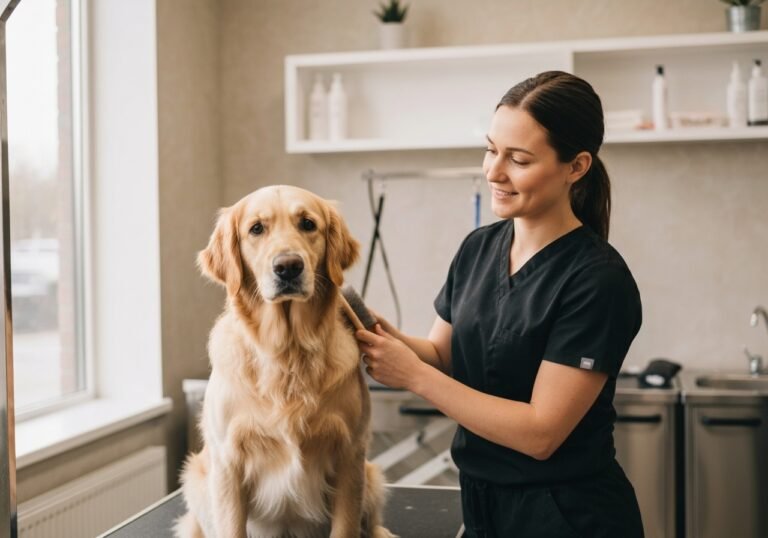
The costs associated with professional dog grooming can accumulate quickly, becoming a substantial part of any pet owner’s budget. From nail trims to full haircuts, these services are essential but often pricey. For owners of dogs who experience anxiety at the groomer’s, the process can be stressful for both pet and parent. Fortunately, a practical and cost-effective solution exists for many routine grooming tasks: the dog grooming hammock.
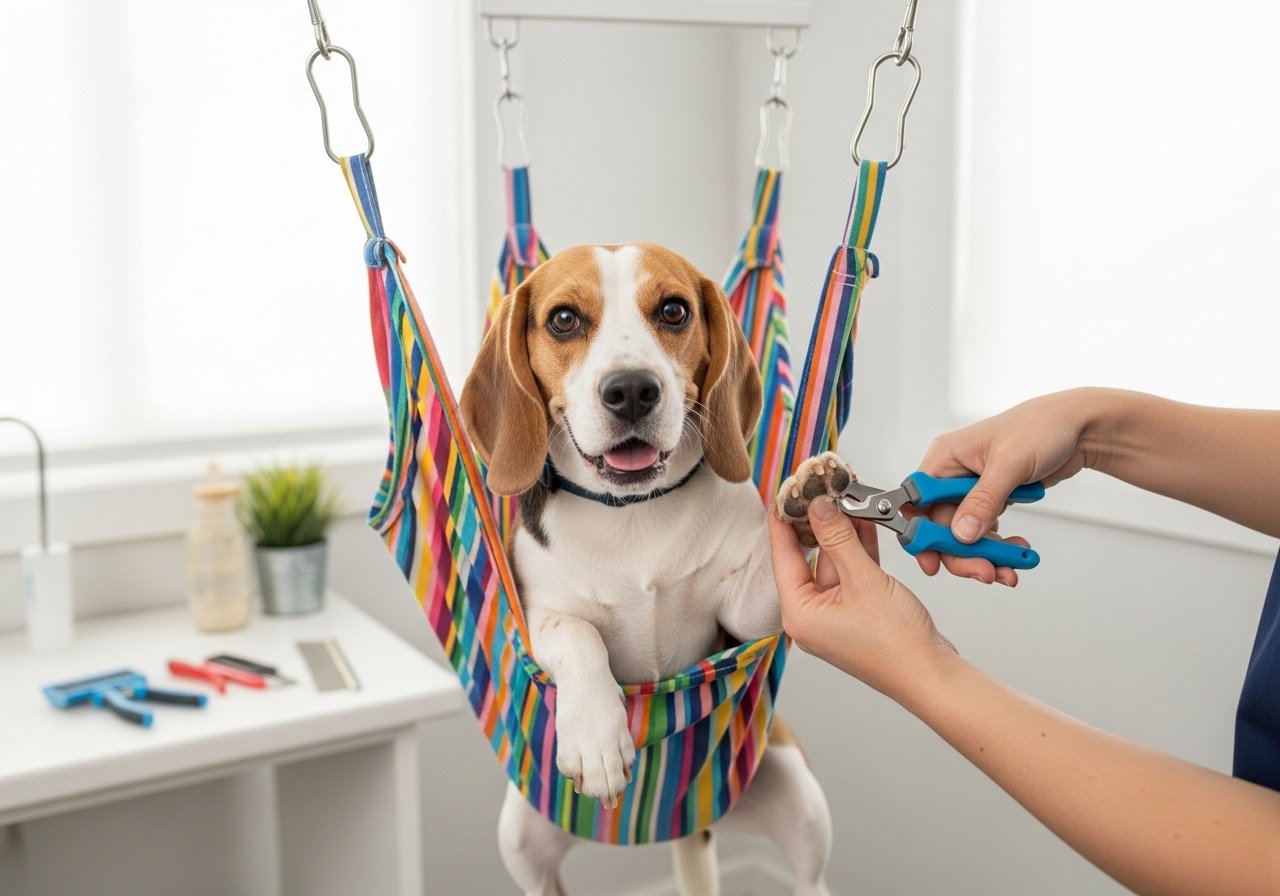
A grooming hammock, also known as a grooming sling, is a device designed to comfortably and securely suspend a dog, limiting their movement and making tasks like nail clipping, ear cleaning, and trimming paw fur significantly easier and safer. This article provides a comprehensive, step-by-step guide for creating your own durable and reliable DIY dog grooming hammock. By investing a small amount of time and materials, you can save a considerable amount of money and create a more controlled, familiar grooming environment for your beloved companion.
Understanding the Purpose and Safety of a Grooming Hammock
Understanding the Purpose and Safety of a Grooming Hammock
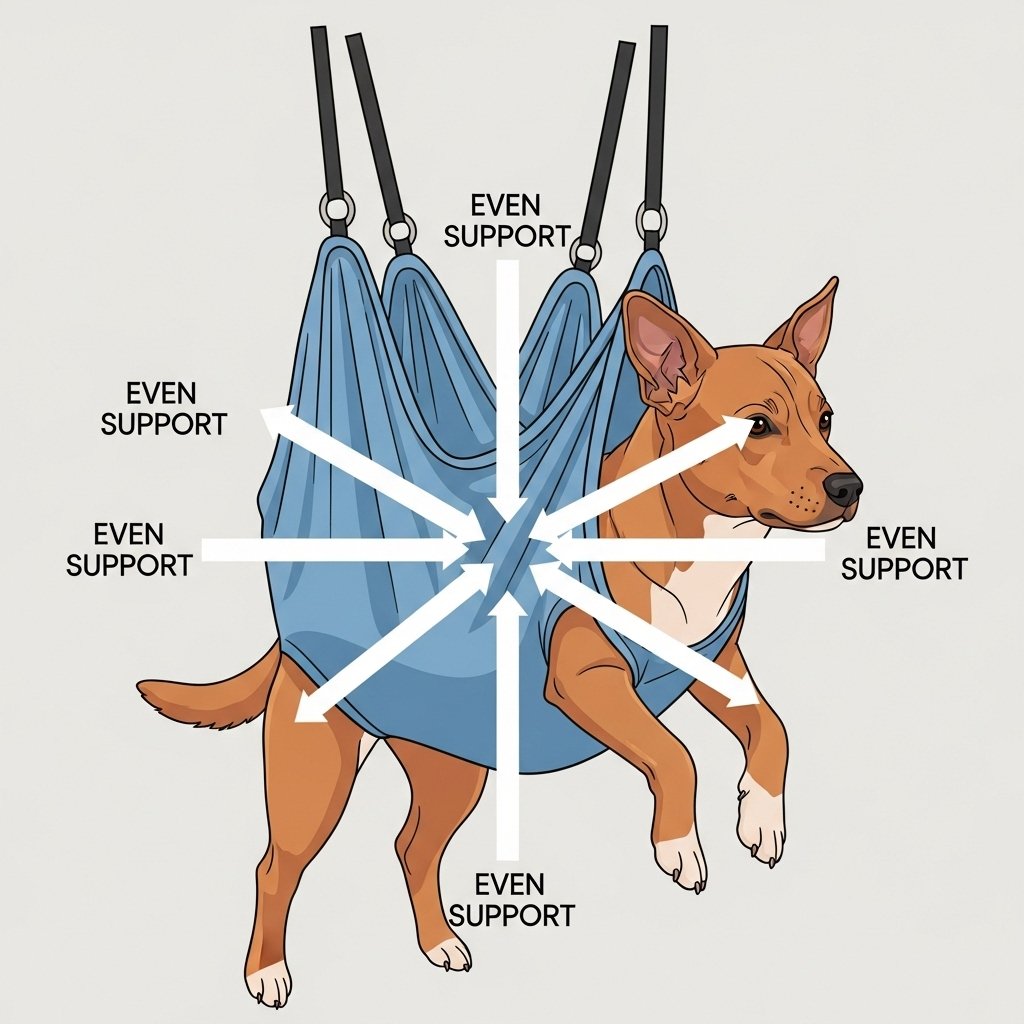
Before embarking on this DIY project, it is crucial to understand how a grooming hammock functions and to prioritize the safety of your pet above all else. A grooming hammock works by distributing the dog’s weight evenly across its torso, gently lifting it off the ground. This suspension can have a calming, swaddling effect on many dogs, reducing their tendency to squirm or resist grooming procedures. It provides clear access to their paws, underside, and ears while keeping them stationary.
Key Safety Considerations:
- Structural Integrity: The hammock must be constructed from non-stretch, high-strength materials capable of supporting your dog’s full weight without risk of tearing or failure. The anchor point from which it is hung must be equally robust.
- Proper Fit: A hammock that is too loose can allow a dog to wiggle out, while one that is too tight can cause discomfort or restrict breathing. Accurate measurements are non-negotiable.
- Constant Supervision: Never leave a dog unattended in a grooming hammock, even for a moment. This is a tool for active grooming, not a crate or holding pen.
- Suitability: Grooming hammocks are generally best for small to medium-sized dogs. For very large or giant breeds, the logistics of safely suspending their weight can be prohibitive. Furthermore, dogs with pre-existing conditions such as spinal problems, joint issues, or respiratory difficulties should not be placed in a hammock without explicit veterinary approval.
Expert Tip: The primary goal of a grooming hammock is to create a safe and controlled environment. If at any point your dog shows signs of extreme distress, panic, or physical discomfort, cease the session immediately. Safety and your dog’s well-being are always the top priorities.
Essential Materials and Tools for Your DIY Project
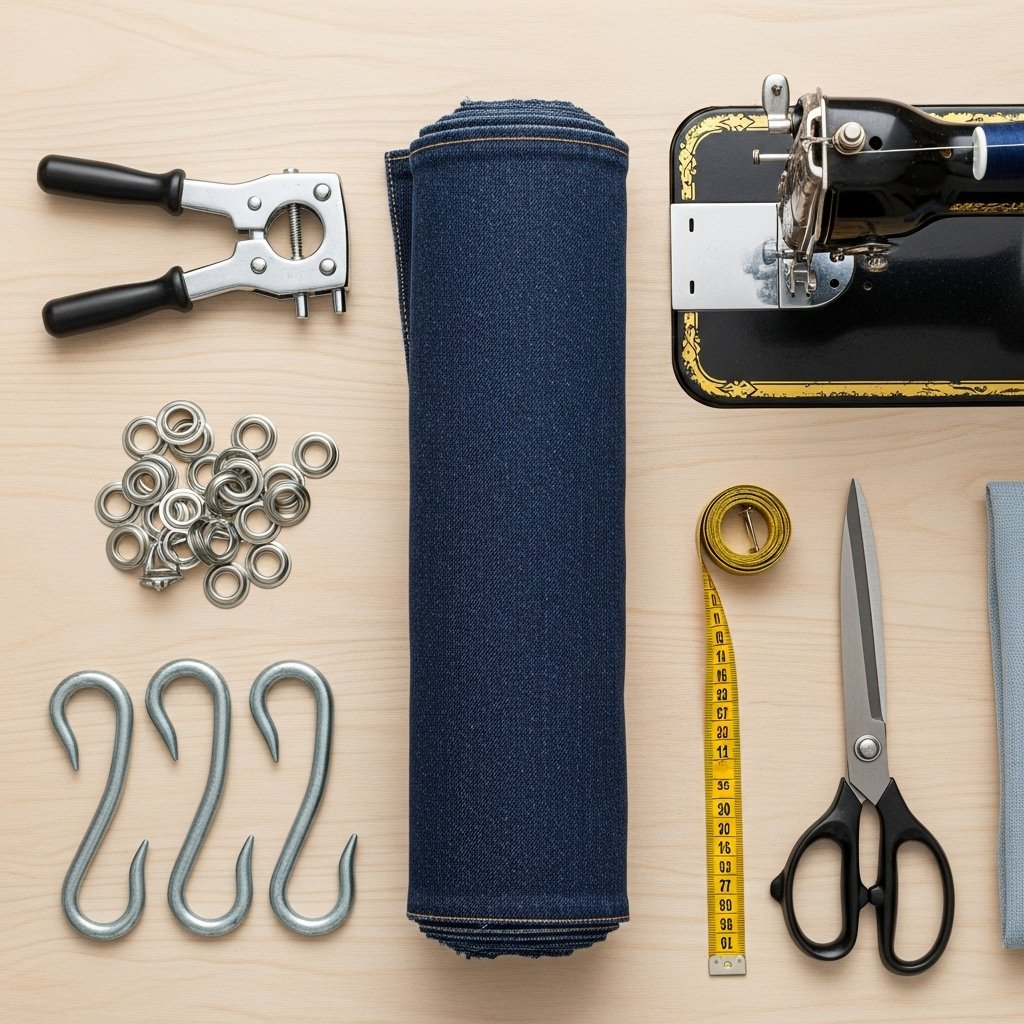
Essential Materials and Tools for Your DIY Project
Gathering the right materials is the first step toward building a secure and long-lasting grooming hammock. Opt for quality and strength over aesthetics; the durability of your components directly impacts your pet’s safety.
Required Materials:
- Fabric: Choose a heavy-duty, non-stretch fabric. Excellent options include heavyweight canvas, sturdy denim, Cordura, or durable upholstery fabric. You will need a piece large enough to be folded into a double layer for maximum strength.
- Reinforcement Hardware: You will need a way to create strong attachment points at the four corners. The best options are:
- Metal Grommets: Size #2 (3/8 inch) or larger, along with the corresponding installation tool.
- D-Rings: Heavy-duty, welded metal D-rings (1-inch or larger) sewn on with reinforced webbing.
- Webbing (Optional but Recommended): If using D-rings, you will need 1-inch nylon or polypropylene webbing to create secure loops.
- Hanging Hardware: Four heavy-duty S-hooks or climbing-grade carabiners to connect the hammock to your suspension point.
- Strong Thread: Use heavy-duty or upholstery-grade thread that will not snap under tension.
Required Tools:
- Sewing Machine (with a heavy-duty needle, size 16 or 18)
- Fabric Scissors or a Rotary Cutter
- Flexible Measuring Tape
- Fabric Marker or Chalk
- Grommet Installation Kit (if using grommets)
- Lighter or Fray Check (to seal ends of nylon webbing)
Step-by-Step Construction: Crafting the Hammock
Step-by-Step Construction: Crafting the Hammock
With your materials gathered, you can now begin the construction process. Work slowly and methodically, double-checking your measurements and stitches for maximum security.
- Measure Your Dog and Determine Dimensions: The hammock’s size is critical for a safe fit. Take two key measurements: (A) the distance from the inside of the front legs to the inside of the back legs, and (B) the circumference of the thickest part of your dog’s chest. The fabric rectangle should be approximately 4-6 inches wider than measurement A, and its length should be about 75% of measurement B. Remember, you will be folding this piece in half to create a double layer.
- Cut and Prepare the Fabric: Cut your fabric to the calculated dimensions. For example, if your final double-layer piece needs to be 20×15 inches, you will cut a single piece that is 20×30 inches. Fold it in half to create the 20×15 double-layered piece.
- Sew the Main Body: Pin the folded fabric together and sew along the three open sides, leaving a small turning gap. Turn the piece right-side out through the gap, press it flat, and then topstitch all four sides for a clean, reinforced edge. This encloses all raw edges and creates a strong, two-ply hammock body.
- Mark and Cut Leg Holes: Lay the hammock flat. Based on measurement A (the distance between front and back legs), mark the center points for the four leg holes. The holes should be positioned to allow your dog’s legs to hang through naturally. Start by cutting small circular holes—you can always make them larger if needed. A diameter of 2-4 inches is typical, depending on the dog’s size.
- Reinforce the Leg Holes: The edges of the leg holes are a potential stress point. Finish them neatly and strongly by sewing bias tape around the raw edges or by using a tight, wide zigzag stitch on your sewing machine.
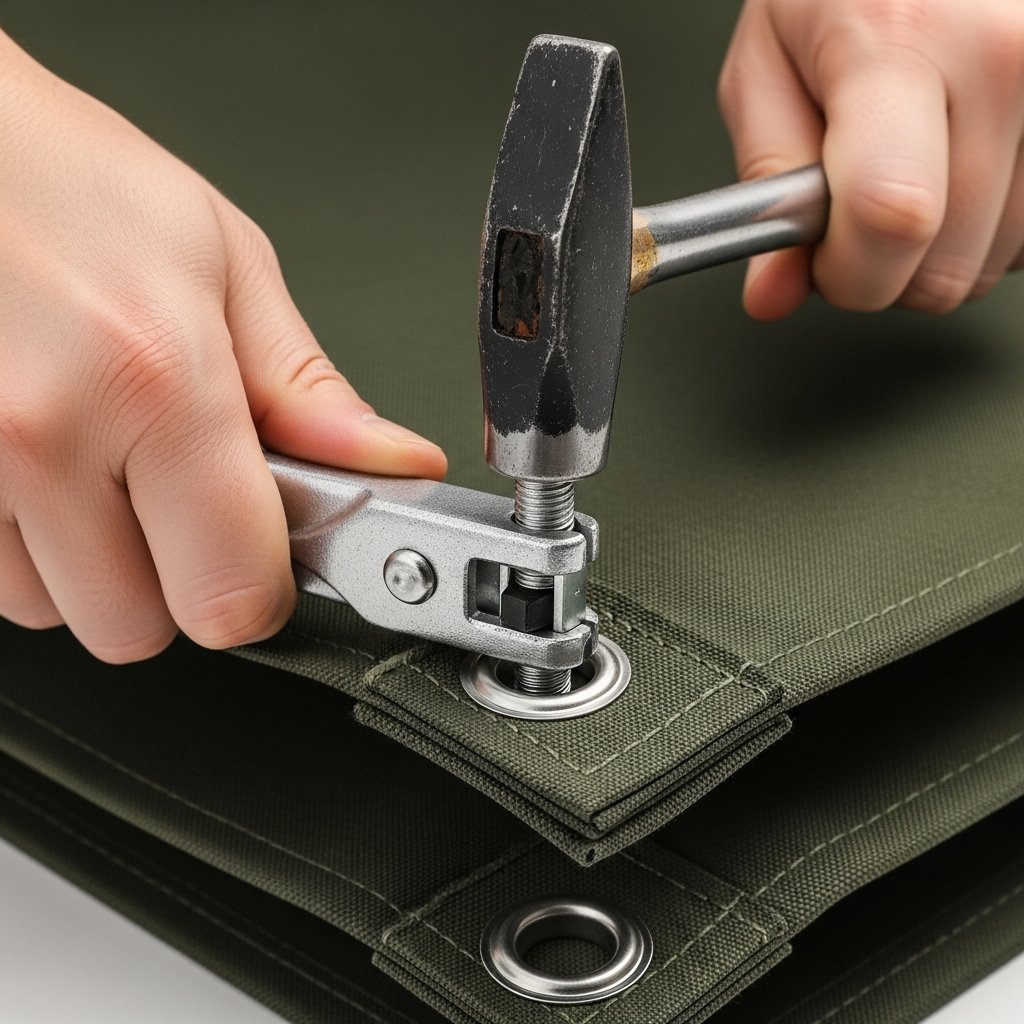
- Install Corner Hardware: This is the most critical step for safety.
- For Grommets: Mark a spot approximately 1-1.5 inches in from each of the four corners. Use your grommet kit to punch a hole and securely install the metal grommets according to the manufacturer’s instructions.
- For D-Rings: Cut four pieces of nylon webbing, each about 6 inches long. Singe the ends with a lighter to prevent fraying. Fold each piece in half through a D-ring. Place this loop at a corner of the hammock and sew it down securely using a box stitch (a square with an ‘X’ inside) for maximum strength.
| Dog Size (Weight) | Approx. Hammock Dimensions (L x W) | Suggested Leg Hole Diameter |
|---|---|---|
| Small (Under 20 lbs) | 18″ x 10″ | 2″ – 2.5″ |
| Medium (20-50 lbs) | 24″ x 14″ | 3″ – 3.5″ |
| Large (50-80 lbs) | 30″ x 18″ | 4″ – 4.5″ |
Safe Installation and Introducing Your Dog to the Hammock
Safe Installation and Introducing Your Dog to the Hammock
A perfectly constructed hammock is useless without a secure installation point and a patient introduction process. Rushing either of these steps can lead to accidents or create a negative association for your dog.
Secure Installation:
The anchor point must be unquestionably stable. Do not use shower curtain rods, door knobs, or any fixture not designed to bear significant, dynamic weight.
- Ceiling Joist: The most secure option is to install a heavy-duty, closed-loop eye hook directly into a ceiling joist. Use a stud finder to locate the joist.
- Sturdy Doorway Pull-Up Bar: A high-quality, securely mounted pull-up bar can serve as an excellent anchor point.
- Grooming Arm: If you have a grooming table, a sturdy, professional-grade grooming arm can be used to hang the hammock.
Before ever putting your dog in the hammock, test the setup with a weight greater than your dog’s (e.g., a bag of sand, weights from a home gym). Pull on it firmly to ensure it is completely secure.
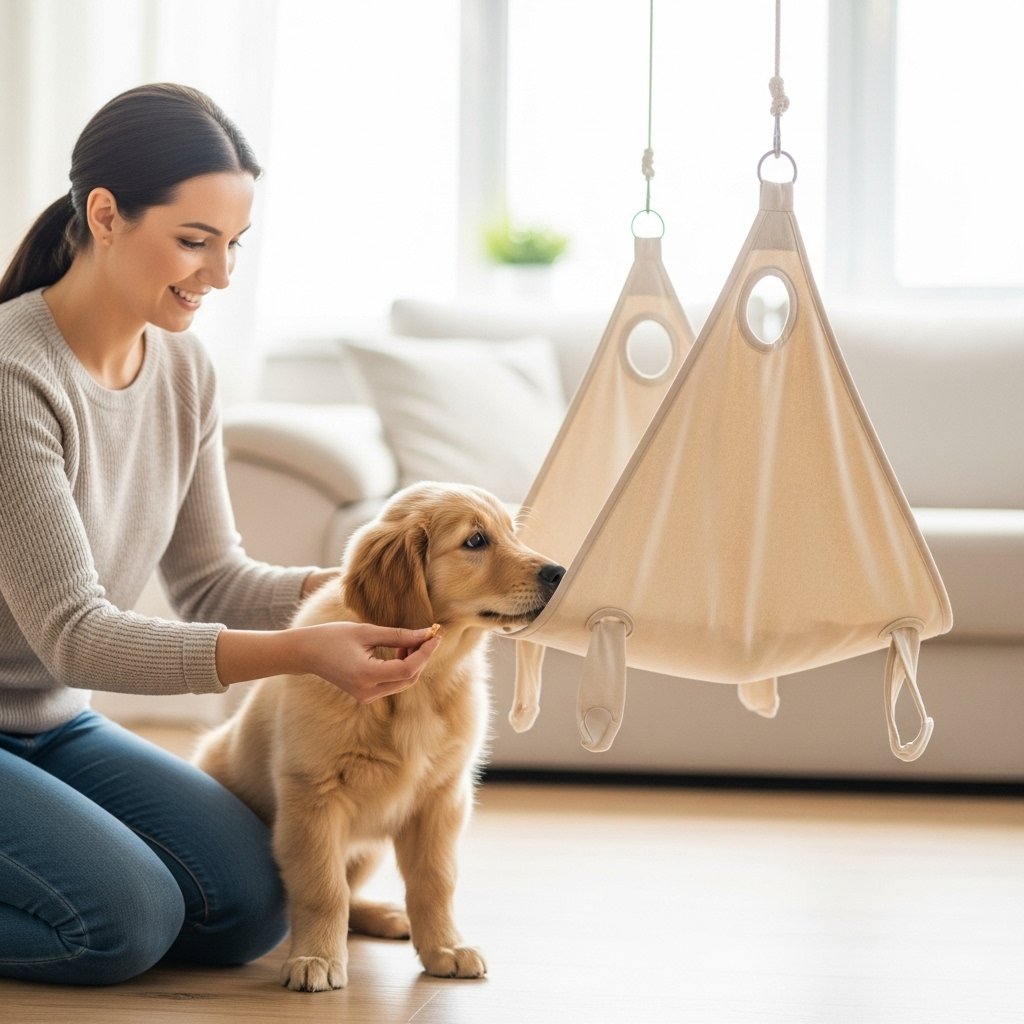
Positive Introduction and Acclimation:
The goal is for your dog to view the hammock as a calm, rewarding place. This requires patience and positive reinforcement.
- Familiarization: Lay the completed hammock on the floor. Let your dog sniff and explore it at their own pace. Sprinkle high-value treats on it to build a positive association.
- Paw Placement: With a helper, gently lift your dog and place their paws through the correct holes for just a second or two while they are still supported by your helper. Immediately reward with praise and a treat, then put them down. Keep it brief and positive.
- Brief Lifts: Once your dog is comfortable with step 2, attach the hammock to its anchor point but keep it very low to the ground. Lift your dog into it so their feet are just barely off the floor. Support their body with your hands. Reward, praise, and then immediately take them out. Repeat this over several short sessions.
- Gradual Increase: Slowly increase the duration and height of the suspension over multiple sessions, always monitoring your dog for signs of stress (panting, yawning, whale eye). If they seem anxious, go back a step. The first few times in the hammock should be just for rewards, not for actual grooming.
Common Mistakes to Avoid and Grooming Tips
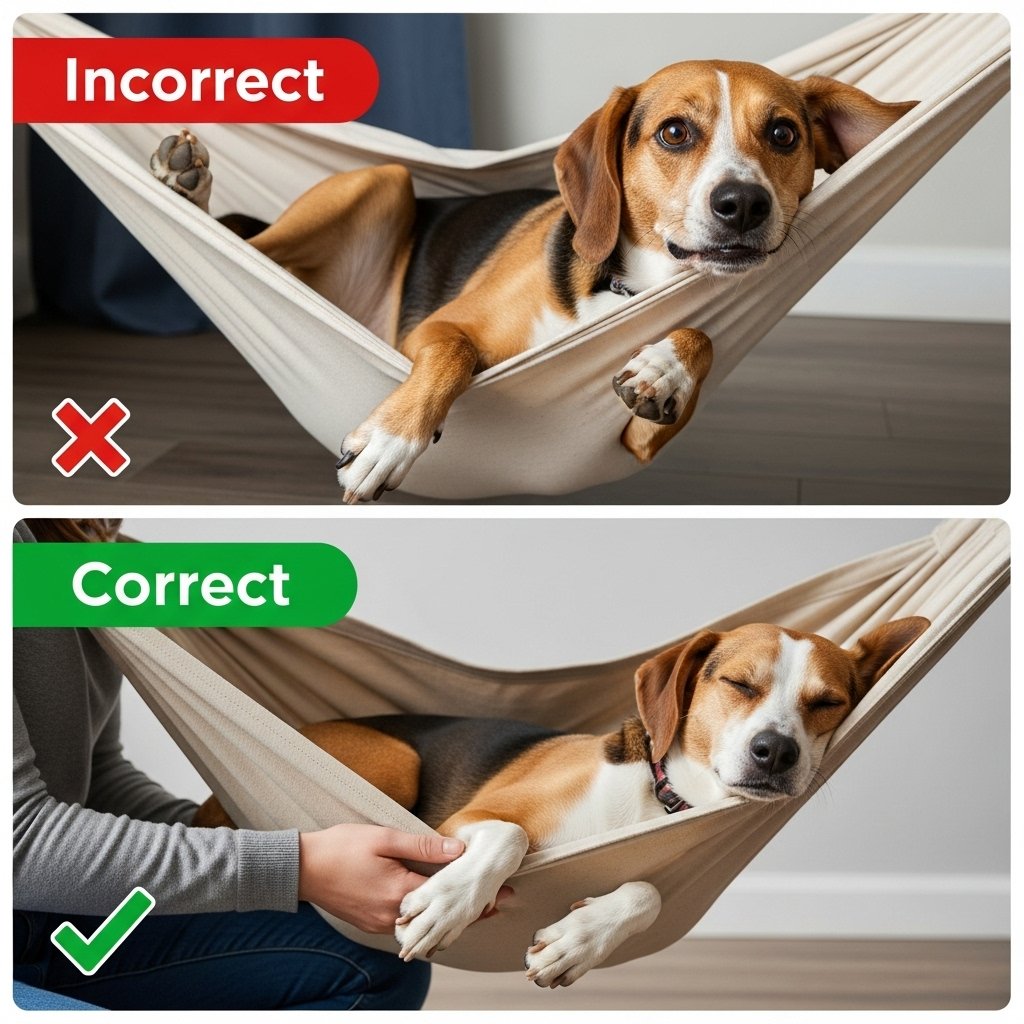
Common Mistakes to Avoid and Grooming Tips
Even with the best intentions, mistakes can happen. Being aware of common pitfalls can help you ensure a safe and successful experience for both you and your dog.
| Common Mistake | Why It’s a Problem | Corrective Action |
|---|---|---|
| Using Stretchy Fabric | The fabric can sag, stretch, or tear under the dog’s weight, creating an unstable and dangerous situation. | Only use non-stretch, heavy-duty fabrics like canvas, denim, or Cordura. |
| Weak Stitching or Hardware | A single point of failure at a corner seam or hanging hook can lead to a fall and serious injury. | Use heavy-duty thread, a reinforced box stitch for D-rings, and load-rated carabiners or S-hooks. |
| Forcing a Frightened Dog | This creates a deep-seated fear of grooming and the hammock, making future attempts nearly impossible and damaging your bond. | Use a slow, patient introduction process with high-value treats and positive reinforcement. Never proceed if the dog is panicking. |
| Incorrect Sizing/Fit | Leg holes that are too small can chafe, while a body that is too loose allows for excessive wiggling and potential escape. | Measure your dog carefully before cutting. It’s better for leg holes to be slightly too small initially, as they can be enlarged. |
Tips for a Smooth Grooming Session:
- Work with a Partner: Especially at first, have one person comfort and reassure the dog while the other performs the grooming task.
- Keep it Short: Your first few grooming sessions in the hammock should be very brief. Trim one or two nails, then stop. End on a positive note before your dog gets fussy.
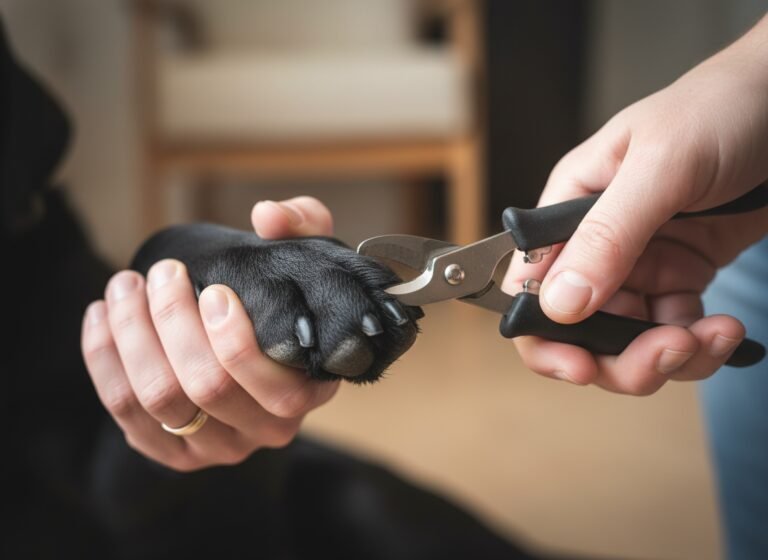
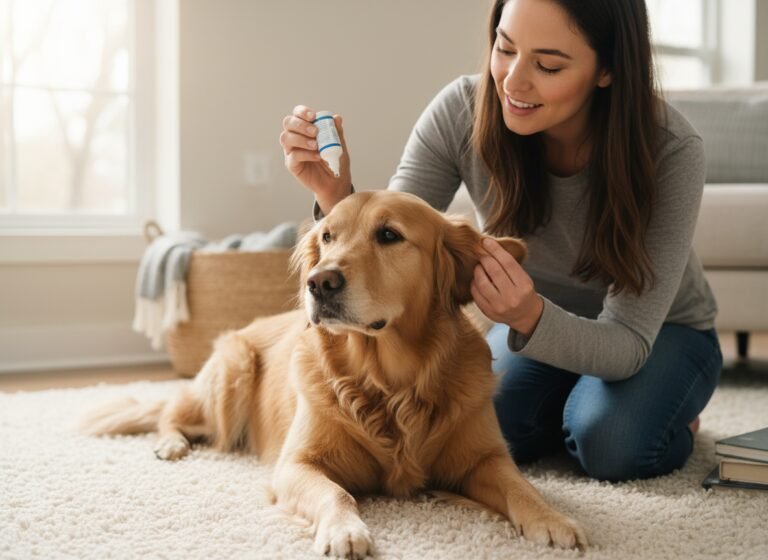
- Gather Tools Beforehand: Have your nail clippers, styptic powder, ear cleaner, and treats all within arm’s reach before you lift your dog into the hammock.
- Stay Calm: Dogs are highly attuned to our emotions. If you are nervous, your dog will be too. Project a calm, confident demeanor.
Conclusion
Creating a DIY dog grooming hammock is more than just a money-saving project; it’s an opportunity to take a more active, hands-on role in your pet’s routine care. By carefully selecting durable materials, following precise construction steps, and prioritizing a safe and positive introduction, you can build a tool that makes essential grooming tasks less stressful for everyone involved. Remember that the foundation of this project is safety—from the first stitch to the final nail clip. With patience and preparation, your homemade grooming hammock can become an invaluable asset, fostering a deeper bond of trust between you and your canine companion while keeping them healthy and well-groomed.