How To Teach Your Dog To Cross Their Paws (The “Fancy” Trick)
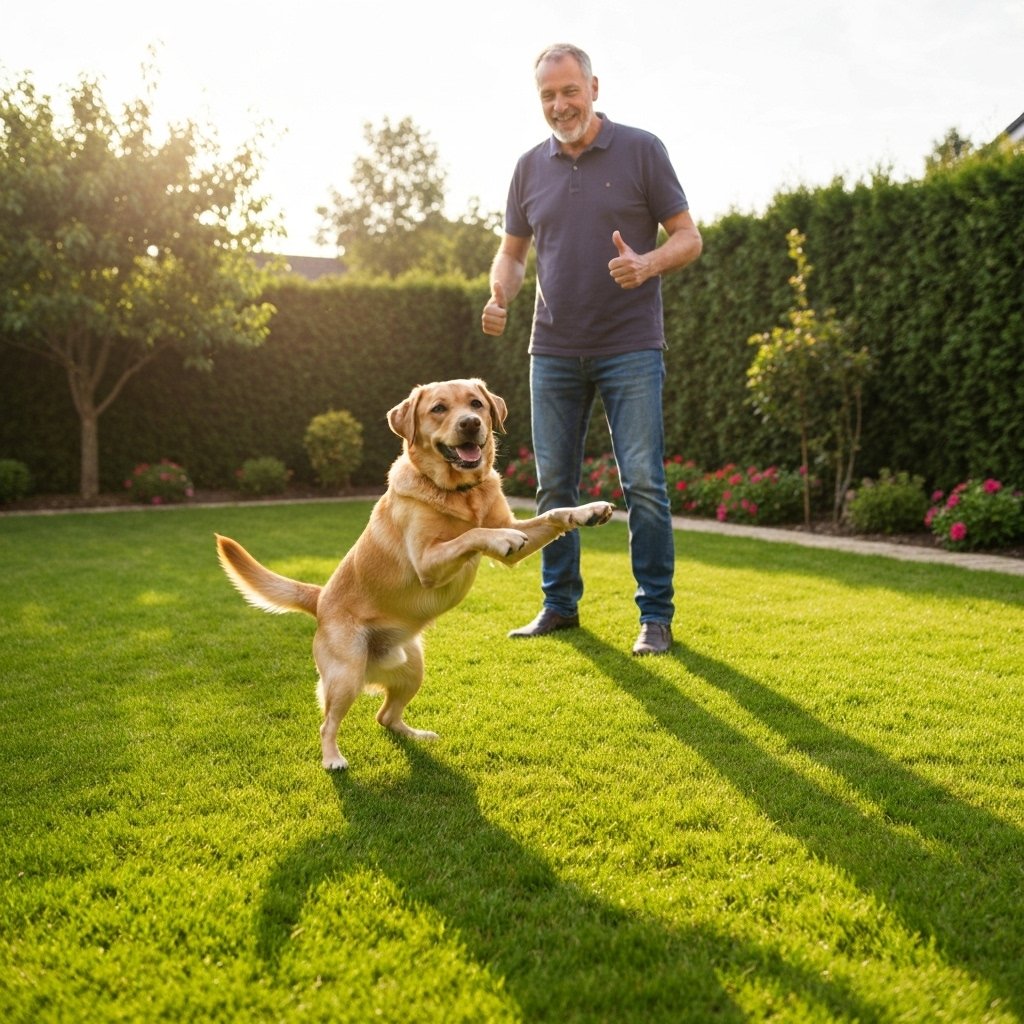
Teaching your dog new tricks is more than just a fun pastime; it is a powerful tool for strengthening your bond, enhancing communication, and providing crucial mental stimulation. Among the many charming behaviors you can teach, the ‘fancy paws’ or paw-cross trick stands out for its elegance and perceived complexity. This delightful trick, where a dog neatly crosses one paw over the other while lying down, is a true showstopper that signals a well-trained and engaged canine companion.
Contrary to what its sophisticated appearance might suggest, teaching this trick is well within the reach of most patient dog owners. The process relies on the principles of positive reinforcement and a training technique known as ‘shaping,’ where you reward successive approximations of the final desired behavior. This guide provides a detailed, step-by-step methodology designed for pet owners, breaking down the process into manageable stages. We will cover everything from the initial setup and basic luring to adding a verbal cue and troubleshooting common roadblocks. By following these professional guidelines, you can unlock your dog’s potential and add an impressive new skill to their repertoire.
Prerequisites: Setting the Stage for Success
Prerequisites: Setting the Stage for Success
Before you begin teaching the paw-cross, it is essential to establish a solid foundation. Proper preparation not only accelerates the learning process but also ensures the training experience is positive and stress-free for both you and your dog. Rushing into a complex trick without the necessary groundwork can lead to frustration and may hinder progress.
Essential Foundational Behaviors
Your dog should have a strong understanding of a few basic commands before attempting the ‘fancy paws’ trick. The most critical prerequisite is a reliable ‘down’ command.
- A Solid ‘Down’: Your dog must be able to lie down on cue and remain in that position calmly for at least 15-30 seconds. The paw-cross is performed from this stationary position, so a dog that constantly breaks its ‘down’ will struggle to learn.
- A ‘Sphinx Down’ vs. a ‘Relaxed Down’: For this trick, a ‘sphinx down’—where the dog is lying on its belly with its paws stretched forward—is the ideal starting position. A dog lying on its hip (a relaxed or ‘lazy’ down) will find it physically difficult, if not impossible, to cross its paws. If your dog naturally defaults to a lazy down, you may need to spend some time rewarding the ‘sphinx’ position first.
Creating the Optimal Training Environment
The environment plays a significant role in your dog’s ability to focus and learn. An ideal training space is:
- Quiet and Distraction-Free: Choose a room in your house where you won’t be interrupted by other pets, family members, or loud noises from outside. Turn off the television and put your phone on silent.
- Comfortable: The training surface should be comfortable for your dog. A soft rug, carpet, or a supportive dog bed is preferable to a hard, slippery floor. This encourages your dog to relax in the ‘down’ position and prevents discomfort.
Gathering Your Training Tools
Having your tools ready before the session begins allows for a smooth, uninterrupted workflow. You will need:
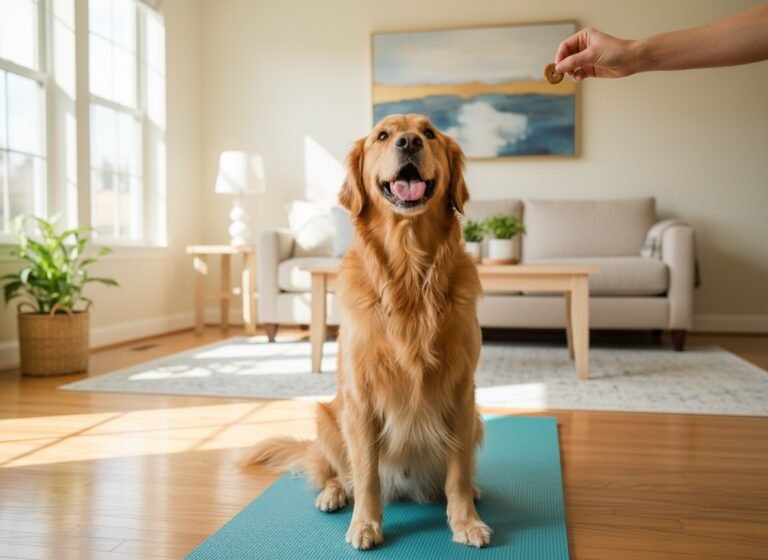
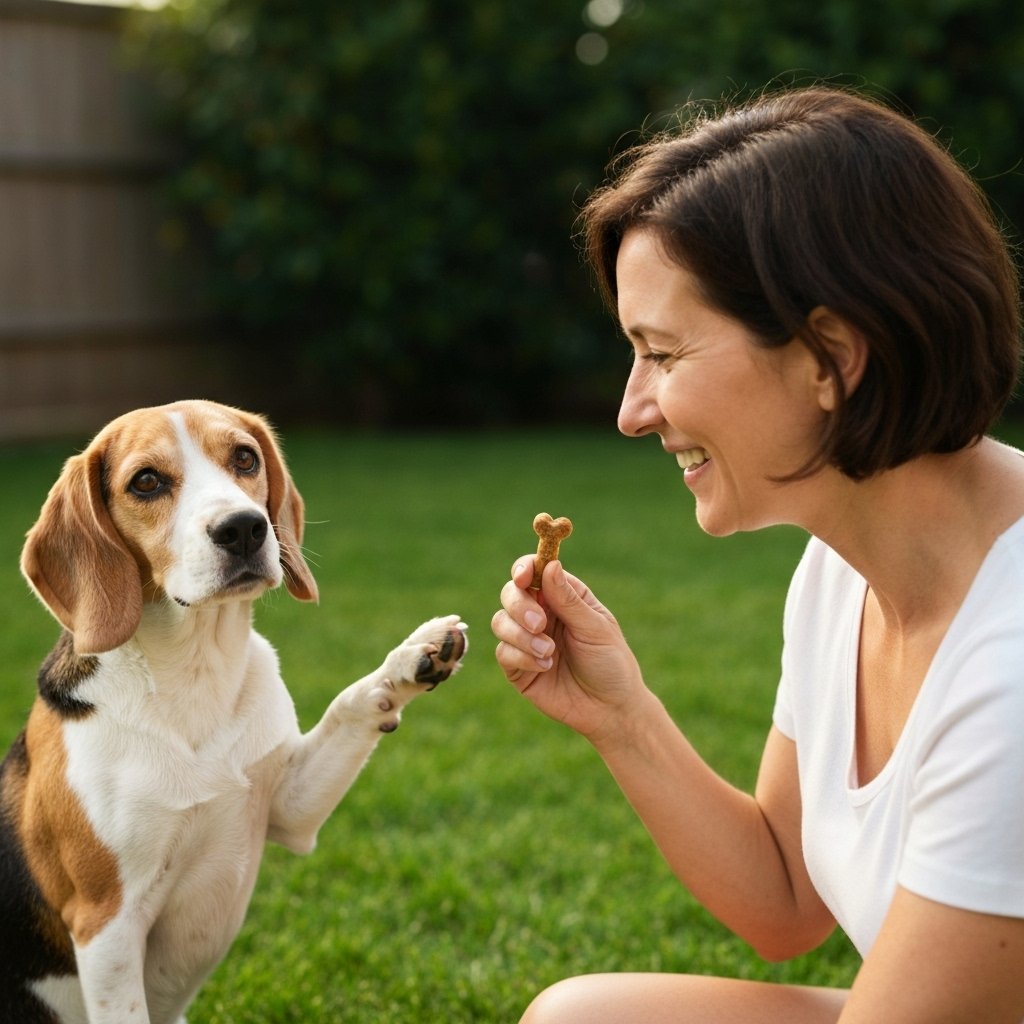
- High-Value Treats: Since this is a nuanced trick, standard kibble may not be motivating enough. Use small, pea-sized, high-value treats that your dog loves. Soft, smelly treats like small pieces of cheese, cooked chicken, or commercial training treats are excellent choices. The small size allows for frequent rewards without overfeeding.
- A Clicker (Optional): A clicker is a valuable tool for marking the precise moment your dog performs the correct behavior. If you are not familiar with clicker training, you can use a verbal marker word like ‘Yes!’ or ‘Good!’ spoken in a sharp, upbeat tone. Consistency with your chosen marker is key.
Expert Tip: Always keep training sessions short and positive, especially when introducing a new trick. Aim for multiple 2-5 minute sessions throughout the day rather than one long, potentially draining session. End each session on a high note with a successfully completed action to keep your dog eager for the next lesson.
The Step-by-Step Guide to Shaping the Paw Cross
The Step-by-Step Guide to Shaping the Paw Cross
This trick is best taught using a method called ‘shaping,’ where you reward small increments of behavior that lead to the final goal. This process empowers your dog to think and problem-solve. Patience is paramount; every dog learns at a different pace. Celebrate small victories and focus on progress, not perfection.
-
Step 1: Establish the ‘Down’ Position
Begin by asking your dog to lie down. Ensure they are in a ‘sphinx down’ position with both paws parallel and in front of them. Reward them with a treat for simply holding this position calmly. This reinforces the starting posture.
-
Step 2: Lure the Initial Head Turn
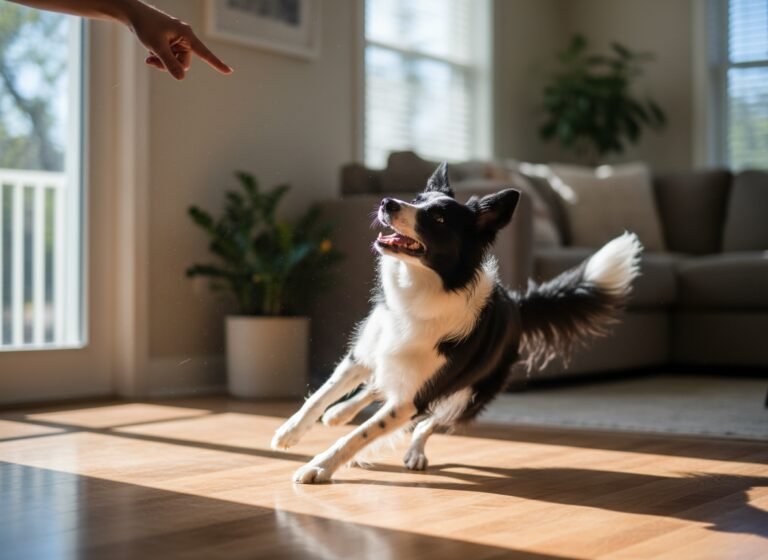
Kneel or sit on the floor to your dog’s side. Hold a treat in your hand on the same side as the paw you want them to move. For example, if you want them to cross their right paw over their left, sit on their right side. Slowly move the treat from their nose towards their left shoulder. This will cause them to turn their head. The moment they turn their head, mark the behavior (click or ‘Yes!’) and give them the treat.
-
Step 3: Encourage a Weight Shift
After a few successful head turns, delay your marker slightly. As you lure their head to the side, they will naturally shift their weight off the opposite paw (in our example, the right paw). The instant you see that shoulder dip and the weight come off the paw, even if the paw doesn’t lift, mark and reward. This is a critical micro-step in the process.
-
Step 4: Reward Any Paw Movement
Now, you will begin looking for any movement in the paw itself. As you continue luring their head and they shift their weight, watch the paw closely. Mark and reward any sign of movement—a slight lift, a twitch, or a shuffle. At this stage, you are communicating, ‘Yes, moving that specific paw is what I want!’
-
Step 5: Lure the Paw Across the Centerline
Once your dog is reliably lifting its paw, you can begin shaping the crossing motion. Continue using the treat to lure their head, but now move your hand in a slight arc over their stationary paw. This encourages them to lift their paw and move it inwards, across the invisible centerline of their body. Mark and reward the moment the paw crosses that line, even if it’s just for a split second.
-
Step 6: Shape the Full Cross
Gradually increase your criteria. Only reward movements where the paw moves further and further over the stationary one. First, reward any crossover. Then, only reward when the paw touches the other paw. Finally, only reward when the paw is fully placed on the other side of the stationary paw. This gradual process is the essence of shaping.
-
Step 7: Build Duration
When your dog can successfully place one paw over the other, begin building duration. After they cross their paw, pause for one second before you mark and reward. Gradually increase this pause to two seconds, then three, and so on. This teaches them to hold the ‘fancy’ position until they receive their reward.
Remember: If your dog becomes confused or frustrated, you have likely increased the criteria too quickly. Simply take a step back to the last point of success and work from there for a few more repetitions before moving forward again. Keeping the experience positive is the number one priority.
Introducing a Verbal Cue and Proofing the Behavior
Introducing a Verbal Cue and Proofing the Behavior
Once your dog can reliably perform the paw-cross with a hand lure, it’s time to associate the action with a verbal cue and ensure the behavior is reliable in various situations. This phase transitions the trick from a lured action to a cued command.
Adding the Verbal Cue
The key to adding a cue is to say it just before the behavior happens, not during or after. This helps the dog form a predictive association between the word and the action.
- Timing is Everything: Choose your verbal cue. Popular choices include ‘Fancy,’ ‘Cross,’ ‘Paws,’ or ‘Pretty.’ Keep it short and distinct from other cues your dog knows.
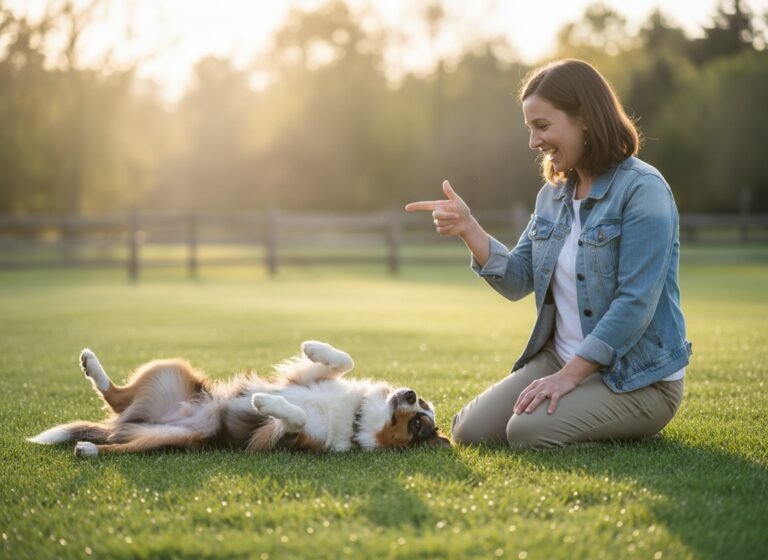
- Say the Cue, then Lure: Begin your next training session by saying your chosen cue, ‘Fancy!’, in a clear, cheerful voice. Immediately after saying the word, use your established hand lure to guide your dog into the paw-cross. Mark and reward as usual.
- Repeat: Repeat this process—’Cue, then Lure’—for several repetitions across multiple training sessions. Your dog will begin to understand that the word ‘Fancy’ predicts the hand lure and the subsequent action.
Fading the Hand Lure
The goal is for your dog to perform the trick on the verbal cue alone. This requires gradually fading the physical prompt.
- Make the Lure Smaller: Start making your hand lure less exaggerated. Instead of a large sweep of your hand, make it a smaller, more subtle motion.
- Transition to a Point: Evolve the lure into a simple point towards the paw you want them to move.
- Remove the Physical Prompt: Eventually, you can fade the hand signal entirely. Give the verbal cue and wait a few seconds for your dog to process and offer the behavior. If they succeed, give them a ‘jackpot’ reward (multiple treats) to reinforce their independent effort. If they hesitate, offer a very subtle hand signal to help them, then try again with the verbal cue alone on the next repetition.
Proofing: Generalizing the Skill
Proofing is the process of teaching your dog to perform a behavior reliably in different environments and with various distractions. A trick is not truly learned until it has been proofed.
- Change Locations: Start by practicing in different rooms of your house. Move from the quiet training room to the living room, then the kitchen.
- Introduce Mild Distractions: Once reliable indoors, move to a quiet outdoor space like your backyard. Practice with mild distractions present, such as a family member walking by at a distance.
- Vary Your Position: Practice giving the cue while you are standing up, sitting in a different chair, or on the other side of the room. This teaches your dog that the command is not dependent on your specific posture or location.
Proofing should be done gradually. Do not go from your quiet living room directly to a busy park. Each new environment adds a layer of difficulty, so you may need to temporarily use a hand lure again to help your dog succeed before fading it once more.
Troubleshooting: Overcoming Common Hurdles
Troubleshooting: Overcoming Common Hurdles
Even with a perfect plan, you may encounter challenges during the training process. This is completely normal. Identifying the problem and adjusting your approach is a key part of successful dog training. Here are solutions to some of the most common issues when teaching the paw-cross.
| Common Problem | Underlying Cause & Solution |
|---|---|
| The dog keeps getting up from the ‘down’ position. | This often indicates that the dog’s ‘down-stay’ isn’t strong enough or the session has gone on too long. Solution: Revisit and reinforce the ‘down-stay’ command separately. Keep your paw-cross training sessions very short (1-2 minutes) and end before your dog gets restless. Ensure the surface is comfortable. |
| The dog just stares and won’t move its paw. | This can be caused by low motivation, confusion, or physical discomfort. Solution: First, assess your treats. Are they high-value enough? Try something more enticing. Second, go back a step. Reward just a head turn or a slight weight shift. You may be asking for too much too soon. Also, ensure your dog doesn’t have any joint pain that might make the movement uncomfortable. |
| The dog offers a different trick, like ‘shake’ or ‘high-five’. | The dog is trying to guess what you want, and ‘shake’ is a common default paw behavior. Solution: Do not reward the incorrect behavior. Simply ignore it, reset by having your dog hold the ‘down’ for a moment, and then try the lure again. Be more precise with your lure to differentiate the motion from the upward lift of a ‘shake.’ |
| The dog only crosses its paw halfway. | This is a classic sign of a ‘plateau’ in the shaping process. The dog has learned that the halfway point earns a reward and sees no reason to offer more. Solution: This is where you must ‘raise the criteria.’ Stop rewarding the halfway cross. Wait patiently for the dog to experiment and offer a slightly further cross. The moment it does, mark and give a jackpot reward. This will communicate that a bigger movement is now required. |
| The dog will only do it for a lure and won’t respond to the verbal cue. | The association between the verbal cue and the action has not been fully formed, or the lure was not faded gradually enough. Solution: Go back to the ‘Adding the Cue’ step. Pair the word with the action consistently (‘Cue, then Lure’). Then, focus on making the lure progressively more subtle until it becomes a tiny, almost imperceptible gesture, before removing it completely. |
Expert Advice: If you find yourself or your dog becoming frustrated, it is always best to end the session. You can finish with a simple, successful trick your dog knows well (like ‘sit’ or ‘down’) to end on a positive note. Training should always be an enjoyable activity, not a source of stress.
Conclusion
Teaching your dog to cross their paws is a rewarding journey that showcases the power of clear communication and positive reinforcement. By breaking down the behavior into small, achievable steps—from the initial weight shift to the final, elegant pose—you make learning easy and enjoyable for your canine partner. Remember that the core principles of success are patience, consistency, and a positive attitude. Every dog learns at its own pace, and the goal is not just to teach a trick, but to deepen the bond you share through a collaborative and mentally enriching activity.
Celebrate every small step of progress, and don’t be discouraged by setbacks. Each training session is an opportunity to better understand your dog and refine your skills as a trainer. Once mastered, the ‘fancy paws’ trick will not only be a charming crowd-pleaser but also a testament to the incredible connection and teamwork you have cultivated. Continue to explore new training challenges together, as an engaged mind leads to a happy, well-behaved, and fulfilled dog.