Mushing Skills: How to Teach Your Dog “Gee” (Right) and “Haw” (Left)
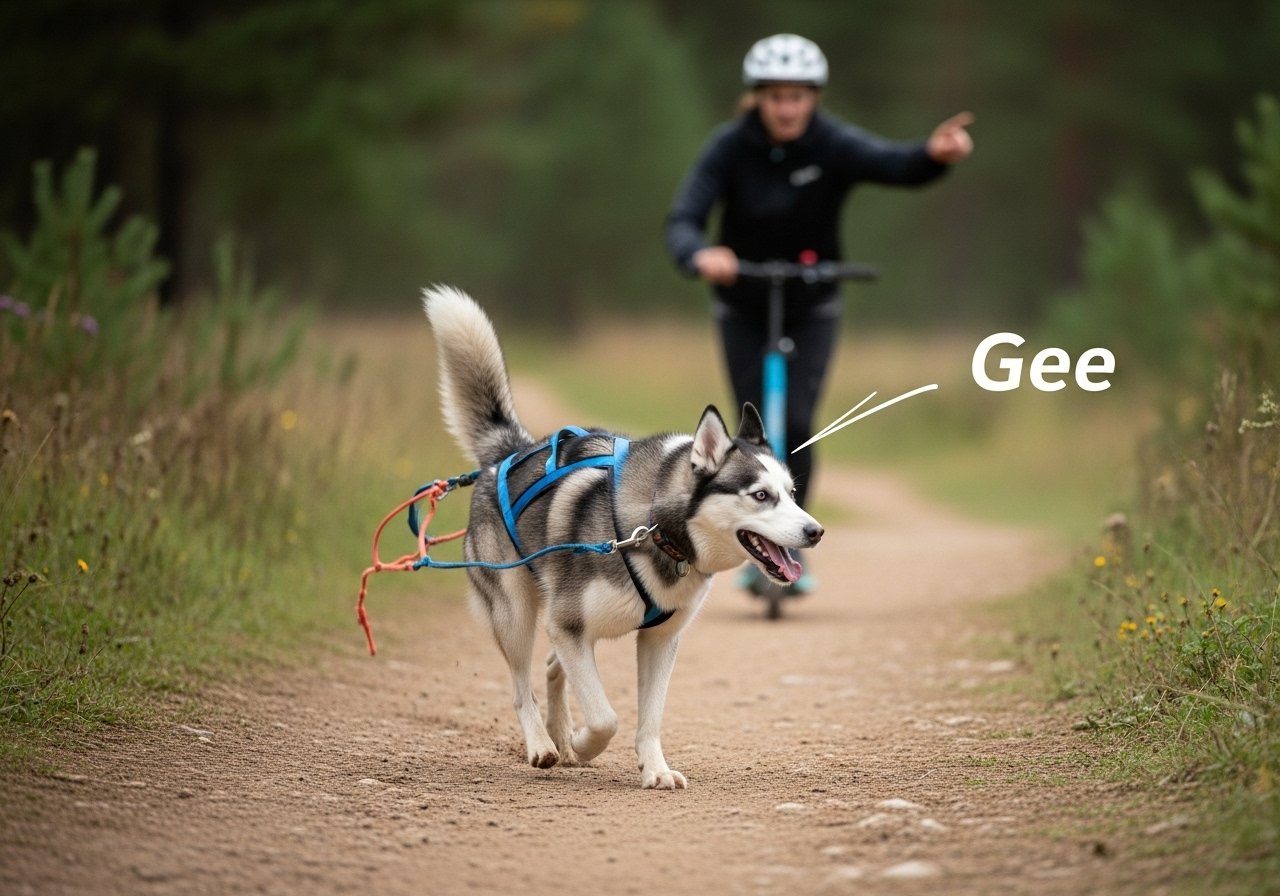
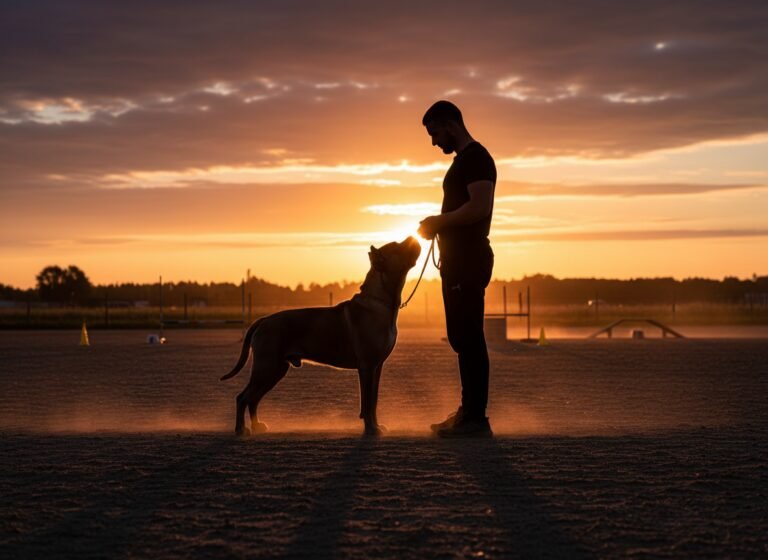
In the world of canine sports, from the snowy trails of traditional sled dog racing to the suburban paths of canicross and bikejoring, precise communication is paramount. At the heart of this communication are two fundamental directional commands: Gee (turn right) and Haw (turn left). These are not merely suggestions; they are critical instructions that ensure safety, efficiency, and a seamless partnership between you and your dog. While they may sound like specialized jargon reserved for elite mushers, the truth is that any dog, regardless of breed, can learn these valuable skills.
Teaching ‘Gee’ and ‘Haw’ does more than just direct movement. It forges a deeper cognitive bond, encouraging your dog to listen actively and problem-solve on the move. It elevates your shared activities from a simple walk to a collaborative adventure. This guide will provide a detailed, professional framework for introducing, training, and proofing these commands. We will cover everything from the necessary foundational skills and equipment to a step-by-step training protocol and troubleshooting common challenges, empowering you to build a reliable, off-leash directional system with your canine companion.
Preparing for Success: Essential Foundations and Equipment
Before you can teach your dog to turn right or left on a dime, you must first lay a solid groundwork. Attempting to teach directional commands without the proper prerequisites is like trying to build a house on an unstable foundation. Success depends on your dog’s prior training, your established relationship, and having the correct gear to ensure safety and comfort for both of you.
Prerequisite Skills
Your dog should have a firm grasp of several key concepts before you introduce ‘Gee’ and ‘Haw’. These skills ensure your dog is in a focused, ready-to-learn mindset.
- Forward Focus (‘Hike’ or ‘Let’s Go’): Your dog must understand a command to move forward and pull gently into the harness. Without this, you won’t have the momentum needed to execute a turn.
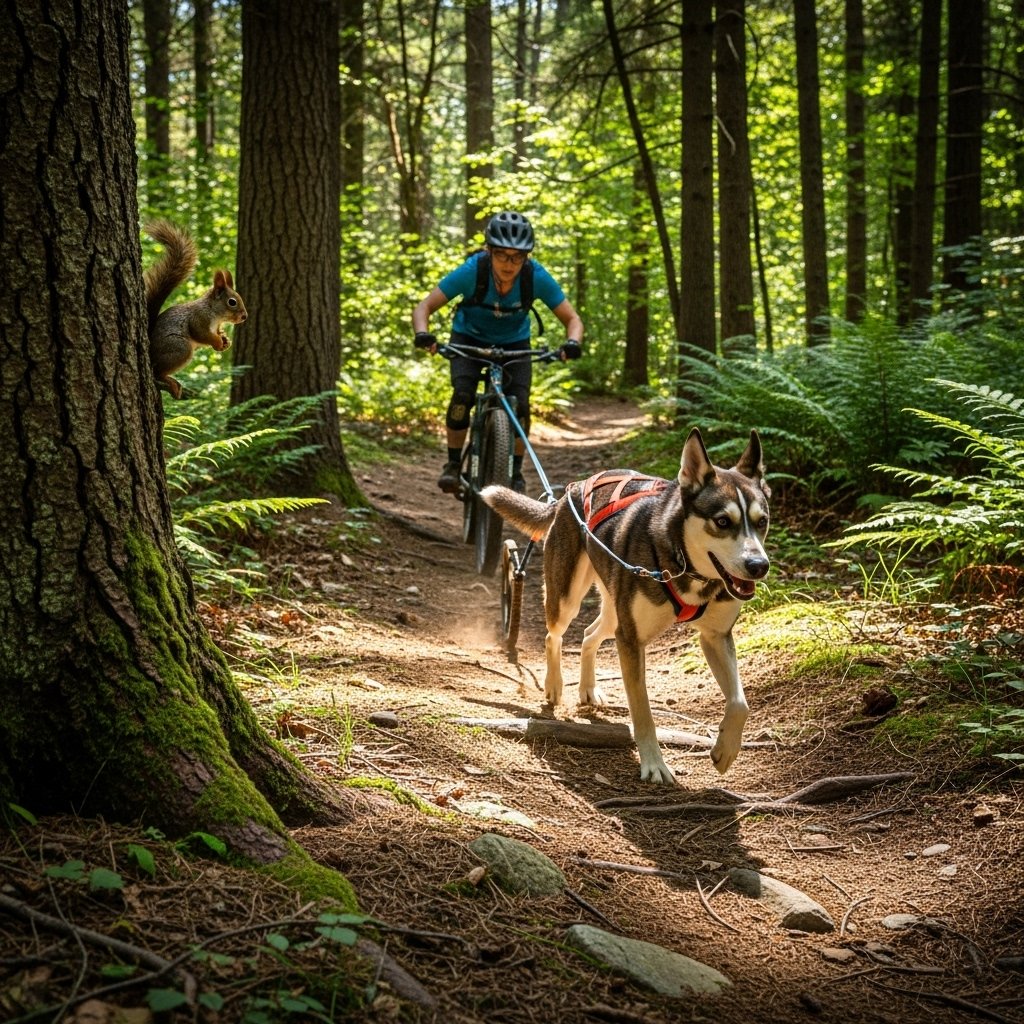
- A Solid ‘On By’ or ‘Leave It’: Your dog needs to be able to ignore distractions like squirrels, other dogs, or interesting smells when instructed. Intersections are full of tempting new scents and paths; your dog must prioritize your cue over their curiosity.
- Basic Leash Manners: While the goal is to work off-leash or at a distance, the initial training relies on a slack leash. A dog that constantly pulls erratically will make it difficult to guide them gently through turns.
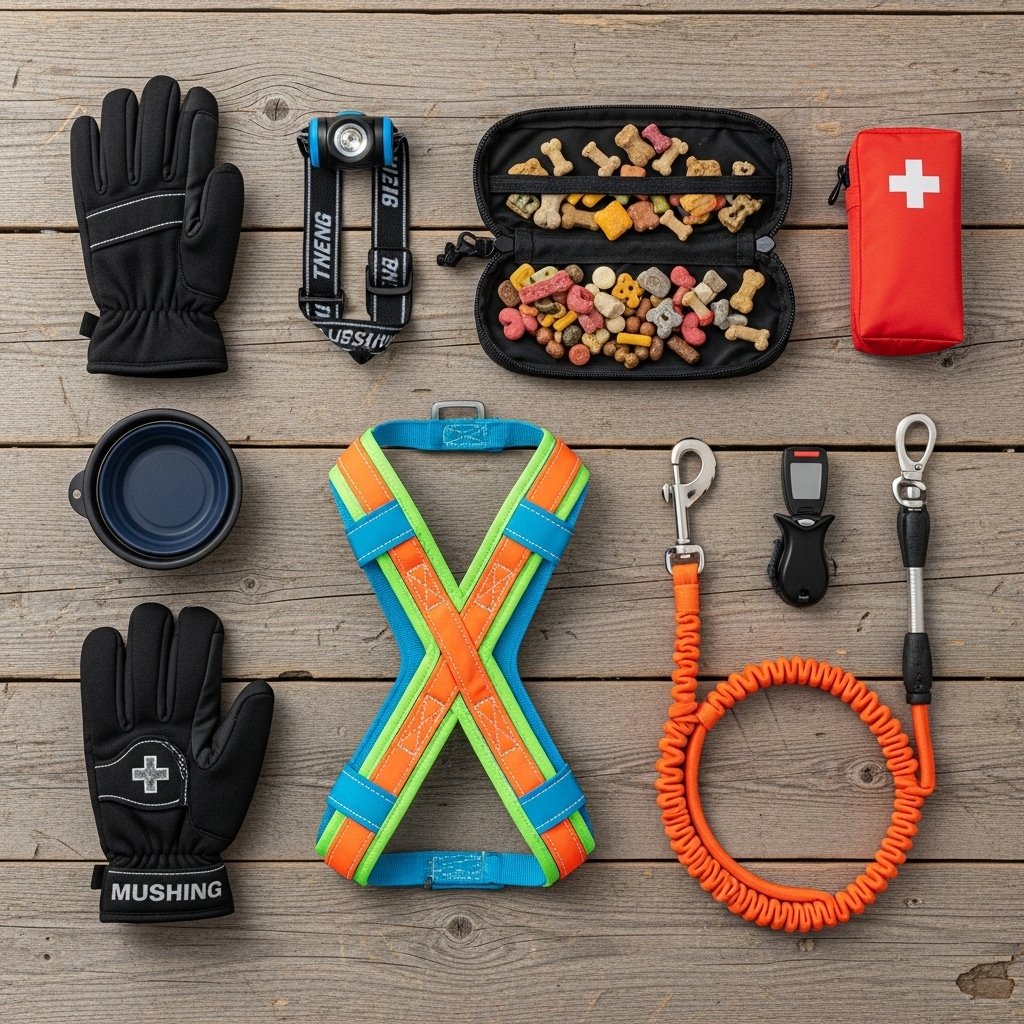
Essential Equipment
Using the right equipment is not just about professionalism; it’s about your dog’s safety and your effectiveness as a trainer.
| Equipment | Purpose and Key Features |
|---|---|
| Properly Fitted Harness | A standard neck collar is unacceptable for any activity involving pulling. It can cause serious tracheal and neck injuries. Invest in a well-fitted joring harness (like an X-back or H-back) that distributes weight across the dog’s chest and shoulders, allowing for free range of motion and unrestricted breathing. |
| Bungee Leash or Gangline | A leash with a bungee section is crucial. It absorbs the shock and jarring movements for both you and your dog, providing a smoother experience and preventing injury. For mushing or bikejoring, this is non-negotiable. |
| High-Value Rewards | You are asking for a high level of focus. Standard kibble may not be motivating enough. Use special, high-value treats that your dog loves, such as small pieces of cooked chicken, cheese, or commercial soft training treats. |
| Consistent Training Environment | Begin in a location with clear, simple intersections, like a quiet trail system with T-junctions or Y-forks. Minimize distractions in the initial stages to set your dog up for success. |
Expert Tip: Before your first training session, let your dog wear the new harness around the house and on regular walks. This helps them associate the gear with positive experiences, rather than just intense training, preventing them from becoming ‘harness shy’.
The Core Training Method: A Step-by-Step Guide
With your foundation in place, you can now begin the process of teaching the commands. This method is built on the principles of positive reinforcement and shaping behavior incrementally. Remember to keep sessions short (5-10 minutes) and always end on a positive note to keep your dog engaged and eager for the next lesson.
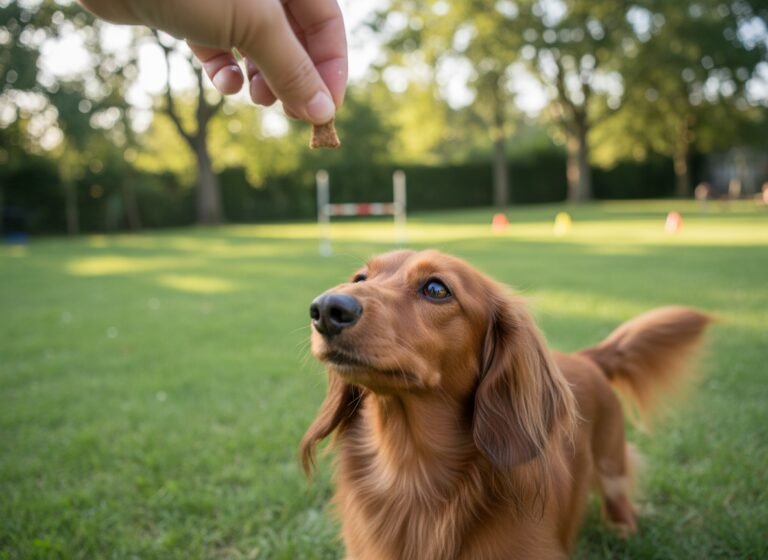
Step 1: Charging the Words
The first step is to give the words ‘Gee’ and ‘Haw’ meaning. You want your dog to have a positive emotional response to the sound before it’s ever connected to an action. This is a simple but critical phase.
- Find a quiet space with no distractions.
- Say the word “Gee!” in a clear, upbeat tone.
- Immediately give your dog a high-value treat.
- Pause for a few seconds.
- Repeat the process. Do this 5-10 times.
- Take a break, then repeat the entire exercise with the word “Haw!”.
Do this for a few short sessions over a day or two. The goal is simple classical conditioning: Dog hears ‘Gee’, dog gets a treat. Dog hears ‘Haw’, dog gets a treat.
Step 2: Introducing the Turn with Luring
Now, you’ll connect the charged word to the physical action of turning. Your chosen training location with clear intersections is key here.
- Harness your dog and approach a T-intersection. Decide which way you will turn beforehand (e.g., right).
- A few feet before the intersection, give your ‘Hike’ or ‘Let’s Go’ command to ensure you have forward momentum.
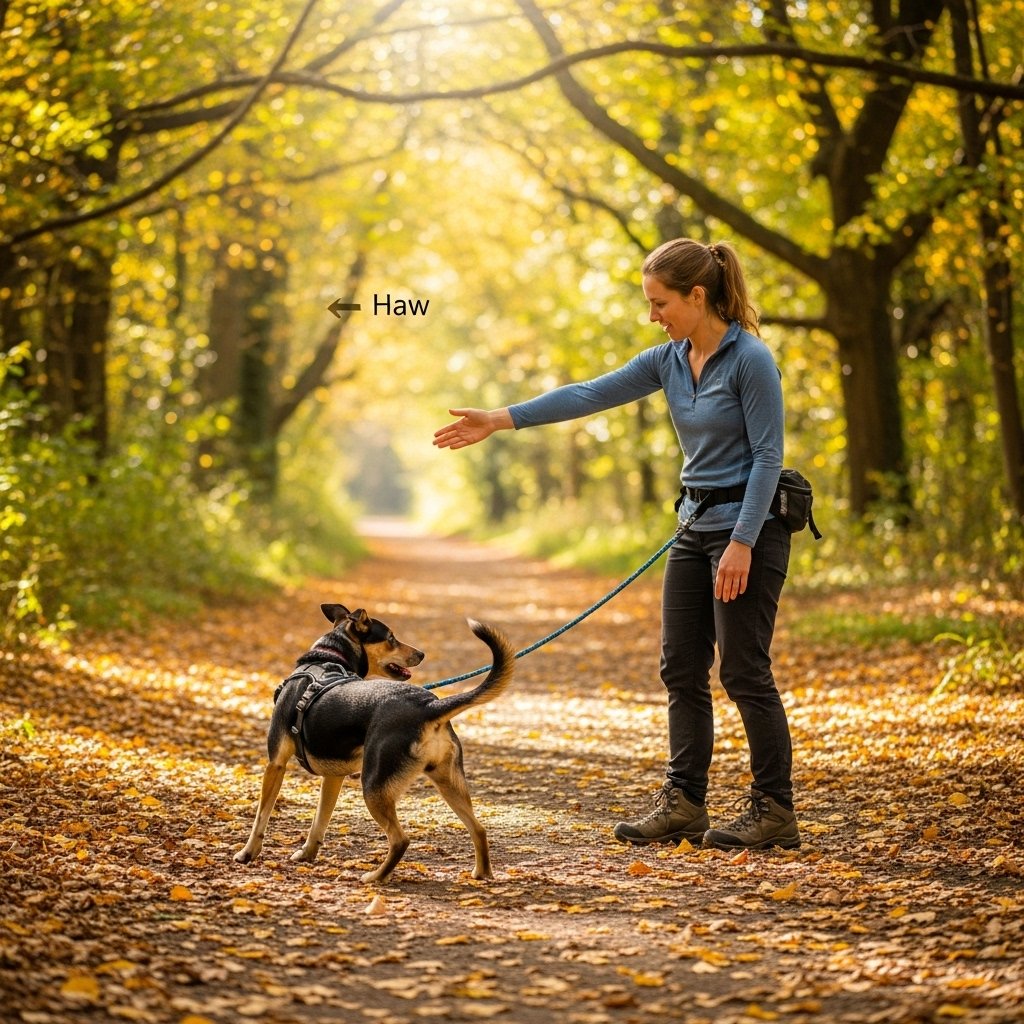
- Just as you reach the point of decision, say “Gee!” in your clear, upbeat voice.
- Simultaneously, use your body language and gentle leash pressure to guide the dog to the right. You can take an exaggerated step in that direction or point clearly. You are not pulling the dog, but rather guiding them.
- The moment your dog commits to the right turn, praise them enthusiastically (“Yes! Good Gee!”) and give them a jackpot of treats.
- Continue down the path and repeat at the next appropriate intersection, practicing both ‘Gee’ and ‘Haw’ turns.
Important: In this phase, your physical cues (leash, body) are doing most of the work. The verbal command is being layered on top of the action. Do not expect your dog to respond to the word alone yet.
Step 3: Fading the Lure and Physical Cues
Once your dog is confidently turning with your physical guidance (after several successful sessions), it’s time to make your cues more subtle. The objective is for the dog to rely more on the verbal command and less on your physical direction.
- Reduce Leash Guidance: Keep the leash slack as you approach the turn. Give the verbal command and wait a split second to see if the dog initiates the turn on their own before you apply any leash pressure. Reward any independent effort heavily.
- Minimize Body Language: Instead of taking a large step in the desired direction, simply shift your weight or use a smaller hand gesture. Gradually make your physical signals less and less obvious.
- Increase Distance: If you are bikejoring or using a scooter, allow the line to extend further so the dog has to make the choice more independently.
This is the most challenging phase. If your dog fails, simply go back a step to a more obvious cue for the next repetition. Your dog is not being stubborn; they are learning a complex cognitive task.
Advancing and Proofing: Building Reliability in the Real World
A dog that can perform ‘Gee’ and ‘Haw’ in a quiet park is one thing; a dog that can reliably follow these commands at speed, past distractions, and on unfamiliar trails is another. This stage, known as ‘proofing’, is about generalizing the skill to ensure it’s dependable in any situation.
Increasing Complexity and Speed
Gradually move beyond simple 90-degree turns. Start asking for more challenging maneuvers.
- Subtle Turns: Practice on trails that have gentle curves or slight forks rather than hard T-junctions. This requires the dog to pay closer attention.
- Adding Speed: Once the dog is confident at a walking or trotting pace, begin practicing while jogging, running, or cycling. The increased speed makes the decision-making process more difficult, so you may need to briefly re-introduce more obvious cues.
- Chaining Commands: Start linking commands together. For instance, as you come out of a right turn, immediately give your ‘Hike!’ command to encourage a burst of forward speed. This teaches the dog to stay focused and listen for the next instruction.
Introducing and Managing Distractions
Real-world environments are filled with distractions. You must systematically teach your dog to prioritize your command over everything else.
- Low-Level Distractions: Start by practicing in an area with distant, low-level distractions, such as people walking far away or a calm dog on the other side of a field.
- Controlled Scenarios: Ask a friend with a calm dog to stand stationary far off the trail. Practice directing your dog past this distraction using your ‘On By’ command in conjunction with your directional cues.
- Varying Locations: Don’t just stick to your three favorite trails. Actively seek out new locations to practice. This prevents the dog from simply memorizing the routes and forces them to listen to your commands to navigate.
Expert Takeaway: Proofing is an ongoing process, not a final step. Every outing is an opportunity to reinforce good behavior. If your dog makes a mistake in a new or distracting environment, view it as a training opportunity, not a failure. Lower the criteria for success and reward the effort.
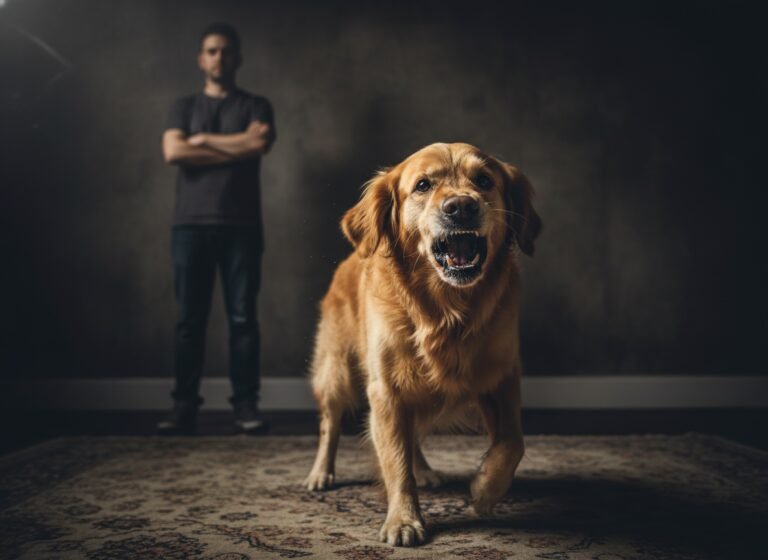
Troubleshooting Common Roadblocks and Maintaining Skills
Even with the best training plan, you will likely encounter challenges. Understanding how to address these common issues is key to preventing frustration for both you and your dog. Furthermore, like any skill, directional commands require maintenance to stay sharp.
Common Training Problems and Solutions
| Problem | Underlying Cause | Solution |
|---|---|---|
| Dog Hesitates or Stops at Intersections | Confusion, uncertainty, or feeling overwhelmed by the choice. | Go back to the luring stage. Make your cues more obvious and use a higher-value reward at the turn. Shorten the distance to the intersection so there is less time for anticipation and anxiety to build. |
| Dog Prefers One Direction (e.g., always turns right) | This can be a simple learned preference or even a subtle physical issue. The dog may have had more success or reinforcement turning one way. | Dedicate entire sessions to practicing only the non-preferred direction (‘Haw’ in this case). Find routes that force you to take more turns in the weaker direction. Make the rewards for the weaker direction exceptionally high. |
| Dog Ignores Command and Follows a Distraction | The distraction is currently more rewarding than listening to you. The ‘On By’ command is not strong enough. | Increase the distance from the distraction until your dog can be successful. Work specifically on impulse control games away from the trail. Ensure your rewards are more compelling than the environment. |
| Dog Anticipates the Turn | The dog has memorized the route and is no longer listening to your command, but rather turning based on location cues. | Immediately change your routine. Take a different trail, or even turn around and re-run a section in the opposite direction. Give the command earlier or later than usual to keep them guessing and listening. |
Maintaining the Skills for Life
Once your dog is proficient, don’t stop training. These are perishable skills.
- Incorporate Commands into Daily Walks: You don’t need to be in a harness to practice. On a regular walk, use ‘Gee’ and ‘Haw’ to tell your dog which way you’re turning at the next sidewalk.
- Make it a Game: Turn your training into a fun ‘find it’ game. At an intersection, say ‘Gee’, and once the dog turns right, toss a treat ahead for them to find.
- Consistent Reinforcement: Never take a correct response for granted. Even a well-trained dog appreciates a ‘Good dog!’ for a job well done. Continue to use intermittent food rewards to keep the motivation high.
Conclusion
Teaching your dog ‘Gee’ and ‘Haw’ is a journey that transcends basic obedience. It is an investment in a dynamic, responsive partnership that will enrich every adventure you share. The process demands patience, consistency, and a commitment to clear, positive communication. By following the structured steps—from building a solid foundation and carefully introducing the commands to advancing the skills and troubleshooting inevitable challenges—you are building a sophisticated language with your dog.
Remember that every dog learns at a different pace. Celebrate the small victories: the first hesitant turn, the first correct choice made with a looser leash, the first successful command past a distraction. These are the milestones that build a reliable and joyful working relationship. The ultimate reward is not just a dog that turns on cue, but the profound sense of teamwork and mutual understanding that comes from navigating the world together, one ‘Gee’ and one ‘Haw’ at a time.