Why Your Dog Freezes On Metal Grates (And How To Build Confidence)
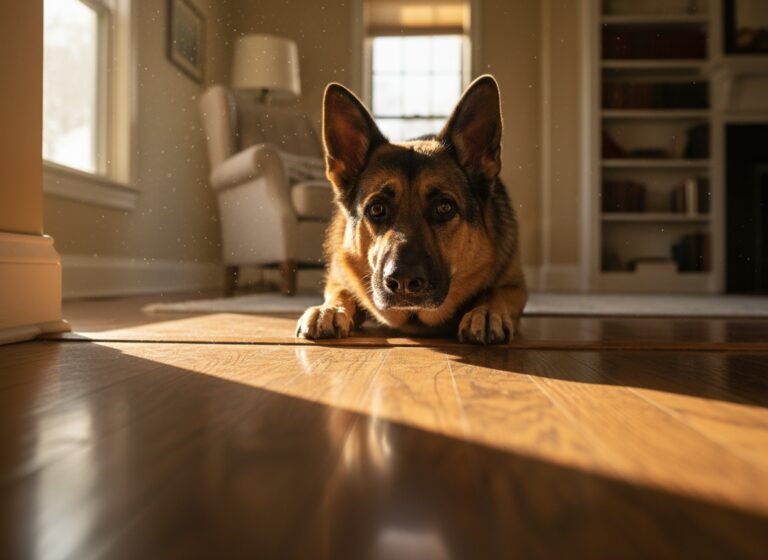
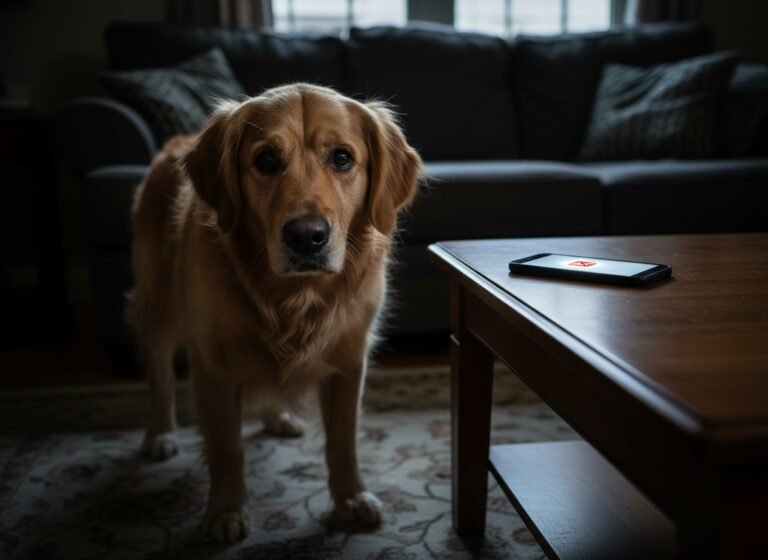
Navigating a bustling city with a canine companion presents a unique set of challenges, but few are as sudden and perplexing as the moment your dog stops dead in their tracks, refusing to cross a metal grate. One second you’re enjoying a walk, the next you’re holding a taut leash, connected to a dog that has become an immovable statue. This behavior is incredibly common, yet it can be frustrating for owners and terrifying for the dogs themselves. It’s not a simple act of defiance; it’s a complex fear response rooted in a dog’s unique sensory perception of the world.
For a dog, a metal grate isn’t just a patch of sidewalk. It’s a confusing and overwhelming assault on the senses. The visual void beneath their paws, the strange, cold texture on their sensitive pads, the echoing clangs, and the unfamiliar smells rising from below can combine to create a deeply unsettling experience. Understanding this canine perspective is the first step toward resolving the issue. This guide will deconstruct the reasons behind this specific fear and provide a comprehensive, step-by-step training protocol designed to build your dog’s confidence through patience, positive reinforcement, and trust. By following these steps, you can transform these moments of fear into opportunities for learning and strengthen the bond you share with your dog.
Deconstructing the Fear: The Canine Perspective on Metal Grates

To effectively help your dog, you must first see the world—and the grate—through their eyes, nose, and paws. What seems innocuous to us is a multi-sensory minefield for them. Their reluctance is a logical response to confusing and potentially threatening stimuli.
Visual Perception and Depth
Dogs’ vision differs significantly from ours. While they perceive motion better, their depth perception and acuity are less refined. When a dog looks at a grate, they see a series of lines with dark, seemingly bottomless voids in between. This can be visually jarring and create a ‘visual cliff’ effect, where the dog perceives a dangerous drop-off. They cannot easily process that the surface is stable and safe to walk on; their brain may interpret the gaps as holes they could fall into. This uncertainty alone is enough to cause a complete halt.
Tactile and Proprioceptive Discomfort
A dog’s paws are incredibly sensitive, packed with nerve receptors that provide feedback about the terrain they are walking on. This system, known as proprioception, helps them understand their body’s position in space. The hard, thin, and often cold metal bars of a grate provide an unnatural and uncomfortable sensation. Unlike solid pavement, the uneven surface doesn’t offer secure, stable footing. Some dogs may also dislike the feeling of air or temperature changes from below on their paw pads, adding to the physical discomfort.
Auditory Overload
Metal grates are often located over subways, sewers, or utility tunnels, and they act as amplifiers for the sounds coming from below. The distant rumble of a train, the rush of water, or echoing voices can be startling and unnerving for a dog with hearing far more sensitive than a human’s. Furthermore, the dog’s own claws can make a sharp, clanging sound on the metal, which can be frightening in itself. This sudden, loud, and unfamiliar noise associated with their own movement can create a negative feedback loop, reinforcing the idea that the grate is something to be feared.
Olfactory Information
A dog’s primary sense is smell. The air wafting up from a grate carries a concentrated cocktail of odors from the world below—dampness, waste, exhaust, and countless other scents that are foreign and potentially alarming. This intense olfactory information can be overwhelming and may signal something unpleasant or unknown, triggering a cautious or fearful response.
Understanding these sensory inputs is crucial. Your dog isn’t being stubborn; they are processing a flood of information that their instincts tell them is strange, unstable, and potentially dangerous.
Essential Tools for Confidence-Building
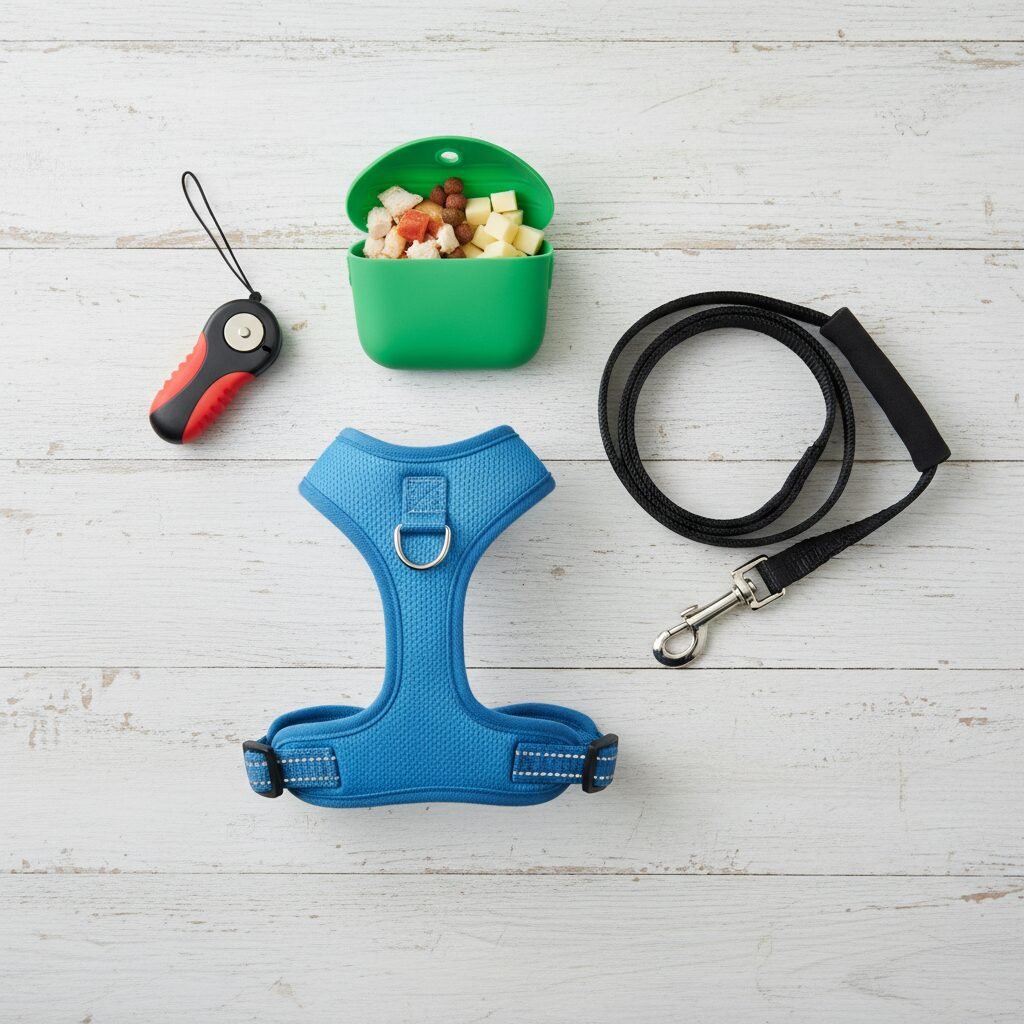
Before beginning any training, gathering the right tools will set you and your dog up for success. The goal is not to force compliance, but to create a positive learning environment where your dog feels safe enough to make new choices. Your equipment should support this goal.
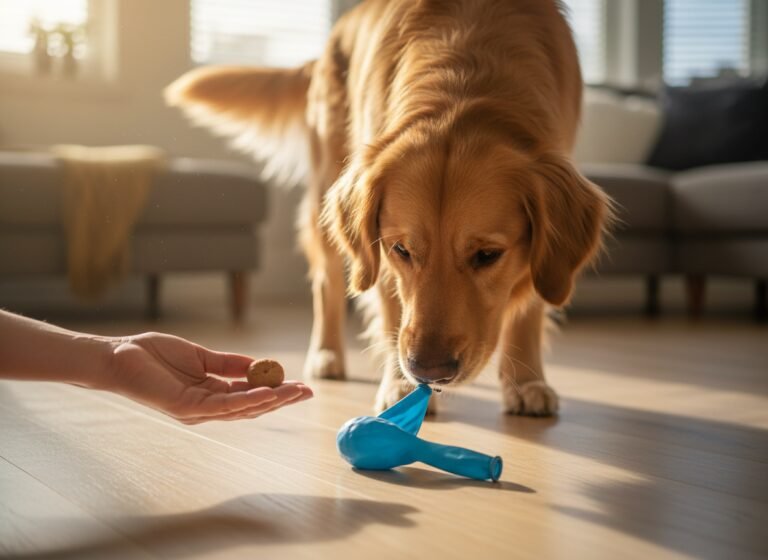
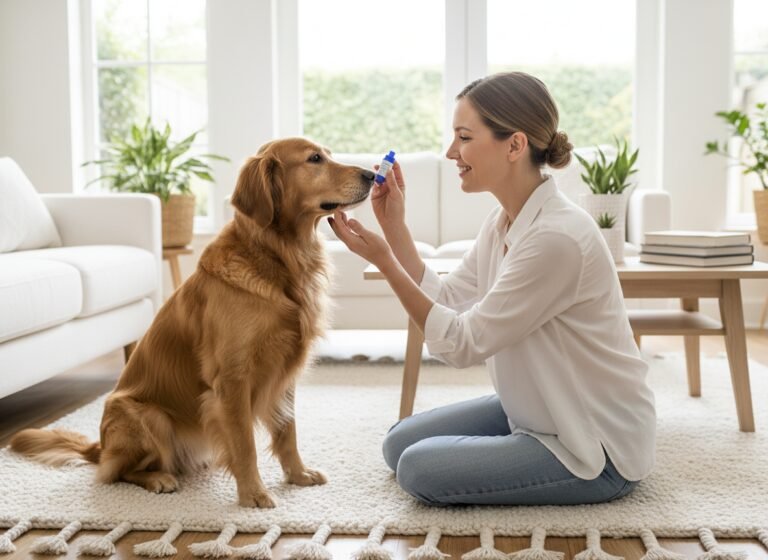
- High-Value Treats: This is the cornerstone of your training. High-value treats are not your dog’s everyday kibble. They should be exceptionally delicious and desirable, reserved only for training sessions like this. Think small, soft, and smelly. Good options include tiny pieces of cooked chicken, cheese, hot dogs, or commercial-grade soft training treats. The goal is for the reward to be more powerful than the fear.
- A Comfortable, Well-Fitted Harness: Using a harness is critical. When a fearful dog freezes, the owner’s natural instinct can be to pull on the leash. A collar concentrates this pressure on the dog’s sensitive neck and trachea, which can cause physical harm and increase their anxiety and fear. A back-clip harness distributes pressure across the chest and shoulders, providing gentle guidance without choking or creating a negative association.
- Standard 6-Foot Leash: A standard, non-retractable leash offers the best control and communication. Retractable leashes can be dangerous, offer little control in a sudden situation, and teach dogs to pull. A simple leather or nylon leash allows you to keep your dog close and safe while providing clear, subtle cues.
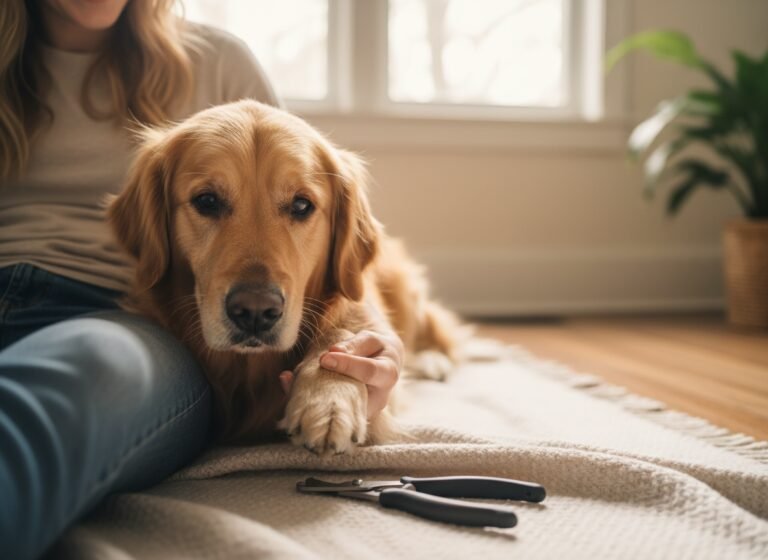
- Patience and a Positive Mindset: This is your most important tool. Dogs are masters at reading human body language and emotion. If you approach a grate feeling tense, frustrated, or anxious, your dog will pick up on it immediately, confirming their suspicion that the grate is something to worry about. Take deep breaths, stay relaxed, and be prepared for sessions to be short and progress to be slow. Your calm confidence is a powerful signal to your dog that everything is okay.
A Step-by-Step Training Protocol: From Avoidance to Acceptance
This training process is based on systematic desensitization and counter-conditioning. In simple terms, you will gradually expose your dog to the grate at a level that doesn’t trigger fear (desensitization) while simultaneously pairing the grate with something they love, like high-value treats (counter-conditioning). The goal is to change their emotional response from ‘That’s scary!’ to ‘That’s where the good stuff happens!’
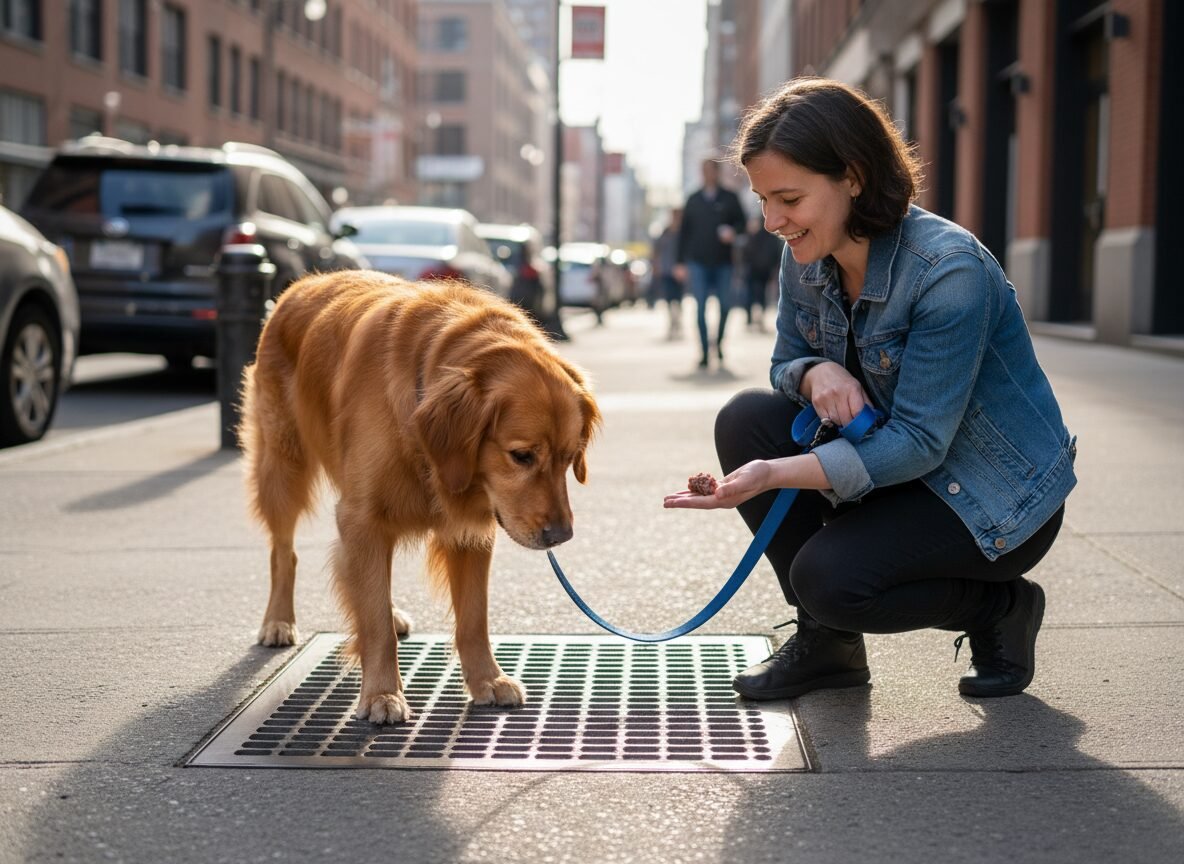
Step 1: Desensitization at a Distance
Find a quiet area with a metal grate where you can work without too many distractions. Start at a distance where your dog can see the grate but shows no signs of anxiety (not pulling, panting, or freezing). This might be 50 feet away, or it might be across the street. The moment your dog looks at the grate, say “Yes!” in a happy tone and give them a treat. The goal is simply to reward them for looking at the object of their fear from a safe distance. Keep this session short (1-2 minutes) and end on a positive note.
Step 2: Counter-Conditioning Near the Grate
Over several sessions, gradually decrease the distance to the grate. Watch your dog’s body language carefully. If they show stress, you’ve moved too close, too fast. Go back to a distance where they were comfortable. Once you can get within a few feet of the grate without a reaction, start tossing high-value treats on the solid ground near the grate. Let your dog approach and eat them. Don’t lure or force them. Let them make the choice. This builds the association that being near the grate predicts wonderful things.
Step 3: Introducing a Safe Surface
Once your dog is comfortable taking treats near the grate, introduce a ‘bridge.’ Place a solid, non-slip object like a car floor mat, a piece of plywood, or even a thick towel over a portion of the grate. Encourage your dog to walk over the safe surface. Reward them enthusiastically for interacting with the covered area. This allows them to experience being on top of the grate without the negative tactile and visual sensations.
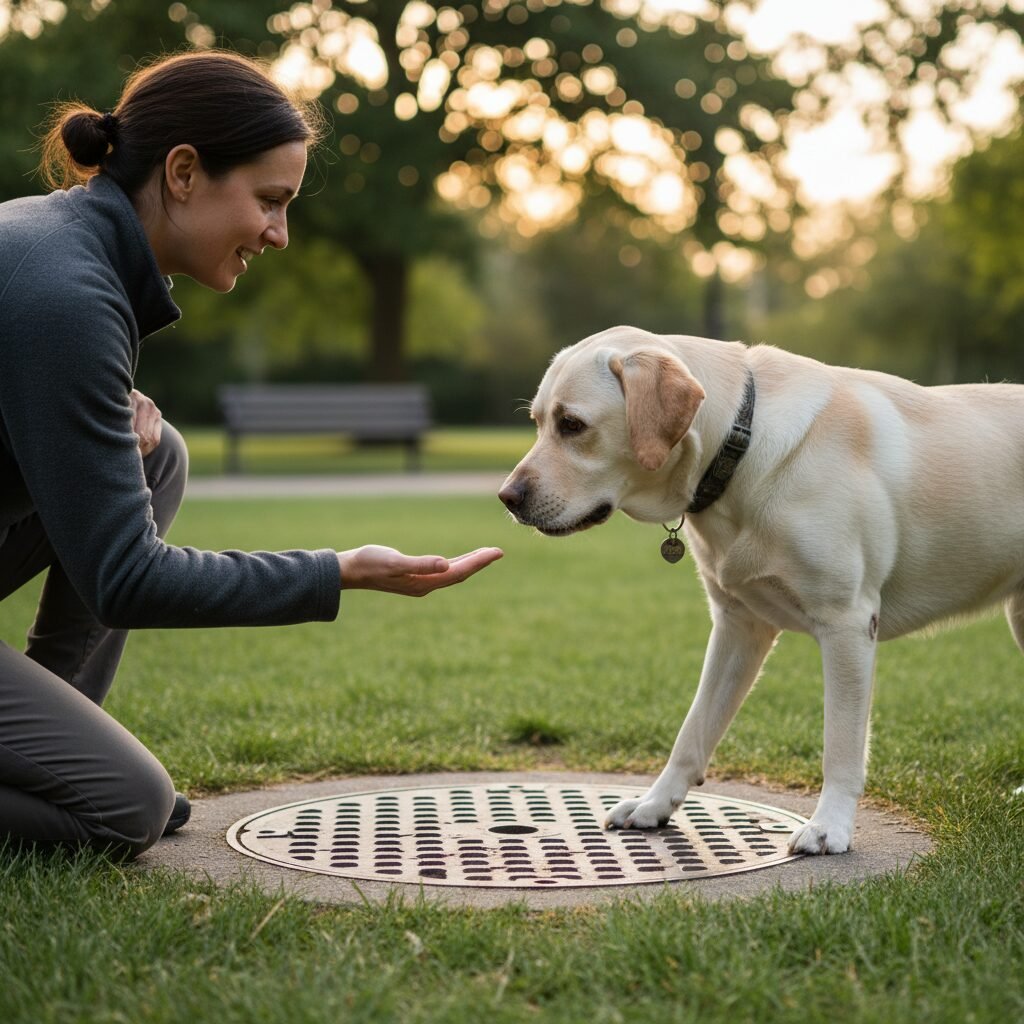
Step 4: Encouraging Voluntary Interaction
As your dog gets more comfortable with the covered grate, you can make the cover smaller or place a high-value treat on the very edge of the exposed grate. The goal is to encourage your dog to voluntarily place a single paw on the grate to get the reward. Use a verbal cue like ‘Touch’ if they know it. Mark and reward any interaction, no matter how small. If they sniff it, reward. If they put one toe on it, reward heavily. Keep it positive and pressure-free.
Step 5: Building Duration and Crossing
Once your dog will confidently place one or two paws on the grate, you can start building on that success. Place treats in a line across the grate to encourage them to take a few steps. Start with small grates and work your way up. Always celebrate success with lots of praise and treats. Never drag them. The entire process should be their choice. Your job is to make that choice easy, safe, and incredibly rewarding. If they successfully cross, give them a ‘jackpot’—a handful of treats—to mark the momentous occasion.
Troubleshooting Common Setbacks and What to Avoid
Training is rarely a straight line; setbacks are a normal part of the process. Understanding how to handle them and what pitfalls to avoid is just as important as knowing the steps to take.
What if my dog is too stressed to take treats?
This is a clear signal that your dog is ‘over threshold,’ meaning their fear or anxiety is too high for them to learn or even think about food. It is a physiological response, not stubbornness. If this happens, you have moved too fast or are too close to the grate. Immediately increase the distance until your dog relaxes and will take a treat again. Your starting point must be where the dog is calm and comfortable.
We were making progress, but now my dog is scared again.
This is called spontaneous recovery, and it’s common in fear-based training. A loud noise might have happened during a previous session, or they might just be having an off day. Don’t be discouraged. Simply go back a few steps in the training plan to a point where they were successful and rebuild their confidence from there. Pushing through will only make the fear worse.
Crucial Mistakes to Avoid
Your actions can either build trust or deepen fear. Avoid these common errors at all costs:
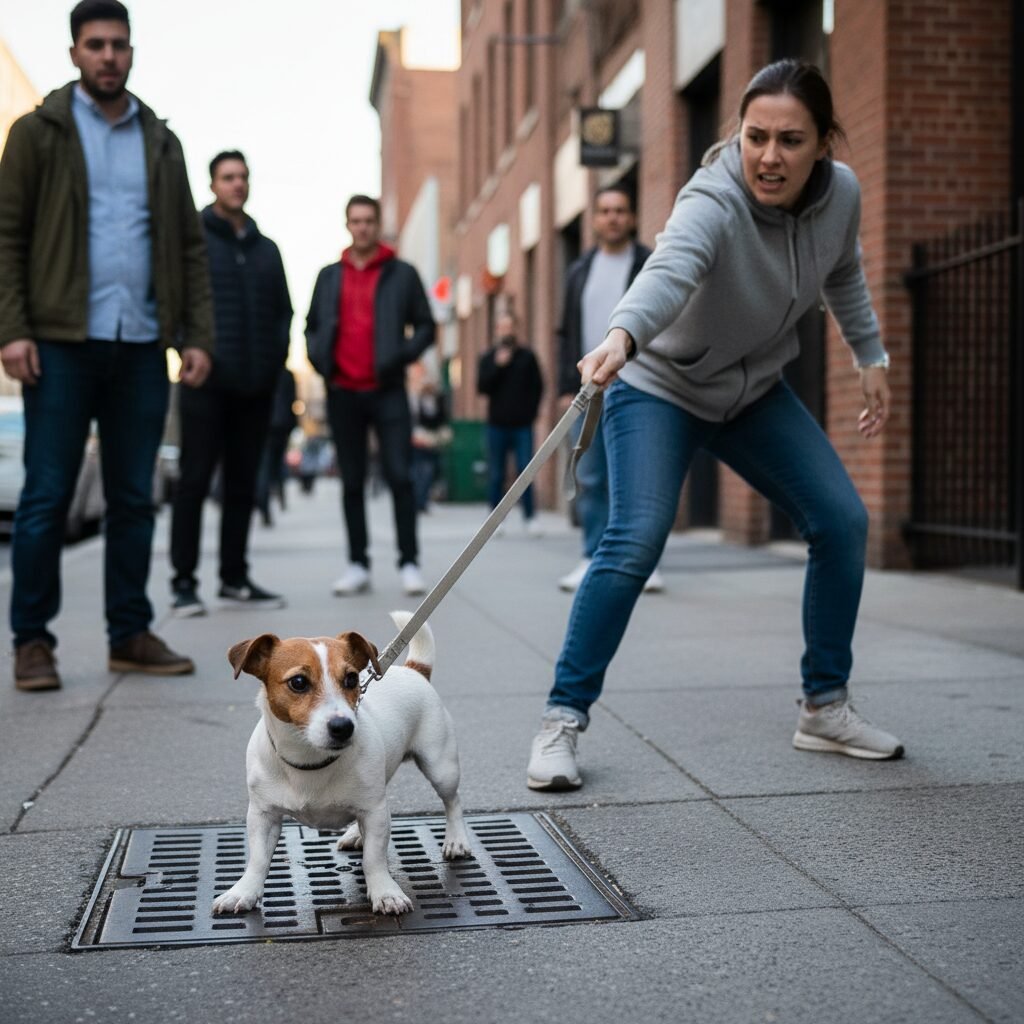
- Pulling or Dragging: This is the most damaging mistake. Forcing your dog across a grate confirms their belief that it is a terrifying place and that you are a source of that fear. It destroys trust and intensifies the phobia.
- Punishing or Scolding: Never scold, yell at, or punish a dog for showing fear. Anxiety is an involuntary emotional state. Punishment will only add more negative associations to the situation and damage your relationship with your dog.
- Flooding: Flooding is the practice of forcing a subject to confront their fear at full intensity, hoping they will ‘get over it.’ This is an outdated and cruel method that often results in a state of learned helplessness or escalates the phobia into full-blown panic.
- Rushing the Process: Every dog learns at a different pace. Be prepared for this to take days, weeks, or even months. Short, positive sessions are far more effective than long, stressful ones.
Remember, the goal is not just to get your dog across a grate; it is to genuinely change their emotional response to it. This can only be achieved through patience, empathy, and building a foundation of trust.
Management vs. Training: A Practical Approach
While you are actively working on the training protocol, you still need to navigate your daily walks. This is where management comes in. Management means changing the environment to prevent your dog from having to face the scary situation, thereby preventing the fear from being reinforced.
When and How to Manage the Fear
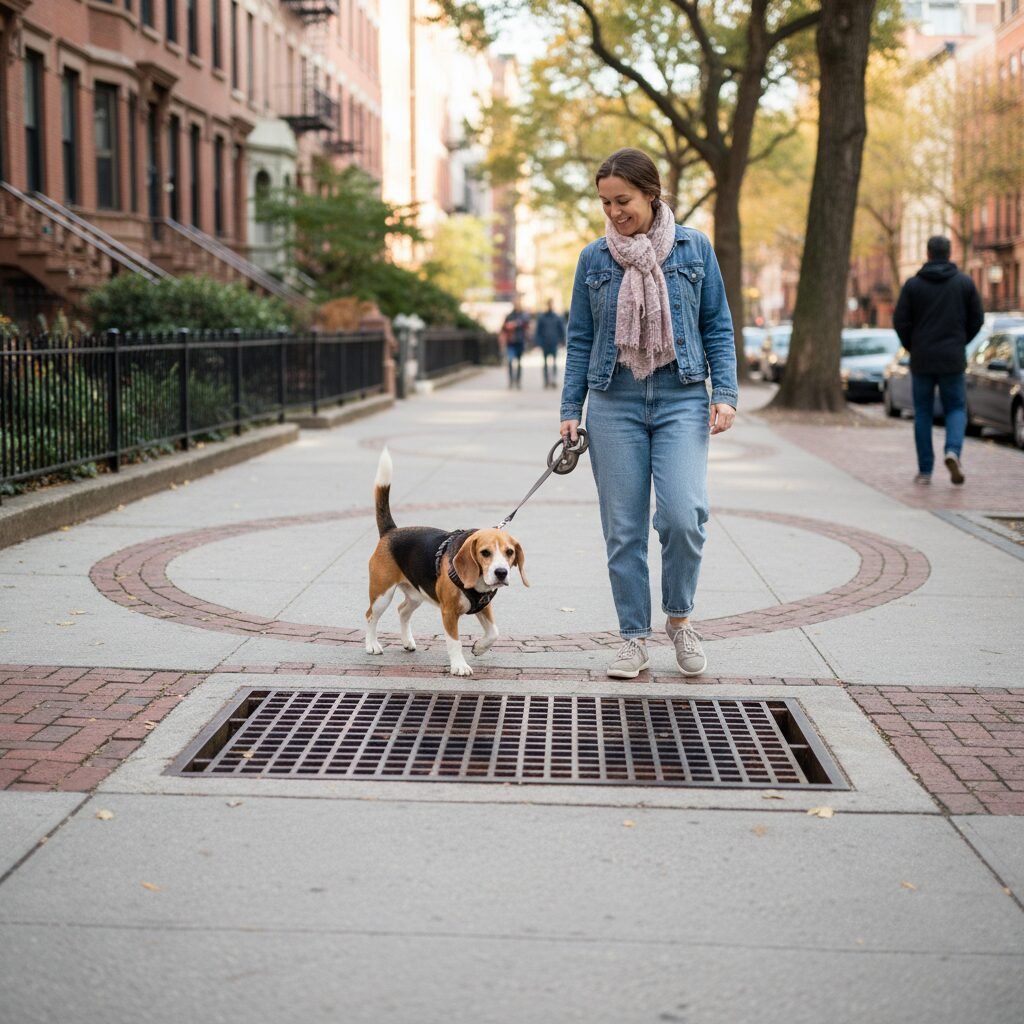
Management is not giving up; it’s a smart, temporary strategy. On a regular walk when you are not in ‘training mode,’ it is perfectly acceptable—and often advisable—to simply avoid the grates. Cross the street, take a different route, or walk in a wide arc around them. This prevents your dog from having a negative experience and practicing the freezing behavior. You cannot be training 100% of the time, and managing the situation on other occasions ensures you don’t undo your hard work.
| Strategy | Description | Best For |
|---|---|---|
| Training | Actively working on desensitization and counter-conditioning in short, planned sessions. | Dedicated time in a low-distraction environment when both you and your dog are calm and focused. |
| Management | Avoiding the trigger by changing your route or crossing the street to prevent a fear response. | Everyday walks, high-traffic areas, when you’re in a hurry, or when your dog is tired or stressed. |
When to Consult a Professional
While this guide can resolve many cases, some fears are more deeply ingrained or are part of a larger anxiety disorder. It’s time to seek professional help if:
- You see no progress after several weeks of consistent, positive training.
- Your dog’s fear is getting worse instead of better.
- The fear is accompanied by other significant anxieties (e.g., fear of traffic, noises, strangers).
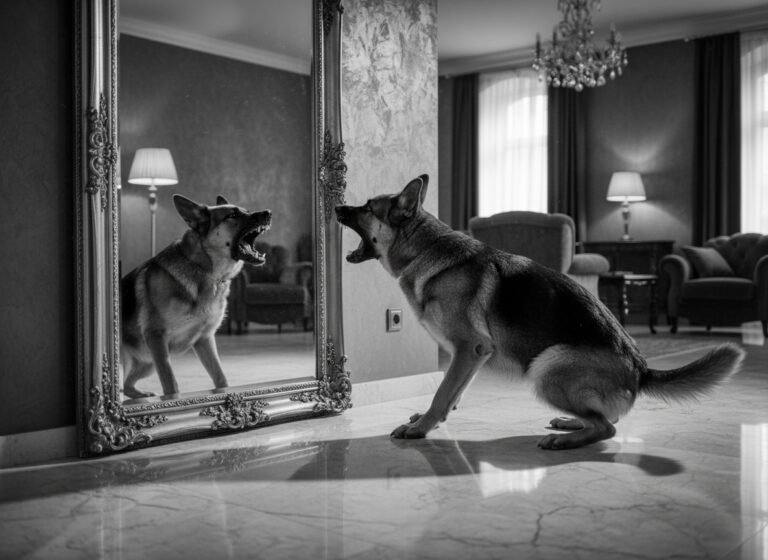
- Your dog shows signs of extreme panic, such as frantic lunging, screaming, or aggression.
Look for a qualified professional such as a Certified Professional Dog Trainer (CPDT-KA), a Certified Canine Behavior Consultant (CCBC), or a board-certified Veterinary Behaviorist (DACVB). These experts can provide a customized plan and ensure there isn’t an underlying medical issue contributing to the behavior.
Conclusion
A dog’s fear of metal grates is a legitimate and understandable reaction to a confusing sensory experience. By shifting your perspective to see the world as they do, you can approach the problem with empathy rather than frustration. The key to building your dog’s confidence lies not in force, but in fostering trust and changing their emotional associations through patient, positive training. The step-by-step protocol of desensitization and counter-conditioning empowers your dog to make their own choice, turning a source of terror into just another part of the sidewalk.
Remember to celebrate small victories, manage the environment to prevent setbacks, and never hesitate to seek professional guidance if you feel overwhelmed. Every step you take, no matter how small, is a step toward a more confident and resilient canine companion, capable of navigating the urban landscape by your side without fear.