Ear Drops Nightmare? How To Desensitize A Head-Shy Dog
Administering ear drops can feel like a wrestling match for owners of head-shy dogs. The struggle, the panic in your dog’s eyes, and the fear of causing more stress can make essential medical care feel nearly impossible. This experience, often dubbed an ‘ear drops nightmare,’ is a common frustration, but it is not an unsolvable one. Your dog’s aversion to being handled around the head isn’t a sign of defiance; it’s a profound expression of fear or discomfort, often rooted in past negative experiences, underlying pain, or a simple lack of gentle conditioning.
Understanding this core issue is the first step toward a solution. Dogs’ heads and ears are sensitive, vulnerable areas. Any handling that is too fast, too rough, or associated with pain (like that from an ear infection) can create a lasting negative impression. The key to overcoming this is not force, but finesse. By employing two powerful, humane, and scientifically-backed behavioral modification techniques—desensitization and counter-conditioning (DSCC)—you can systematically change your dog’s emotional response. Desensitization involves gradually exposing your dog to the scary thing (handling, the ear drop bottle) at a level that doesn’t provoke fear, while counter-conditioning works to change the association from negative to positive, typically by using high-value rewards. This guide will provide a detailed, professional protocol to transform ear-cleaning time from a battle into a cooperative, trust-building exercise.
Understanding the Root Cause: Is It Behavior or Pain?
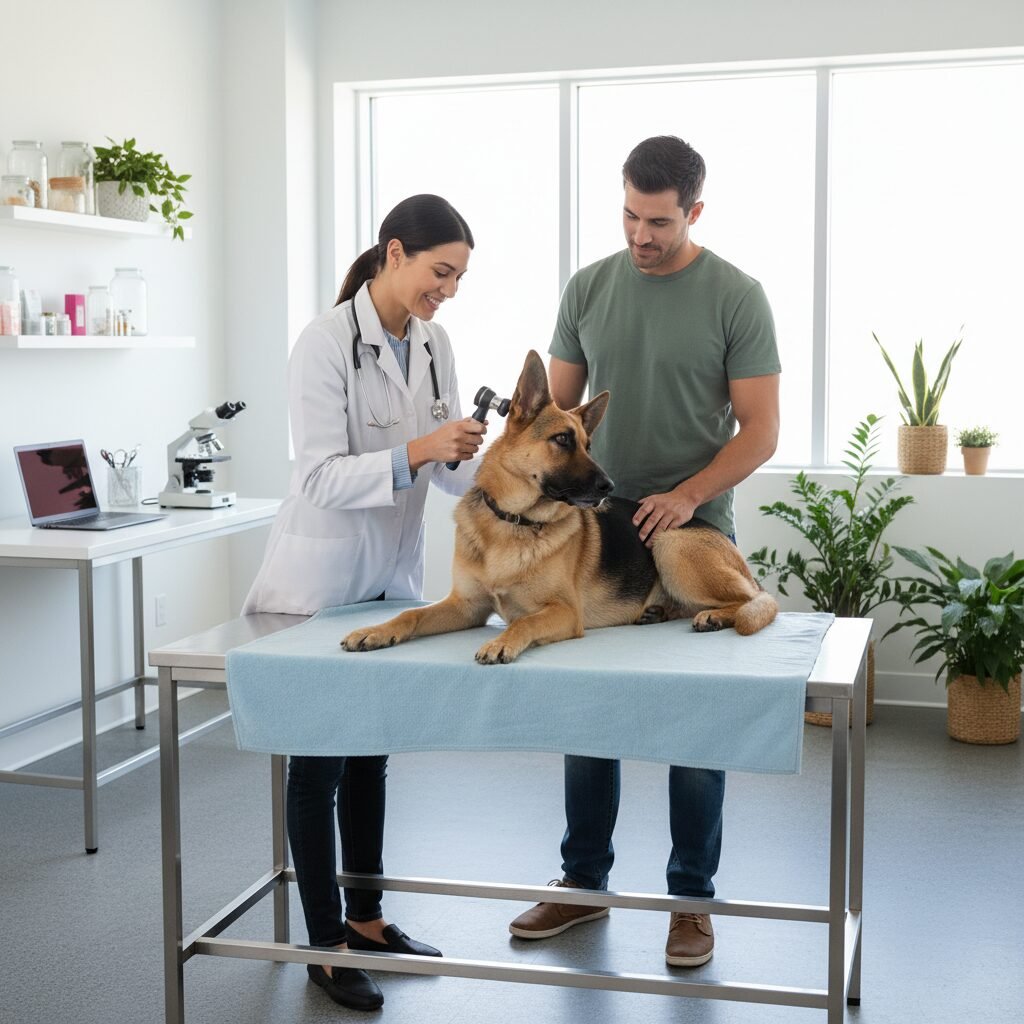
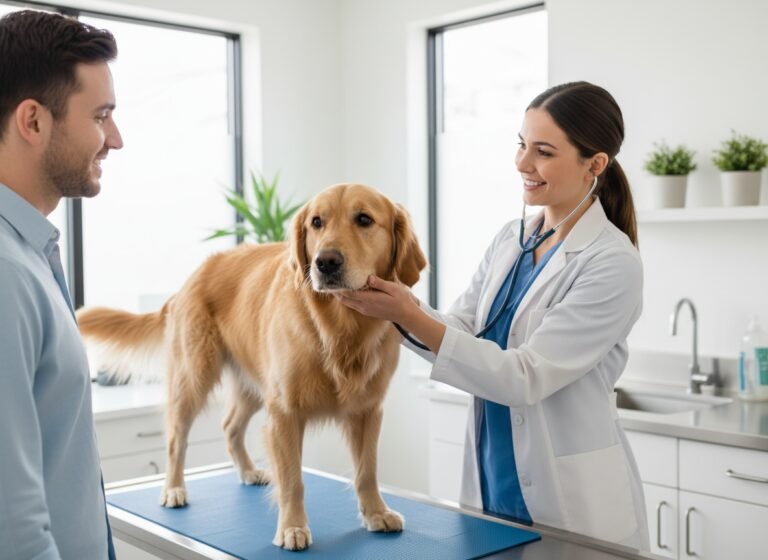
Before embarking on any training protocol, it is imperative to determine the origin of your dog’s head shyness. A sudden reluctance to have their head or ears touched is often a primary symptom of a medical issue. Ear infections (otitis externa) are incredibly common in dogs and can be intensely painful. If handling the ear causes pain, your dog will naturally develop an aversion to it as a protective measure. Attempting to train through pain is not only ineffective but also erodes the trust you have with your pet.
When to See a Veterinarian First
A veterinary consultation is the mandatory first step. Your veterinarian can perform a thorough examination to rule out or diagnose any underlying medical conditions. Be prepared to discuss:
- When the head shyness started.
- Any other accompanying symptoms, such as head shaking, scratching at the ears, odor, discharge, or balance issues.
- Your dog’s general medical history.
If an infection, mites, allergies, or a foreign body is found, your veterinarian will prescribe a course of treatment. It is crucial to understand that even after the medical issue is resolved, the behavioral aversion may remain. The dog has learned that ear handling equals pain, and this learned association must be addressed through the behavioral modification techniques outlined below. If your veterinarian gives your dog a clean bill of health, you can proceed with confidence that you are dealing with a purely behavioral issue, which may stem from a lack of early socialization, a scary past experience at a groomer or vet, or a genetic predisposition to sensitivity.
Expert Tip: Never begin a desensitization program without first getting clearance from your veterinarian. Addressing the behavior without treating potential underlying pain is unfair to your dog and will ultimately sabotage your training efforts.
Assembling Your Desensitization Toolkit

Successful training requires preparation. Having the right tools on hand before you begin a session allows the process to be smooth, positive, and effective. The goal is to create an environment where learning and positive associations can flourish. You do not need expensive equipment, but the quality and type of your rewards are paramount.
Essential Items for Your Sessions
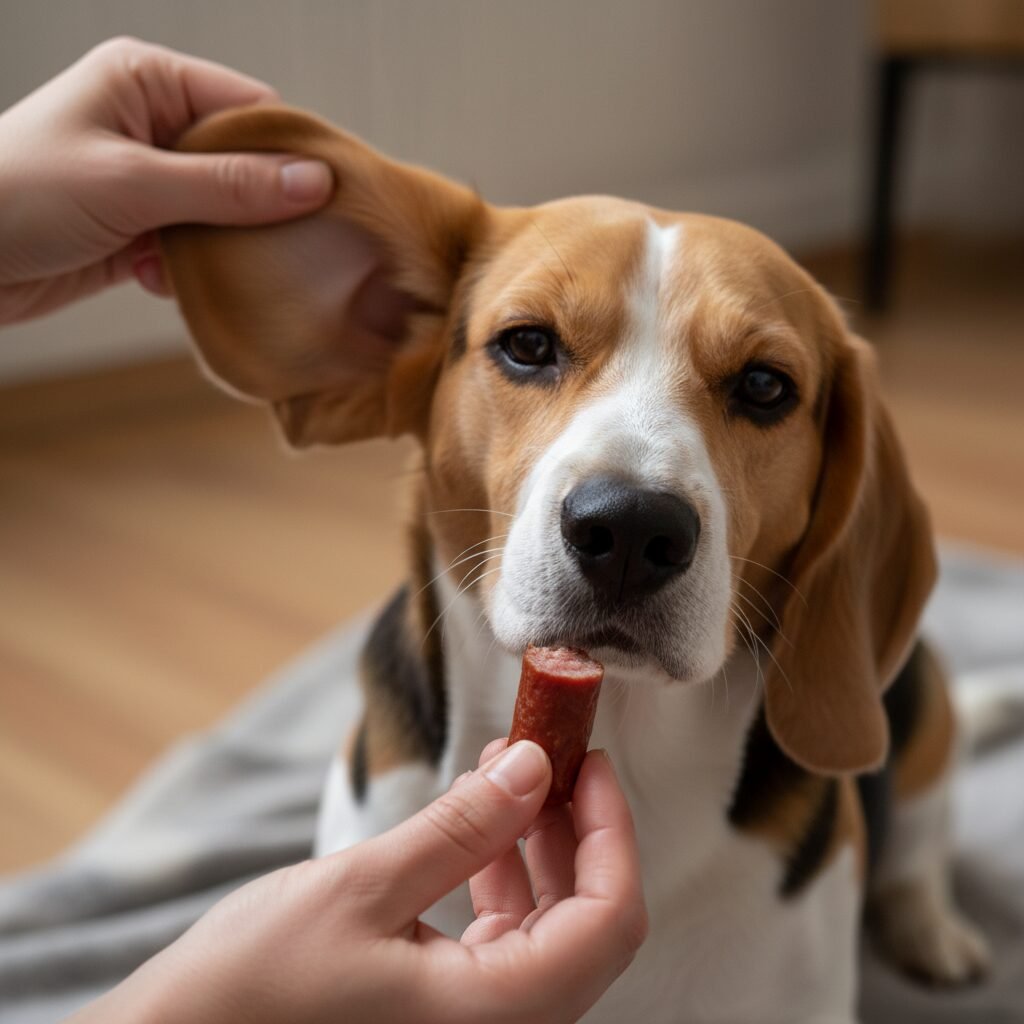
- High-Value Food Rewards: This is the cornerstone of counter-conditioning. Standard kibble will not be motivating enough to change a deep-seated fear. Your treats should be small (pea-sized to allow for rapid repetition), soft, and incredibly desirable to your dog. Think tiny pieces of boiled chicken, freeze-dried liver, small cubes of cheese, or commercial training treats specifically designed to be high-value.
- The Ear Drop Bottle (or a Prop): You will need the actual medication bottle to create a positive association with it. For initial steps, you can also use a similar-sized and shaped bottle (like a small, clean saline or eye-drop bottle) filled with water so you don’t waste medication during practice sessions.
- A Clicker (Optional): A clicker is a powerful tool for marking the exact moment your dog performs the desired behavior or exhibits a calm response. The ‘click’ is followed immediately by a treat, creating a clear and precise communication channel. If you are not familiar with clicker training, you can use a consistent verbal marker like the word “Yes!”.
- A Comfortable, Quiet Space: Choose a location in your home where your dog feels safe and there are minimal distractions. Avoid high-traffic areas or times when the household is chaotic. A comfortable rug or your dog’s bed can be an excellent training station.
Before you begin, ensure your treats are cut and ready, your clicker is in hand, and your bottle is accessible. Your focus should be entirely on your dog and their body language, not on fumbling for supplies. Keep training sessions extremely short—one to three minutes at most is ideal, especially in the beginning. Multiple short, successful sessions throughout the day are far more effective than one long, stressful one.
The Step-by-Step DSCC Protocol for Head Handling
This protocol is designed to be gradual, building upon success at each stage. The golden rule is to always work sub-threshold—that is, at a level of intensity that does not trigger a fear response from your dog. If your dog shows any signs of stress (see next section), you have moved too quickly and must go back to the previous step where they were comfortable. Patience is not just a virtue here; it is a requirement.
- Phase 1: The Bottle is a Predictor of Good Things.
Show your dog the ear drop bottle. The instant they look at it, click (or say “Yes!”) and give them a high-value treat. Put the bottle behind your back. Repeat 5-10 times. Then, place the bottle on the floor. Every time your dog sniffs or interacts with it calmly, click and treat. The goal is for your dog to see the bottle and look to you expectantly for a reward. - Phase 2: Building Comfort with General Touch.
Without the bottle present, begin conditioning your dog to your touch. Start in a place they enjoy being petted, like their chest or shoulders. Touch for one second, click/treat. Gradually move your hand closer to their neck and head area, one touch at a time, always rewarding calm behavior. This may take several sessions. - Phase 3: The Head and Ear Approach.
Once your dog is comfortable with you touching their neck and the side of their face, you can move toward the ears. Gently touch the base of the ear for a split second, then click/treat. Progress to gently stroking the ear flap (the pinna). The next step is to lift the ear flap for just a moment, click/treat, then release. Keep movements slow and gentle. - Phase 4: Combining the Bottle and the Touch.
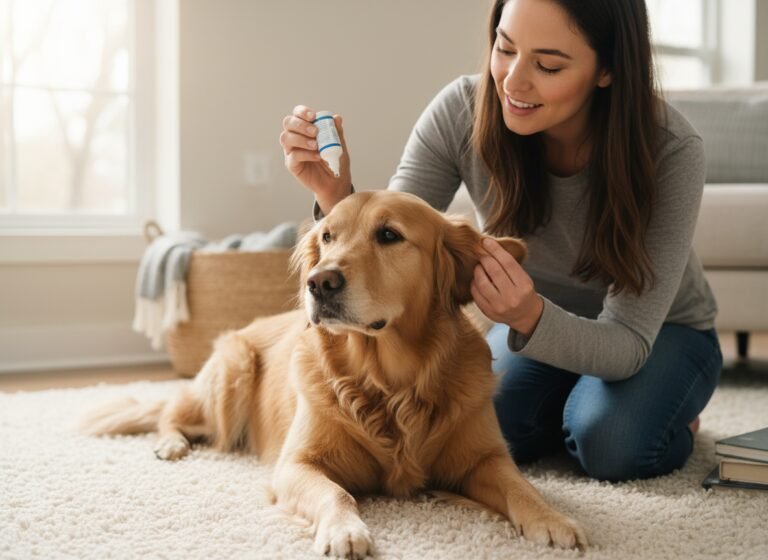
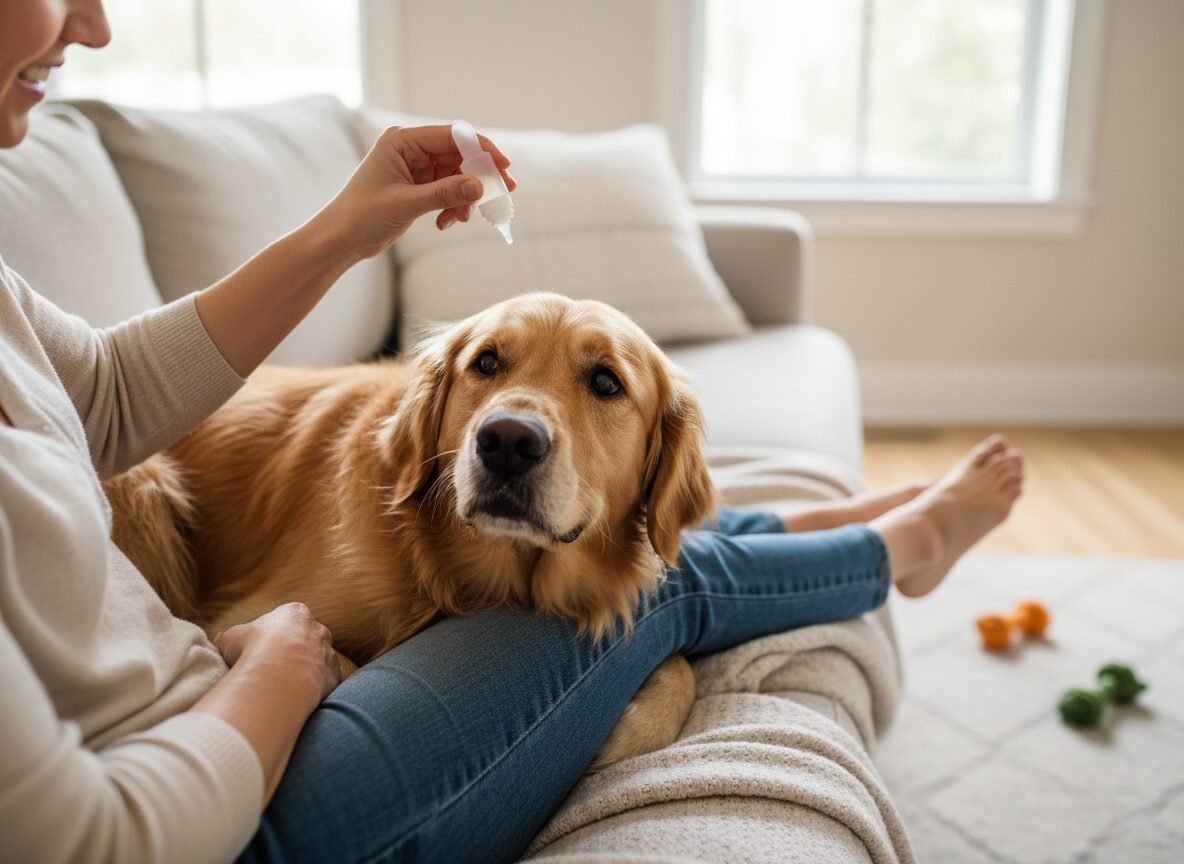
Hold the bottle in one hand and touch your dog’s shoulder with the other. Click/treat. Now, hold the bottle while you touch their head. Click/treat. The goal is to re-establish that your touch is safe, even when the ‘scary’ object is present. - Phase 5: The Bottle Approaches the Ear.
With your dog calm, hold the bottle about a foot away from their head. Click/treat. In the next repetition, move it to six inches away. Click/treat. Continue this process over many repetitions until you can bring the bottle right up to the ear without a reaction. Then, briefly touch the tip of the bottle to the fur on the ear flap. Click and deliver a ‘jackpot’—a handful of treats. - Phase 6: The Administration Simulation.
Lift the ear flap as you practiced. Bring the bottle to the ear canal opening. Hold it there for a second, then remove it. Click/jackpot. The next step is to mimic the squeezing motion with your hand without actually dispensing a drop. This simulates the final step without the surprise of the liquid. Reward generously. - Phase 7: The Real Drop.
When your dog is completely comfortable with all previous steps, it’s time for the real thing. Have a helper, if possible, to deliver treats while you work. Lift the ear, dispense one drop quickly and calmly, and immediately follow with a massive jackpot of treats and praise. Make the experience overwhelmingly positive. For the remaining dosage, you may need to do it in the next session, always ending on a high note.
Decoding Your Dog: How to Read Canine Stress Signals

Your dog communicates primarily through body language. Recognizing the subtle, early signs of stress is the most critical skill for preventing setbacks during desensitization training. Pushing a dog past their comfort level (a state known as ‘flooding’) can poison the training process and deepen their fear. When you see these signals, it is a clear communication from your dog to stop and retreat to a less intense step.
Key Indicators of Fear, Anxiety, and Stress (FAS)
- Lip Licking or Nose Licking: A quick flick of the tongue when there is no food present is a classic sign of discomfort.
- Yawning: A yawn outside of the context of being tired is often a signal that the dog is feeling conflicted or stressed.
- Whale Eye: This is when the dog turns its head slightly away but keeps its eyes on you, showing the whites (sclera). It indicates anxiety and a desire for the interaction to end.
- Freezing: A sudden stillness or rigidity in the body. The dog may hold its breath. This is a sign of intense fear, as the dog anticipates something bad happening.
- Head Turning or Averting Gaze: The dog is actively trying to avoid the situation and is offering a polite signal for you to stop.
- Lowered Body Posture: Tucking the tail, lowering the head, or cowering are more obvious signs of fear.
- Panting: Panting with a closed mouth or a tense facial expression when not hot or thirsty is a stress indicator.
Professional Advice: Treat these signals as vital information, not as disobedience. A dog showing whale eye is not being stubborn; they are communicating that they are over their threshold. Respecting this communication by backing off will build trust faster than any other part of the training.
Troubleshooting Common Issues and Mistakes

Even with the best plan, you may encounter challenges. Understanding common mistakes can help you avoid them, and knowing how to troubleshoot allows you to get back on track without derailing your progress.
Common Pitfalls and How to Correct Them
Mistake: Going Too Fast
This is the single most common reason for failure. Eagerness to solve the problem can cause owners to rush through the steps. If your dog suddenly starts reacting fearfully, you have likely skipped a crucial, smaller step in the gradient.
Solution: Take a deep breath and go back two or three steps in the protocol to the point where your dog was last completely relaxed and successful. Work from there, breaking the next step down into even smaller, more manageable increments.
Mistake: Forcing the Interaction
Restraining your dog, holding their head still, or physically forcing the bottle to their ear will only confirm their fears that this is a scary and unpleasant experience. This is the opposite of desensitization and can create a much more severe, aggressive response.
Solution: Never use force. The dog must always have the choice to move away. The training is about making them want to participate because it predicts wonderful things (treats).
Mistake: Inconsistent or Low-Value Rewards
Using your dog’s regular kibble or a dry biscuit is unlikely to be motivating enough to outweigh their fear. The reward must be more powerful than the scary stimulus.
Solution: Re-evaluate your treats. Conduct a ‘taste test’ to see what your dog truly goes crazy for. Reserve this special treat exclusively for ear care training to keep its value high.
Mistake: Only Training When Drops Are Needed
If you only practice this handling when your dog has a painful ear infection and you need to medicate, the association will always be with pain and stress.
Solution: Practice ‘happy handling’ all the time, even when your dog’s ears are healthy. Briefly lift an ear flap and give a treat. Gently handle their muzzle and give a treat. This builds a bank of positive experiences that you can draw upon when medical care is necessary.
Conclusion
Transforming your dog’s fear of ear drops from a nightmare into a manageable, even positive, experience is a testament to the power of patience and communication. The principles of desensitization and counter-conditioning are not quick fixes; they are a systematic investment in your dog’s emotional well-being and a profound exercise in building mutual trust. By proceeding at your dog’s pace, learning to read their subtle signals, and making every interaction as positive as possible, you are not just teaching them to accept handling—you are strengthening the very foundation of your relationship.
Remember that every dog is an individual, and progress will vary. Celebrate small victories and do not become discouraged by setbacks. However, if your dog’s fear is severe, if they show any signs of aggression, or if you are not making progress, do not hesitate to seek professional help. A board-certified veterinary behaviorist or a certified professional dog trainer specializing in fear and anxiety can provide a customized plan and expert guidance to ensure both you and your dog succeed safely.