The 15-Minute Method to Teach Any Dog (Even Scared Ones) to Use a Doggie Door
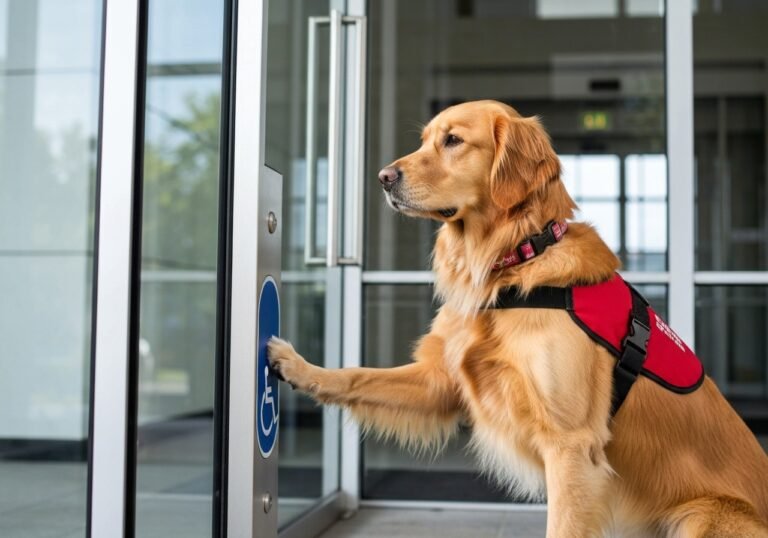
Granting a dog the freedom to move between the house and a secure yard is a significant upgrade to their quality of life—and a major convenience for you. No more early morning wake-up calls or rushing home to prevent accidents. A doggie door is a gateway to independence. However, what seems like a simple portal to us can appear to be a strange, unpredictable barrier to a dog, especially one with a cautious or fearful disposition. Many pet owners install a doggie door with high hopes, only to find their canine companion utterly refuses to use it.
This is where effective, positive training is paramount. Forget forceful methods or waiting weeks for your dog to figure it out. We present the 15-Minute Method, a structured, game-based approach designed to build confidence and create a positive association with the doggie door. This guide will break down the process into manageable, time-boxed steps that respect your dog’s pace. We will also provide specialized strategies tailored to help anxious or scared dogs overcome their hesitation, ensuring this training journey is a success for every type of canine personality.
Foundations for Success: Preparing Your Dog and the Environment
Before the timer for your 15-minute session starts, a few minutes of preparation can dramatically increase your chances of success. Rushing into the training without the right setup can create confusion and anxiety. A successful outcome depends on having the correct equipment and cultivating a positive atmosphere.
Choosing the Right Door
The doggie door itself is the most critical piece of equipment. An improperly sized or designed door can be uncomfortable or even frightening.
- Size: The opening should be at least two inches taller than your dog at the withers (the highest point of their shoulders) and two inches wider than their broadest part (usually the chest or hips). When in doubt, err on the side of a slightly larger door.
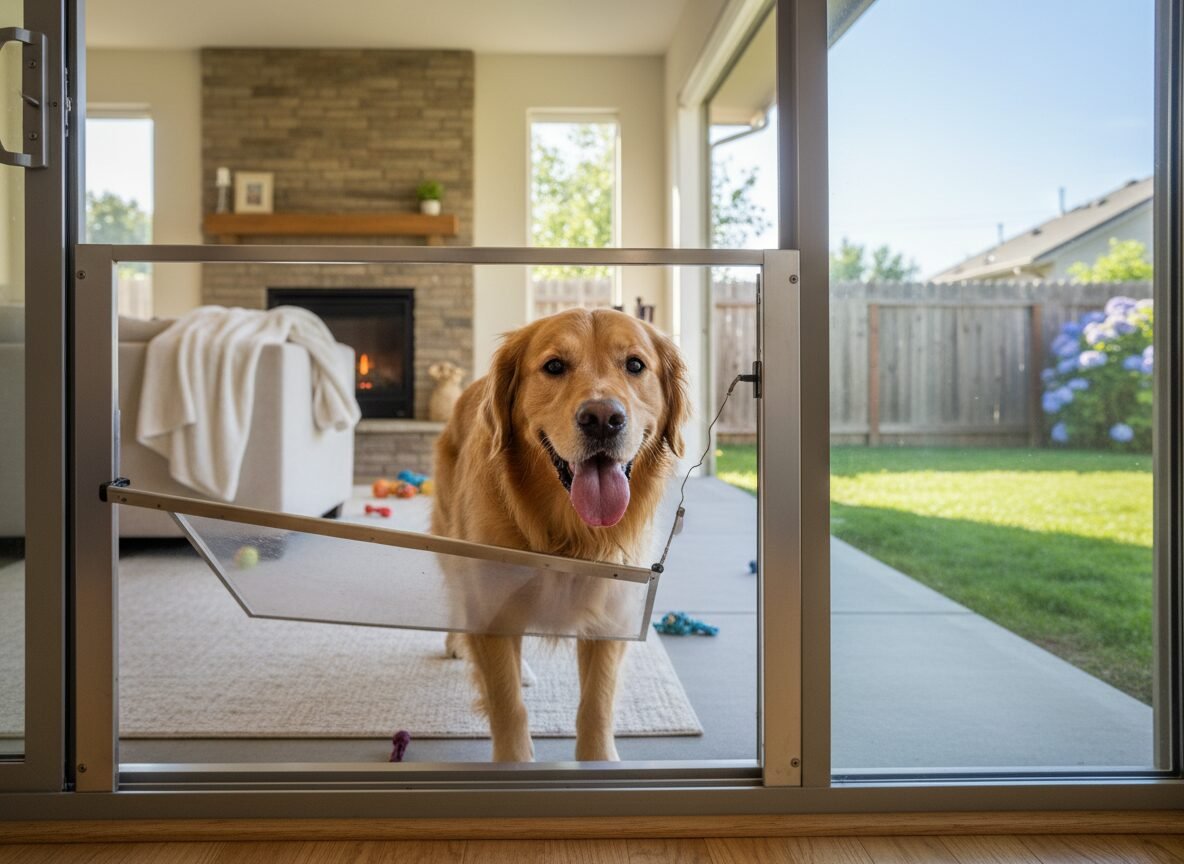
- Flap Type: For timid dogs, a door with a flexible, lightweight, and transparent flap is ideal. It feels less intimidating to push and allows them to see what’s on the other side. Some models feature multiple panels or magnetic closures; while great for insulation, the ‘snap’ of the magnet can startle a nervous dog initially. You can temporarily tape the magnet to mute the sound during the first training phases.
Gathering Your Training Toolkit
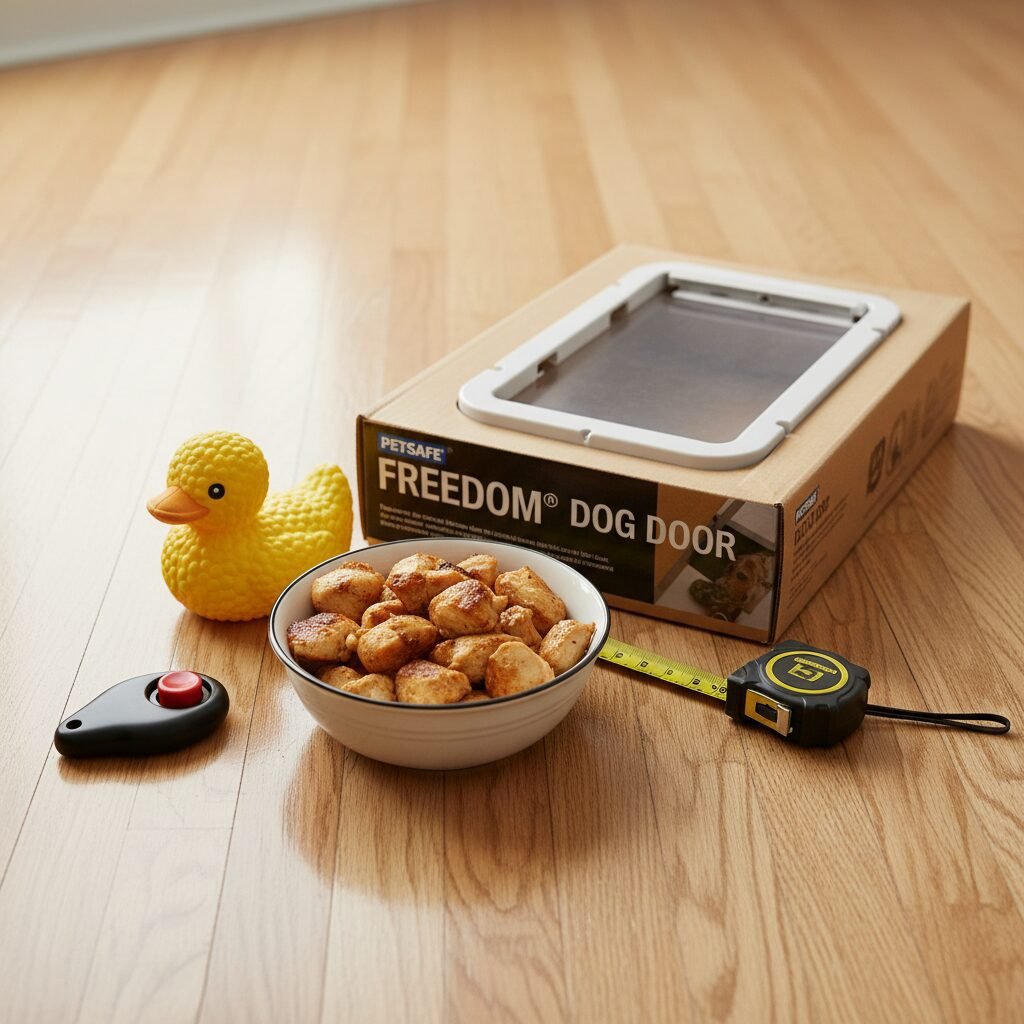
This method relies on high-value rewards to motivate your dog. Your regular kibble likely won’t be enticing enough to encourage them to push through a strange barrier. Assemble these items before you begin:
- High-Value Treats: These should be small, soft, and something your dog absolutely loves but doesn’t get every day. Think tiny pieces of boiled chicken, cheese, hot dogs, or commercial training treats with a strong aroma.
- A Training Partner: While not strictly necessary, having a second person makes the process significantly smoother. One person can be outside encouraging the dog while the other is inside.
- A Positive Attitude: Your dog is highly attuned to your energy. Approach this as a fun, exciting game, not a chore. Keep your voice light and encouraging throughout.
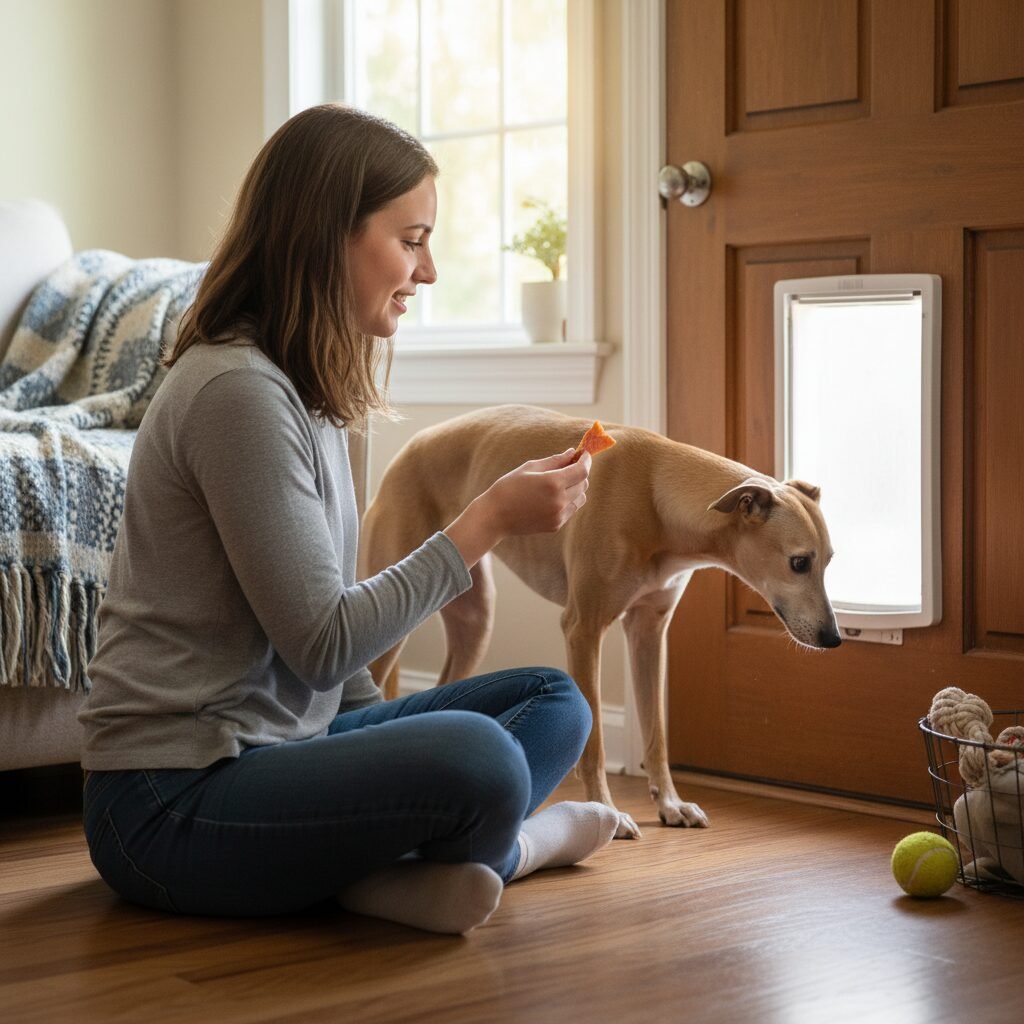
Creating a ‘Fun Zone’
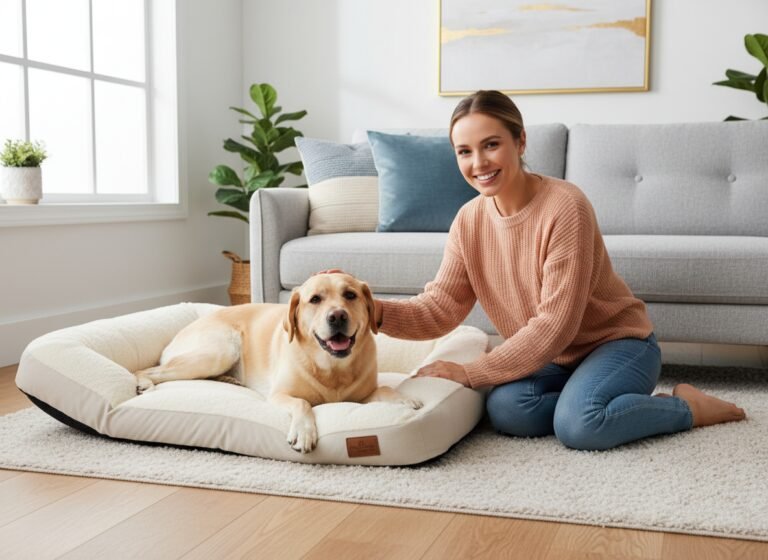
In the hour or so before you plan to train, make the area around the doggie door a wonderful place to be. Play with their favorite toy near the door. Scatter a few treats on the floor nearby. The goal is to dismantle any pre-existing apprehension about that specific wall or door. You want them to think, “Great things happen here!” before the flap is even a factor.
The 15-Minute Method: A Step-by-Step Training Protocol
This protocol is designed to be completed in a single, focused 15-minute session. Set a timer and treat it like a game. The key is rapid, positive reinforcement for every small step in the right direction. If your dog is particularly fearful, you may need to spend more time on the initial steps.
To begin, secure the doggie door flap in a fully open position. You can use strong tape or a clamp to hold it up, creating an unobstructed opening.
- Minutes 1-3: Head Through the Hole (Acclimation)
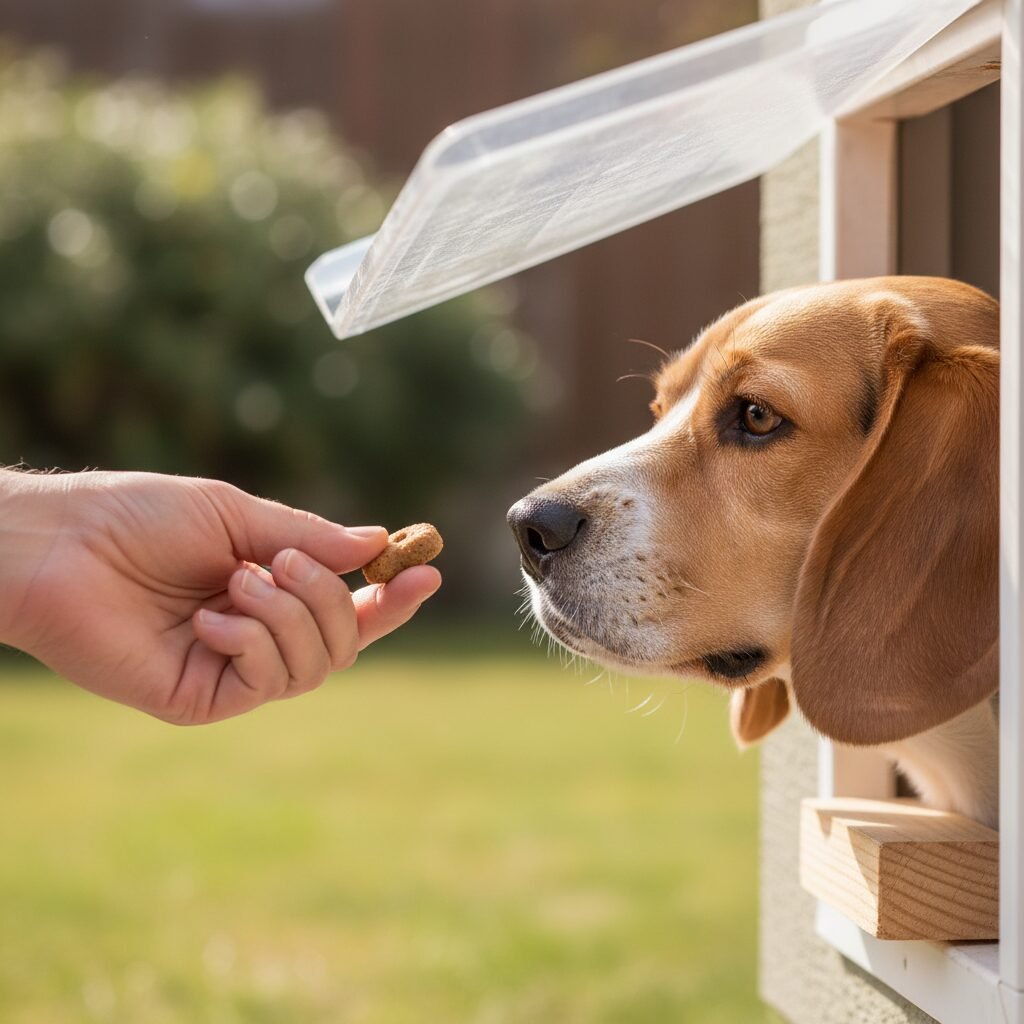
With one person on each side of the door (or by yourself, reaching through), use a high-value treat to lure your dog’s nose, and then their whole head, through the open portal. The moment their head is through, mark the behavior with an enthusiastic “Yes!” and give them the treat. Don’t push them; let them retreat if they want. The goal is just to get their head through willingly. Repeat this 5-10 times, building excitement. - Minutes 4-7: Full Body Passage (Propped Open)
Now, toss a treat just on the other side of the opening, encouraging your dog to step all the way through to get it. If you have a partner, have them offer the treat and give lots of praise once the dog comes through. Celebrate with a “doggie door party” each time they successfully pass through the opening. The goal is to make going through the portal the most exciting thing in the world. Repeat from both directions. - Minutes 8-11: Introducing the Flap’s Touch
Un-tape the flap and let it hang. If you have a partner, have them hold the flap mostly open, so it just barely brushes your dog’s back as they come through for a treat. If you are alone, you can prop it partially open. The goal is for them to feel the light touch of the flap without being startled. Reward lavishly for any successful pass-through, no matter how hesitant. - Minutes 12-15: The Final Push
This is the final boss battle. Let the flap hang completely closed. With maximum enthusiasm, show your dog the super-high-value treat and toss it just on the other side, or have your partner call them excitedly while showing the reward. You may need to give the flap a gentle push yourself to show them what to do. The moment they push their head through and make it to the other side, throw the biggest celebration yet. Lots of praise, multiple treats, and cheering. Repeat a few times in both directions to solidify the concept.
Expert Tip: Keep the training session short and end on a high note. If your dog successfully pushes through the flap on minute 13, it’s better to stop there with a huge success than to push them until they get tired or frustrated.
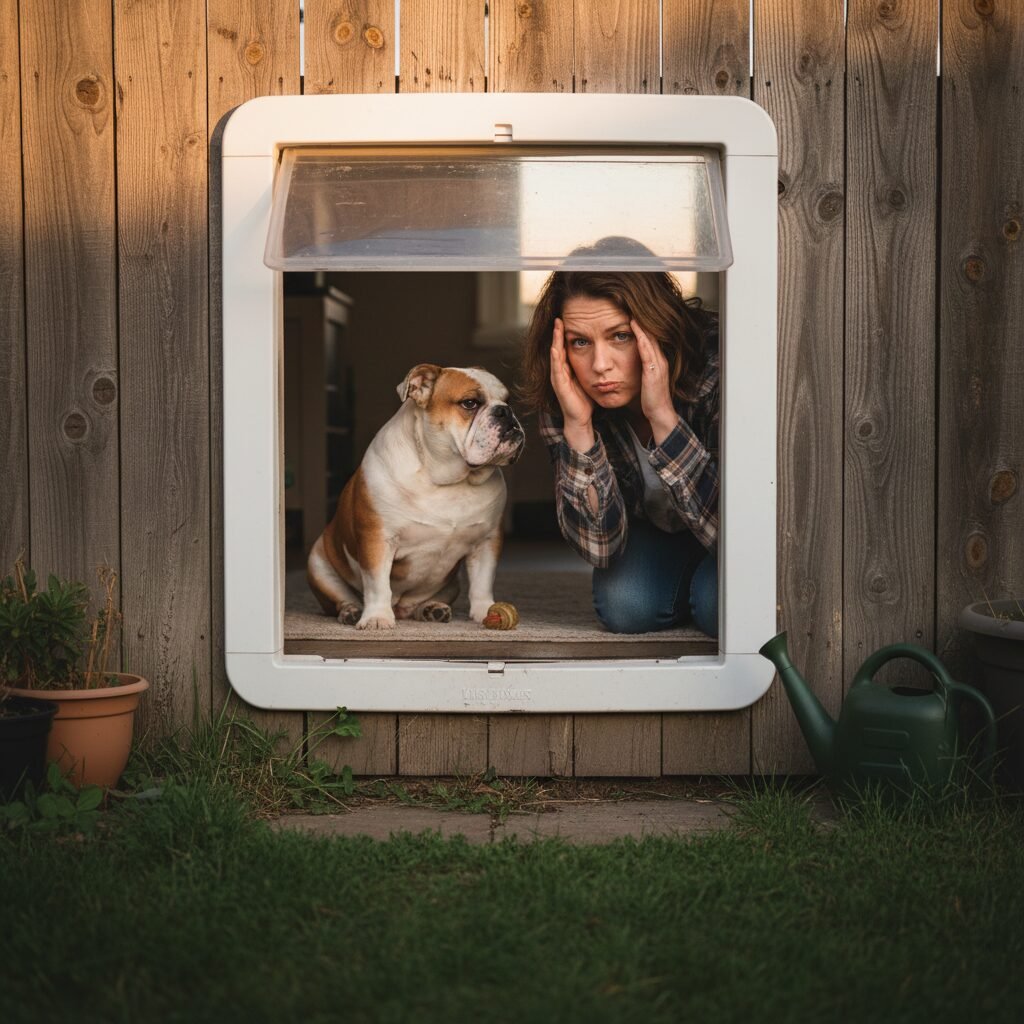
Special Considerations for Scared and Anxious Dogs
The 15-minute timeline is a goal, not a strict rule. For a dog with a history of fear, anxiety, or a generally cautious nature, the process must be adapted. The guiding principle is to break down each step into even smaller, more manageable pieces. Your job is to build confidence, not force compliance.
Desensitization and Counter-Conditioning
Fearful dogs often react to specific triggers associated with the door. We need to change their emotional response from fear to anticipation of something good. This is called counter-conditioning.
- Sound Desensitization: The ‘click’ of a magnetic flap or the ‘thwack’ of a plastic one can be terrifying. Start by simply touching the flap yourself. Tap it lightly. Each time you make the sound, immediately toss your dog a high-value treat. They will start to associate the sound with the reward. Do this until they hear the sound and look to you for a treat instead of flinching.
- Touch Desensitization: Some dogs dislike the feeling of the flap on their backs. Begin by lifting the flap with your hand and gently touching it to their back while feeding them a steady stream of treats. Lift it away, stop the treats. Repeat. They will learn that the touch of the flap predicts wonderful things.
The ‘No-Flap’ Phase
For extremely phobic dogs, the most effective first step is to remove the flap entirely for a day or two. This allows them to get completely comfortable passing through the static opening. You can temporarily cover the hole with cardboard at night or when you are away. Once they are using the hole without a second thought, you can re-introduce the flap, starting with the desensitization exercises above.
Patience is Non-Negotiable
With a fearful dog, you are a confidence builder first and a trainer second. Never push, pull, or force your dog through the door. This will only validate their fears and can ruin any trust you’ve built. Every interaction with the door must be positive. If they approach it and sniff, reward them. If they put one paw through, reward them. Celebrate every tiny bit of progress. Your patience will be rewarded with a dog who not only uses the door but does so with confidence.
Troubleshooting Common Doggie Door Dilemmas
Even with the best training plan, you might encounter some common roadblocks. Understanding why these issues occur and how to address them can prevent frustration for both you and your dog.
| Problem | Reason | Solution |
|---|---|---|
| One-Way Traffic (Dog will go out but not in, or vice-versa) | The dog has built a positive association with only one direction, or the view from one side is more intimidating. | Dedicate a short training session exclusively to the direction they are avoiding. Make the ‘scary’ side the ‘party’ side with extra high-value treats and praise. Ensure nothing is blocking the path on either side. |
| Fear of the ‘Snap’ | The sound of the magnetic closure is startling and acts as a negative punishment each time they use the door. | Temporarily apply a small piece of painter’s tape or duct tape over the magnets to soften or eliminate the closing sound. Once the dog is using the door confidently, you can remove the tape. |
| Hesitation or Abandonment After Initial Success | The dog may have had a single bad experience (e.g., the flap pinched their tail) or the initial novelty and high-value treats have worn off. | Go back a few steps in the training protocol. Re-tape the flap open and have a few ‘doggie door parties’ to rebuild the positive association. Ensure the door is operating smoothly and isn’t sticking. |
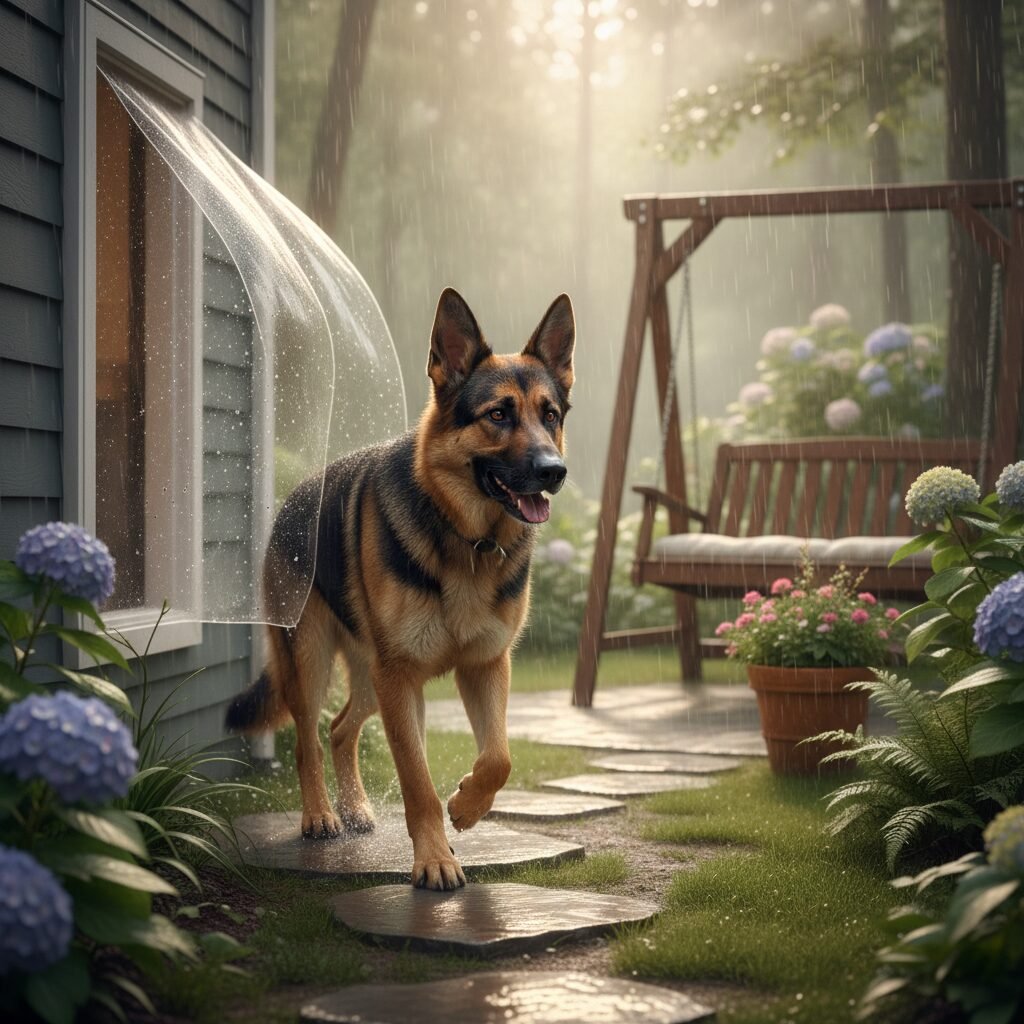
| Refusal to Use in Bad Weather | Many dogs dislike rain, snow, or wind. They don’t see the point of going out into unpleasant conditions. | Do not force them. However, you can make the outside more appealing. On a rainy day, stand outside under an umbrella and call them in an excited voice with a super special treat. This teaches them that good things happen even when the weather is bad. |
| Body-Slamming the Door | An over-exuberant dog might run full-speed at the door instead of pushing gently. This can damage the door and is unsafe. | Work on impulse control. Practice ‘wait’ and ‘go through’ commands. Prop the flap open and make them wait for a release cue before going through. This teaches them to approach the door with more thought. |
Beyond the 15 Minutes: Solidifying the Skill for Long-Term Success
The 15-minute session is designed to achieve the initial breakthrough—the ‘aha!’ moment when your dog understands the concept of the door. True mastery, however, comes from reinforcement and generalization. The goal is for the doggie door to become a boring, normal part of the house that they use without a second thought.
Fading the Lure and Rewards
You cannot be a doggie door concierge forever. Once your dog is reliably using the door, it’s time to phase out the constant treating.
- Intermittent Reinforcement: Start by rewarding them for every other passage, then one in every three. This type of unpredictable reward schedule is very powerful and keeps the behavior strong.
- Switch to Life Rewards: Instead of a treat, the reward becomes the thing they want—access to the yard. Praise them warmly, but let the act of going outside be its own reward.
- Phase Out the Partner: Stop calling them through the door. Let them start making the choice to use it on their own when they need to go out. The goal is autonomy.
Generalizing the Behavior
Your dog needs to understand that the door works all the time, not just when you are standing there in ‘training mode’.
- Vary the Context: Encourage them to use it when you’re in a different room, when guests are over, or when the dishwasher is running. This helps them generalize the skill across different environmental conditions.
- Weather Proofing: As mentioned in troubleshooting, don’t let the first time they experience the door in the rain be when they desperately need to potty. Do a few fun training sessions during light rain or on a windy day, rewarding them for their bravery.
Long-Term Management and Safety
A doggie door is a tool, and like any tool, it requires responsible management. Consider the security of your yard—is the fence high enough and in good repair? Are there local predators like coyotes that could be a concern? For smaller dogs, be aware of hawks or owls. Additionally, if you have a pool, ensure it is securely fenced off from the dog’s access point. A doggie door offers incredible freedom, but that freedom comes with the responsibility of ensuring their environment is consistently safe.
Conclusion
Teaching your dog to use a doggie door is more than a matter of convenience; it’s an investment in their autonomy and well-being. The 15-Minute Method proves that with the right approach—one grounded in patience, positive reinforcement, and an understanding of canine psychology—this seemingly daunting task can be a quick and enjoyable bonding experience. Remember that for a timid dog, you are not just teaching them to go through a flap; you are building their confidence and showing them they can trust your guidance when facing something new and scary.
By preparing properly, following the steps, and being ready to adapt to your dog’s unique personality, you can successfully open up a new world for your companion. Celebrate the small victories, manage any setbacks with patience, and soon you’ll wonder how you ever lived without the freedom and flexibility that a doggie door provides for the whole family.