Stop the Depression: Make the Cone of Shame Fun (Really!)
The sight of a dog wearing an Elizabethan collar, colloquially known as the ‘cone of shame,’ often elicits a mix of sympathy and amusement. For pet owners, however, it signals the start of a challenging recovery period. While this device is medically essential—preventing a dog from licking, biting, or scratching at wounds, sutures, or hot spots—it can significantly impact a dog’s mental well-being. The restricted vision, muffled hearing, and general clumsiness can lead to anxiety, frustration, and behaviors that owners often describe as depression. But recovery does not have to be a miserable sentence. With a proactive approach rooted in behavioral science and positive reinforcement, you can fundamentally change your dog’s perception of the cone. This guide will provide a detailed, step-by-step framework for not only helping your dog tolerate the E-collar but making the experience as stress-free and positive as possible, ensuring a smoother, safer, and happier healing process for your beloved companion.
Understanding the ‘Cone Blues’: Why Dogs Despise the E-Collar

Before we can solve the problem, we must first understand it from a canine perspective. A dog’s negative reaction to an E-collar is not petulance; it’s a genuine response to significant sensory and physical disruption. By empathizing with their experience, we can better address the root causes of their distress.
Sensory Deprivation and Amplification
Dogs navigate their world through a rich tapestry of senses. The cone fundamentally alters their two most critical ones: vision and hearing. Peripheral vision is almost entirely eliminated, which can be incredibly disorienting and anxiety-inducing. A dog may be easily startled by people or objects approaching from the side, leading to a state of hyper-vigilance. Simultaneously, the cone’s shape can amplify sounds, creating an echo-chamber effect that distorts familiar noises and makes new ones seem more threatening. This sensory double-whammy places the dog in a constant state of low-grade stress.
Physical and Logistical Challenges
Imagine navigating your home while wearing a lampshade. This is the reality for a dog in a cone. Simple actions become complex challenges. The rigid plastic constantly bumps into doorways, furniture, and even their owner’s legs, providing jarring and unpleasant feedback. Eating and drinking are particularly difficult, as the cone’s rim obstructs access to bowls. Finding a comfortable sleeping position can feel impossible, leading to poor rest and increased irritability. These cumulative physical frustrations are exhausting and contribute significantly to the dog’s overall misery.
Expert Tip: A dog’s perceived ‘depression’—lethargy, lack of interest in play, and social withdrawal—is often a direct result of the chronic stress, frustration, and sensory overload caused by the E-collar. It is a behavioral response to a difficult situation, not a sign of disobedience.
Step 1: The Foundation – Proper Fitting and Modern Alternatives
The first and most critical step in this process is ensuring the equipment itself is appropriate and comfortable. An ill-fitting cone is a recipe for disaster, causing chafing, extreme discomfort, and potential escape. Furthermore, the traditional hard plastic cone is no longer the only option available. Choosing the right tool for your specific dog and their recovery needs can make a world of difference.
Ensuring a Perfect Fit
A correctly fitted E-collar is paramount for both safety and comfort. Follow these guidelines:
- Length: The cone must extend approximately 2-3 inches beyond the tip of your dog’s nose. If the dog can reach its wound with its tongue, the cone is too short.
- Neck Circumference: You should be able to comfortably slip two fingers between the collar and your dog’s neck. Too tight, and it will cause chafing and restrict breathing. Too loose, and the dog may pull it off.
The collar should be attached to your dog’s own secure, flat collar to prevent it from being pushed off. Never attach it to a choke chain or slip lead.
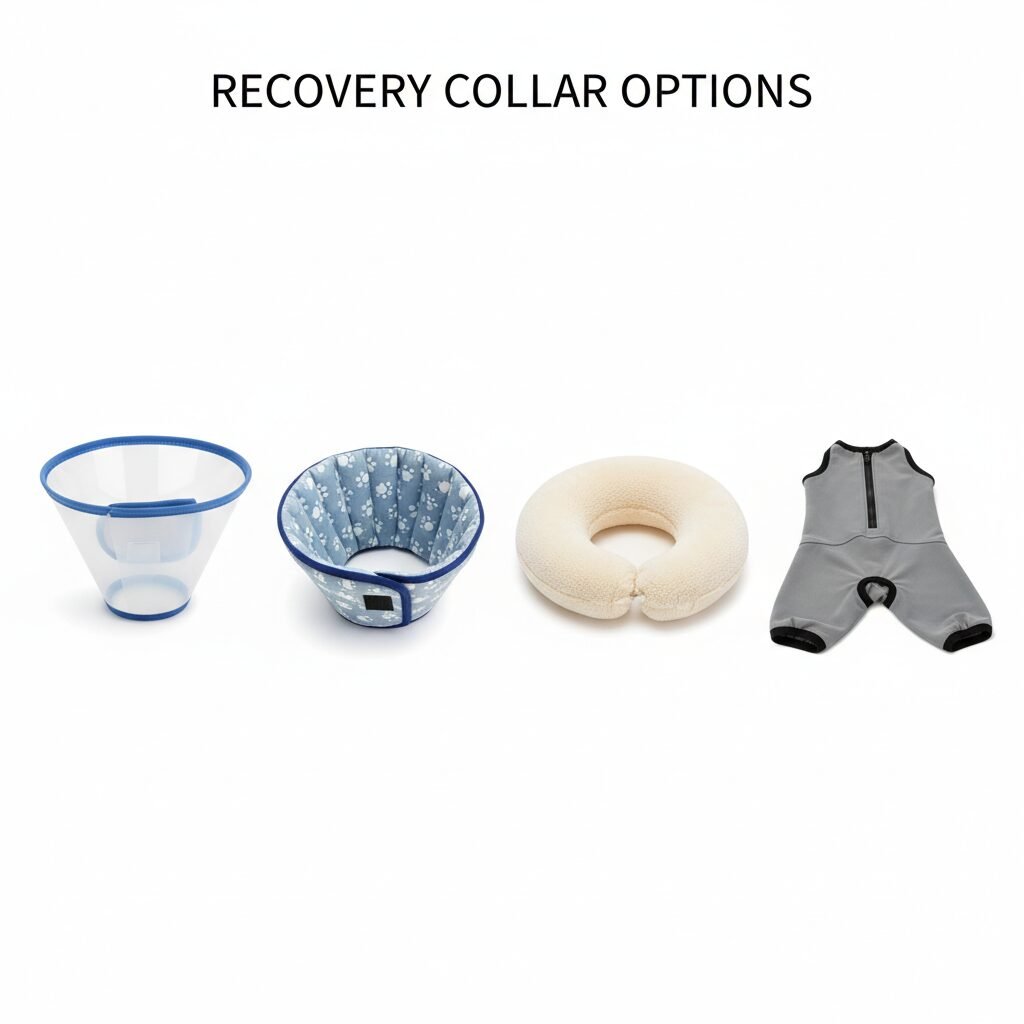
Exploring Modern Alternatives
Veterinary medicine has advanced, and so have recovery collars. Depending on the location of the wound and your dog’s temperament, one of these alternatives might be a superior choice.
| Collar Type | Pros | Cons |
|---|---|---|
| Traditional Plastic Cone | Most effective for preventing access to all body parts; durable; relatively inexpensive. | Obstructs vision and hearing; clumsy; can be stressful; uncomfortable for sleeping. |
| Soft Fabric Cone | More comfortable; flexible material is gentler on furniture and legs; allows for more comfortable rest. | May not be rigid enough to prevent a determined dog from reaching certain areas (e.g., face, paws). |
| Inflatable ‘Donut’ Collar | Does not obstruct vision or hearing; allows for easy eating and drinking; generally well-tolerated. | Does not protect eyes, ears, or paws; can be punctured; not suitable for very long-snouted breeds. |
| Recovery Suit/Onesie | Protects torso wounds comfortably without restricting the head; allows full mobility and vision. | Does not protect limbs, tail, or head; dog may still chew through the fabric; must be removed for potty breaks. |
Consult with your veterinarian to determine which option provides the necessary protection for your dog’s specific injury while maximizing their comfort.
Step 2: The Acclimation Process – Creating Positive Associations
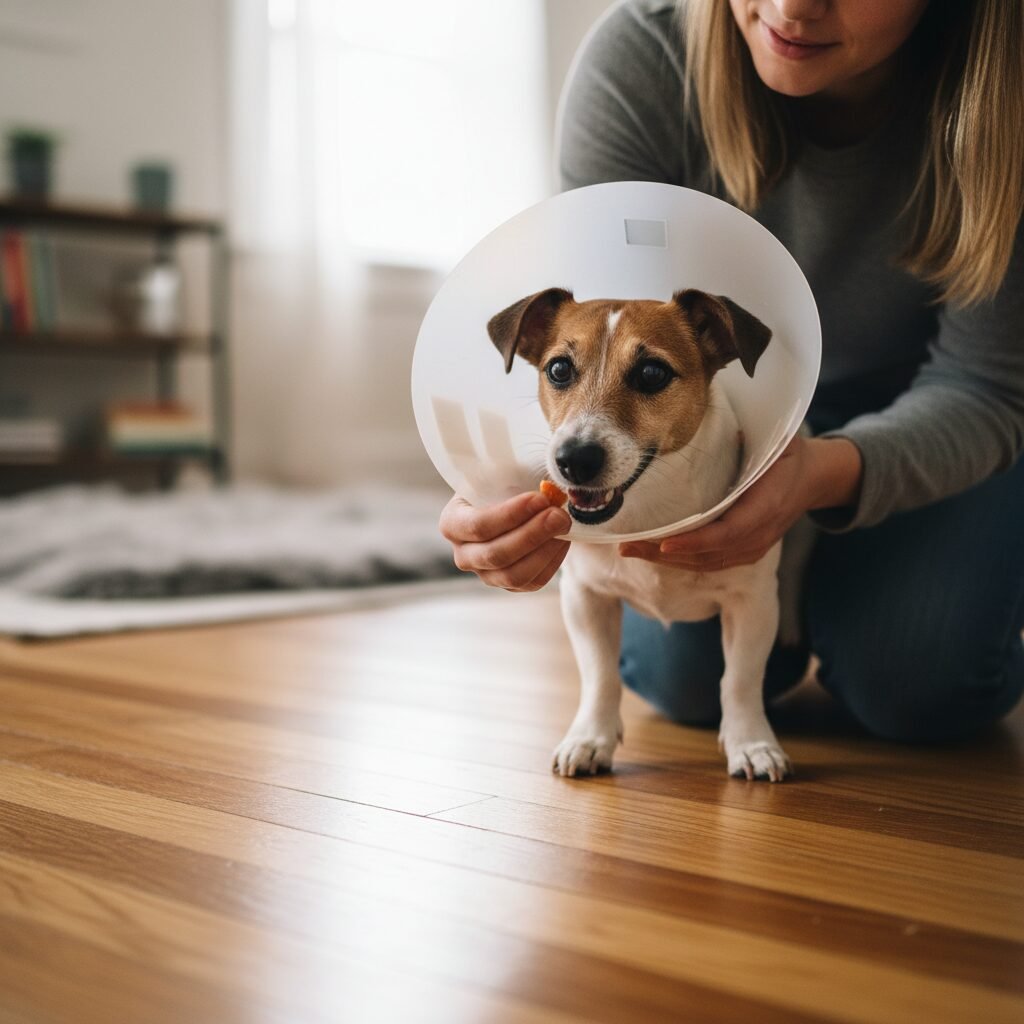
The goal of this step is to change your dog’s emotional response to the cone from fear and anxiety to neutrality or even positive anticipation. This is achieved through classical conditioning, pairing the cone with something your dog loves, like high-value treats. If possible, begin this process before a scheduled surgery.
- Neutral Introduction: Place the cone on the floor in a common area. Let your dog investigate it at their own pace. Any time they sniff or touch it, praise them enthusiastically and give them a very tasty treat (like small pieces of chicken or cheese). Do this for a few minutes, then put the cone away. Repeat several times throughout the day.
- Luring and Rewarding: Once your dog is comfortable near the cone, hold it in your hands and use a treat to lure their nose into the wide opening. As soon as their nose is inside, give them the treat and let them pull their head back out. Repeat this ‘game’ until they are eagerly putting their nose in.
- Brief Wearing with High-Value Rewards: After they are confident with luring, gently place the cone over their head and fasten it. Immediately give them a ‘jackpot’ of treats—a continuous stream of small, delicious morsels for 5-10 seconds. Then, calmly remove the cone before the treats stop and before they show signs of stress. The goal is to end the session on a high note.
- Gradual Duration Increase: Slowly extend the amount of time they wear the cone during these positive sessions. Move from seconds to a full minute, all while providing treats, praise, or a favorite toy. If at any point your dog shows signs of panic (freezing, frantic pawing, thrashing), you have moved too fast. Go back a step and work at a slower pace.
This patient, reward-based process teaches your dog that the appearance of the cone predicts wonderful things, fundamentally altering their perception of it.
Step 3: Adapting the Environment and Daily Routines
Once your dog must wear the cone full-time, your role shifts to being their ‘seeing-eye person’ and home engineer. Modifying your environment and routines will minimize frustration and help your dog navigate their world more successfully.
Creating a Cone-Friendly Home
Walk through your home from your dog’s perspective. Move coffee tables, floor lamps, and decorative items to create wider, clearer pathways. For the first few days, you may need to guide your dog on a leash through doorways or around tight corners until they learn to adjust their spatial awareness. Consider temporarily blocking off access to areas with many obstacles, like rooms cluttered with furniture.
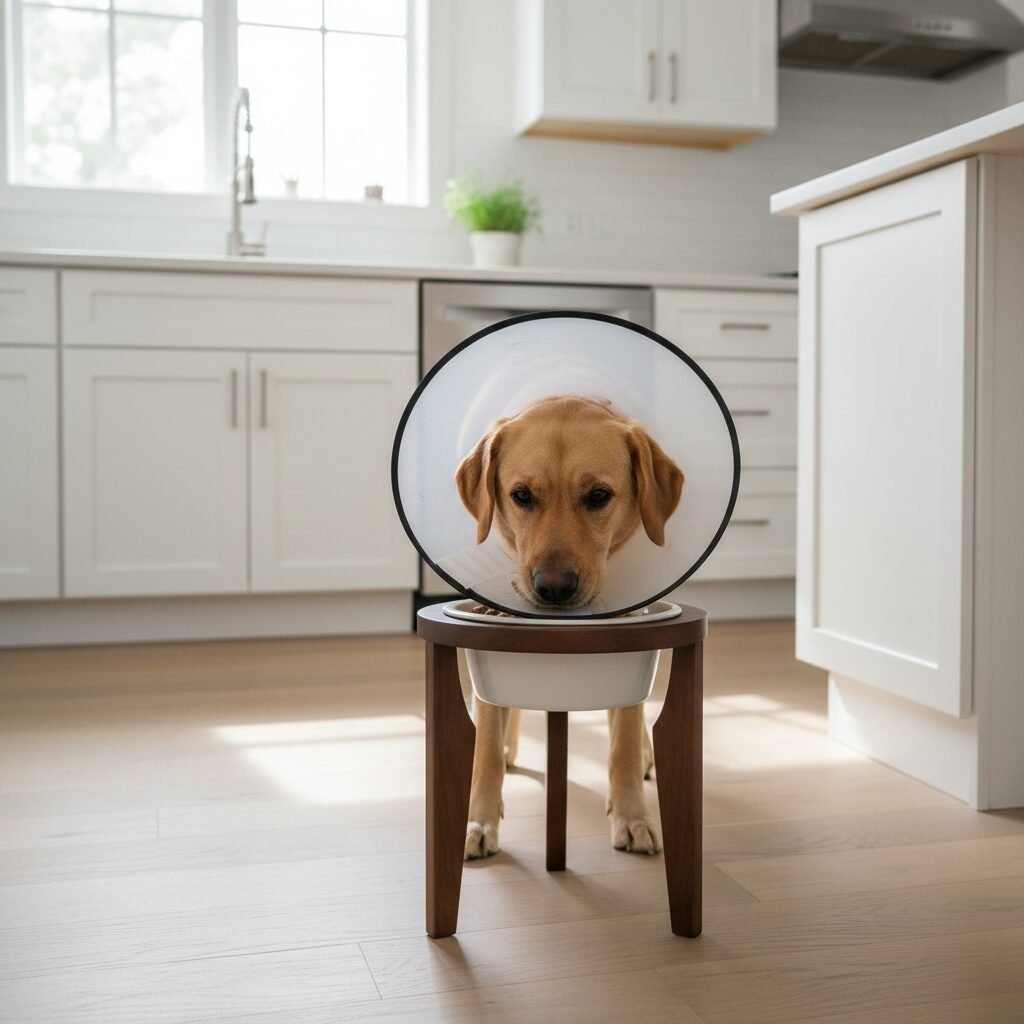
Mastering Mealtimes and Hydration
Eating and drinking are often the biggest initial hurdles. The simplest solution is to elevate their food and water bowls. Raising the bowls on a stable platform or stand allows the dog to approach them straight-on, so the rim of the cone clears the edge of the bowl. Using a shallower, wider bowl can also help. If they still struggle, you may need to temporarily remove the cone for supervised meals, but only if you can ensure they will not access their wound. Replace it immediately after they finish eating.
Ensuring Comfortable Rest
Sleep is vital for healing. Observe where your dog struggles to get comfortable. Their usual crate or bed might now be too small to accommodate the cone. Provide extra pillows or rolled-up blankets to support their head and neck. Some dogs find comfort by resting their coned head on the arm of a sofa or in a plush, donut-style bed that cradles them.
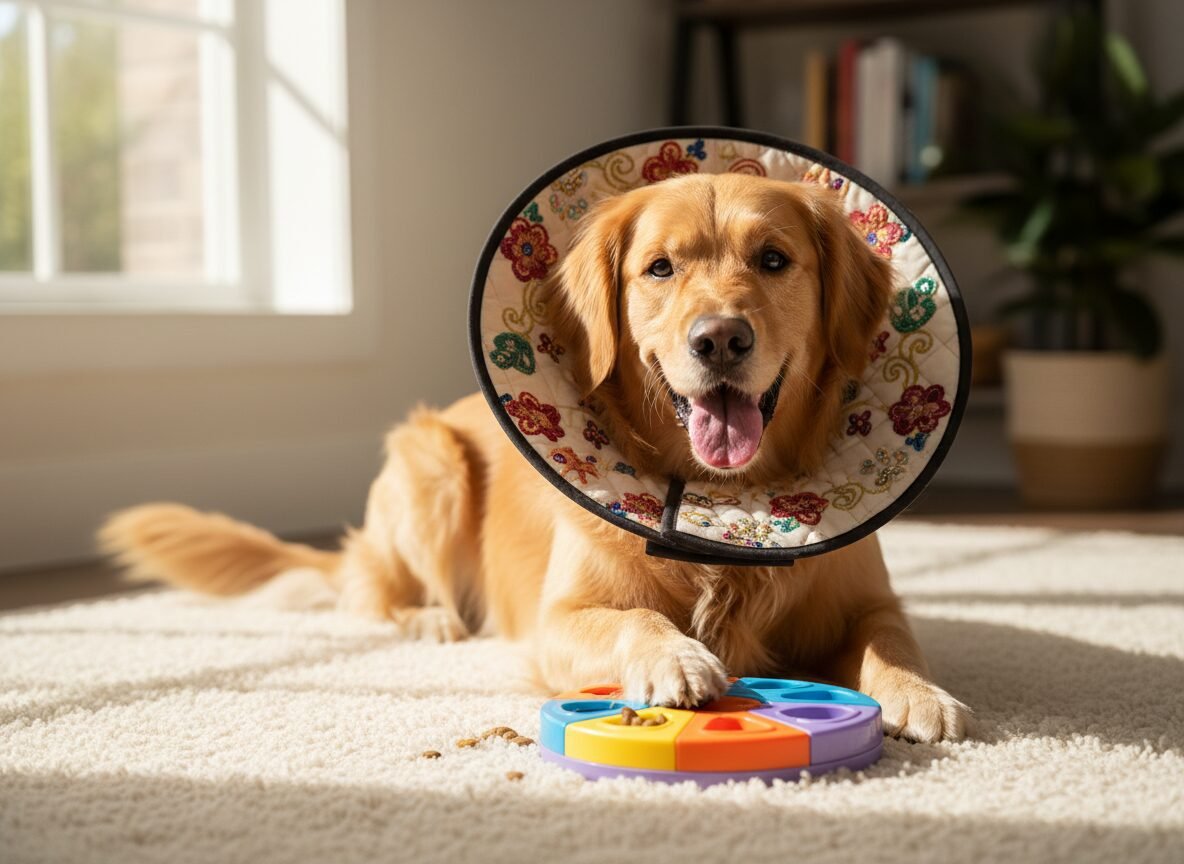
Step 4: Enrichment and Fun – Keeping Your Dog Mentally Stimulated
A dog’s recovery often involves strict physical restrictions, which can lead to profound boredom and anxiety. This is where mental enrichment becomes non-negotiable. A mentally tired dog is a happy, calm dog, even if they can’t go for their usual run. The key is to choose activities that work with the cone, not against it.
Stationary Scent and Brain Games
Engage your dog’s most powerful sense: their nose. Scent-based activities require very little physical movement but are incredibly stimulating and satisfying. Excellent options include:
- Snuffle Mats: These fabric mats have fleece strips where you can hide dry kibble or treats, encouraging your dog to forage and sniff.
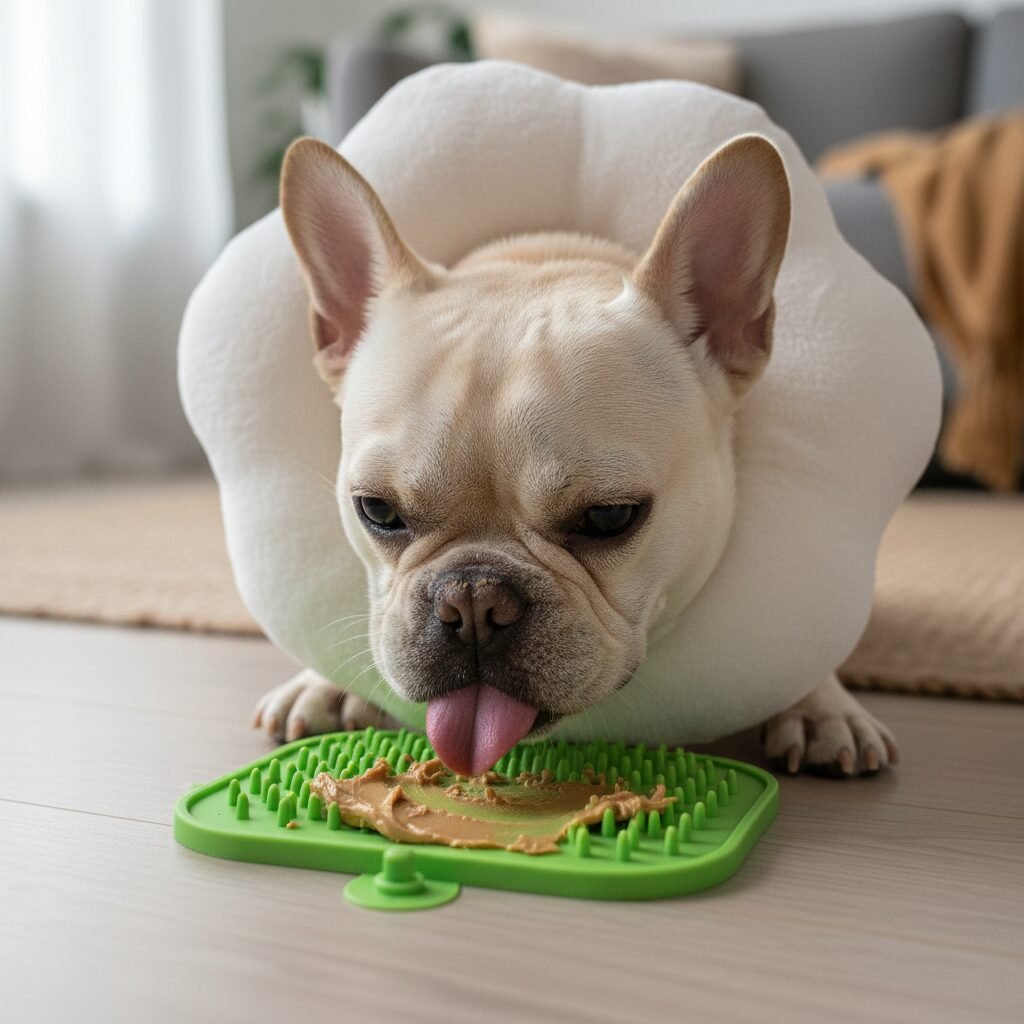
- LickiMats: Spread dog-safe peanut butter, plain yogurt, or canned pumpkin on these textured silicone mats. Licking is a self-soothing behavior that can reduce stress and anxiety.
- Puzzle Toys: Use stationary puzzle toys like a Kong Wobbler or other food-dispensing toys that can be nudged with a nose or paw without requiring frantic movement.
- ‘Find It’ Games: Hide strong-smelling treats under one of three plastic cups and encourage your dog to indicate which one has the prize.
Calm Training Sessions
Short, positive training sessions can be a great way to bond and work their brain. Focus on calm, stationary behaviors like ‘stay,’ ‘touch’ (targeting your hand with their nose), ‘watch me,’ or even capturing calm behavior like lying quietly on their mat. Keep sessions short (5-10 minutes) and upbeat to prevent fatigue or frustration.
Important Note: Always supervise your dog during enrichment activities to ensure they don’t become frustrated or ingest parts of a toy. Choose toys and activities that are safe and appropriate for a dog with limited mobility and vision.
Conclusion
The Elizabethan collar is a temporary but vital instrument in your dog’s journey back to health. While it presents undeniable challenges, it does not have to be a period of depression and despair. By shifting your perspective from seeing it as a ‘cone of shame’ to a ‘cone of care,’ you can change the entire dynamic of the recovery process. Through a combination of ensuring a proper fit, proactively building positive associations, adapting your home environment, and providing robust mental enrichment, you empower your dog to navigate this difficult time with confidence. Your patience, empathy, and positive attitude are the most powerful tools you have. By guiding your dog through this challenge with support and understanding, you not only ensure their physical healing but also strengthen the incredible bond you share.