How to Build a DIY Spring Pole: The Ultimate Exercise for Power Breeds
Owners of high-energy, powerful breeds such as American Pit Bull Terriers, Staffordshire Bull Terriers, and American Bulldogs are constantly seeking safe and effective ways to meet their dogs’ demanding physical and mental needs. Standard walks and games of fetch often fall short of providing the intense workout these canine athletes require. Enter the spring pole—a time-tested conditioning tool that allows dogs to safely engage their natural prey drive through a vigorous game of tug-of-war. This device not only builds incredible jaw, neck, and back muscle but also serves as a phenomenal outlet for pent-up energy, reducing boredom and destructive behaviors. While commercial options are available, building your own DIY spring pole allows for customization, ensures the use of high-quality materials, and provides a rewarding project for any dedicated owner. This comprehensive guide will walk you through every step, from understanding the core principles of safety to constructing and introducing a spring pole that will become your dog’s favorite workout.
Prerequisites: Safety Protocols and Understanding the Mechanics
Prerequisites: Safety Protocols and Understanding the Mechanics
Before a single tool is picked up, it is imperative to understand that a spring pole is a powerful piece of equipment that demands respect and responsible oversight. It is not a ‘set it and forget it’ toy. The primary goal is to provide a safe, controlled outlet for your dog’s strength. Misuse can lead to dental damage, muscle strain, or other serious injuries.
Key Safety Mandates:
- Constant Supervision: Never leave your dog unattended with the spring pole. This is an interactive exercise tool, not a babysitter.
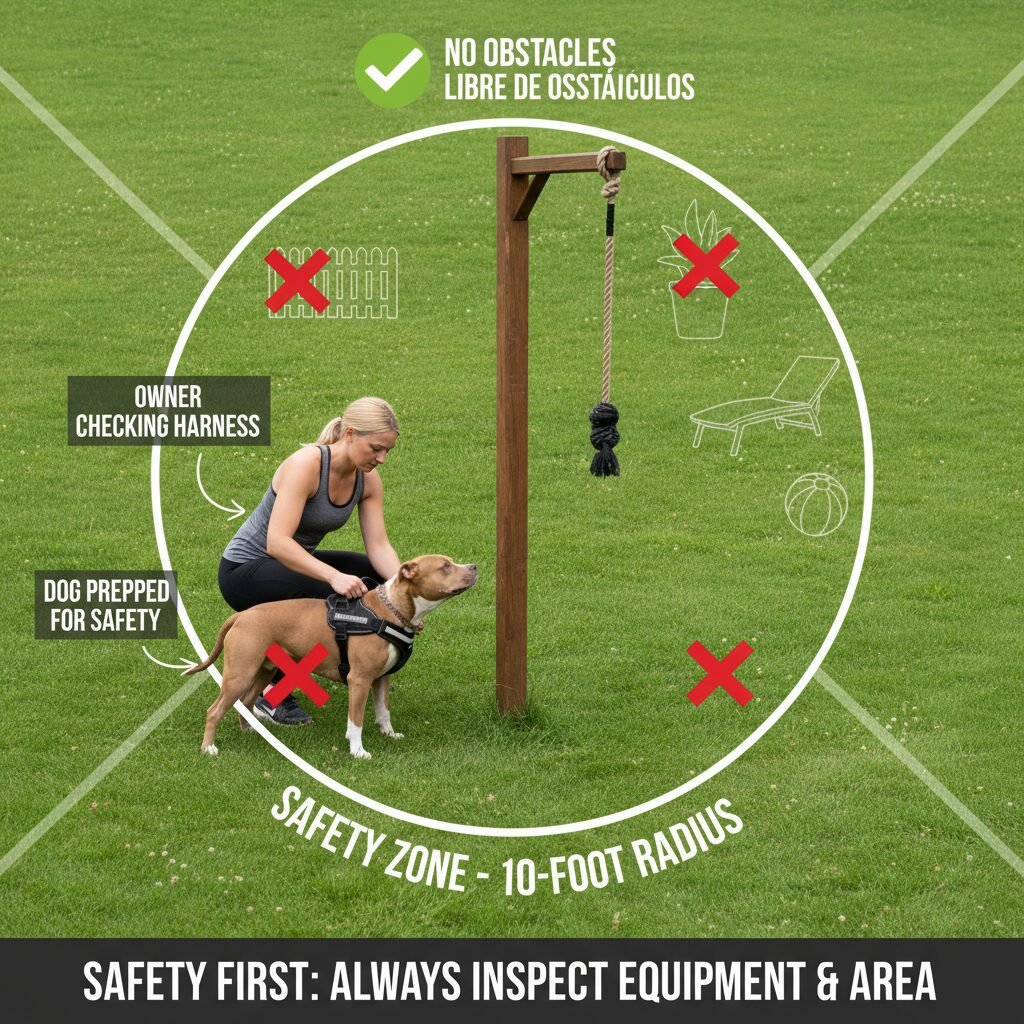
- Proper Location: The spring pole must be installed in an area with clear, non-slip footing. Avoid concrete, asphalt, or rocky ground. A grassy lawn is ideal. Ensure there is at least a 10-foot radius clear of any obstacles like fences, furniture, or trees.
- Age and Health Restrictions: Spring poles are for physically mature dogs, typically over 18 months of age. Puppies’ joints, bones, and teeth are still developing and can be easily damaged. Consult your veterinarian to ensure your dog has no underlying health conditions, particularly concerning their neck, spine, or joints, that would make this activity dangerous.
- Warm-Up and Cool-Down: Just like human athletes, dogs need to prepare their bodies for intense exercise. A 5-10 minute brisk walk or light fetch session is an excellent warm-up. Afterward, a similar cool-down walk helps prevent muscle soreness.
- Session Duration: Keep sessions short and intense. A 10-15 minute session is more than enough for most dogs. Overdoing it can lead to exhaustion and injury. Watch for signs of fatigue, such as excessive panting, slowed movements, or loss of interest.
Understanding the Mechanics
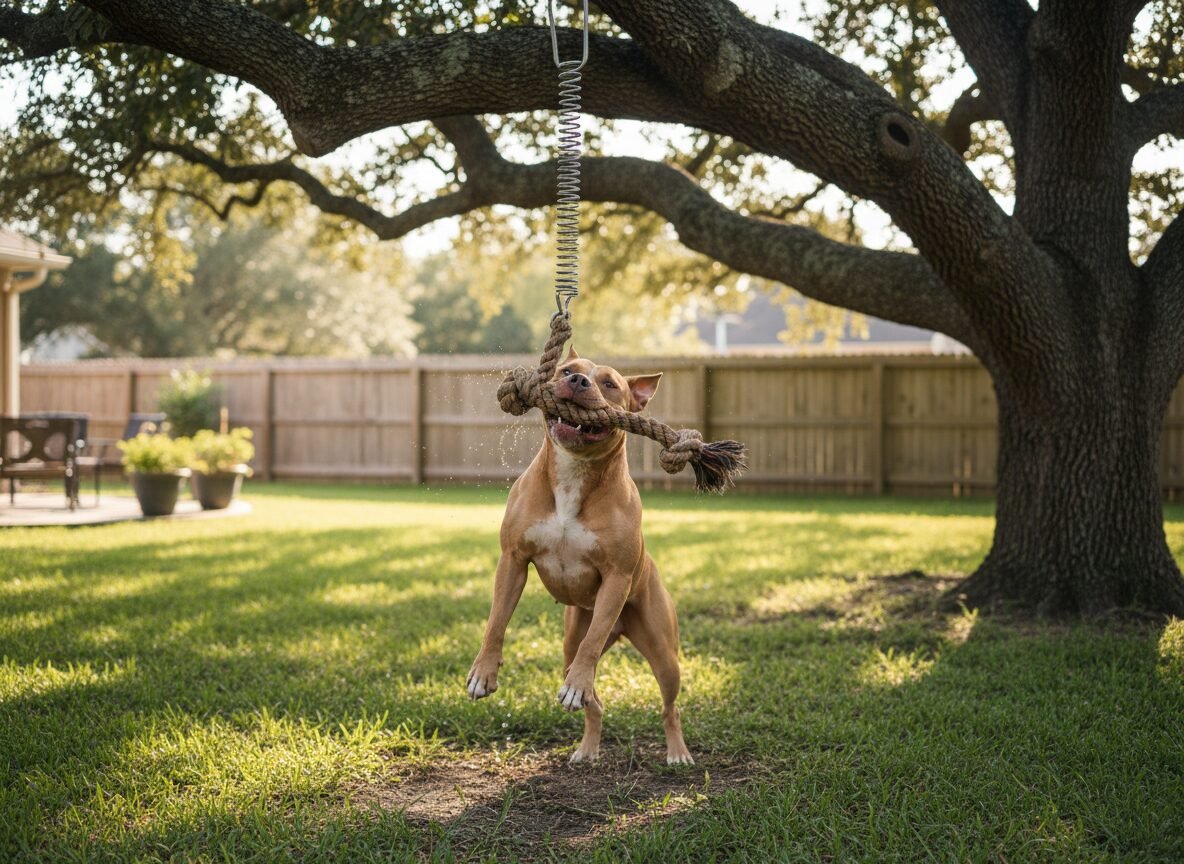
The spring pole works by utilizing a dog’s natural instinct to grab and pull. The spring provides resistance, which engages the dog’s muscles. The key is the ‘give’ or ‘bounce’ of the spring, which prevents a hard, jarring stop that could injure the dog’s neck or spine. The lure (the part the dog bites) should be made of a soft but durable material like fire hose, leather, or a knotted rope, and it must be set at a height that allows the dog to keep at least its rear paws on the ground. A dog should not be fully suspending its entire body weight for extended periods, as this puts undue stress on its joints and spine.
Gathering Your Materials and Tools for Construction
Gathering Your Materials and Tools for Construction
Building a robust and safe spring pole requires specific, high-quality components. Skimping on materials can result in equipment failure and potential injury. All hardware should be load-rated and designed for heavy, dynamic forces. Below is a comprehensive list of what you will need, followed by a table comparing spring options.
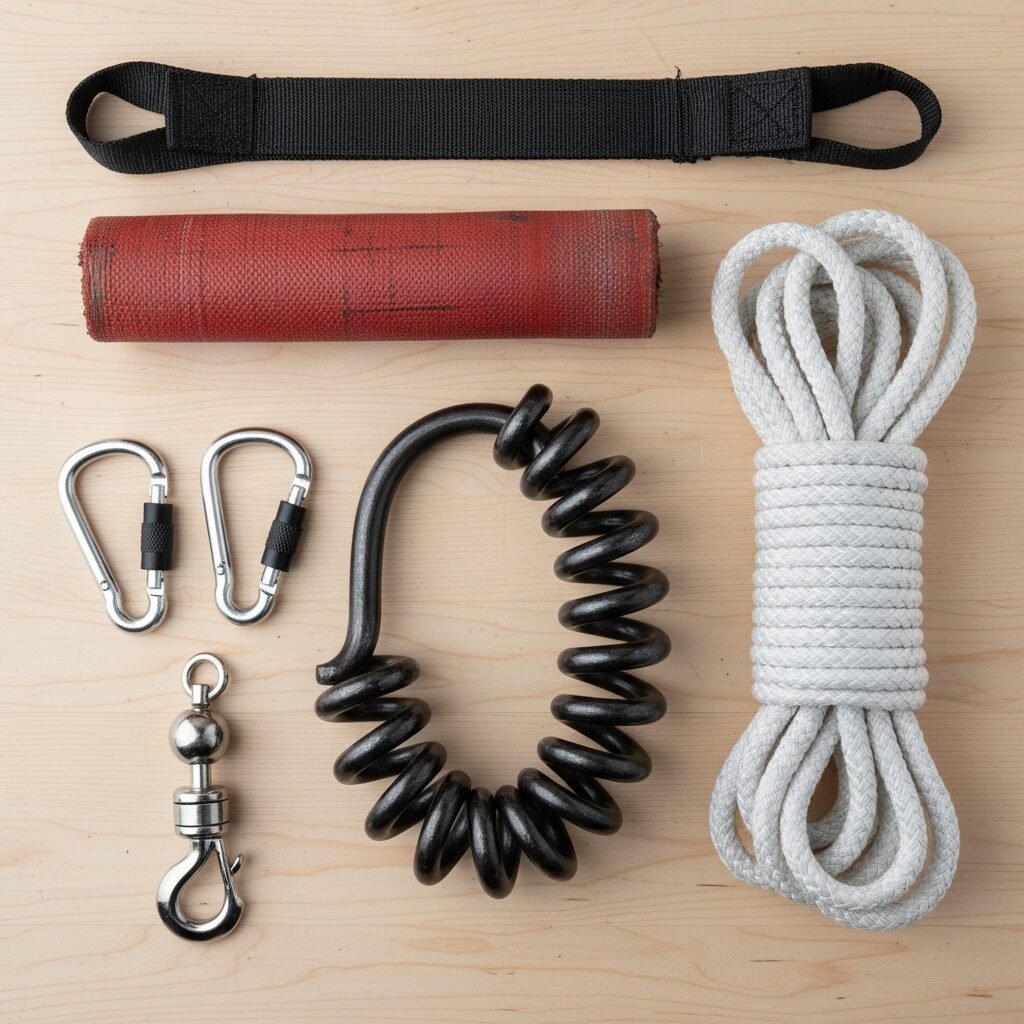
Essential Materials:
- Anchor Point: A sturdy, mature tree branch at least 8 inches in diameter, or a securely mounted beam in a garage or on a patio that can support several hundred pounds of dynamic force.
- Heavy-Duty Spring: This is the heart of the device. Look for a closed-loop porch swing spring or a heavy-bag spring. It should be rated for a weight significantly higher than your dog.
- Carabiners or Quick Links: At least two heavy-duty, locking carabiners or steel quick links rated for climbing or rigging (e.g., 500 lbs+ load capacity).
- Swivel: A high-quality, load-rated swivel is crucial to prevent the rope from twisting and tangling as the dog plays.
- Rope: A thick, durable rope. A 1-inch diameter bull rope or marine-grade nylon rope works well. Avoid ropes that fray easily. The length will depend on the height of your anchor point.
- Lure/Bite Toy: A piece of thick leather, a section of decommissioned fire hose, or a tightly knotted rope make excellent lures. The material should be tough but have enough give to protect your dog’s teeth.
- Anchor Strap (for trees): A wide, heavy-duty nylon strap to wrap around the tree branch. This prevents damage to the tree and provides a secure hanging point.
Required Tools:
- A sturdy ladder
- Measuring tape
- A sharp utility knife for cutting the rope
- A lighter to melt and seal the ends of nylon rope to prevent fraying
Step-by-Step Assembly and Installation
Step-by-Step Assembly and Installation
With your materials gathered and safety protocols in mind, you are ready to build. Follow these steps carefully for a secure and effective installation.
- Secure the Anchor Point: If using a tree branch, wrap your nylon anchor strap around it several times to protect the bark and create a non-slip base. Securely connect the ends of the strap using a locking carabiner, creating a loop to hang the rest of the assembly from. If using a structural beam, ensure you are drilling into the center of a solid wood beam capable of handling the dynamic load. Install a heavy-duty eye bolt rated for several hundred pounds.
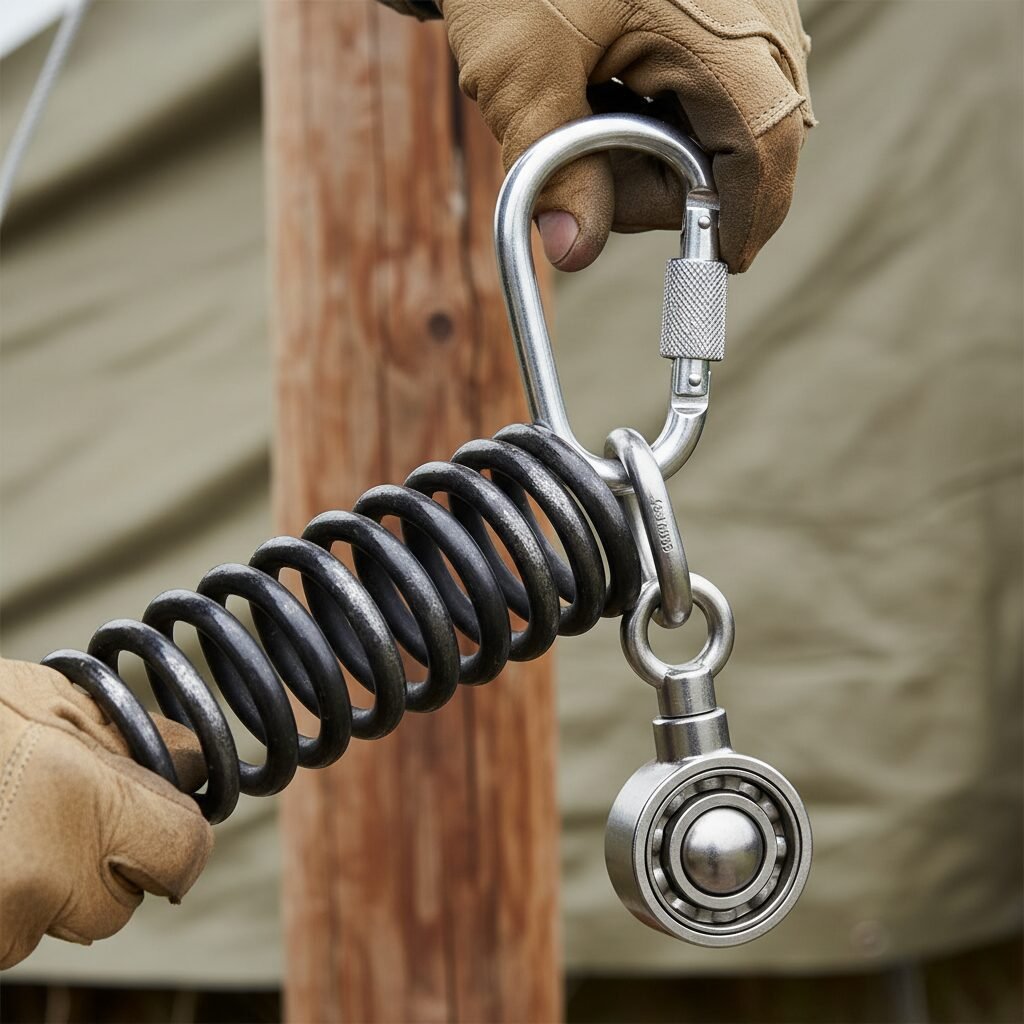
- Assemble the Core Components: This is the sequence of your hardware. Attach a locking carabiner to your anchor point (either the strap or the eye bolt). Connect this carabiner to one end of your heavy-duty spring. Attach the other end of the spring to your swivel. Finally, attach the other side of the swivel to your second locking carabiner. This sequence—Anchor -> Carabiner -> Spring -> Swivel -> Carabiner—is critical for safe and effective motion.
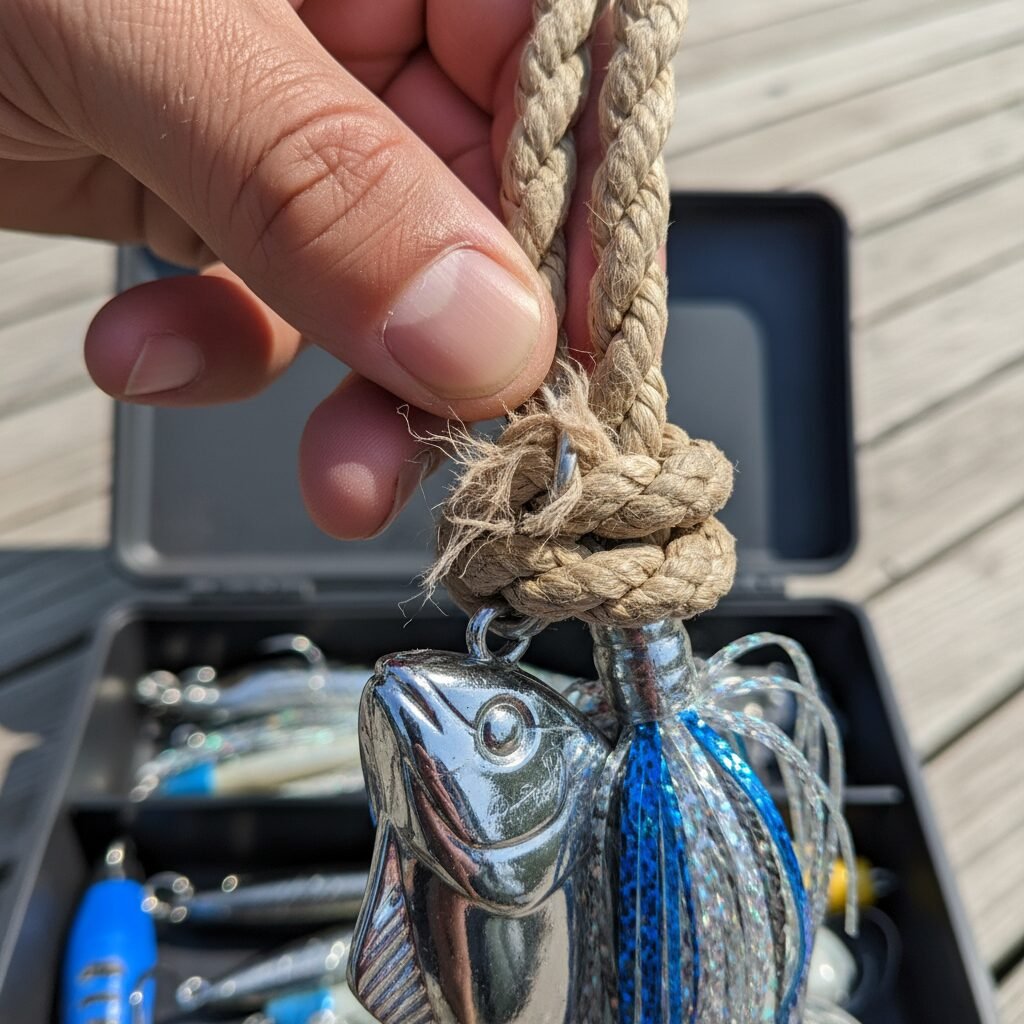
- Prepare and Attach the Rope: Tie one end of your rope securely to the bottom carabiner using a strong, reliable knot like a bowline or a figure-eight follow-through. Once the knot is tied, use a utility knife to cut the rope to the desired length. The goal is for the lure to hang a few inches above your dog’s head when they are standing. After cutting a nylon rope, use a lighter to carefully melt the end to prevent it from unraveling.
- Attach the Lure: Fashion your lure from the fire hose or leather by cutting a strip approximately 12-18 inches long. Securely attach this to the end of the rope. You can do this by drilling a hole through the material and tying it on, or by creating a loop in the rope and securely fastening the material through it. Ensure there are no metal parts on the lure that could harm your dog’s teeth.
- Final Safety Check: Before introducing your dog, perform a stress test. Pull down on the lure with your full body weight. The entire assembly should feel solid and secure, with a smooth spring action. Check all knots and ensure all carabiners are locked. Adjust the rope length as needed to achieve the correct height for your specific dog.
Training Your Dog: A Guide to Safe Introduction
Training Your Dog: A Guide to Safe Introduction
You cannot simply present the spring pole and expect your dog to know what to do. A proper introduction is crucial for building positive association and ensuring safe engagement.
Phase 1: Initial Introduction
Start with the lure detached from the pole. Use it as a simple tug toy on the ground. Use encouraging words and praise your dog for grabbing and holding it. Use a clear release command like “Out” or “Let go”, rewarding them with a treat when they comply. Practice this for several short sessions over a day or two.
Phase 2: Introducing the Pole
Attach the lure to the pole. Hold the lure yourself and encourage your dog to jump and grab it from your hand. Let the spring take a little bit of the weight, but maintain control. This helps them get used to the upward pull and bouncing sensation. Keep the energy positive and exciting. Repeat this for several sessions.
Phase 3: Independent Engagement
Once your dog is confidently grabbing the lure from your hand, you can encourage them to initiate on their own. Tap the lure, use a command like “Get it!”, and act excited. When they jump and grab it themselves, praise them enthusiastically. The first few sessions should be very short—no more than a few minutes—to build stamina and prevent overexcitement or frustration.
Expert Tip: Always be the one to start and end the session. Do not let your dog decide when playtime is over. Ending the session while they are still engaged teaches them self-control and keeps the spring pole as a high-value reward that they work for.
Common Mistakes and Long-Term Maintenance
Common Mistakes and Long-Term Maintenance
To ensure the longevity of your DIY spring pole and the continued safety of your dog, be aware of common pitfalls and the importance of regular maintenance.
Mistakes to Avoid:
- Setting the lure too high: This encourages dangerous acrobatics and can cause injury upon landing. The dog’s rear feet should always be able to touch the ground.
- Using the wrong materials: Bungee cords, garage door springs, or non-load-rated hardware are recipes for disaster. These can snap under pressure, causing serious harm.
- Allowing obsessive behavior: The spring pole should be a structured activity. If your dog becomes overly fixated or aggressive, end the session immediately and work on impulse control exercises.
- Neglecting dental health: While the activity strengthens the jaw, it can also cause wear on the teeth. Use soft lures and check your dog’s teeth and gums regularly for any signs of chipping or irritation.
Routine Maintenance Schedule:
A spring pole is not a maintenance-free device. It is subjected to immense force and outdoor elements. Institute a regular inspection routine.
| Frequency | Inspection Checklist |
|---|---|
| Before Every Use | Quickly check that the lure is secure and the rope is not visibly frayed. Ensure carabiners are locked. |
| Weekly | Perform a more thorough inspection. Check the rope for signs of wear, especially at the knot and attachment points. Check the spring for any signs of rust or stretching. Inspect the anchor strap for any fraying or UV damage. |
| Annually | Consider replacing the rope and lure, even if they look okay. These are the components that wear out the fastest. Disassemble the hardware, clean it, and check for any stress fractures or warping. |
Conclusion
A well-built DIY spring pole is more than just a dog toy; it is a serious conditioning tool that can profoundly benefit the physical and mental well-being of your power breed. By following the detailed steps for construction, adhering strictly to safety protocols, and committing to a structured introduction and maintenance plan, you can provide your canine companion with an unparalleled outlet for their natural drives. The result is a happier, healthier, and more fulfilled dog. Remember, your role as a responsible owner is paramount. Supervise every session, prioritize your dog’s safety above all else, and enjoy the incredible bond that comes from providing your athletic dog with the challenging and rewarding activity they crave.
Similar Posts
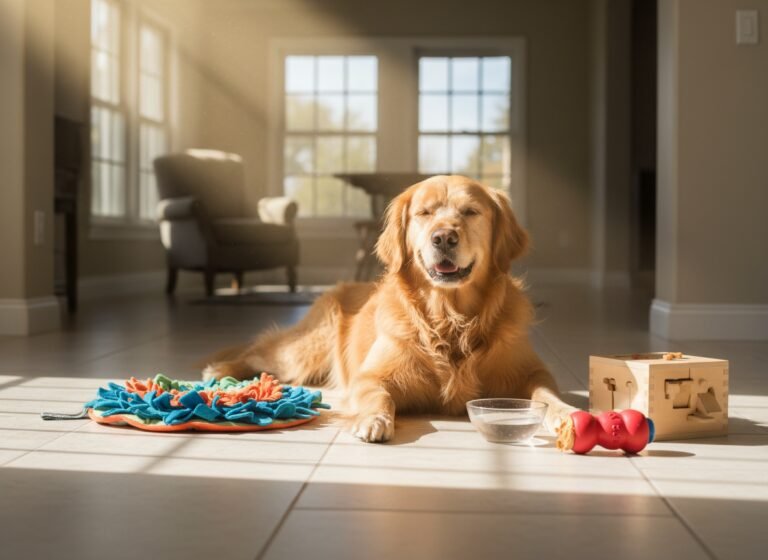
Too Hot to Walk? 10 Indoor Mental Stimulation Games to Tire Your Dog Out
When scorching temperatures make pavements unsafe, physical walks become impossible. Discover 10 expert-approved indoor mental stimulation games designed to challenge your dog’s brain, burn energy, and prevent boredom-related behaviors, ensuring they stay happy and tired even when stuck inside.
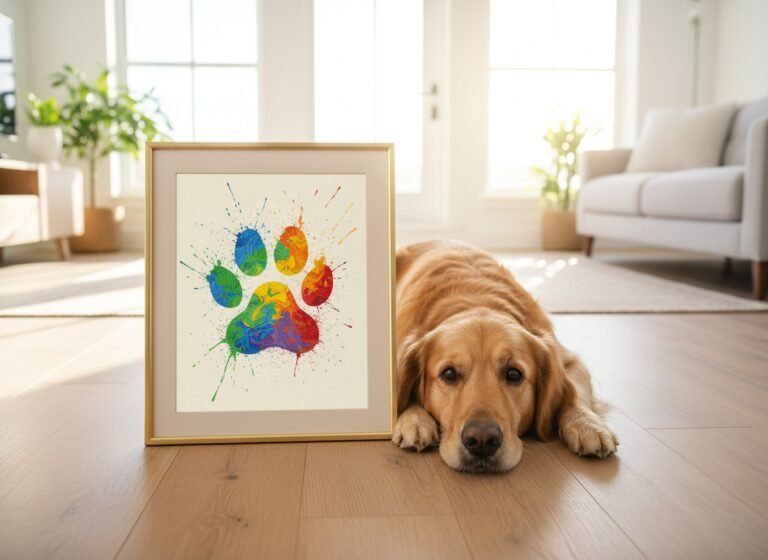
Mess-Free DIY Paw Print Art Using Ingredients in Your Pantry
Discover how to create beautiful, lasting paw print art with your dog using safe, non-toxic ingredients from your own pantry. This definitive guide, written by a canine behavior and nutrition expert, focuses on a mess-free, positive experience for both you and your pet, ensuring your crafting session is a bonding moment, not a stressful event.
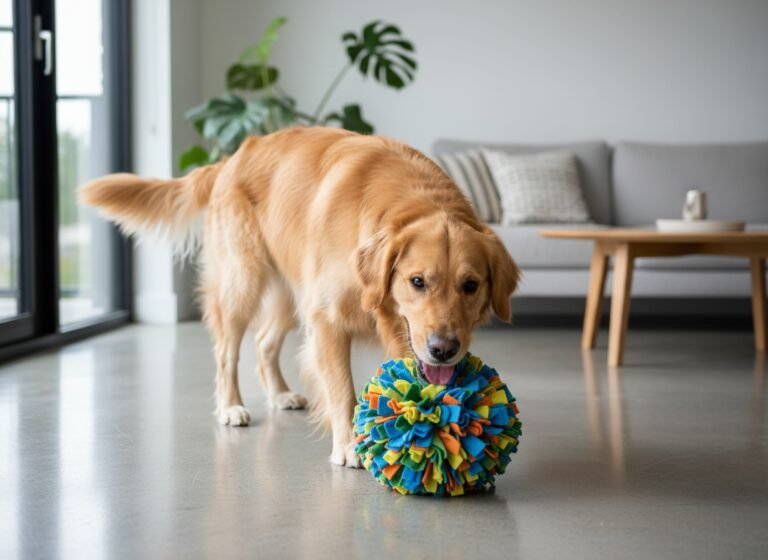
Stop Buying Toys: Make This DIY Snuffle Ball in 20 Minutes
Discover why traditional dog toys fall short and how you can craft a superior, brain-boosting DIY snuffle ball in just 20 minutes. This guide provides a step-by-step process for creating an engaging enrichment tool that satisfies your dog’s natural foraging instincts, reduces boredom, and strengthens your bond.
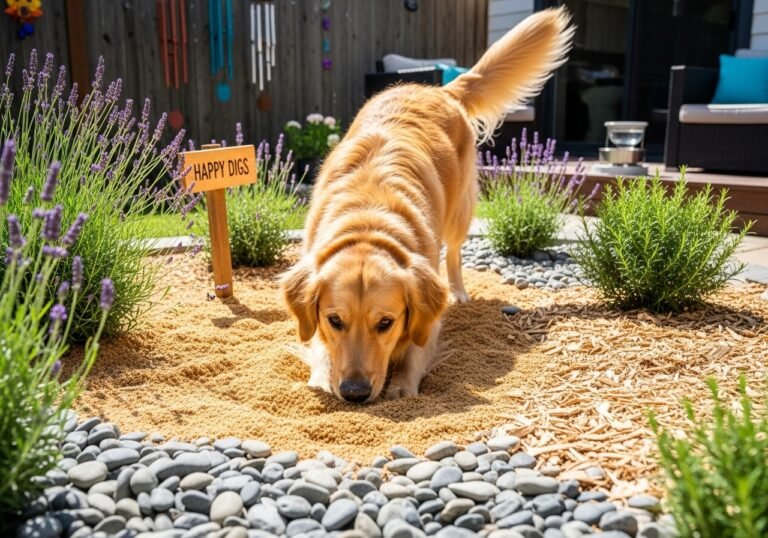
How To Build A DIY Dog Sensory Garden For Under $50
Discover how to create a stimulating and enriching DIY dog sensory garden for under $50. This expert guide provides step-by-step instructions, dog-safe plant recommendations, and budget-friendly tips to enhance your dog’s mental and physical well-being through sensory exploration.
Save Your Lawn! How to Build a DIY Digging Box
Redirect your dog’s innate desire to dig with this comprehensive, step-by-step guide to building a designated digging box. Learn the psychology behind digging, why this solution is superior to punishment, and how to create a safe, enriching space that satisfies your dog’s instincts while preserving your landscape.
Tire Out Your High-Energy Dog in 15 Minutes With These Nose Work Games
Discover how to channel your dog’s boundless energy into a focused, mentally exhausting activity. This guide provides step-by-step instructions for nose work games that can tire out even the most energetic canines in just 15 minutes, building confidence and strengthening your bond.