How To Train Your Senior Dog To Use A Bed Ramp (Pain Free)
As our beloved canine companions enter their golden years, we witness subtle shifts in their mobility and energy. The joyful leap onto the bed or sofa may become a hesitant calculation, and navigating stairs can transform from a simple task into a daunting challenge. This is often due to common age-related conditions like arthritis, hip dysplasia, or general joint stiffness. Providing a bed ramp is one of the most impactful accommodations you can make for your senior dog, preserving their independence and protecting them from painful injuries. However, simply placing a ramp next to the bed is not enough; many dogs, especially older ones set in their ways, view this new object with suspicion or fear. This guide provides a detailed, veterinarian-approved methodology for training your senior dog to use a bed ramp. Our focus is entirely on a pain-free, fear-free process, using positive reinforcement to build confidence and make the ramp a welcome part of their daily routine.
Expert Tip: The goal is not just to get your dog to use the ramp, but to make them want to use it. Patience and positive association are the cornerstones of success, especially with a senior animal who may be experiencing discomfort.
Preparing for Success: Choosing the Right Ramp and Setting the Stage
Before you begin the first training session, proper preparation is essential. The equipment you choose and the environment you create will significantly influence your dog’s willingness to learn. Rushing this stage is a common mistake that can lead to fear and refusal, setting your training efforts back considerably.
Choosing the Ideal Ramp for a Senior Dog
Not all ramps are created equal, and a senior dog’s needs are specific. The wrong ramp can be as dangerous as no ramp at all. When selecting a product, prioritize safety and comfort above all else.
- Gentle Incline: The most critical feature. A steep ramp requires significant effort and can strain the same joints you’re trying to protect. Look for longer ramps that create a lower, more gradual angle of ascent. An incline of 18-25 degrees is ideal for most dogs.
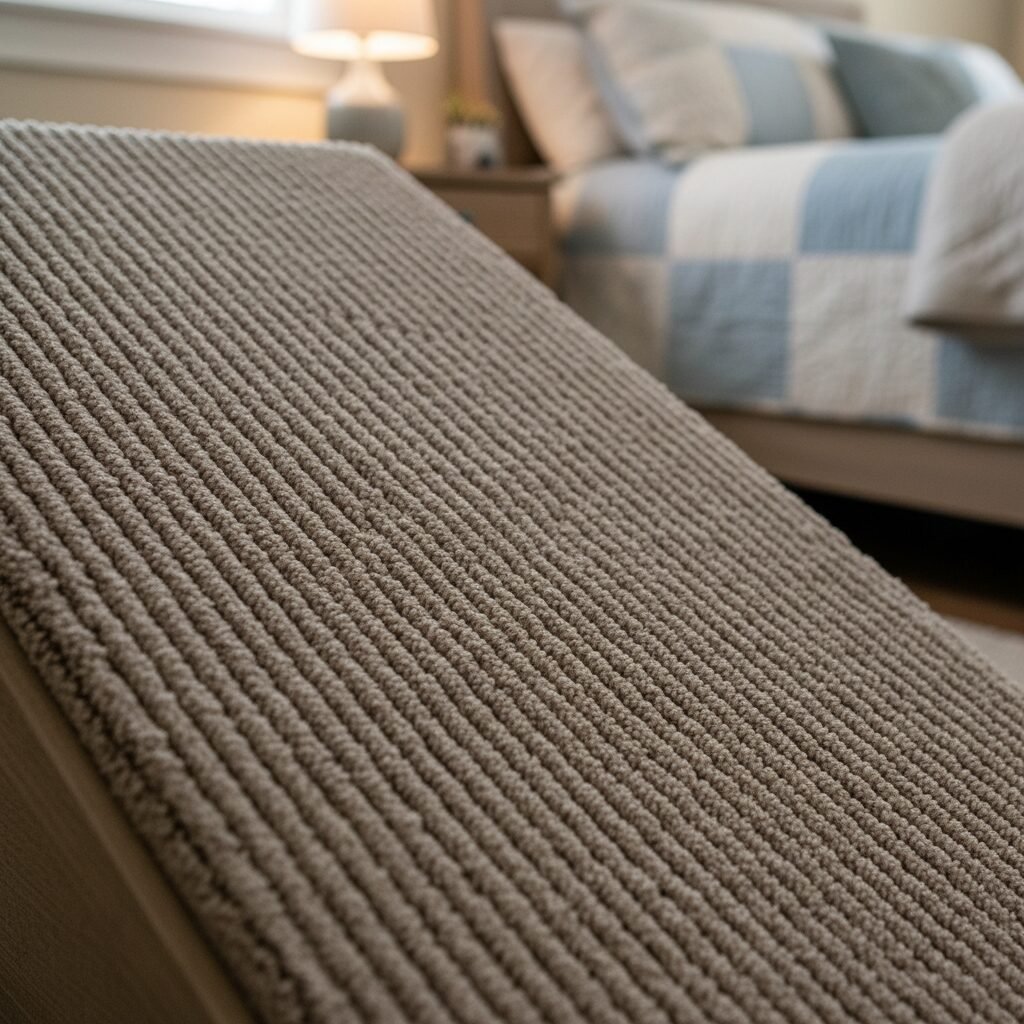
- High-Traction Surface: Senior dogs often have weakened limbs and less confident footing. The ramp surface must be non-slip. Materials like carpeting, rubber, or textured turf provide excellent grip, whereas smooth plastic or wood can be hazardous.
- Width and Stability: The platform should be wide enough for your dog to walk on comfortably without feeling like they are on a narrow balance beam. A wider base also contributes to stability. Ensure the ramp does not wobble, shake, or slide when your dog puts weight on it. A wobbly ramp will instantly destroy a dog’s confidence.
- Guide Rails: For dogs with vision problems or significant instability, ramps with raised edges or guide rails can provide an extra layer of security, preventing them from accidentally stepping off the side.
Creating a Safe and Positive Environment
Your dog’s surroundings play a major role in their ability to learn. A calm, controlled environment minimizes stress and allows them to focus. First, place the ramp in its final position next to the bed. Ensure it is flush against the mattress and completely stable. Clear the surrounding area of clutter, other pets, and loud noises. The training space should be associated with positive experiences, not chaos or pressure.
Gathering Your Training Tools
Have everything you need on hand before you bring your dog into the training area. This prevents you from having to interrupt a session, which can break your dog’s focus.
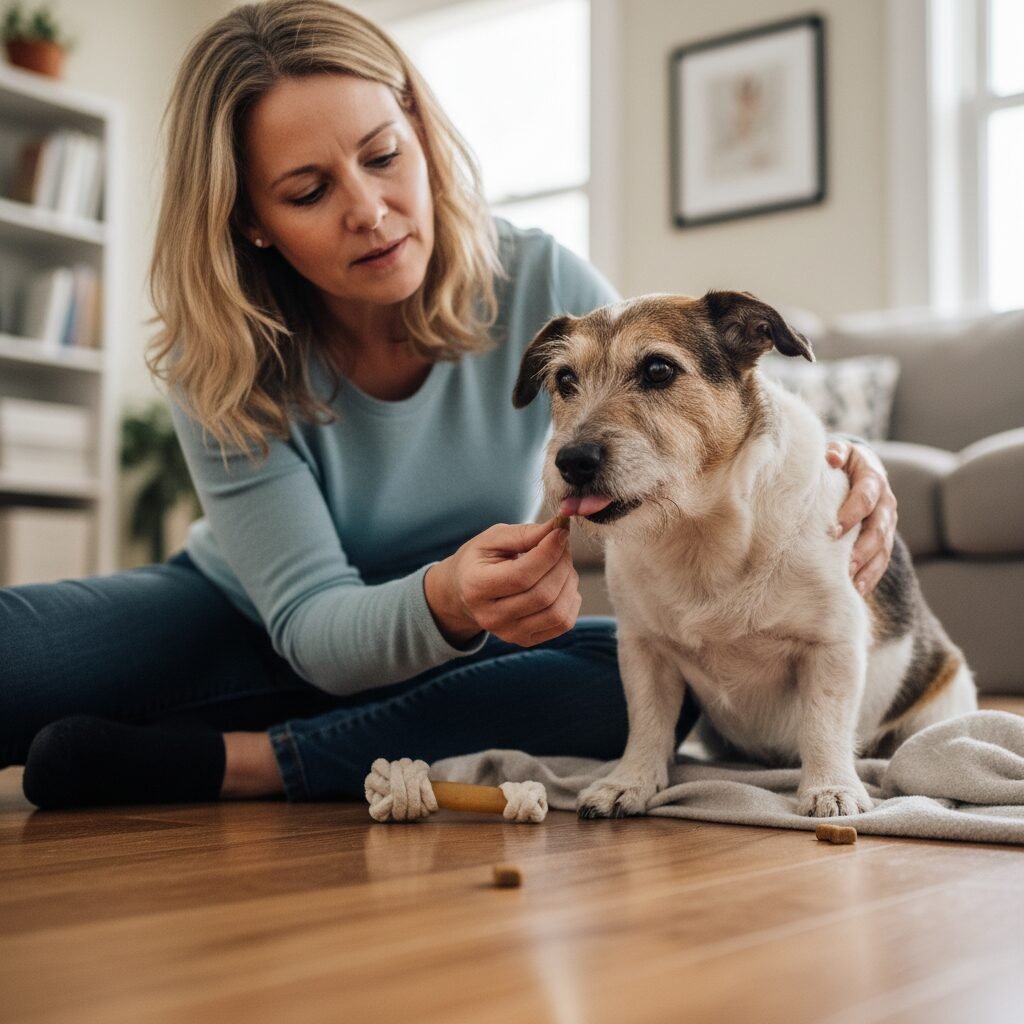
- High-Value Treats: Standard kibble may not be motivating enough. Use small, pea-sized pieces of treats your dog absolutely loves but doesn’t get often. Examples include boiled chicken, small bits of cheese, or soft, smelly commercial training treats.
- Clicker (Optional): If your dog is already clicker-trained, a clicker can be a powerful tool for precisely marking the desired behavior (e.g., the exact moment a paw touches the ramp).
- Patience: This is your most important tool. Training a senior dog requires understanding, empathy, and an abundance of patience. This process may take days or even weeks. Never rush it.
The Step-by-Step Training Protocol: A Pain-Free Progression

This training plan is broken down into small, manageable steps. The key is to master each step before moving to the next. If your dog shows any signs of fear or hesitation, simply go back to the previous step where they were successful. Remember to keep sessions short—no more than 2-5 minutes at a time, a few times a day.
- Step 1: Neutral Introduction. Lay the ramp completely flat on the floor in the middle of the room. Do not place it against any furniture yet. Let your dog investigate it at their own pace. Any time they sniff it, touch it with their nose, or place a paw on it, praise them enthusiastically and give them a treat. The goal is to associate the ramp with positive things (treats and praise) from the very beginning. Do this for several short sessions until the dog is completely comfortable with the ramp’s presence.
- Step 2: Walking Across the Flat Ramp. With the ramp still flat on the floor, use a high-value treat to lure your dog to walk its full length. Hold the treat near their nose and guide them from one end to the other. Reward them as soon as they make it across. Repeat this until they are walking across confidently. You can also place treats directly on the ramp’s surface for them to find.
- Step 3: Introducing a Minimal Incline. Prop the top end of the ramp on a very low, stable object, like a thick textbook or a single stair step. The incline should be barely noticeable. Repeat the luring process from Step 2. Most dogs will barely register the change. This step is crucial for building the concept of walking on an angle without causing alarm.
- Step 4: Gradual Incline Increase. Over several training sessions, slowly increase the height of the incline. You might graduate from a textbook to a sturdy box, and then to a low footstool. The key here is gradual. Each time you increase the height, reward your dog generously for their confidence. If they hesitate, you may have increased the height too quickly. Simply lower it back to the previous level for another session before trying again.
- Step 5: Approaching the Final Destination. Now, place the ramp against the bed or sofa where it will be permanently used. The height will be at its maximum. Your dog has already practiced on an incline, so this should feel familiar. Lure them up the ramp with a trail of treats. When they reach the top (the bed), give them a ‘jackpot’ reward—several treats at once, lots of praise, and a favorite toy. Make reaching the top of the ramp the best thing that has happened all day.
- Step 6: Mastering the Descent. For some dogs, going down is scarier than going up. To train this, use the same luring technique to guide them down the ramp. You may need to use a very high-value treat to entice them to take that first step down. Keep the lure low to the ramp’s surface to encourage a slow, controlled walk. Reward them enthusiastically at the bottom.
- Step 7: Fading the Lure and Adding a Cue. Once your dog is confidently using the ramp in both directions, you can start to fade the food lure. Instead of holding a treat in your hand, motion with your empty hand and then give them the treat after they complete the action. At the same time, introduce a verbal cue like ‘Ramp up’ or ‘Easy’. With repetition, your dog will learn to associate the cue with the action of using the ramp.
Addressing Senior-Specific Challenges and Body Language
Training a senior dog is different from training a puppy. You must be acutely aware of their physical and cognitive state. Ignoring their subtle signals can lead to setbacks and erode their trust.
Reading Your Dog’s Body Language for Discomfort
Your dog communicates constantly through body language. Learning to spot signs of stress, fear, or pain is non-negotiable. If you see any of these signals, stop the session immediately and end on a positive note with an easy win (like a simple ‘sit’ for a treat).
- Whale Eye: Showing the whites of their eyes.
- Lip Licking or Yawning: These are common stress signals when not related to hunger or tiredness.
- Pinned-Back Ears: Ears held flat against the head can indicate fear or anxiety.
- Tucked Tail: A clear sign of fear or insecurity.
- Hesitation or Refusal: If the dog plants their feet and refuses to move forward, they are not being stubborn; they are communicating discomfort or fear. Do not force them.
The Importance of Veterinary Consultation
Before beginning any new physical activity, including ramp training, it’s wise to consult your veterinarian. They can assess your dog’s overall health and rule out any undiagnosed pain that could be exacerbated by the training. They may also suggest pain management strategies that can make the process more comfortable for your dog.
A dog that is in pain cannot learn effectively. Managing their arthritis or joint pain with veterinarian-prescribed medication or supplements is often a prerequisite for successful ramp training.
Adapting for Cognitive and Sensory Decline
Many senior dogs experience some degree of cognitive dysfunction, vision loss, or hearing impairment. These factors require you to adapt your training style.
- For Vision Impairment: Ensure the ramp is in a well-lit area. A ramp with colored guide rails can help with depth perception. Rely more on touch and scent (using smelly treats) to guide them.
- For Hearing Impairment: Use a clear, consistent hand signal in place of or in addition to a verbal cue. A simple upward point for ‘up’ and a downward point for ‘down’ works well.
- For Cognitive Dysfunction: Be extra patient. Keep sessions even shorter and repeat steps more often. Celebrate small successes and maintain a predictable routine.
Troubleshooting Common Issues & Mistakes to Avoid
Even with the best preparation, you may encounter some hurdles. Below are solutions to common problems and a list of critical mistakes to avoid to keep the training process positive and productive.
Common Problems and Solutions
| Problem | Solution |
|---|---|
| My dog is terrified of the ramp itself. | Go back to Step 1 and spend much more time on neutral association. Place the ramp flat on the floor and feed your dog their entire meal on it. Do this for several days until the ramp is just a ‘dinner plate’ and no longer scary. |
| My dog jumps off the side of the ramp. | This indicates insecurity. Ensure your ramp has guide rails. If not, position the ramp alongside a wall to block one side. You can also walk alongside your dog, using your body as a temporary barrier to guide them straight. |
| My dog gets halfway up and then backs down. | The incline may be too steep, or they may lack confidence. Lower the incline to a height where they were previously successful and practice more at that level. You can also place a very high-value treat in the middle of the ramp and another at the top to encourage them to continue forward. |
| My dog will go up but absolutely refuses to go down. | The descent can feel like a steep drop. Practice going down separately, starting with the ramp at a very low incline. Place their favorite toy or a special treat at the bottom. You may need to re-lure them down step-by-step for several sessions. |
Critical Mistakes to Avoid
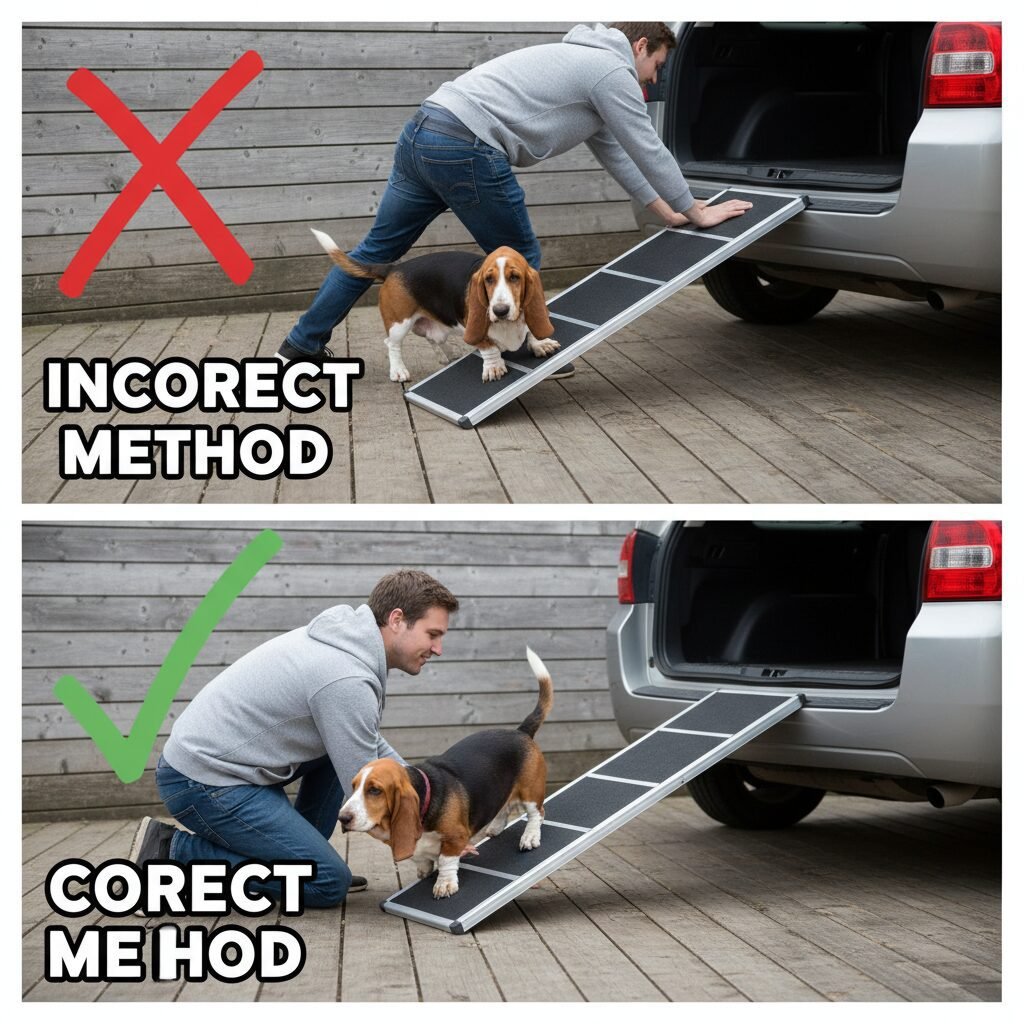
- Never physically force your dog onto the ramp. Pushing or pulling your dog will create a negative association, build fear, and can cause physical injury. This is the fastest way to guarantee they will never use it.
- Avoid overly long training sessions. A senior dog’s mind and body tire quickly. Multiple 3-minute sessions are far more effective than one 15-minute session that ends in frustration.
- Don’t get frustrated. Dogs are highly attuned to our emotions. If they sense your frustration, they will become anxious. If you feel yourself getting impatient, end the session with a simple, successful command and try again later.
- Do not remove their old method of getting on the bed (like stairs) until they are 100% confident with the ramp. Forcing the issue by removing their familiar, secure method will only create anxiety. Let them choose the ramp on their own once they are fully trained.
Conclusion
Training your senior dog to use a bed ramp is an act of profound love and care. It is a direct investment in their comfort, safety, and long-term well-being. The process requires patience, empathy, and a commitment to positive, pain-free methods, but the reward is immeasurable. By following these steps, you are not just teaching a new skill; you are empowering your aging companion to maintain their dignity and their cherished spot beside you. You are ensuring that their golden years are as comfortable and joyful as possible, strengthening the incredible bond you share. Celebrate every small step of progress, and soon the ramp will be a seamless and beneficial part of your dog’s daily life.