Teach Your Dog to “Play Dead” With This Fail-Proof Hand Signal
Teaching your dog tricks is one of the most rewarding aspects of pet ownership. Beyond the entertainment value, trick training provides essential mental stimulation, deepens the bond between you and your canine, and reinforces foundational obedience skills. The “play dead” command is a classic, impressive trick that demonstrates a high level of communication and trust. While it may seem complex, breaking it down into manageable steps makes it achievable for dogs of all breeds and sizes.
This comprehensive guide moves beyond just the verbal cue, focusing on establishing a fail-proof hand signal. A silent cue is incredibly useful in noisy environments, for dogs who are losing their hearing, or simply as a more subtle way to communicate. We will walk you through a positive reinforcement-based method that ensures the learning process is fun, effective, and stress-free for both you and your dog. Prepare to unlock a new level of training success and have a fantastic new trick to show off.
Foundations for Success: Prerequisites and Tools
Foundations for Success: Prerequisites and Tools
Before you begin teaching any new trick, it is crucial to set the stage for success. A successful training session is built on a foundation of preparedness, a positive environment, and clear communication. Rushing into a complex behavior without the necessary groundwork can lead to frustration for both you and your dog.
Essential Prerequisites
Your dog doesn’t need to be a training champion, but a solid mastery of one specific command is essential before attempting to teach “play dead”: the “Down” or “Lie Down” command. The “play dead” position is an extension of the down position, so your dog must be able to lie down calmly and reliably on cue. If your dog struggles with this, spend a few sessions reinforcing it until they respond consistently without hesitation.
Gathering Your Training Toolkit
Having the right tools on hand prevents interruptions and keeps the training session flowing smoothly. Here is what you will need:
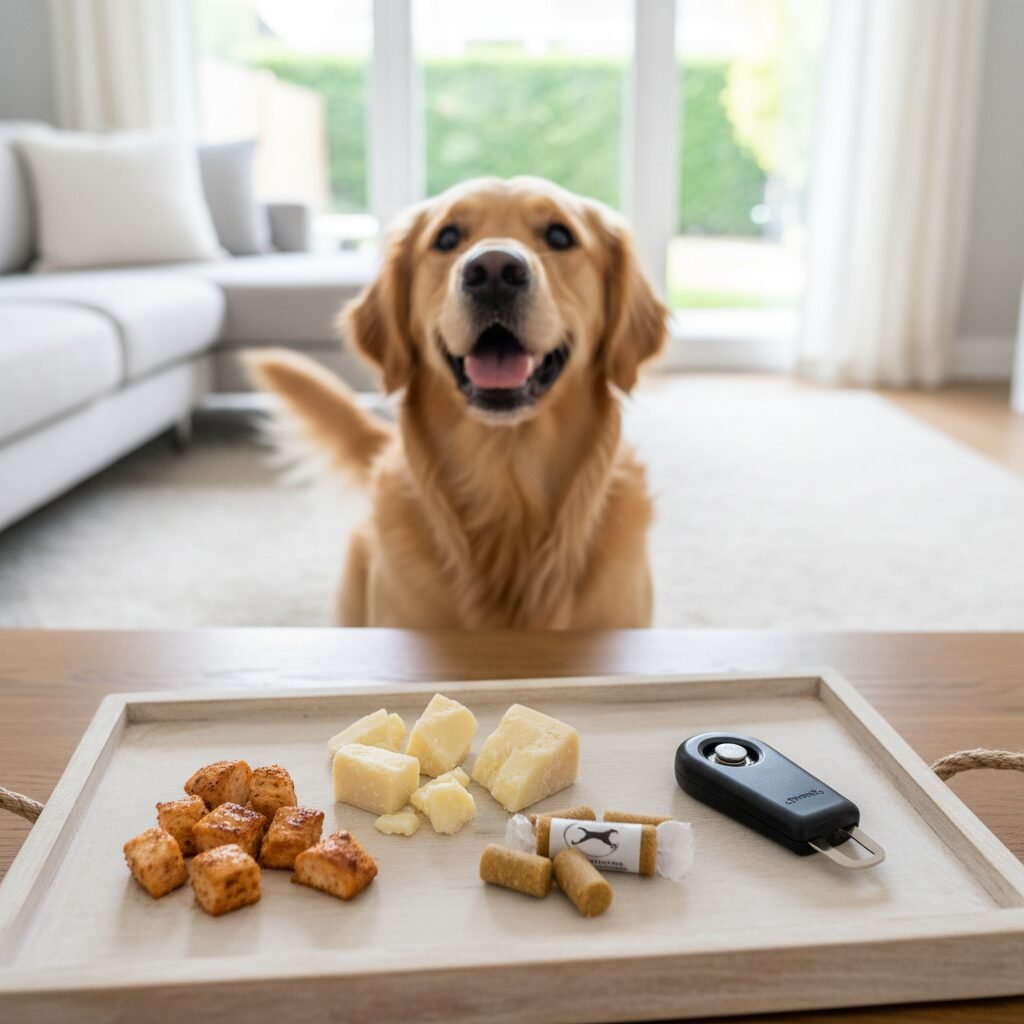
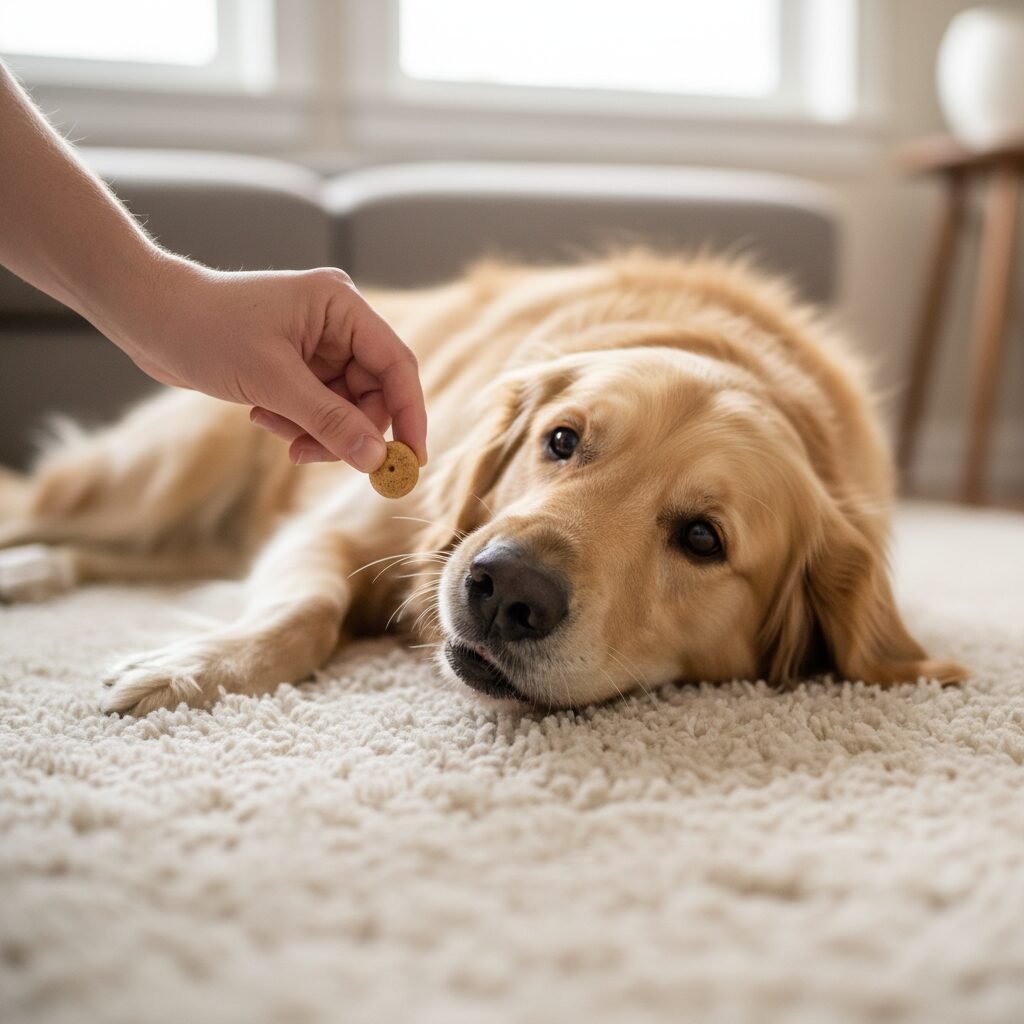
- High-Value Treats: Standard kibble may not be motivating enough for learning a multi-step trick. High-value treats are special, highly desirable rewards reserved for training. These can include small pieces of cooked chicken, cheese, hot dogs, or soft commercial training treats. They should be small and easy to swallow quickly to maintain the pace of the session.
- A Quiet Training Environment: Choose a space with minimal distractions. A living room, a quiet backyard, or any area where your dog feels comfortable and can focus on you is ideal. Avoid areas with heavy foot traffic, loud noises, or other pets present, especially in the initial learning stages.
- A Clicker (Optional): If you use clicker training, have your clicker ready. A clicker is a powerful tool for marking the exact moment your dog performs the correct behavior, allowing for precise communication. If you don’t use a clicker, a verbal marker like a sharp “Yes!” can be used in its place.
The Right Mindset: Patience and Positivity
Your attitude is a critical component of the toolkit. Training sessions should always be short, upbeat, and positive. Aim for sessions of 5-10 minutes once or twice a day. Ending on a successful repetition builds your dog’s confidence and makes them eager for the next session. Remember, every dog learns at a different pace. Stay patient, celebrate small successes, and never use punishment or force. The goal is to build a fun and engaging learning experience.
Phase One: Mastering the “Side” or “Settle” Command
Phase One: Mastering the “Side” or “Settle” Command
The core of the “play dead” trick is getting your dog to lie flat on their side from a “down” position. This is often the most challenging part of the process, so we will dedicate an entire phase to mastering it. We will use a technique called luring, which involves using a treat to guide your dog’s nose, which in turn guides their body into the desired position.
Step-by-Step Guide to Luring
- Start in a “Down”: Ask your dog to lie down. Once they are settled in a down position, kneel or sit on the floor beside them, facing their head. This puts you at their level and makes the process less intimidating.
- Prepare the Lure: Take a high-value treat and hold it in your hand, letting your dog sniff it so they know you have something desirable.
- Execute the Lure: With your dog in the down position, hold the treat near their nose. Slowly move the treat from their nose towards their shoulder. The goal is to have them turn their head to follow the treat. As their head turns, their body weight will naturally begin to shift to the opposite hip.
- Encourage the Roll: Continue the lure past their shoulder towards their back. This movement encourages them to roll from their chest onto their hip and then flat onto their side. The moment their shoulder and hip touch the floor, mark the behavior with your clicker or a verbal “Yes!” and immediately give them the treat.
- Practice and Repeat: In the beginning, reward any small effort in the right direction. If they only shift their weight onto a hip, mark and reward that. This is called shaping behavior. As they begin to understand the goal, only reward the full side-settle position. Repeat this process several times in short bursts.
Expert Tip: If your dog keeps standing up to get the treat, you are likely moving the lure too high or too fast. Keep the treat low to the ground and move it in a slow, steady arc from their nose to their shoulder blade.
The objective of this phase is to have your dog comfortably and quickly lie on their side using only the hand lure, without any verbal cue yet. Once they can do this reliably 8 out of 10 times, you are ready to move on to the next phase.
Phase Two: Introducing the Verbal Cue and Hand Signal

Phase Two: Introducing the Verbal Cue and Hand Signal
With your dog now proficient at moving into a side-lying position with a lure, it is time to associate that action with specific cues. This phase is about transferring the understanding from the physical lure to verbal and visual signals. This is a critical step in creating a reliable command.
Choosing Your Cues
Before you begin, decide on your verbal cue and hand signal and stick with them. Consistency is paramount in dog training.
- Verbal Cue: Popular choices include “Bang!”, “Play Dead”, or “Gotcha!”. Choose something short, distinct, and that you don’t use in everyday conversation.
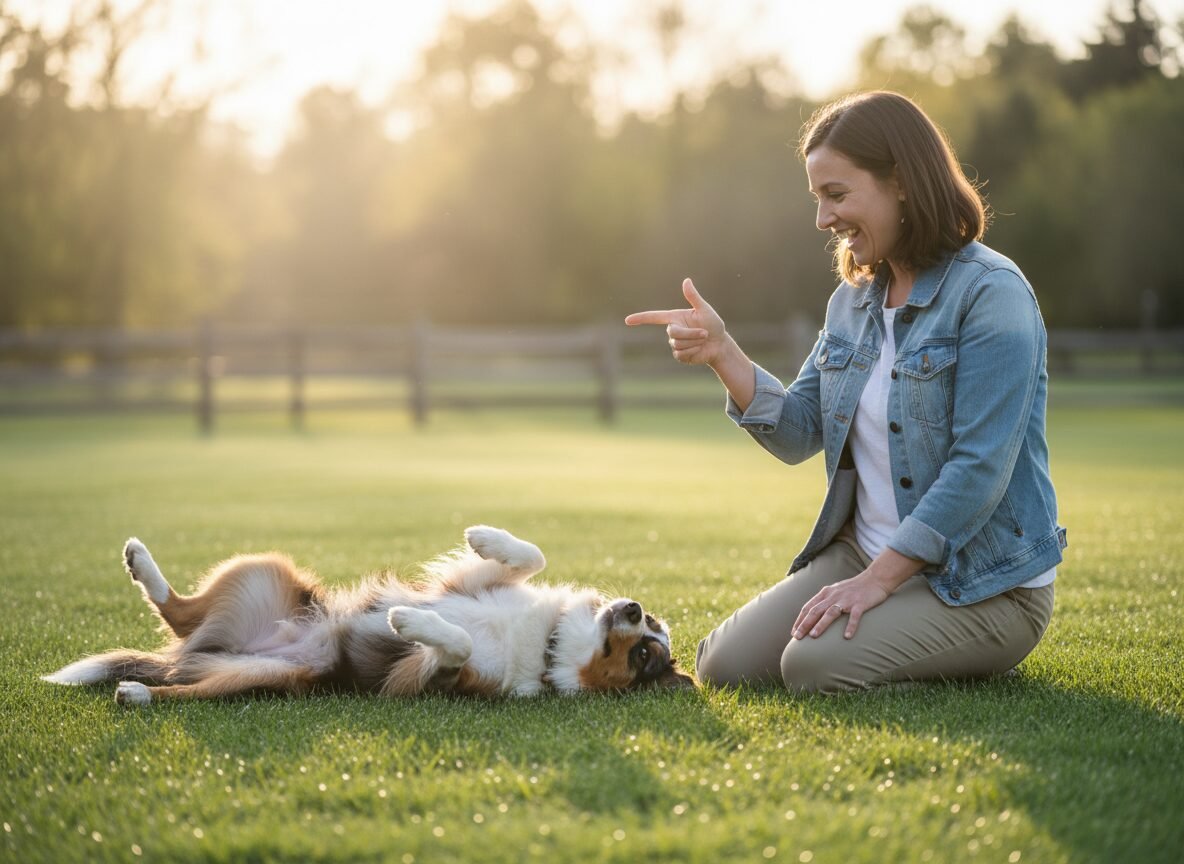
- Hand Signal: The classic choice is the “finger gun” signal. It’s distinct from other common hand signals used in obedience (like an open palm for “stay” or a pointed finger for “sit”). Whatever you choose, ensure it’s easy for you to repeat consistently.
The Fading the Lure Process
The goal here is to layer the new cues on top of the existing lured behavior and then gradually remove the lure. The sequence is crucial: New Cue -> Old Cue -> Behavior -> Reward.
- Add the Cues: Ask your dog to lie down. Just before you begin the luring motion, give your new hand signal, followed immediately by your verbal cue (e.g., Make the finger gun signal, say “Bang!”).
- Perform the Lure: After giving the new cues, immediately use the same luring motion with the treat in your hand that you perfected in Phase One to guide them onto their side.
- Mark and Reward: The instant your dog is in the “play dead” position, mark the behavior (“Yes!” or click) and give them the treat.
- Repeat: Practice this sequence—Hand Signal, Verbal Cue, Lure, Reward—multiple times over several short sessions. Your dog will begin to associate the hand signal and the word “Bang!” with the action of lying on their side.
Making the Hand Motion Smaller
Once your dog starts to anticipate the movement and lies down as soon as you present the cues, you can begin to fade the lure. This is done by making your luring motion smaller and less exaggerated. Eventually, your luring hand (with the treat) will morph into your hand signal. The final step is to perform the hand signal without a treat in that hand at all, and reward with a treat from your other hand after the behavior is complete. This teaches the dog to perform the behavior for the signal itself, not just for the visible treat.
Phase Three: Refining the Trick and Adding Duration
Phase Three: Refining the Trick and Adding Duration
At this stage, your dog understands the cues to lie on their side. Now, we refine the behavior to make it a truly impressive and reliable trick. This involves building duration—having them hold the position—and establishing a clear release cue to signal when the trick is over.
Building Duration
Impulse control is an advanced skill, so we must teach it incrementally. Your dog’s natural inclination will be to pop right back up after getting their reward. Our goal is to teach them that the reward comes for staying in the position.
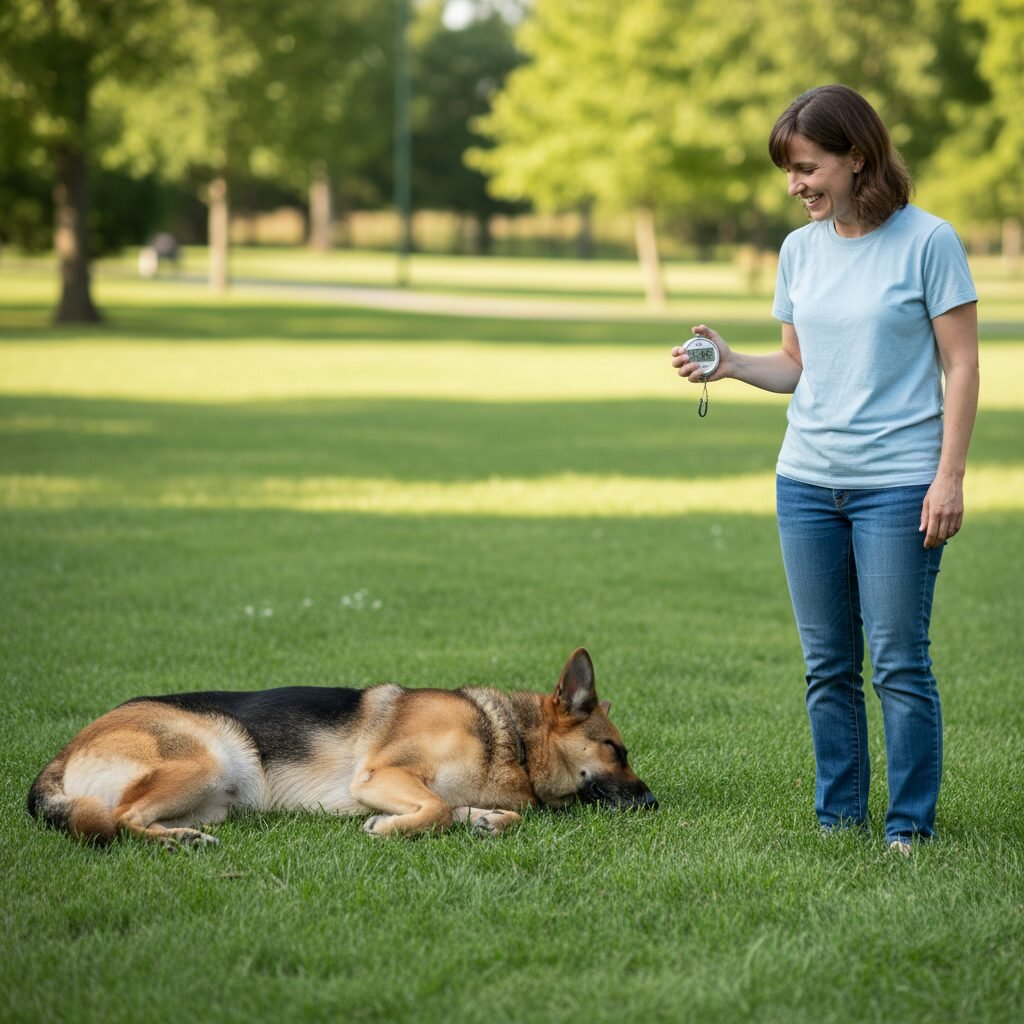
- Start Small: Cue your dog to “play dead.” The moment they are in position, wait just one second before you mark and reward.
- Gradual Increase: In the next repetition, wait two seconds. Then go back to one second. Then try for three seconds. Varying the duration prevents the dog from simply waiting for a set amount of time. Keep the increases small and achievable to avoid frustration.
- Introduce a Release Cue: A release cue is a word or phrase that tells your dog the behavior is finished and they are free to move. Common release cues are “Okay!”, “Free!”, or “Release!”. After your dog has held the position for the desired duration, say your release cue in an upbeat tone and toss a treat a short distance away for them to get. This clearly defines the end of the trick and makes the release part of the fun.
Important: Only reward your dog after you have given the release cue. If they get up before you release them, simply say nothing and reset. Ask them for a shorter duration on the next attempt to ensure they succeed.
Adding Polish
Once your dog can hold the position for 5-10 seconds, you can add some dramatic flair. Encourage a more theatrical “death” by rewarding a faster drop or a little head flop. You can shape this by selectively rewarding the more enthusiastic responses. This is the fun part where you can personalize the trick to your dog’s personality.
Troubleshooting Common Challenges
Troubleshooting Common Challenges
Even with a solid plan, you may encounter bumps in the road. Dog training is rarely a linear process. Understanding common challenges and how to address them will keep you on track and prevent frustration. Here are solutions to frequent issues when teaching the “play dead” trick.
- My dog won’t lie completely on their side.
This is the most common hurdle. It often means the dog is not comfortable shifting their weight all the way over. Go back to Phase One and heavily reward even the slightest lean onto their hip. This is a shaping issue; you need to break the behavior down into smaller, more achievable steps. Ensure your luring motion is smooth and low to the ground. - My dog just rolls completely over onto their other side.
This happens with enthusiastic dogs! To manage this, deliver the treat strategically. As they lie on their side, place the treat on the floor between their paws. This encourages them to stay put to eat it rather than continuing the roll to look for it. Also, work on building duration as described in Phase Three to teach them that stillness is what earns the reward. - My dog gets up the instant I give the treat.
This is a duration problem. You are likely marking and rewarding the action of going down, not the action of staying down. Delay your mark/click by one second after they hit the floor. Then, formally introduce the release cue. This teaches them that the trick has a clear beginning and end. - My dog seems distracted or loses interest quickly.
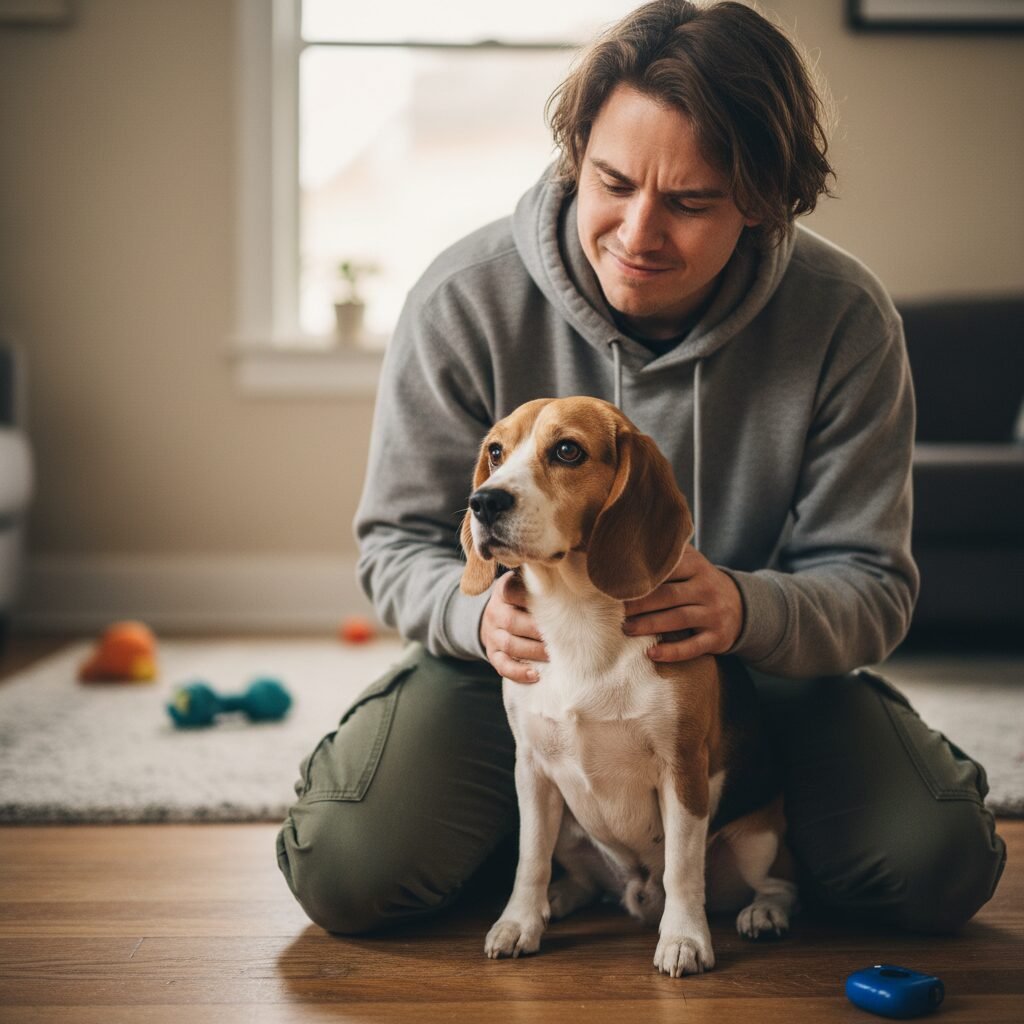
Your training sessions may be too long, your treats may not be high-value enough, or the environment might be too distracting. Shorten your sessions to just 2-3 minutes. Upgrade your treats to something truly irresistible. And make sure you’re training in a quiet, boring location until the behavior is more established. Always end on a positive, successful note to keep them wanting more. - My dog offers other behaviors like “shake” or “bow” instead.
This indicates your dog is trying to figure out what you want but is confused. It means the cues aren’t clear enough yet. Go back a step to where they were successful. Focus on making the lure very precise and clear, and ensure you are marking the *exact* moment they perform the correct action. Avoid rewarding these other offered behaviors, simply ignore them and reset.
Patience is the universal solution. If you or your dog become frustrated, end the session with an easy command you know they can do successfully (like “sit”), reward them, and try again later or the next day.
Advancing the Trick: Fading the Verbal Cue for a Silent Signal

Advancing the Trick: Fading the Verbal Cue for a Silent Signal
The ultimate goal outlined in our title is to achieve a “play dead” that responds to a hand signal alone. This is the mark of a well-understood and proofed command. It is elegant, practical, and strengthens your non-verbal communication with your dog. This final phase focuses on systematically removing the verbal cue.
The Process of Fading the Verbal Cue
Now that your dog reliably responds to the hand-signal-plus-verbal-cue combination, we will reverse the learning process slightly to isolate the hand signal.
- Lower Your Voice: Start by giving the hand signal at its normal, clear size, but say the verbal cue (“Bang!”) in a much quieter voice, almost a whisper. Your dog, already looking at your hand for information, will begin to prioritize the more prominent visual signal. Reward successful responses enthusiastically.
- Mouth the Word: After several successful repetitions with a whispered cue, progress to simply mouthing the word silently while giving the hand signal. Make the shape of the word with your mouth but produce no sound. The dog will see the familiar facial movement paired with the hand signal and should still perform the trick.
- Go Completely Silent: The final step is to remove the mouthed word entirely. Stand up straight, make eye contact, and give only the hand signal with a neutral facial expression. When your dog responds correctly, give them a “jackpot” reward—a handful of treats or a particularly special one—to signify a major breakthrough.
Proofing the Behavior in New Environments
A trick isn’t truly mastered until it can be performed in various locations and situations. Once your dog responds to the silent hand signal reliably in your quiet training space, begin to “proof” the behavior.
- Change Rooms: Practice in different rooms of your house.
- Go Outside: Move to a quiet backyard with minimal distractions.
- Increase Distance: Start giving the signal from a few feet away, gradually increasing the distance between you and your dog.
By systematically removing the verbal support and practicing in new contexts, you build a powerful and reliable behavior. Your “finger gun” hand signal becomes a clear, unambiguous line of communication, proving that the deepest connections with our dogs often require no words at all.
Conclusion
Congratulations on teaching your dog one of the most beloved and impressive tricks in the canine training world! By following these phases—building a solid foundation, mastering the lure, introducing cues, adding duration, and finally isolating the hand signal—you have done more than just teach a party trick. You have engaged your dog’s mind, strengthened your communication, and deepened the trust and partnership you share. The process requires patience and consistency, but the result is a testament to your dedication as a pet owner and trainer.
Remember that every training session is an investment in your relationship. Keep it fun, stay positive, and continue to celebrate the small victories along the way. Now, go show off that fail-proof hand signal and enjoy the amazed reactions from friends and family, knowing the hard work and positive connection that made it all possible.