How I Taught My Dog to Skateboard in One Weekend (Viral Trick)
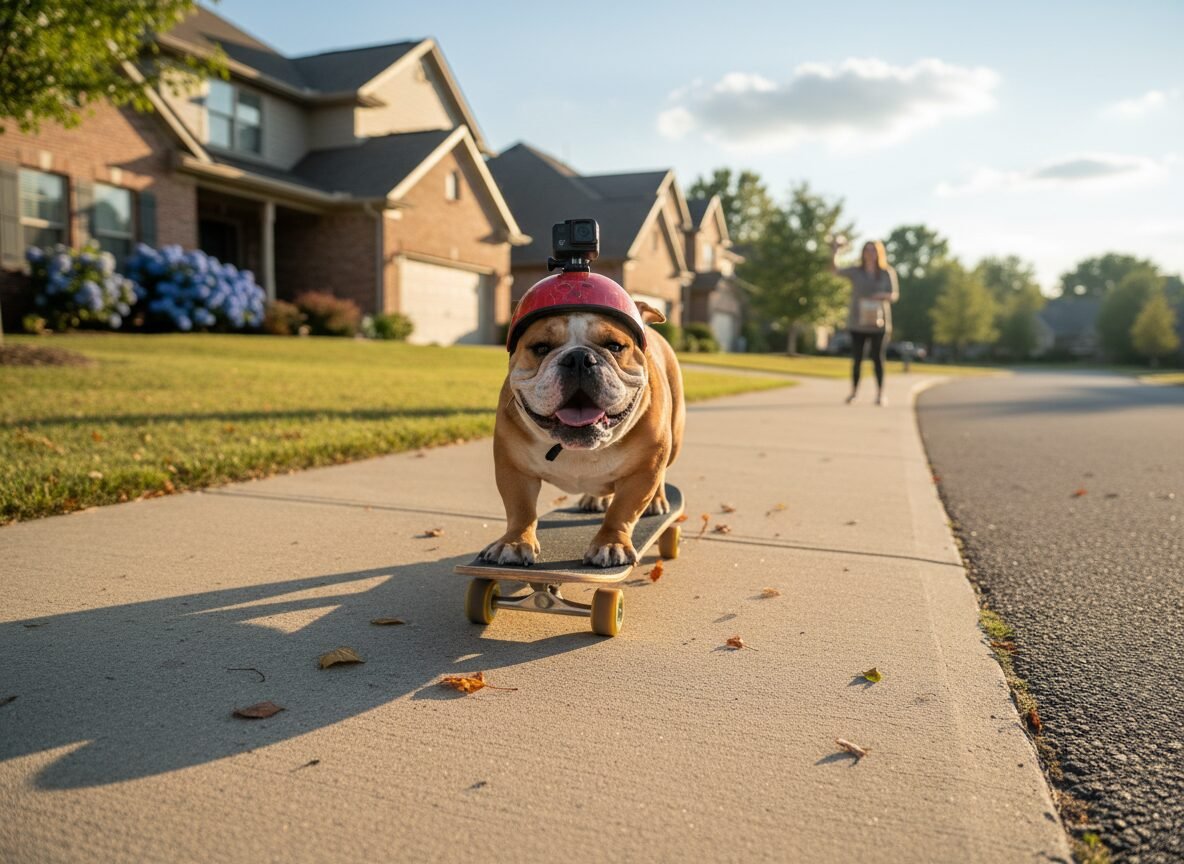
The sight of a dog confidently gliding on a skateboard is more than just an amusing viral clip; it’s a testament to an incredible bond, clear communication, and advanced training. While it may seem like a complex feat reserved for canine celebrities, the fundamentals of this trick are accessible to many dogs with the right approach. This guide is designed to demystify the process, providing a structured, safe, and positive reinforcement-based plan to teach your dog how to skateboard in a single weekend.
As a canine specialist, my primary focus is always on the dog’s well-being and emotional state. This process is not about forcing a behavior but about building confidence, celebrating small successes, and turning a challenging task into an engaging game. We will break down the training into manageable sessions, ensuring your dog remains enthusiastic and comfortable from the first curious sniff of the board to their first triumphant roll. Prepare to be patient, be positive, and embark on a rewarding training adventure that will strengthen your bond with your companion.
Pre-Flight Check: Safety, Suitability, and Essential Gear
Pre-Flight Check: Safety, Suitability, and Essential Gear
Before you even bring a skateboard into the picture, a thorough preparation phase is critical for success and safety. Not every dog is a natural-born skater, and recognizing this from the outset will save you and your dog from frustration.
Is Your Dog a Good Candidate?
Consider your dog’s physical build and temperament. Ideal candidates typically possess:
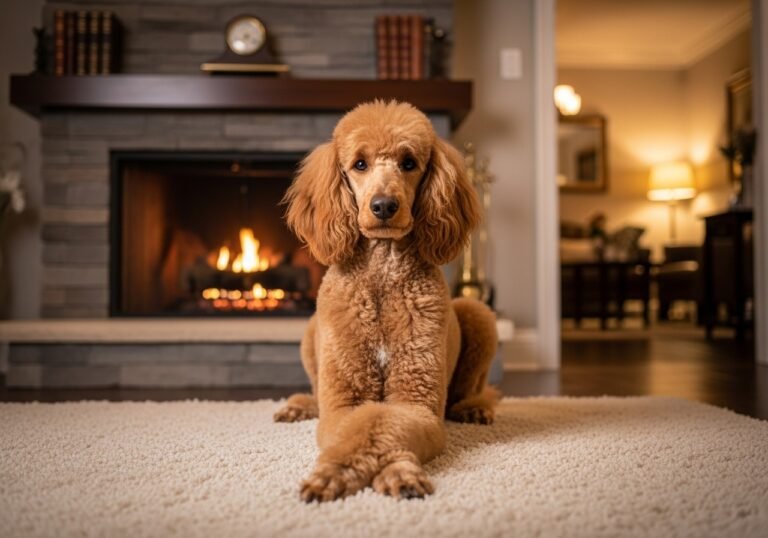
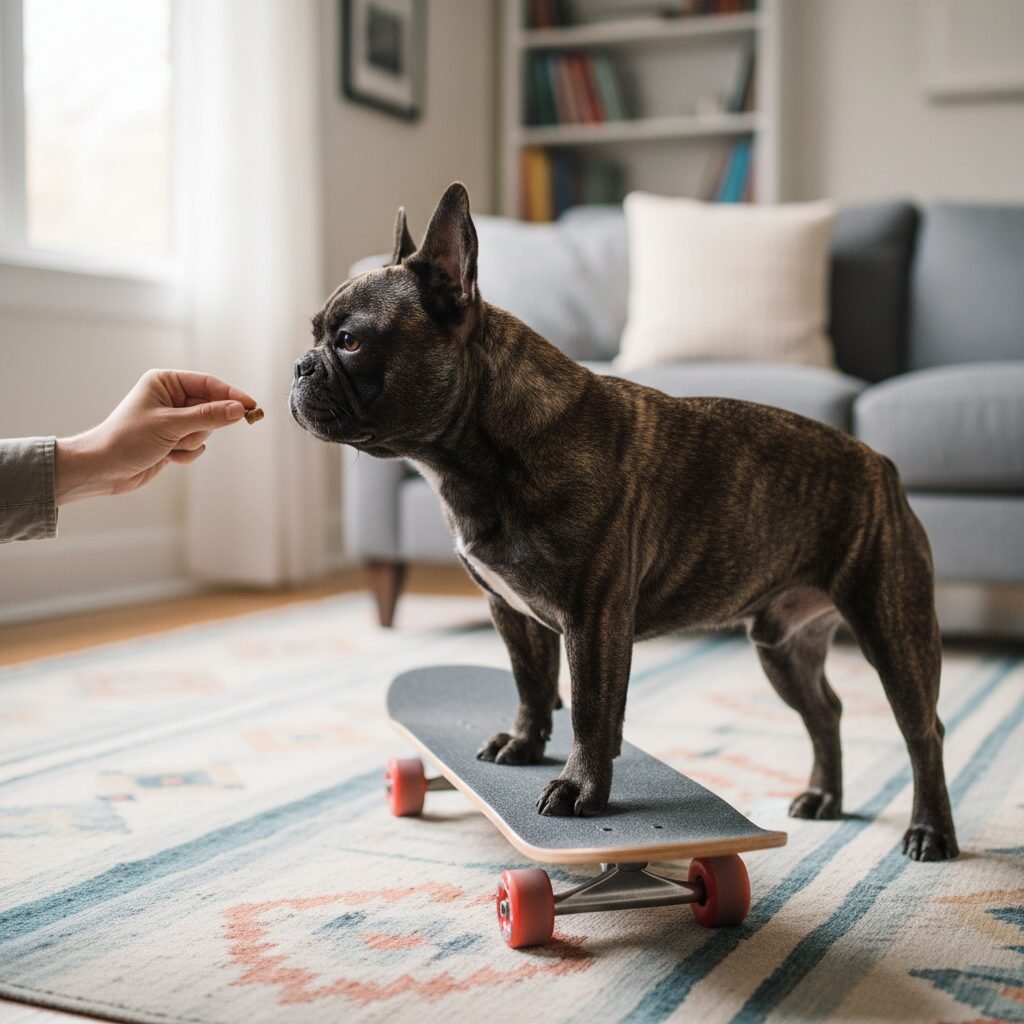
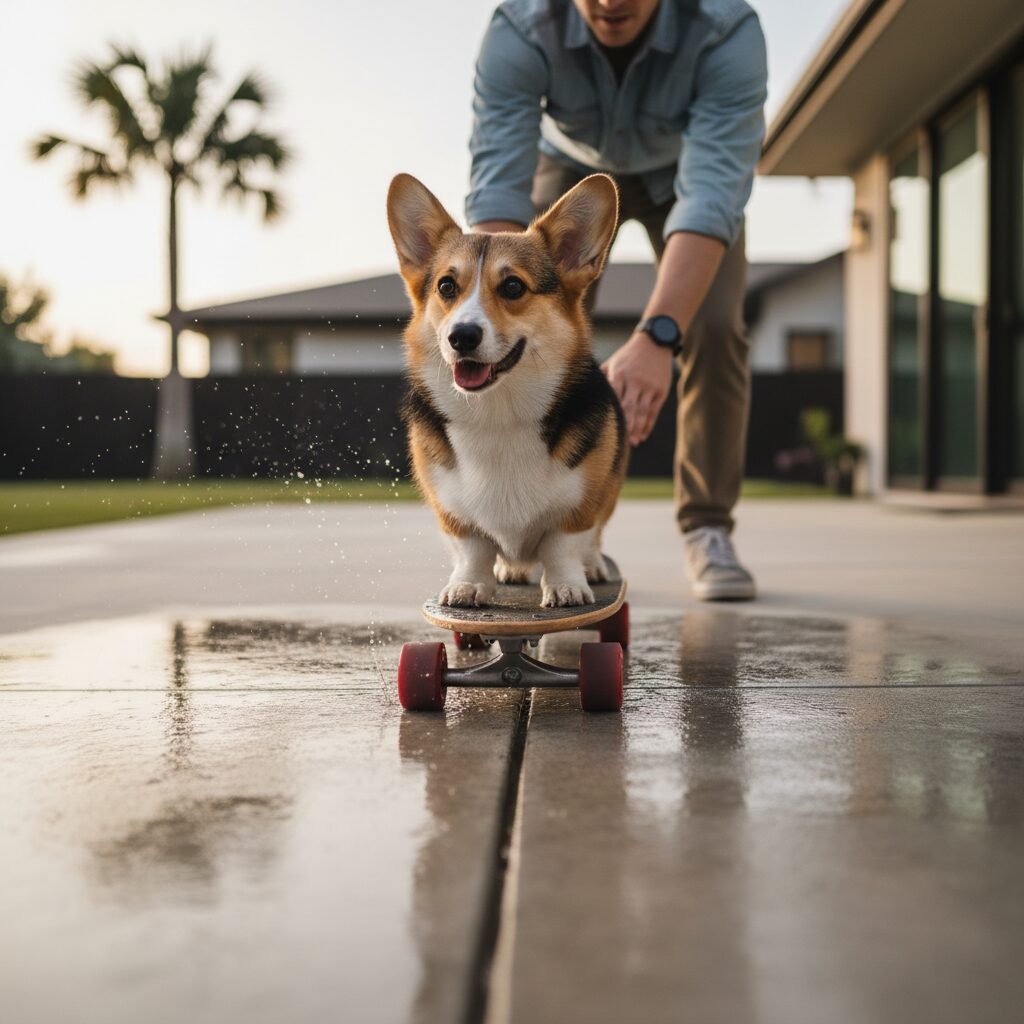
- A low center of gravity: Breeds like Bulldogs, Basset Hounds, or Corgis often have a natural advantage due to their stocky builds. However, many other breeds can succeed.
- Good physical health: The dog should be free from any joint issues, hip dysplasia, or balance problems. A check-up with your veterinarian is recommended if you have any concerns.
- A confident and curious personality: Dogs that are naturally brave, enjoy new challenges, and are not prone to noise phobias or general anxiety will learn more readily. A fearful dog may find the sound and movement of the board overwhelming.
If your dog is timid or physically unsuited, it is crucial not to force the issue. The goal is enrichment, not stress.
Gathering Your Equipment
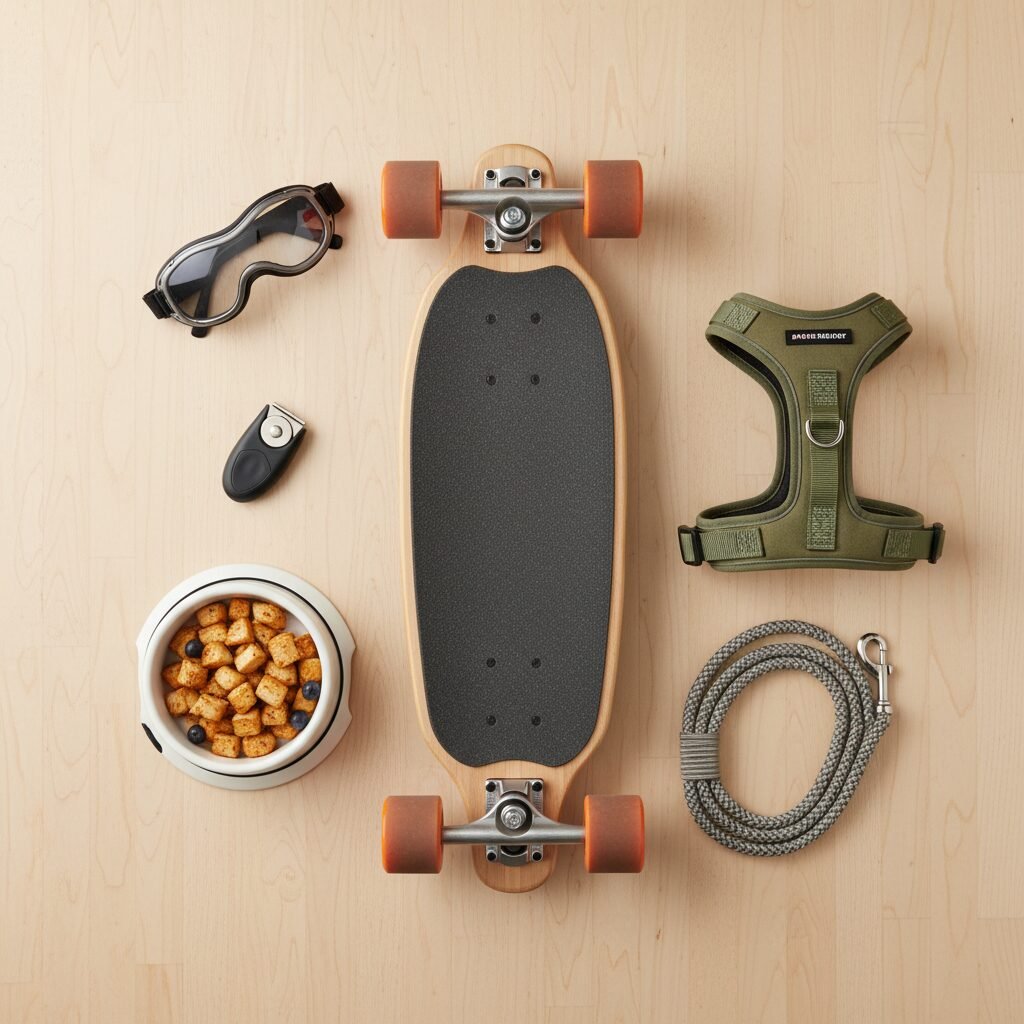
Having the right tools is non-negotiable. Quality and suitability of your gear directly impact safety and the ease of training.
- The Skateboard: Opt for a board that is wide and long, providing a stable, ample platform for your dog to stand on. A longboard or an old-school cruiser deck is often superior to a standard trick skateboard. Ensure the wheels and bearings are in good condition for a smooth, predictable roll.
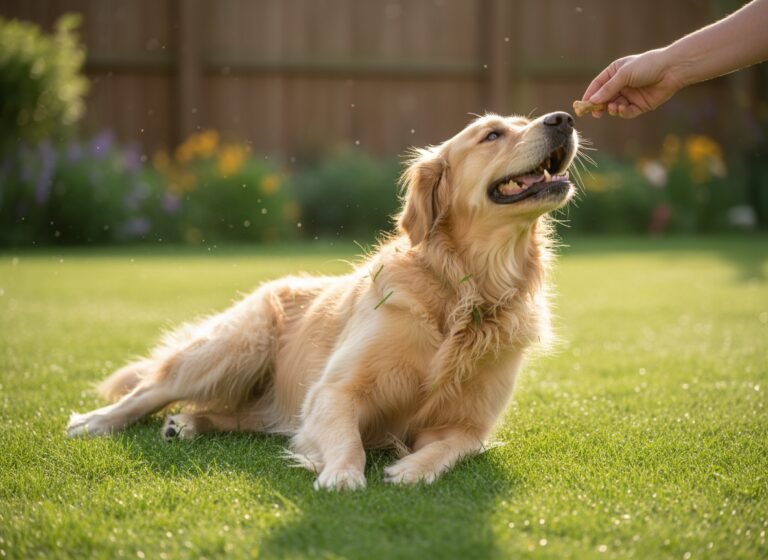
- High-Value Treats: Standard kibble won’t suffice. You need exceptionally motivating rewards. Think small pieces of cooked chicken, cheese, or commercial soft treats that your dog adores.
- Clicker (Optional but Recommended): A clicker is a powerful tool for marking the exact moment your dog performs the correct action, allowing for precise communication.
- A Non-Slip Surface: Initial training should take place on a surface that prevents the board from rolling, such as a thick carpet or a grassy lawn.
- A Well-Fitting Harness: A harness provides a safe way to guide or stabilize your dog if needed, without putting any pressure on their neck.
Expert Tip: Before the first session, leave the skateboard lying flat in a common area of your home. Let your dog investigate it on their own terms for a few hours. This passive exposure helps demystify the object before formal training begins.
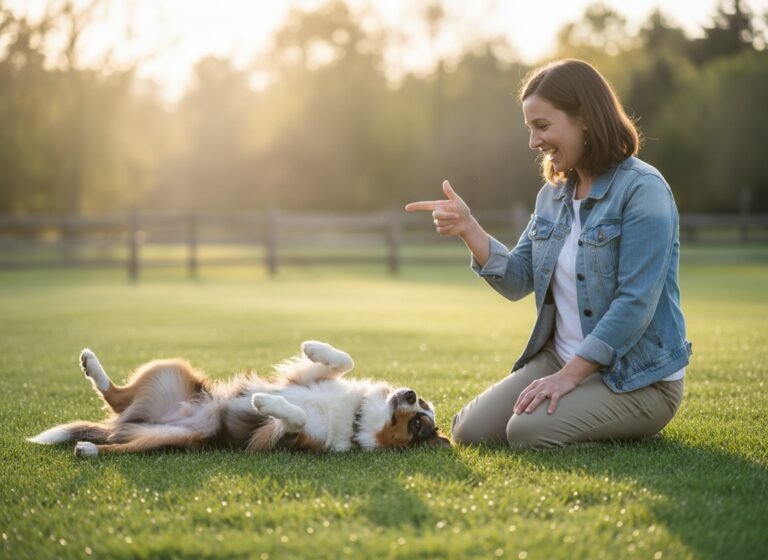
Day 1, Morning: The Introduction Phase – Board as a Friend
Day 1, Morning: The Introduction Phase – Board as a Friend
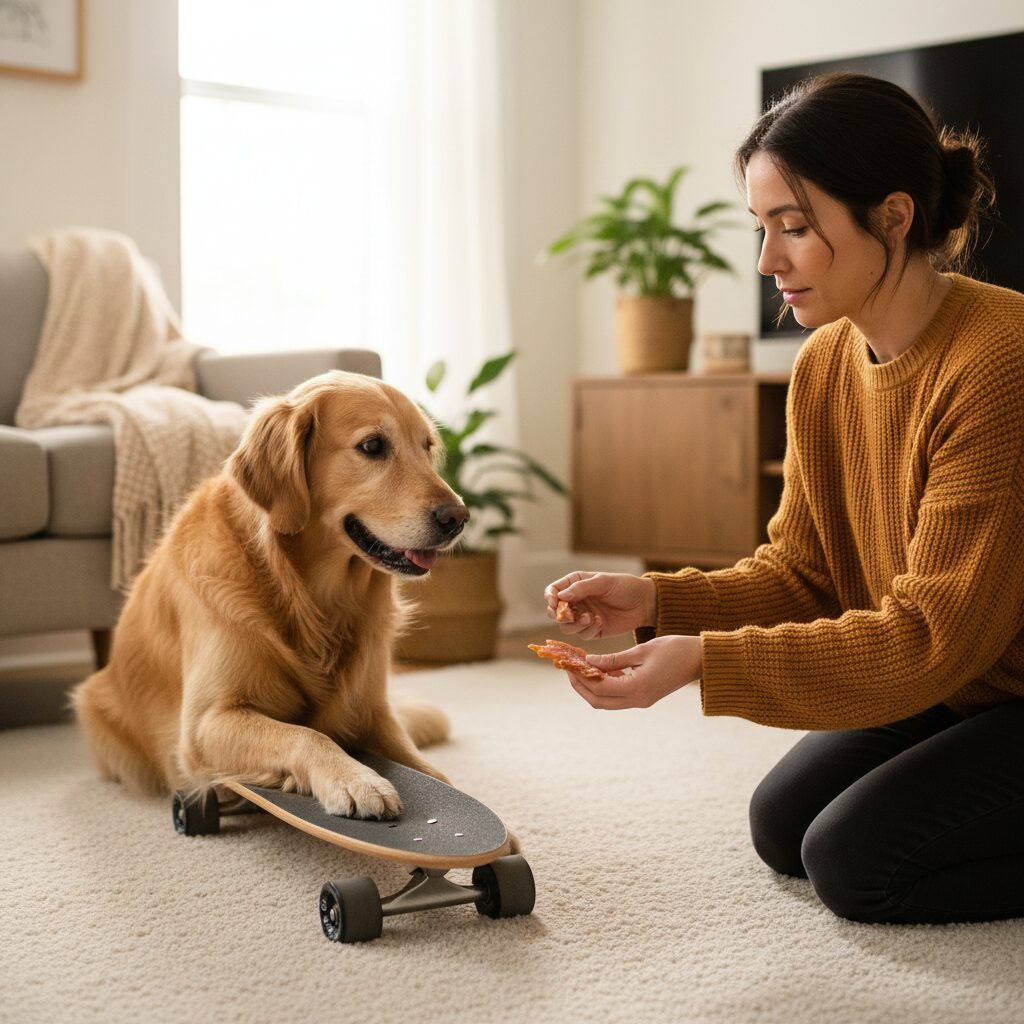
The entire goal of this first session is to build a powerful positive association with the skateboard. Your dog must learn that the board is not something to be feared, but rather a source of fantastic rewards. Keep this session short, upbeat, and no longer than 10-15 minutes.
Step 1: Neutralizing the Object
Place the skateboard on a non-slip surface like a carpet or grass. It must be stable. Sit on the floor near the board and ignore it completely. The moment your dog shows any interest—a glance, a sniff, a step towards it—click (if using a clicker) and immediately give a high-value treat. Toss the treat away from the board so the dog has to ‘reset’ and approach again. This turns the interaction into a game.
Step 2: Rewarding Interaction
After a few repetitions of rewarding glances and approaches, we raise the criteria. Now, only click and treat when your dog makes physical contact with the board. This could be a nose touch or, ideally, a paw touch. Do not lure or ask for this behavior. Wait for your dog to offer it voluntarily. Patience is paramount. Any interaction you reward will be repeated, so be specific about what you are marking with the click.
Step 3: Encouraging Paw Placement
Once your dog is confidently touching the board, you can begin to encourage them to place a paw on the deck. You can do this in two ways:
- Capturing: Wait for the dog to naturally place a paw on the board and have a ‘jackpot’ of treats ready for that moment.
- Shaping/Luring: Hold a treat over the board, encouraging the dog to step onto it to get the reward. Only give the treat if a paw touches the deck.
End the session on a high note, with a successful repetition followed by praise and a handful of treats. Then, put the board away. This builds anticipation for the next session.
Day 1, Afternoon: Building Confidence and Four-Paw Placement
Day 1, Afternoon: Building Confidence and Four-Paw Placement
With the foundation of positive association laid, the afternoon session focuses on getting your dog comfortable standing on the board with all four paws. Again, keep the session short (10-15 minutes) and end before your dog loses interest.
Step 1: From Two Paws to Four
Continue from where you left off, rewarding one or two paws on the board. Now, use your treat to lure your dog’s head and body further over the board, encouraging them to bring their back paws onto the deck as well. The moment all four paws are on the board, click and deliver several treats in quick succession while they remain on the board. This communicates that standing on the board is a highly rewarding position.
Step 2: Introducing Duration and a Cue
Once your dog is reliably getting onto the board with all four paws, start building a small amount of duration. Ask them to get on, then wait just one second before clicking and treating. Gradually increase this to a few seconds. Now is also the time to add a verbal cue. Just as your dog is about to step onto the board, say your chosen word, such as “Board,” “Skate,” or “On.”
Step 3: Introducing a Hint of Motion
This is a delicate but crucial step. While your dog is standing on the board, apply minuscule pressure to one side, causing it to rock ever so slightly. The movement should be barely perceptible. Click and treat for your dog remaining calm and balanced. This gently introduces them to the sensation of movement under their feet in a controlled, non-threatening way. If your dog gets nervous or jumps off, you have moved too fast. Simply go back a step to rewarding a stationary stand.
Important: Throughout this process, your body language should be relaxed and encouraging. If you are tense, your dog will sense it and become anxious. Keep your breathing steady and your praise light and happy.
Day 2, Morning: Initiating Movement – The First Gentle Push
Day 2, Morning: Initiating Movement – The First Gentle Push
Today, we transition from a stationary object to a moving one. This requires a new location and a focus on controlled, predictable motion. Choose a smooth, level surface with no obstacles, such as a garage floor, a basement, or an empty tennis court.
Step 1: Transition to a Hard Surface
First, repeat the ‘four paws on’ exercise from yesterday on the new, harder surface. The board will feel and sound different here, so your dog may need a moment to acclimate. Reward them generously for getting on the board and staying, just as you did before.
Step 2: The Controlled Push
With your dog standing comfortably on the board and your harness on them for safety, position yourself beside them. Give your verbal cue (“Board”). Once they are stable, give the board a very gentle push forward, just enough for it to roll a few inches. The moment it stops, click and give a jackpot reward. The key is to reward the completion of the short ride, reinforcing that staying on during movement leads to a great outcome.
Step 3: Gradually Increasing Distance
Repeat the process, keeping the pushes slow and smooth. As your dog’s confidence grows, you can gradually increase the distance of the push from a few inches to a few feet. Always keep the harness lead slack; it is there for safety, not for pulling or forcing the dog to stay on. Watch your dog’s body language closely. If you see signs of stress (lip licking, yawning, tense body), stop immediately and end the session with a simple, successful stationary ‘four paws on’ for a final treat.
| Session Goal | Key Action | Reward Strategy |
|---|---|---|
| Acclimatize to Hard Surface | Dog places four paws on the stationary board. | High-value treat for successful placement. |
| Introduce Movement | Gently push the board a few inches. | Jackpot reward the instant the board stops. |
| Build Ride Confidence | Gradually increase the push distance to a few feet. | Consistent reward after each successful, calm ride. |
Day 2, Afternoon: Encouraging Self-Propulsion
Day 2, Afternoon: Encouraging Self-Propulsion
This final step is the most advanced and the one that truly defines a ‘skateboarding dog’. It is important to state that many dogs may be perfectly happy being pushed and may never learn to propel themselves. That is perfectly acceptable. This stage requires significant coordination and understanding from the dog, so patience is absolutely essential.
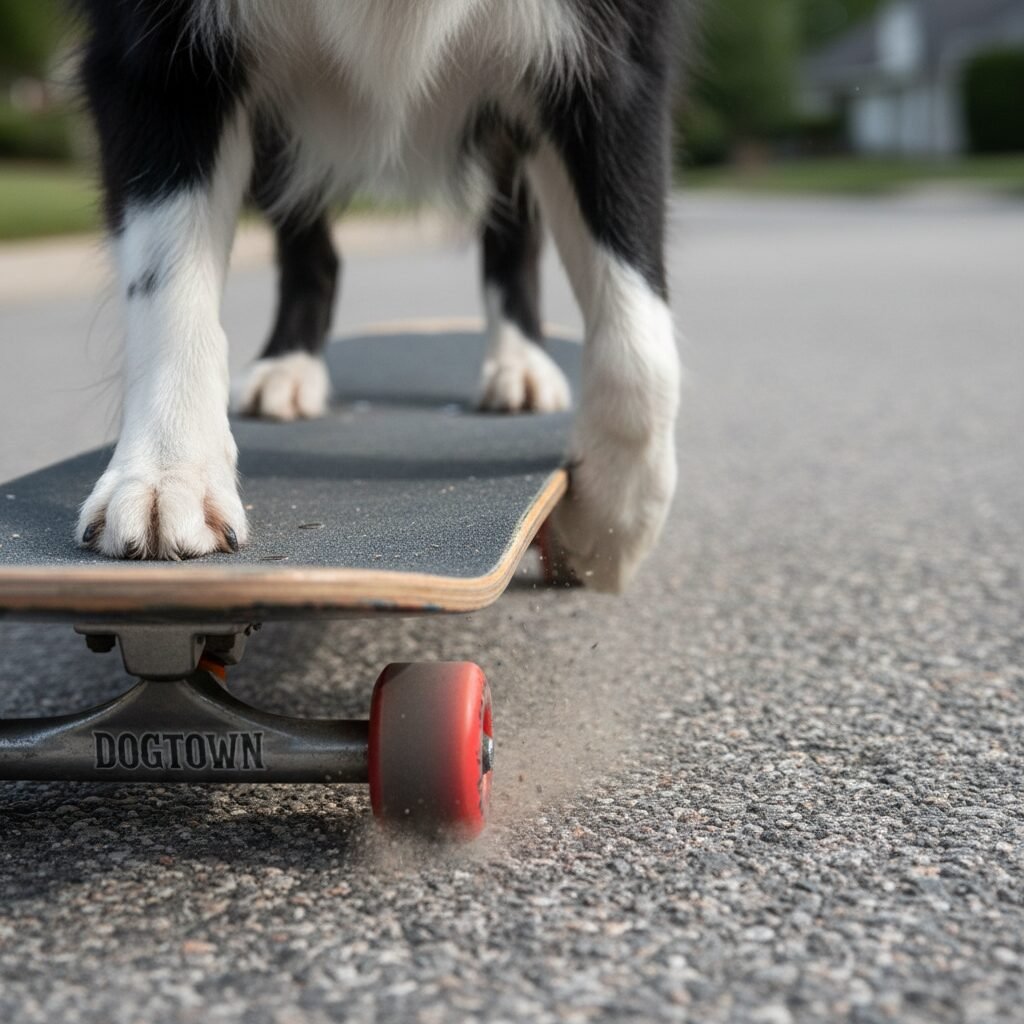
The Theory of the Push
A dog propels a skateboard by keeping three paws on the board while using the fourth (usually a back paw) to push off the ground, similar to a human rider. Our job is to teach this unnatural movement.
Method 1: Luring the Push
With your dog on the board, hold a very high-value treat on the ground, slightly to the side and in front of them. The goal is to have them reach for the treat, forcing them to put a paw down on the ground to steady themselves. The moment that paw touches the ground while the others remain on the board, click and give them the treat. Over time, you can shape this behavior, waiting for a slight ‘pushing’ motion before you reward.
Method 2: Targeting the Push
This method involves teaching a separate behavior first. Teach your dog to touch a target (like a sticky note or a small plastic lid) with their paw. Once this ‘touch’ cue is reliable on the floor, place the target on the ground next to the skateboard while they are on it. Cue them to ‘touch’ the target. This action of reaching down and touching the target mimics the pushing motion. You can then gradually fade the target, rewarding any downward paw motion next to the board.
This is by far the most difficult step and may take many sessions beyond this single weekend. The goal for today is simply to see the first glimmer of a self-initiated push. Any attempt, no matter how clumsy, should be met with immense enthusiasm and reward.
Troubleshooting and Common Mistakes to Avoid

Troubleshooting and Common Mistakes to Avoid
Even with the best plan, you may encounter challenges. Understanding how to address them is key to keeping the training positive and productive.
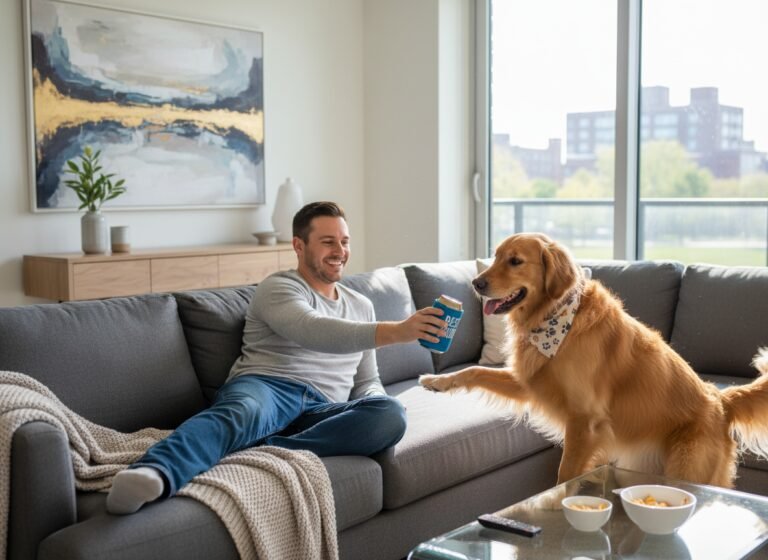
Problem: My Dog is Afraid of the Board
Solution: You have moved too fast or the initial introduction was not positive enough. Go all the way back to step one. Place the board in the room and ignore it. Place your dog’s food bowl near it. Reward any glance or sniff. Do not attempt to get them on the board until they are showing zero signs of fear in its presence.
Problem: The Dog Jumps Off as Soon as it Moves
Solution: The sensation of movement is too intense. Go back to introducing motion on a soft surface like a carpet. Instead of pushing, just rock the board gently from side to side. Reward heavily for staying on during this tiny movement. When you reintroduce the push, make it incredibly small—a single inch of movement is a success.
Problem: My Dog Chews the Board or Wheels
Solution: This is often a sign of over-arousal or anxiety. The dog is redirecting their energy. Immediately end the training session with a calm request like ‘sit’. Provide a more appropriate chew toy. Keep future sessions shorter to prevent the dog from getting over-excited.
Problem: My Dog Shows No Interest at All
Solution: It’s a hard truth, but not all dogs want to be skaters. If your dog consistently shows avoidance or disinterest despite your best efforts with high-value rewards, respect their choice. Training should be a partnership. Forcing a dog into an activity they do not enjoy can damage your bond. Find another engaging activity, like nose work or agility, that they genuinely love.
Conclusion
Over the course of a weekend, you have guided your dog through a complex and rewarding training challenge. Whether your companion is now confidently rolling on their own or is simply happy to stand on the board for a treat, the real achievement lies in the process itself. You have practiced clear communication, built your dog’s confidence, and most importantly, strengthened the bond of trust between you.
Remember that every dog learns at a different pace. The timeline presented here is a guide, not a strict deadline. Continue to prioritize safety, patience, and positive reinforcement in all your training endeavors. Celebrate every small step of progress and cherish the unique journey you and your dog are on. The goal was never just to create a viral trick; it was to spend quality time together, learning and growing as a team.